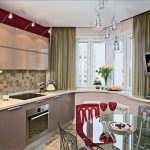
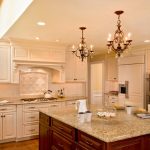
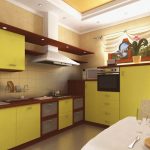
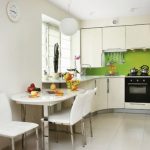
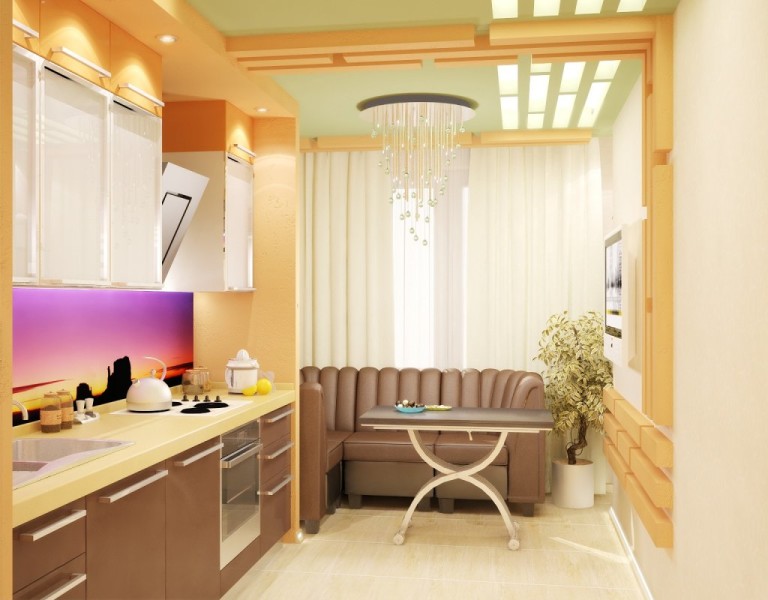
 Kitchen design with a sofa (10 sq.m.)
How to hang kitchen cabinets on a mounting rail
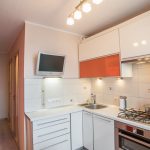
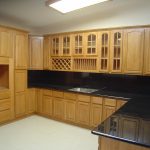
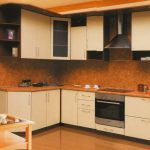
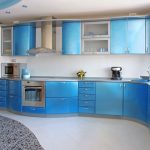
The design of the kitchen today is striking variety. There are many ideas for kitchen furniture. Every woman seeks to create a cozy atmosphere in the house, and especially in the kitchen. For the hostess it is like a study, where she spends most of the time.
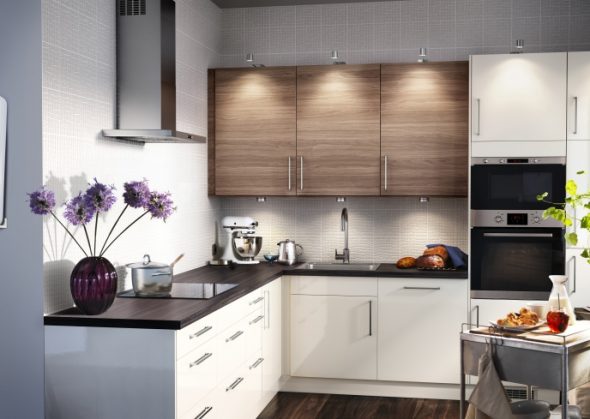
Here we have breakfast, lunch, dinner, drink tea, coffee, and the decoration of the kitchen fully affects the sensations at the dinner table.
Any woman knows how problematic it is to create coziness in the kitchen, put everything in its place, if there are no different hanging shelves, lockers. That is why they invented kitchen walls, the kit of which includes multifunctional canisters, all kinds of supports, bedside tables, hinged cabinets.
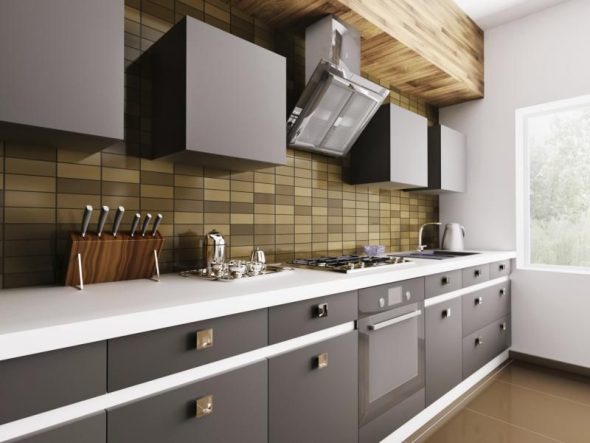
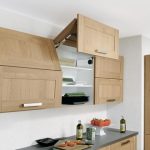
Let's look at how to hang kitchen cabinets.
Content
- 1 Required materials and tools
- 2 The nuances of the choice of accessories for mounting
- 3 Do not forget to prepare the walls!
- 4 Initial stage of work: how to determine the height of the suspension?
- 5 Hanging on the mounting bar (rail)
- 6 How to fix the mechanism of the mounting plate?
- 7 Useful drilling tools
- 8 VIDEO: Fixing wall cabinets in the kitchen.
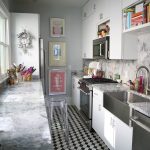
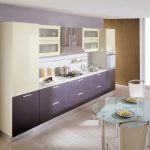
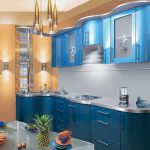
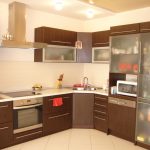
- 9 Wall cabinets in the kitchen interior - 50 photo ideas:
Required materials and tools
These pieces of furniture are important. They save space in the kitchen, have sufficient capacity. They hold a lot of things. Therefore, it is necessary to produce high-quality and thoroughly fasteners to the wall. Before you start work, you need to prepare materials and tools:
- Base to anchor objects.
- Loops for the facade.
- Elements required for construction cabinets.
- Screws, nails.
- Intersection ties
- Tires.
- Attachments and screws to install them.
- Drill. If the wall is concrete, you need a drill with a punch function.
- Roulette, pencil, ruler.
- Level, preferably long.
- Screwdriver, screwdriver.
- Nozzles for drills, nozzles for the screwdriver.
- Hammer.
- Clamps, hacksaw.
- Carob keys.
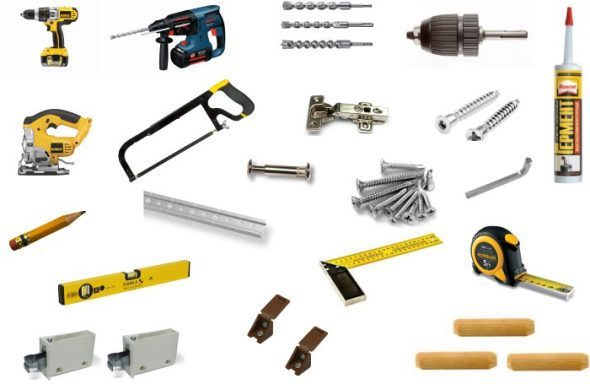
After you have acquired all the required materials, you need to prepare the walls for installation and make the markup.
The nuances of the choice of accessories for mounting
Don't wonder how to hang cupboard in the kitchen, because today there is a large selection of different accessories. But there are some features. If you hang it on a wooden wall, it is better to use hardened screws with a hidden semicircular head. Dvuhzakhodnoy screws and large stride deserve attention.
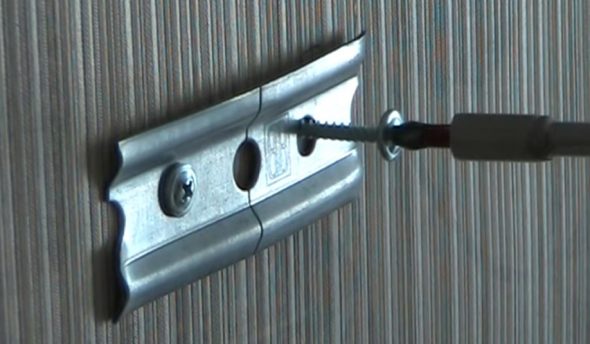
The most important thing when choosing fasteners is what the wall is made of.
If the wall is made of brick or concrete, apply dowels and plugs, anchor bolts, plaster and ordinary bolts. For a plasterboard wall, it is better to purchase Molly's dowels.
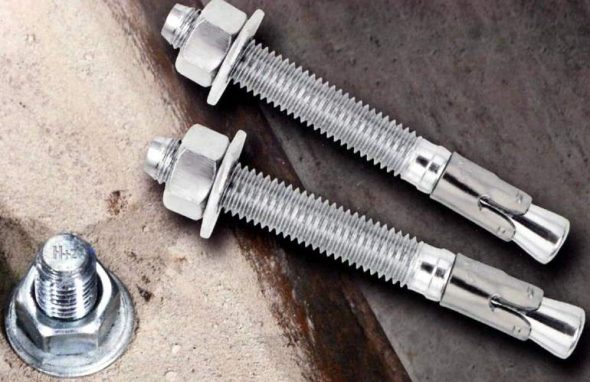
With the help of modern fixing hardware, it is possible to eliminate minor inaccuracies during marking and increase the reliability of the design.
Do not forget to prepare the walls!
Before you hang lockers, you need to prepare the walls, while doing some work:
- Align the base well, as irregularities will adversely affect the entire assembly;
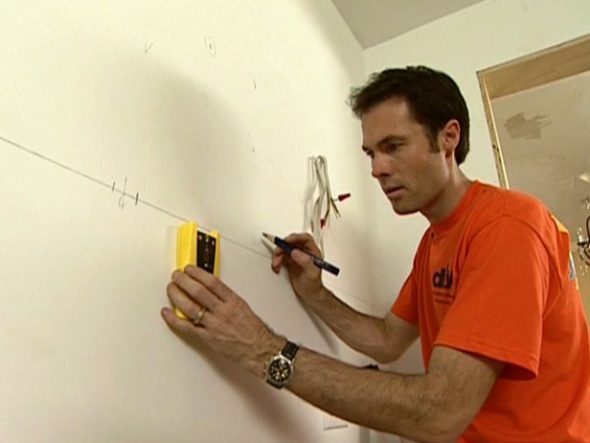
Use plaster or drywall sheets.
- Be sure to complete all work on the installation of outlets and lighting;
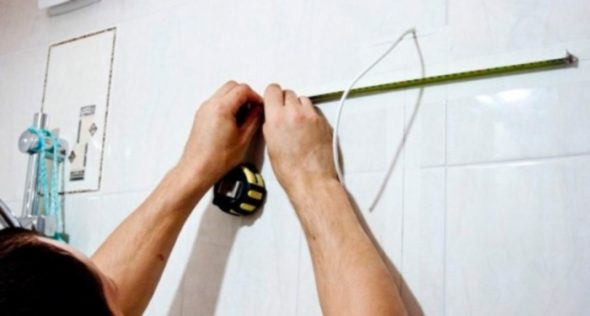
These moments will be the basis for future work.
- On the walls should paint, wallpaper, tiles should be already applied.If this is a new building and the house can shrink, then it is better to use a plastic kitchen apron. It will easily hide irregularities, and fastens on liquid nails or self-tapping screws.
After hanging the lockers to paint the walls will be very problematic.
Initial stage of work: how to determine the height of the suspension?
Before you begin to mount lockers against the wall, it is necessary to correctly determine the height of their hinge. Estimated gap between worktop and bottom cabinets equals 50-60 cm, and according to GOST - 45 cm. If you mount lockers over the fridge or high oven closetthen their height will show the required hinge point.
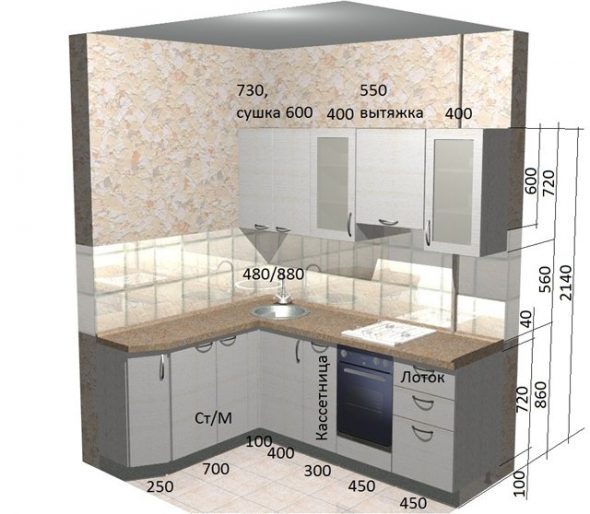
The size is influenced by several factors, but the primary one is human growth.
Also should consider the quality of the wall septum. In modern homes, it is most often made of drywall. In this case, do not hang cupboard very high - the wall can be deformed. In the houses of the old buildings of the ceiling can also be dilapidated. The walls will not bear such a weight and will crumble. In this case, the furniture may fall, and you will have to repair it or purchase a new one.
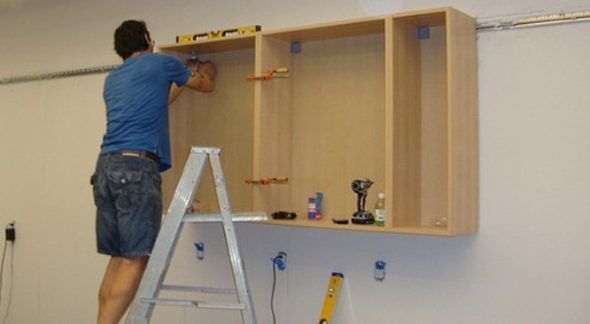
In order to prevent a large load on the floor, you must install auxiliary supports and metal frames.
In most cases, design innovations can affect the height of the suspension. We are talking about facade sets, where everything you need is included in the kit, and it is very economical.
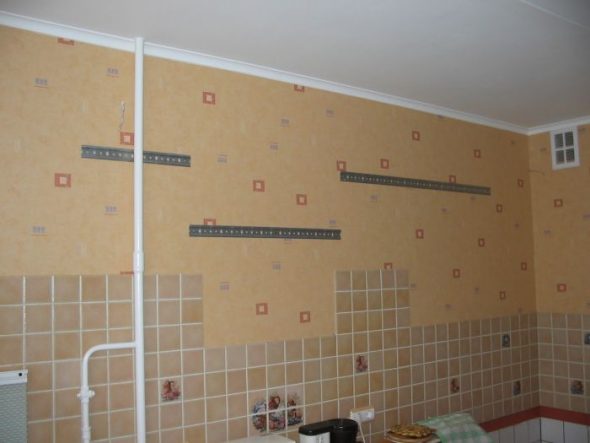
The instructions indicate what the height of the suspension should be.
Hanging on the mounting bar (rail)
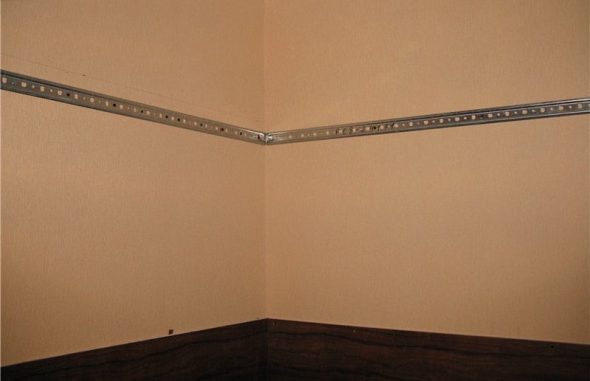
Before you start the suspension kitchen cabinetsyou should remember that there will be a gap between the furniture and the wall. It is necessary that the gap be the same both above and below. You need to install an additional rail below. cabinet.
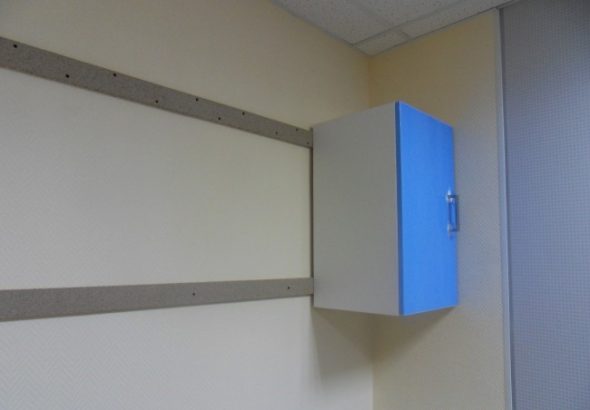
You can attach it at a height where the lower part of the furniture "comes in" on the kitchen apron.
This type of canopy has a number of positive points, if you hung on the loops and hooks. Firstly, it is very easy to mark out the mounting rail, installation lockers can be produced with high precision. Secondly, suspensions can be adjusted, besides dismantling and installation will be quick and easy. Thirdly, cabinets form an even row, without any gaps. Fourth, the ability to withstand any load, here they are evenly distributed.
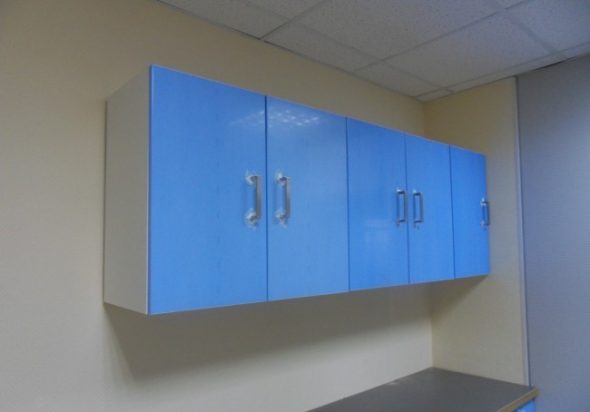
You can handle this job by yourself.
But there are several disadvantages of this type of canopy:
- Such a kit - hinged and rake - is not cheap. But this, rather, is not such a serious obstacle, because saving time is significant;
- Gaps are formed between the wall and furniture.
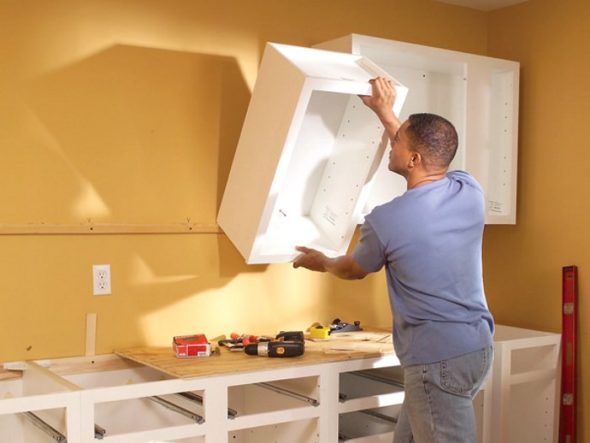
Despite this, this method is considered the most acceptable, according to the power of any master.
How to fix the mechanism of the mounting plate?
To start hanging kitchen cabinets, you need to mount the hooks to the side walls of the furniture. To do this, use the adjusting screws. Hook should have a ledge behind the back wall locker just enough to catch on the mounting rail - 2-3 mm. Then we make an even marking, mark the places and correctly drill holes. For work we use a drill and a proper nozzle.
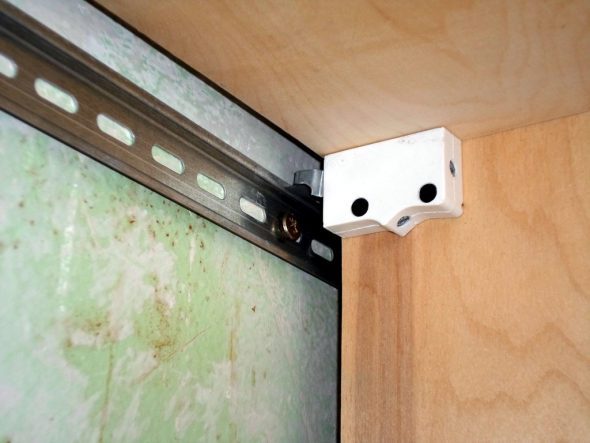
It is important not to forget that the bar should be located below the border of the locker.
If you want to save money, you can arrange the slats in small segments - about 10 cm, but only on condition that the wall is sufficiently reliable.
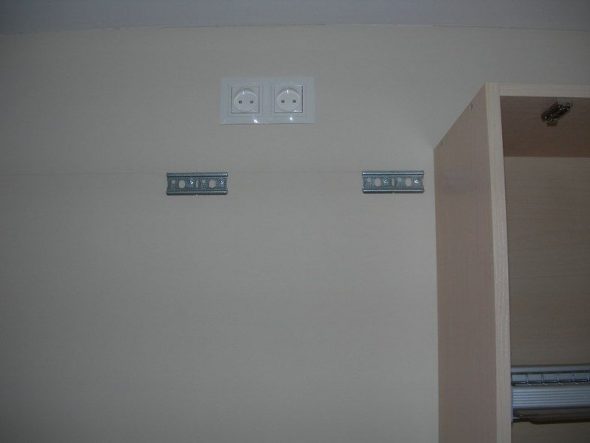
All work can be done independently, without any help.
We drive dowels into the prepared holes that are suitable for your type of walls, and thoroughly manufacture the mounting plate fasteners. Now you can hang cabinets on strips, removing all the doors and shelves before that. Then we perform a thorough adjustment of the modules with screws in the suspensions. The furniture is interconnected by an intersection tie.
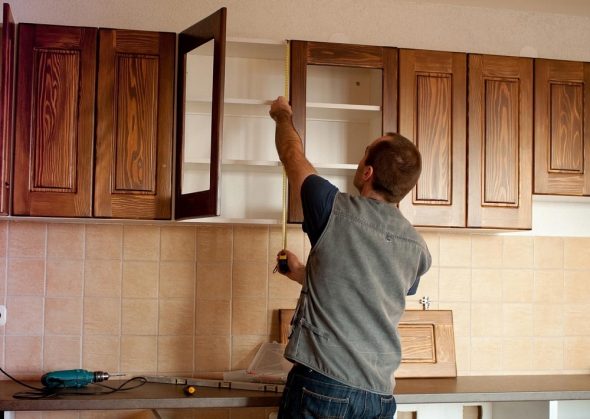
Upon completion, you can attach decorative cornice, install shelves and hang facades.
Useful drilling tools
The jack of all trades always needs certain tools for working in a private house, in the summer cottage, in an apartment, or when building his house. Many of them are not even worth purchasing if they do not require permanent use. For example, for drilling there are many different nozzles that will greatly increase the functions of your drill and significantly expand them.
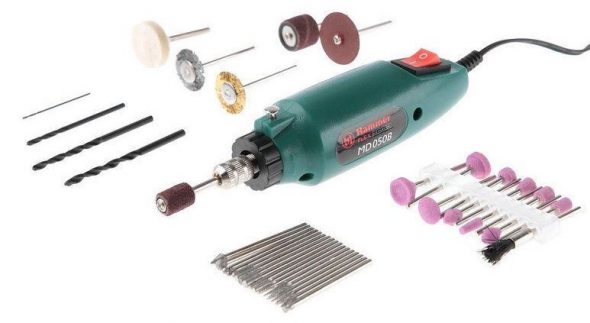
Consider some devices for auxiliary potential.
To obtain accurate holes of significant size across in different blanks, a device such as drilling and milling nozzle.
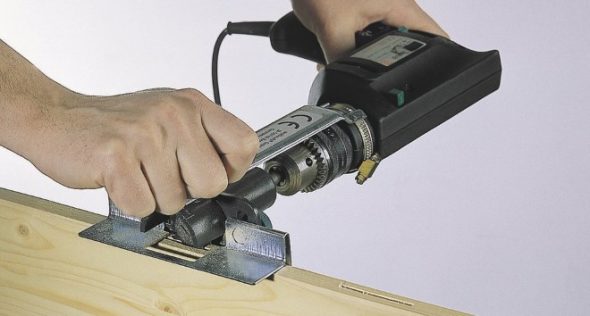
Make a milling machine from a drill.
The following device, which is worth mentioning, is very expensive, but has the highest versatility. All the tools that you have on your farm, be it knives, shovels, axes, choppers, various drills, you will sharpen playfully with universal sharpening device.
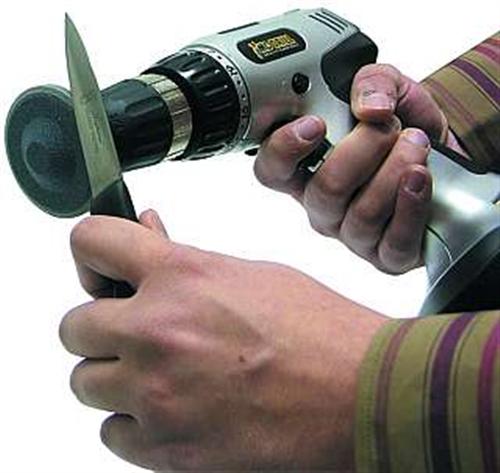
When buying drill attachments, be sure to check their compatibility.
Clamp holder. With it, you can fix the drill anywhere, use it with various kinds of devices, use it as a mini-turning, grinding, milling or grinding and polishing machine.
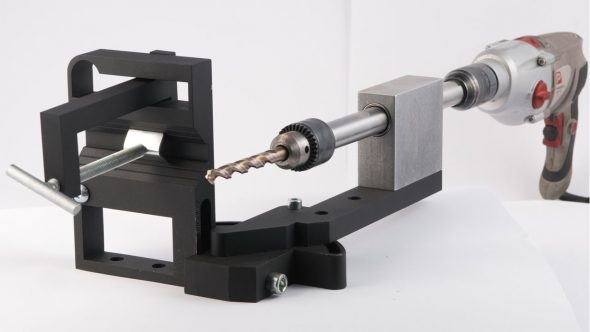
The holder for a drill provides fast fixing of a drill.
Also for drills are all kinds of nozzles. It can be stopslimiting the depth of drilling platforms, with which you can drill at a certain angle or perpendicular. There are nozzles representing adapters and extension cords different designs: offset, angular, flexible.
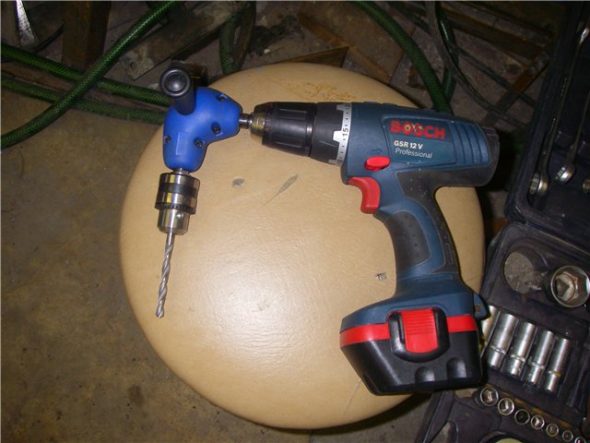
The angle adapter for the drill is designed for hand and electric drills.
Nozzles for cutting metal Turn your drill into a one-of-a-kind tool. Some resemble sheet metal shears, while others have a different feature, for example, roller shears. Nozzlecalled "Cricket"As if cutting through metal.
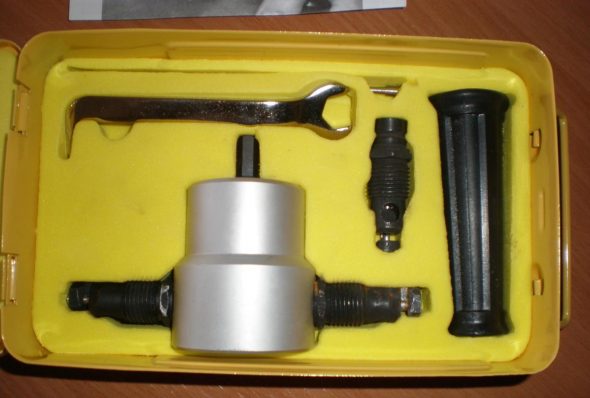
The main advantage is that they do not spoil the polymer coating of the metal.
There are also other nozzles designed for monotypic work.
- For fitting aluminum rivets. There are types for both the same size and having interchangeable sleeves for different calibers.
- Nozzle in the form of a tape for screws. With it, you significantly save time, working with plasterboard partitions or when you need to fix other materials on the screws.
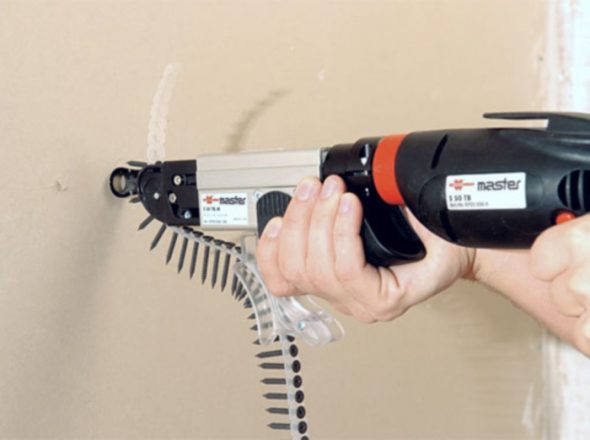
Maximum time saving with serial screwdriving.
- Sanding nozzle completely replace the grinding machine, and at cost it will be much cheaper.
- No extra will be the nozzle, with which you will turn your drill into a punch.
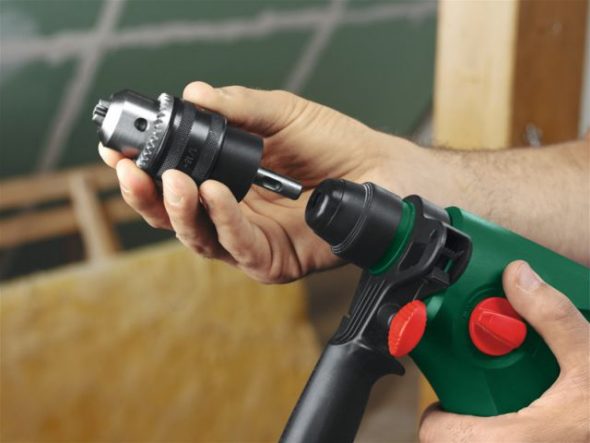
She is his shock knot.
- Using nozzle "corner pruner" you can cut various cables as well as tree branches.
- Applying various nozzles, the drill will replace to you jigsaw, circular saw, pumpyou can polish the surface, sharpen drills.
- There are unusual nozzles.
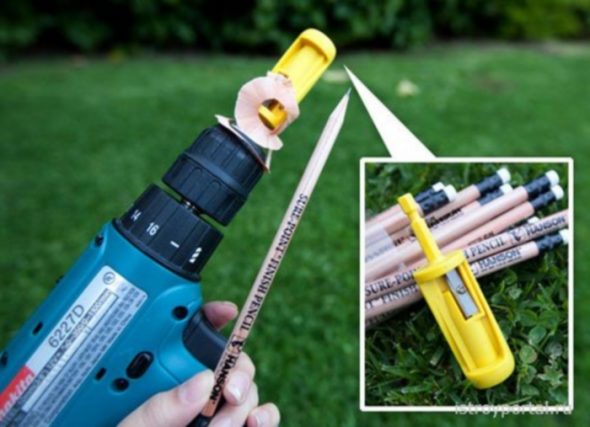
They can sharpen pencils, clean fish, pluck birds.
Whatever the attachments we use, the main thing is that the work is enjoyable.
VIDEO: Fixing wall cabinets in the kitchen.
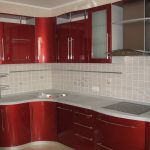
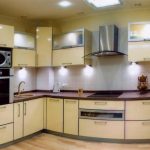
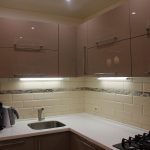
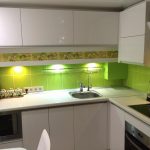
Wall cabinets in the kitchen interior - 50 photo ideas:
 Kitchen design with a sofa (10 sq.m.)
 Installing countertops in the kitchen with their own hands
 Choosing a cabinet for built-in oven
 Choose the design of kitchen set: technical equipment and facade
 How to build a washing machine in the kitchen.
 How to make a countertop for the kitchen with their own hands

