How to make a countertop for the kitchen with their own hands

Table top is the main attribute of any kitchen. She takes the brunt of any kitchen manipulation. But iftabletop surface the kitchen set became uneven and was covered with indelible stains, it is not necessary to immediately buy a new one.

wooden table top

Learn how to do your own worktop and avoid unnecessary costs.

Do you need to make a new countertop with your own hands?

The table top of an inexpensive kitchen table is made of laminated chipboard, which suffers from typical flaws:

  • HBut it remains greasy stains from traces of cooking and scratches from knives;
  • ATThe selection of a washing machine standing nearby shakes the table structure;
  • MThe means quickly destroy the laminate;
  • HDifferences in temperature at the point of contact with hot dishes lead to deformation and cracking;
  • ATlag trapped through cracks leads to swelling, delamination and rotting of chipboard;
  • PRepayment of a new headset may lead to the replacement of a sink and a cooktop. surface.
table top chipboard

Budget, in any case, does not mean a deterioration in appearance or performance.

You will avoid unpleasant consequences if you take do the worktop with your own hands. And you will find that there is always a choice! You can come up with many beautiful and practical options. Here we describe only some of them.

chipboard top

If you do everything correctly, then the new kitchen countertop will delight you and your household for years!

IMPORTANT! Carefully measure the old countertop and make a detailed drawing.

Consider the size - it depends on the load on the kitchen table. No need to do width countertops more than 60 cm, and the thickness should not exceed 5 cm.

kitchen countertop

There are lots of ways to manufacture countertops.

The corner tabletop is better divided into three sections, which are easy to make and install in parts:

  • Hit is for cooking and hob;
  • Havehead area with a hole under the sink;
  • HIt is for dishes and accessories.
stone countertop

A complex form with protrusions and bends, it is desirable to make it out of monolithic concrete or liquid stone at the installation site.

Do not forget to handle the outer ends countertops. Concrete and liquid granite can be sanded. For chipboard and ceramic tiles more suitable molding.

Concrete countertop

It is reliable and durable. If you try, you can give it the appearance of noble marble. For production you will need:

  • Drakes or bars with a minimum thickness of 4 cm of the desired height for the formwork sides;
  • Shworld sheet chipboard (MDF), plywood or boards;
  • ABOUTbodice or anti-adhesive composition;
  • Mfir crushed stone, sand;
  • TOrasitel for imparting marble texture to concrete;
  • DVA abrasive disk - coarse and fine grain;
  • BUTReinforcing wire with a diameter of up to 8 mm;
  • WITHikonkonovy sealant;
  • BUTLuminium profile (molding) on ​​the outer ends;
  • Madhesive glue;
  • WITHAmoreza.
colorants

To make the tabletop look like marble, granite, or any other shade, a special pigment is added to the mixture, which can be purchased at any hardware store.

From the tools you will need:

  • Bolgarka;
  • Shbodice with a capacity of 1 kW;
  • Shurupovert;
  • WITHmixer mixer or small concrete mixer;
  • WITHternary level;
  • TOelm (trowel);
  • WITHtubing - a few pieces;
  • Shpatel - conventional and notched.
instruments

Instruments.

Select a chipboard sheet in overall dimensions. Put a drawing on it countertops. Using self-tapping screws and a screwdriver, build up the sides. Fill with silicone their joints with chipboard - the concrete will not flow into the cavity, and the ends countertops will be smoother. To prevent it from sticking to the formwork, lubricate the inner surface linseed oil or anti-adhesive composition.

formwork assembly

Tip! When calculating, immediately add about 10% on top of the received quantity in reserve and in case of defects during cutting and assembly.

Make a grid with a 5x5 cm cell of wire. Its overall dimensions should have a gap of at least 1 cm from the inner walls of the formwork countertops.

concrete worktop

If the frame is ready and the glue is dry, you can proceed to the preparation of cement-sand mixture.

NOTE! Instead of wire, you can use a reinforcing mesh.

Prepare a concrete solution of the following composition:

  • Cement - 1 part;
  • MElastic crushed stone - 2 parts;
  • Pesok - 2 parts;
  • Psoftener - it will increase the plasticity of the solution and the strength of the concrete after drying;
  • TOrasitel (0.2 kg per 10 kg of concrete), previously diluted in water.

NOTE! Use acid dyes - they are durable and safe for humans.

dye for concrete

Pigments for concrete can be added to the solution during kneading or applied to the surface of the structure after the composition hardens.

Dilute the solution with water to a consistency of thick cream. Evenly fill the formwork at half height. Lay the grill. Fill the remaining space with the solution. With a wide spatula, remove excess material and form a flat surface future countertops. Cover with plastic wrap and leave to dry for 7 days.

concrete pouring

Gently tamp and smooth, so that the underside of the tabletop is flat.

After drying, grind with a coarse abrasive disc, remove any unevenness. Fine disc grind surface until smooth. At the end of a special suede nozzle at low speeds handle polishing paste.

grinding

Optimal for home use electric or pneumatic angle grinder and a set of diamond discs.

For new countertops use the existing kitchen table. After removing the old, reinforce the hull with vertical supports from the bars. Glue them with wood glue to the inner surface, after drying, fasten with screws. Isolate the place of its adherence to the wall with kitchen plinth.

How to make a tile countertop

The product of large size and complex shape is inconvenient to move. An excellent solution would be its construction and cladding tiles on site.

tile countertop

Kitchen tile countertop with your own hands will become your pride.

The advantages of this approach are obvious:

  • ABOUTthe deck is created on site countertops and upon completion partially dismantled;
  • Trudder polishing successfully replaces tiled sticker the tiles.

Required materials and tools:

  • ABOUTblitz tile;
  • Hwear for seams;
  • Madhesive glue;
  • Pcast glue.
  • Plitcore;
  • UTilets are tiled;
  • Bolgarka with a cutting disc.
instruments

Instruments.

Move the table away from the wall. Remove the top. According to the drawing, cut out the composite base of the new countertops from swaps. Prepare a wall for installing the "apron" of tiled the tiles. Using a level mark up the line along which the wall profile will be attached with dowels (for example, UD17). Insert parts of the base into the profile slots countertopswhich should also be connected to each other using a profile.

workbench base

Install vertical supports along the perimeter to avoid deformation during pouring.

Mark in advance the space for washing and boiling.According to their shape, foam caps are cut out, which are glued to the OSB at the marking site. Screw the sides of the boards from the boards or drywall pieces along the outer edge with screws. For easy surface leveling countertops Install the luminaire along its top border adjacent to the wall.

formwork pouring

Fill the form completely, remove the excess with a rule or spatula.

IMPORTANT! Total height with OSB should not exceed 4 cm.

Create a concrete base as previously described. After drying, remove the formwork boards, remove the foam. With an electric fretsaw or grinder cut the holes marked on the OSB. Plan out tile It must be laid from wall to outer edge. countertops. Overhanging edges tiles cut with a grinder or manual tile cutter.

grinding

Mark the rounded edges from the inside of the tile, make an incision with the wheel of the grinder, using tile tongs, carefully break off unnecessary pieces and align the edges with a file.

TIP! For exact cutting use sand or waterjet cutting.

Apply tile adhesive to concrete in an even layer of up to 3 mm. Install tile, lining the seams with beacon crosses. After the glue dries, grout the joints. Place the kitchen table in its original position. The ends countertops process the sealant and close the molding, gluing it with mounting glue and clamps.

tile countertop

The advantages of the countertop, lined with tiles, are indisputable!

From a bulk stone (granite)

According to the method of manufacture is very similar to the creation countertops from concrete. The main advantage of the method is make the countertop with a form of any complexity that will have an appearance indistinguishable from a mountain stone.

countertop made of liquid stone

The disadvantage is the sensitivity to mechanical and thermal effects.

Liquid stone is a composite material and consists of:

  • ANDminced filler (marble or granite chips, sand) - up to 80%;
  • WITHpolyester moles - up to 20%;
  • Hsmall amount of hardener and coloring matter.
stone tabletop

If done correctly, then this tabletop will serve you for many years.

ATTENTION! Some manufacturers of liquid stone added to the composition of styrene - a substance hazardous to health. Do not be lazy to study the chemical composition or contact the seller for advice.

To increase resistance to mechanical and thermal damage can be enhanced tabletop surface gelcoat It is evenly applied to the inside surface formwork and only then fill with liquid stone and install a reinforcing mesh.

table top grinding

After drying, the workpiece must be sanded and finish polished.

IMPORTANT! Front side countertops when using the gelcoat is formed by the internal space of the formwork, so carefully select the material for its assembly.

Chipboard top

The main advantages are ease and speed of production. You can install a plastic coating on it or apply liquid granite by spraying.

table top chipboard

Countertops made of chipboard - the most affordable and popular solution for your kitchen.

You will need to purchase:

  • Chipboard thickness of 20 mm;
  • Psheet eraser;
  • TOlei epoxy.

Saw components countertops jigsaw chipboard. Treat the end faces with a sealant. Saw the blank from a sheet of plastic in shape countertops with an allowance on perimeter to 3 mm.

chipboard top

If the tabletop consists of several parts (which is likely a lot), its parts need to be stapled together.

After drying, remove the excess with a construction cutter. Butt close the molding.

finished table top

Close the end edge can be a metal plate or sheet plastic for lining.

You can independently make a variety of options for the kitchen table top - from liquid stone, with lined tiles, from concrete with imitation of granite.

kitchen worktop

It will look better than the purchase, and will last longer!

VIDEO: Making a kitchen countertop made of concrete with your own hands.

Kitchen worktop - 50 photo ideas:

We recommend related articles.
Folding chairs and a folding table for a small kitchen Choosing kitchen tables and chairs for a small kitchen
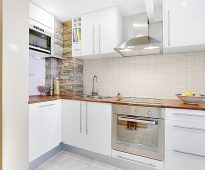
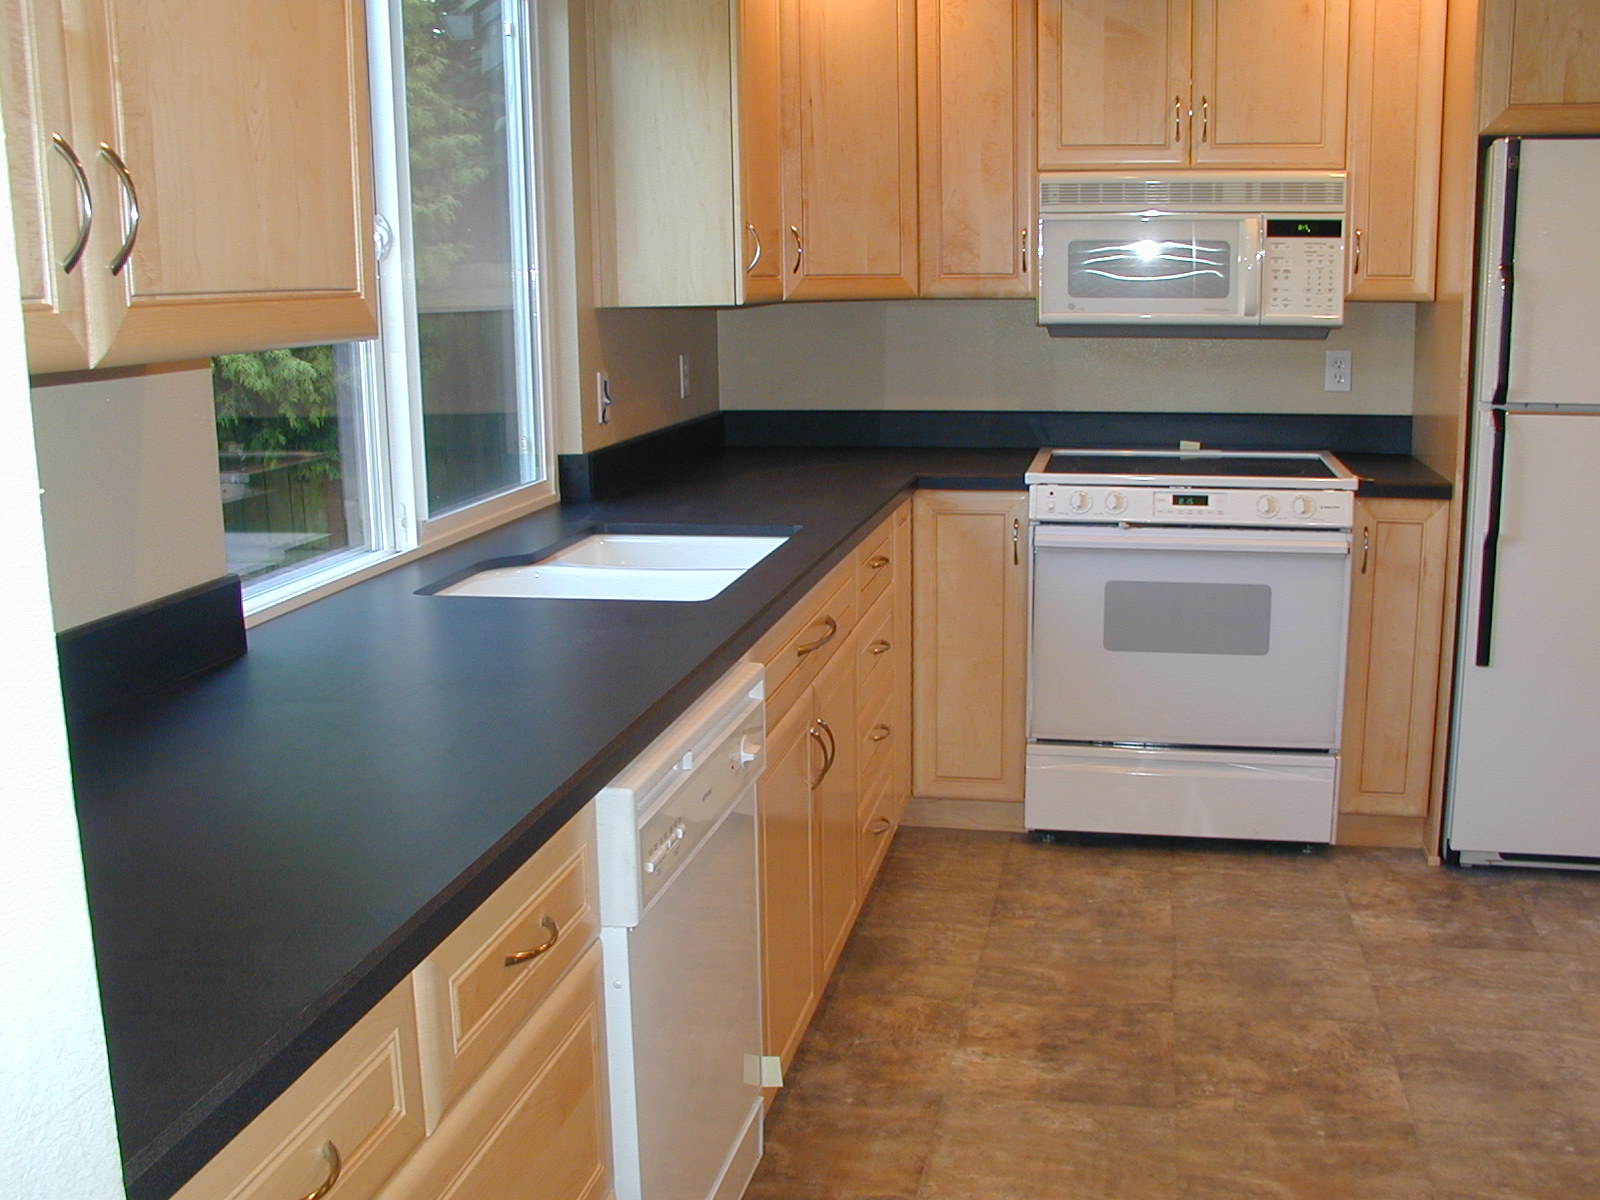
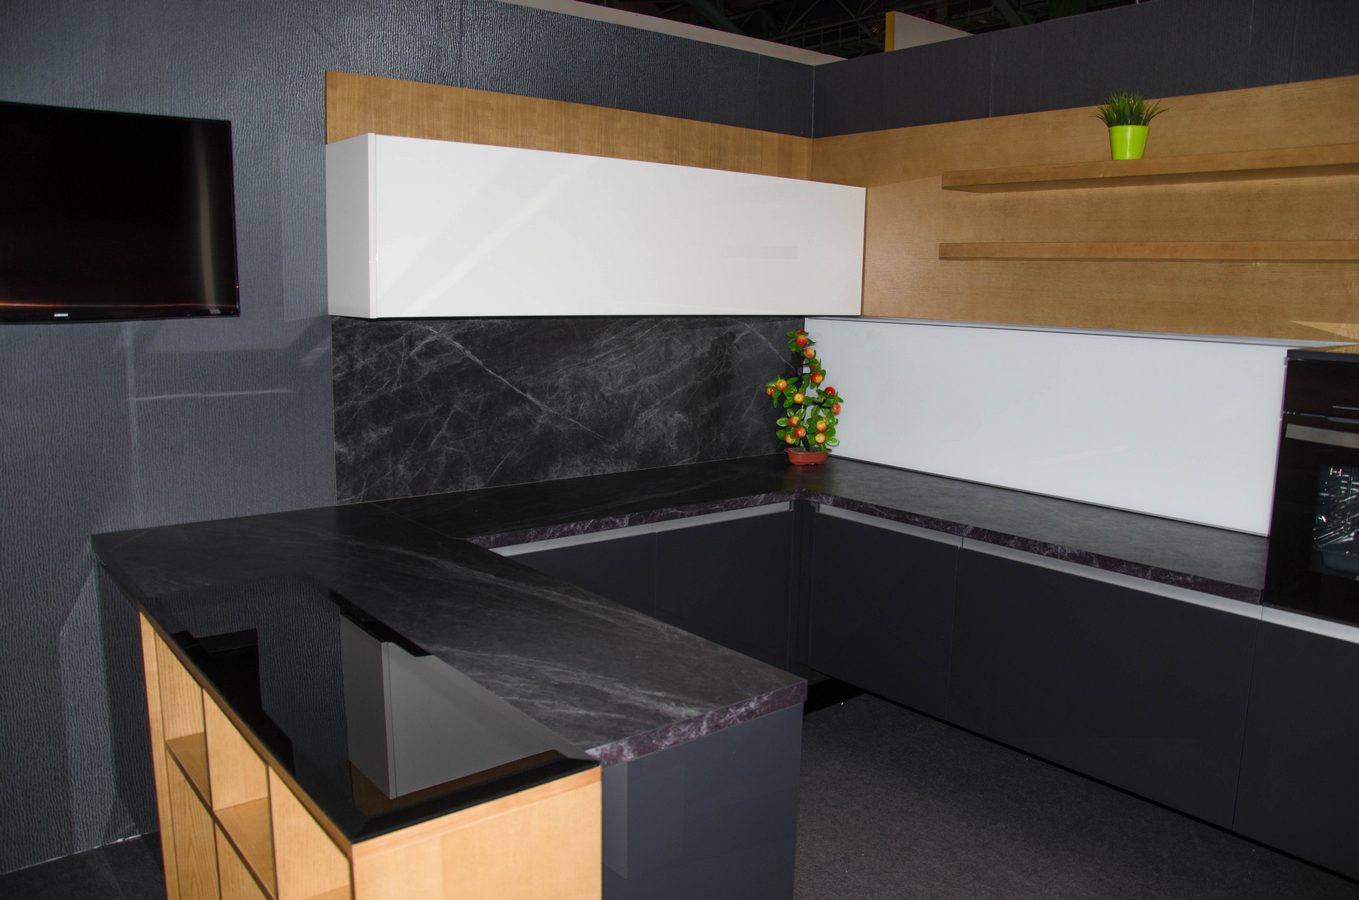
The kitchen is a must-have attribute of any apartment or house, they cook food in it, eat food, often meet guests in the same room, and every evening they gather as a family for an evening tea party ....
corner kitchen Corner wardrobe in the interior of a modern kitchen
The kitchen is the most functional room in any home, but sometimes it is also the smallest. If the square of the kitchen is limited, then the problem becomes before the owners - how to fit all the necessary ...
Modern model without top Kitchen without top cabinets
What is the main thing in kitchen furniture planning? Of course, a large workspace and ample storage space. It often happens that the necessary accessories are placed in the lower cabinets and ...
Standard Corner Furniture Set Calculate the size of the kitchen
From the time of Peter the Great, the definition of Küche was included in a series of Russian words, which meant a “kitchen” hut with a rich household in Czarist Russia. The utility room was divided into functional storage areas ...
fixing cabinets in the kitchen How to hang kitchen cabinets on a mounting rail
The design of the kitchen today is striking variety. There are many ideas for kitchen furniture. Every woman seeks to create a cozy atmosphere in the house, and especially in the kitchen. For the hostess ...
washing machine in the kitchen convenience How to build a washing machine in the kitchen.
Washing machine is more familiar to see the bathroom. However, not every layout allows you to take a place under this device in the bathroom. With the right approach to business, the washing machine fits well ...
Add a comment
By clicking a button you agree to privacy policy and site rules set forth in user agreement

Sofas

Furniture

Armchairs