Ideas decorating the cabinet with their own hands.

After several years of living together, you suddenly find yourself thinking: “What a wacky and gloomy cabinet!”. And it's a pity to throw it away - there is no money for a new one, and this resource has not yet developed its own. It's time to do the decor of the cabinet with your own hands.

cabinet decor

Transform it with fantasy and our advice.

With a flick of the wardrobe, the wardrobe turns into ...

There are many ways to give old, but still strong furniture a second life. However, it will not only perform normal functions, but also be a juicy and bright detail of the interior of your apartment.

bright décor

Watch, learn tricks, and then update your cabinets with complete confidence in the excellent result!

The course of "rehabilitation"

Inspect and restore first. In the course of the revision, invisible defects and malfunctions must be found.

The main stages of restoration.

  • Dismantling. Remove the doors and shelves, disassemble the box.

    cabinet disassembly

    Performing disassembly, do not damage these or other details of the object of restoration.

  • Replacement or restoration of hardware and fasteners. If they become unusable replace with new ones.
  • Cleaning metal fixed elements from corrosion.

    rust removal

    Use special cleaning agents to remove rust stains from metal.

  • Removal of old coating, cleaning of dirt.

    cabinet restoration

    Process the doors and walls with outer and inner sides with a grinder or emery cloth.

  • Rinse all parts with clean water and dry thoroughly (at least 2 days).
  • Sealing defects - scratches, cracks, holes from nails and screws.

    elimination of defects

    Small ones can be removed with the help of furniture wax, and large ones can be removed with putty applied in several thin layers.

  • Coating with acrylic (or alkyd) paint or varnishing in several layers.

    painting the cabinet

    Be sure to dry each new layer.

NOTE! Restoration is useful for any cabinet furniture, not just for old cabinets.

updated cabinet

If the result of the restoration suits you perfectly, then you can stop at that.

Read on if you want to make a masterpiece with your own hands.

Wallpaper can be glued to the furniture

It is better to use vinyl wallpaper and special glue. Having carried out an audit and restoration, we do the following.

  • Leave the restoration of unpainted areas on which you will stick wallpaper.

    surface primer

    Treat them with acetone or gasoline. Apply primer.

  • Make accurate drawings of the plots on the wallpaper and cut them.
  • Carefully coat the cut out piece of wallpaper with glue and gently apply to the surface.
  • Smooth with a special roller or dry clean cloth.

    upgrade closet in bedroom

    Prevent delamination and blistering.

ON A NOTE! If on the outer surface of the old cabinet there are no convex or decorative elements, then you can glue it completely with wallpaper.

Plaster can make patterns

You can apply surround ornament. This requires a stencil pattern, a spatula and a special decorative plaster. After sealing minor defects do the following.

  • Secure the stencil with adhesive tape on the surface to be decorated.
  • Apply the plaster to the stencil.
  • Remove the stencil and glue it to the next section.

    stencil for plaster

    Plasters are great for creating decorative coatings.

  • Dry the plaster thoroughly.
  • Cover with acrylic paint in several layers.
  • Apply a finishing coat of varnish.

    screen painting cabinet

    Decorative plaster today is an excellent alternative for interior decoration.

ON A NOTE! It is better to make a stencil of plastic or PVC. Cardboard wears out quickly, gets wet and loses its shape.

decorative plaster

Decorative plaster, like those who appreciate the refinement of interior solutions.

"Dress" for the old cabinet

Yes, you can paste over the case and the door with a cotton cloth with a suitable pattern! You will also need - PVA glue, acrylic paints and varnish.

upgrade cabinet cloth

One of the original and affordable ways to decorate the cabinet is pasting with a bright cloth.

After priming, do the following.

  1. Carefully glue the outer surface of the cabinet with glue.
  2. Gently attach and roller clean previously made blanks of fabric. Avoid the formation of bubbles and folds.
  3. Apply a second coat of glue.
  4. Dry thoroughly.
  5. Apply paint drawing.
  6. Inlay out of scrap items - beads, buttons, multi-colored pieces of glass of the correct form. Along the edges of the door, you can make ribbons of tape. Glue all this with “Moment” glue.
  7. Cover several times with acrylic lacquer.

    glue the cabinet

    Cloth better fit large items like wardrobe doors.

Cute decoupage locker

If you admire this decor technique, then old furniture is perfect for an experiment. Pick up pictures on a paper basis, buy a small emery paper.

decoupage furniture

You will also need PVA glue, varnish, brushes and a roller for smoothing images.

After restoration, do the following.

  • Gently sand the edges of the picture until thinning.

    pictures for decoupage

    Lay out the pattern on the surface.

  • Wet them with water and place them so that they do not stick to anything, for example, on a piece of cloth.
  • Spread the PVA glue on the place for the picture.

    cabinet decoupage

    On the cabinet we place the elements of napkins and glue with white glue.

  • Gently attach and smooth the pictures with a roller.
  • Wait until the decor is completely dry.

    wardrobe decoupage

    After the glue dries, you can begin to varnish.

  • Varnish in two layers.

    wardrobe decoupage varnish

    Such a seemingly simple decoration technique will greatly transform your old furniture.

Acrylic paints expand the range of expressive means available to you as a designer.

decoupage acrylic paints

It is necessary to find suitable old furniture, where you can give free rein to your imagination.

To conduct "experiments" on the cabinet are necessary:

  • Paints of dark and light pastel shades, as well as two or three bright colors;
  • Clear lacquer and shellac;
  • Fine sandpaper sheet;
  • Furniture wax - bituminous (dark) and transparent;
acrylic paints

Acrylic paints for painting on furniture.

Perform the following steps in this order.

  • Cover the thoroughly cleaned outer surface of the cabinet with dark pastel paint.
  • After it dries, coat the inside and outside of the cabinet with a light-colored pastel paint.

    painting furniture

    Also dry as it should.

  • Sand some areas, imitating rubbing.
  • Apply the drawing you like with a brush or using a prepared stencil.

    drawings on furniture

    We try to observe the geometry of the drawing with the help of reference points.

  • To create the effect of "aging", apply bituminous wax on the dried pattern, rub it well with a brush over the entire surface of the pattern or ornament.
  • Wipe this place with transparent wax to the desired uniform shade.

    acrylic drawings on furniture

    We paint the bright color elements of the pattern.

  • Let dry for at least 24 hours.
  • Cover shellac places, "aging", to secure wax.

    ready wardrobe

    Once everything is dry (12-24 hours), you can varnish.

NOTE! In order not to inadvertently give out the real age of the cabinet, “aged” with your own hands, use wooden handles and other accessories, processed in the manner indicated above.

Old in noble craquelure

Create your own antique rarity from the wardrobe with a beautiful gilded texture consisting of many small and deep cracks that “testify” of the venerable age of the thing.

craquelure effect

Craquelure is a painting method in which the main layer of paint, enamel or putty cracks.

To create a "magic potion" will require:

  • Two-phase craquelic varnish;
  • Clear acrylic lacquer with a matte texture;
  • "Golden" powder as a grout (powder made from non-ferrous metals crushed to a fine state - bronze, aluminum, copper);
  • Sponge for grouting.
craquelure varnish

To the paint was covered with cracks, first the surface is covered with craquelure varnish.

Sequencing.

  1. Apply the first phase of craquelure varnish. Wait until it dries to a thick, sticky consistency.
  2. In the same way apply and dry the second phase.
  3. Sponge rub in the cracks formed "golden" powder.
  4. Apply a topcoat of matt varnish and dry well.

    Craquelure varnish closet

    How expensive antiques will look crafted with the help of technology craquelure cabinet.

ON A NOTE! Instead of powder, a special patination composition and bituminous wax, “dry” pastel, are suitable. The longer the craquelure layer dries, the deeper the cracks on the surface of the furniture are.

Secrets of good design

If you want to decorate the furniture with a pattern, then do not use more than two or three colors. They should overlap with similar shades of interior elements of the room. In this case, the furniture will not look like a foreign body.When pasting furniture wallpaper stick to the same principle.

wardrobe pasted wallpaper

Try to choose such wallpaper, the background of which coincides with the overall color scheme of the interior, and the picture itself is made more bright and contrasting colors.

Another option is possible. When the walls are painted in thick colors (for example, dark purple), use light-colored paint (for example, white), and wipe the doors and front walls of the drawers with wallpaper with a small interesting ornament.There are cabinets with open shelves, which will be small interesting things - paintings, statues, books.

dresser inside

To provide them with an expressive background that emphasizes their beauty, glue the inside of the back wall of the cabinet with a single-color ornamental pattern.

Pick a color so that it does not “clog” the objects on the shelves and emphasize their beauty.Do not rush to throw away old furniture. Apply a little effort, use our advice and you will do a small miracle from the cabinet with your own hands.

VIDEO: Restoration and decoration of the old kitchen cabinet.

50 photo ideas for your own cabinets decor:

We recommend related articles.
drywall 
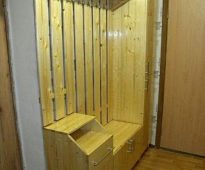
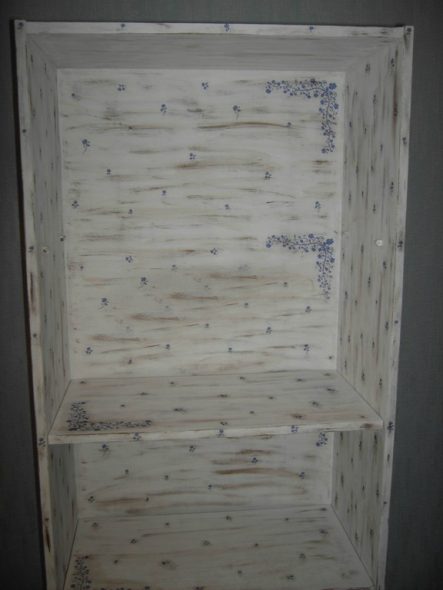
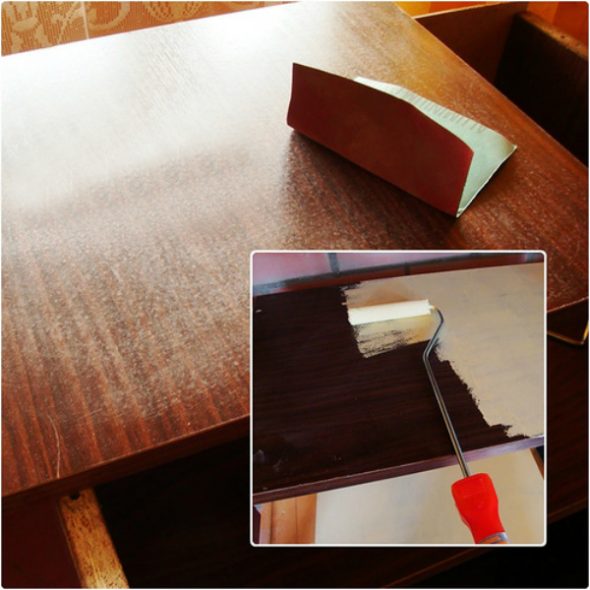
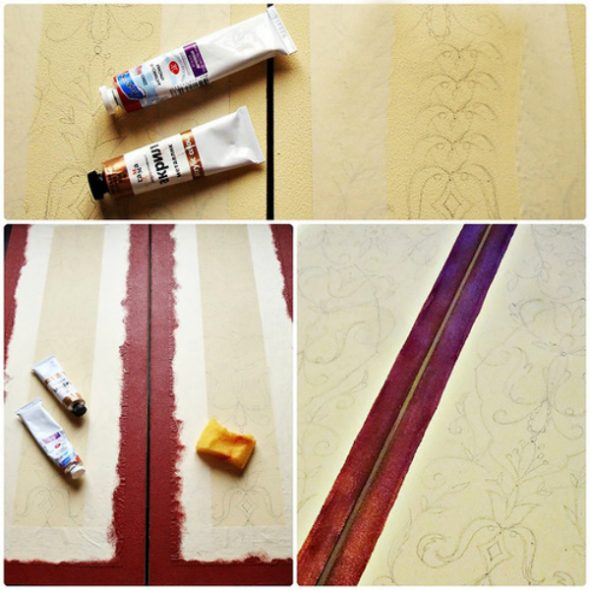
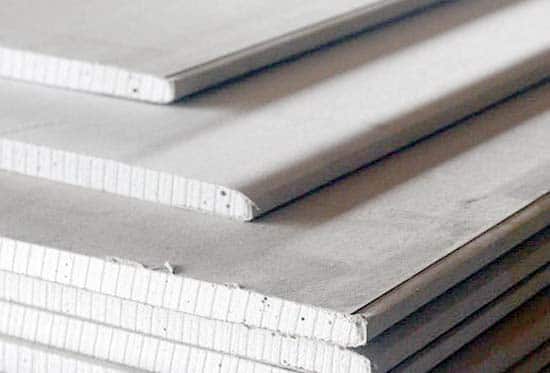
Step-by-step installation guide for a plasterboard cabinet
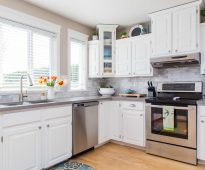
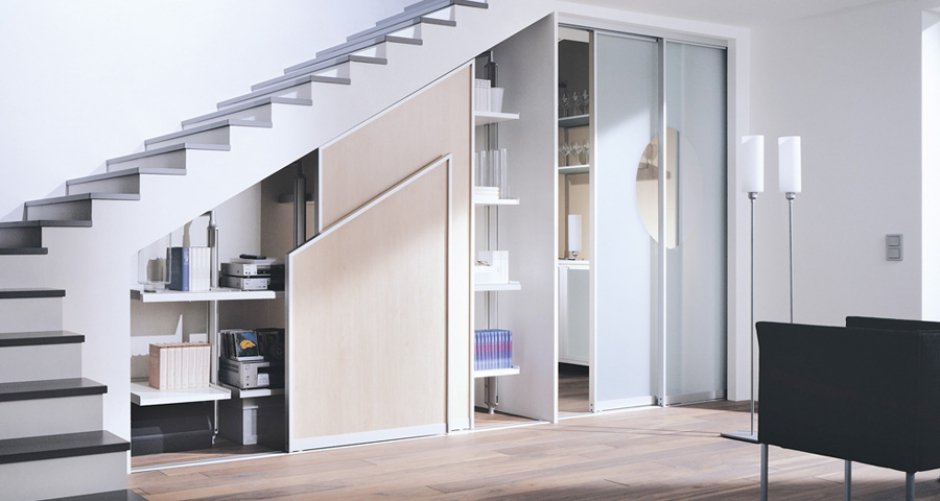
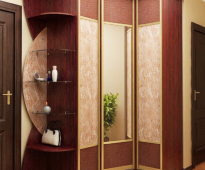
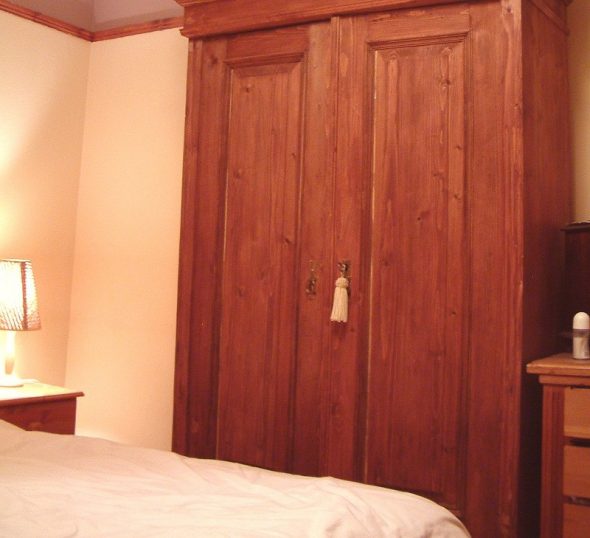
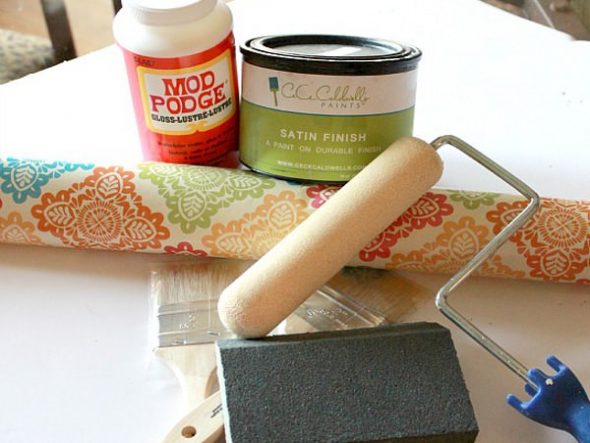
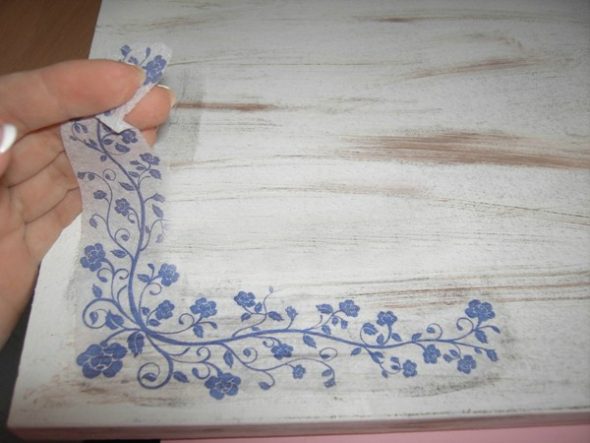
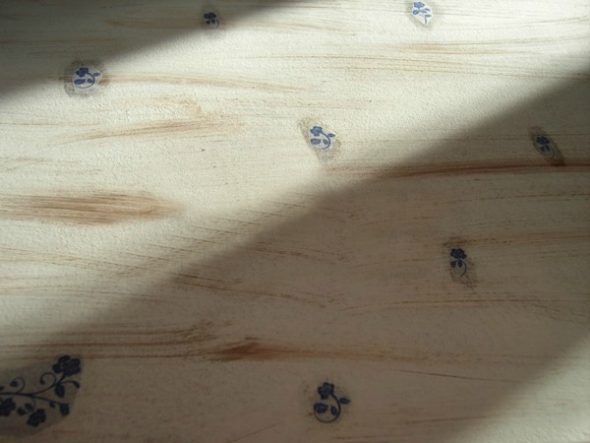
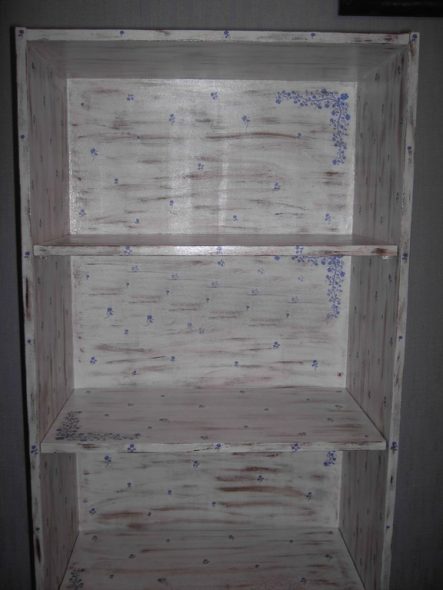
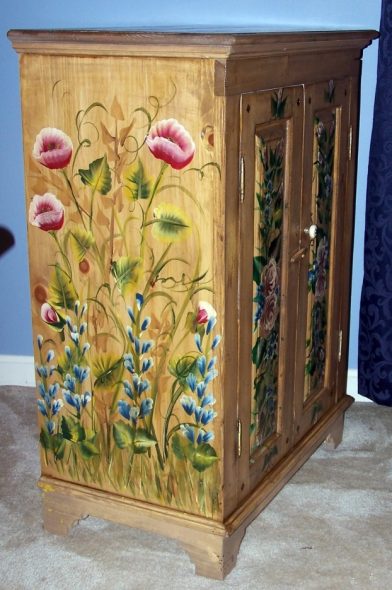
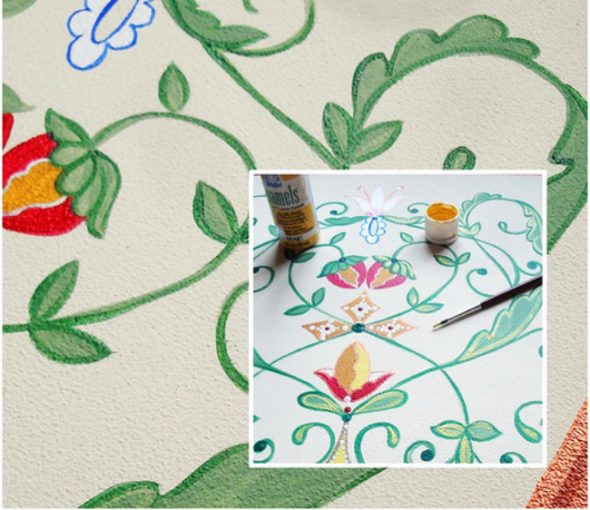
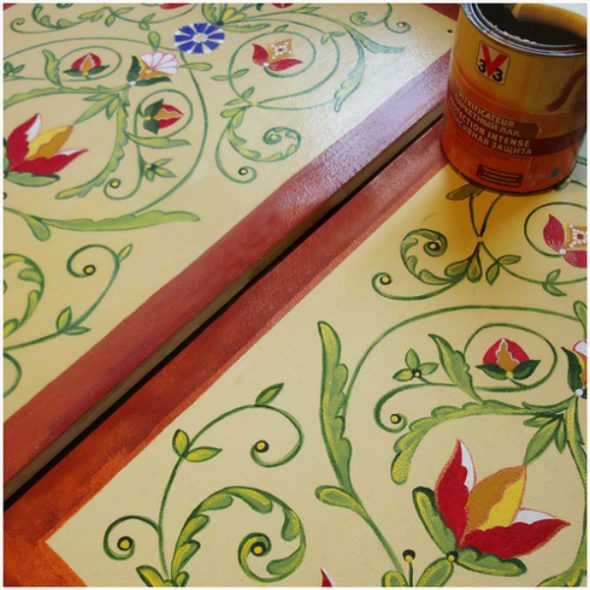
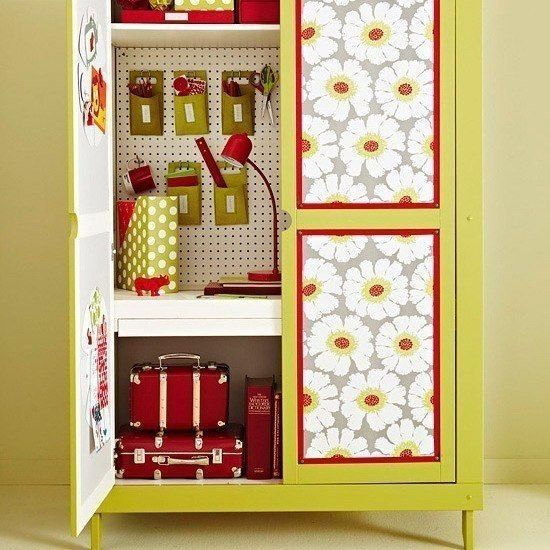
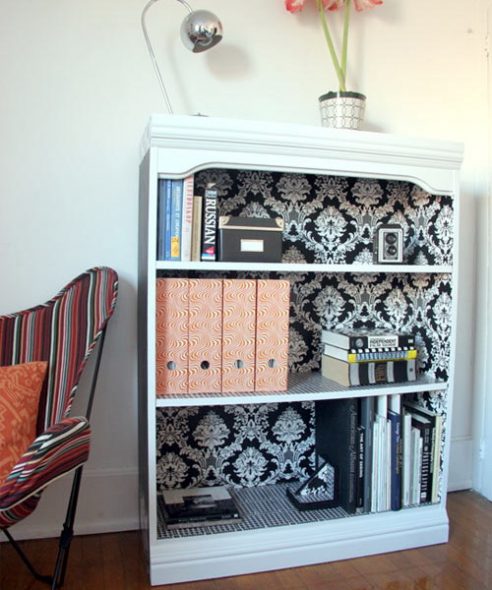
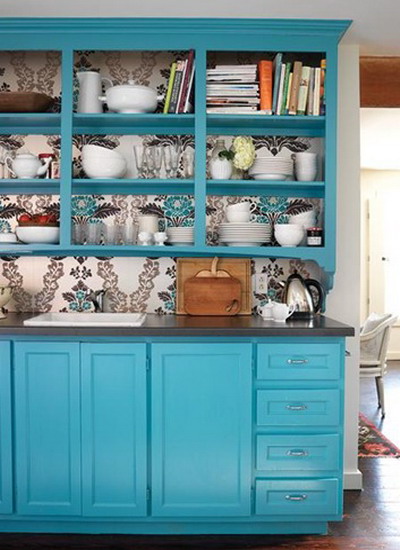
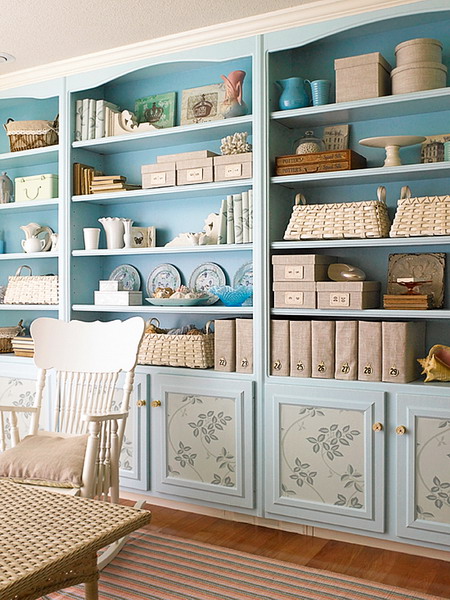
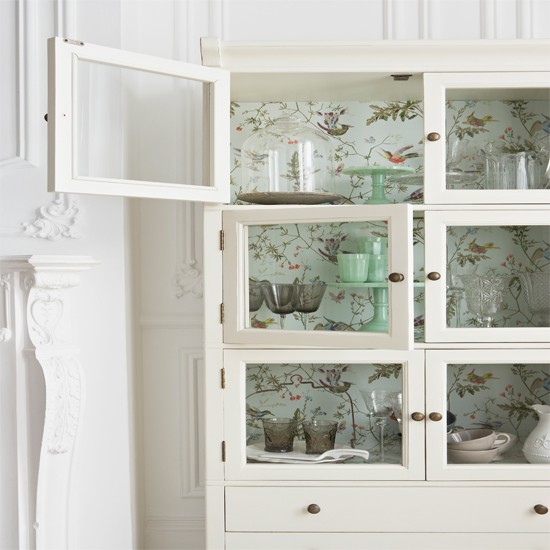
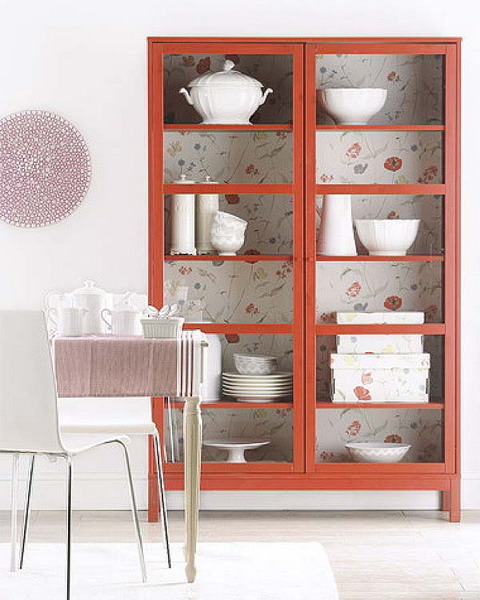
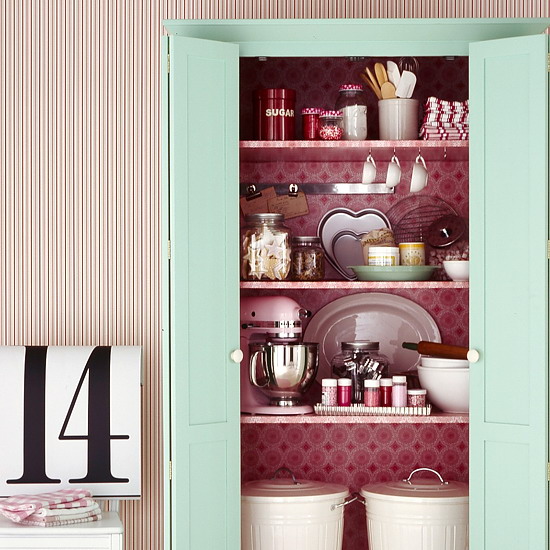
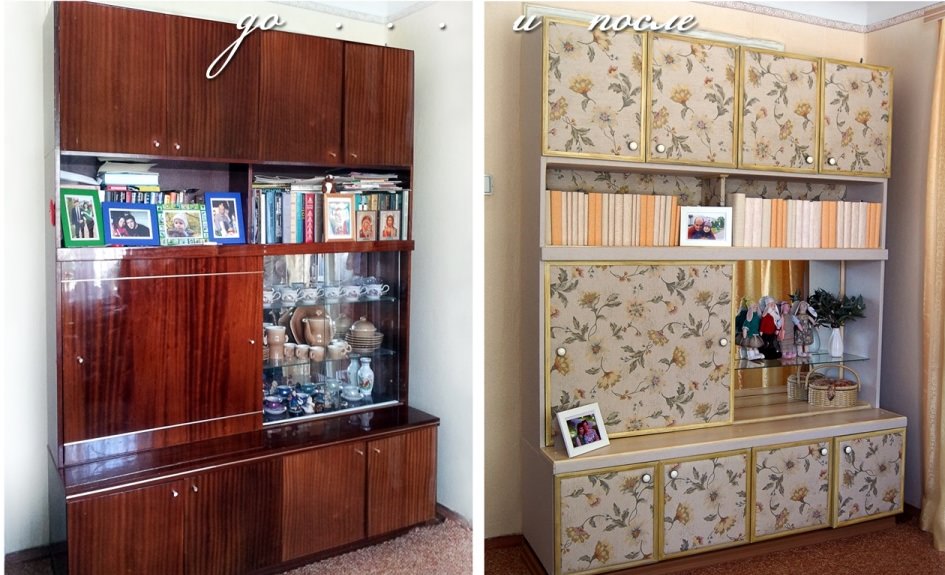
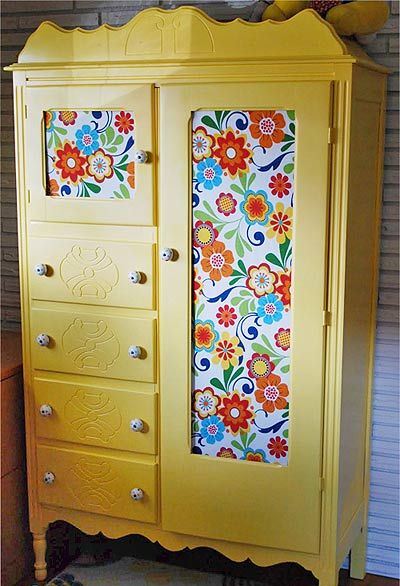
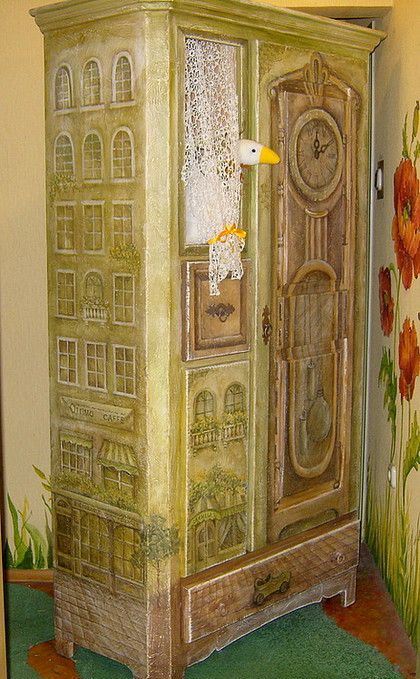
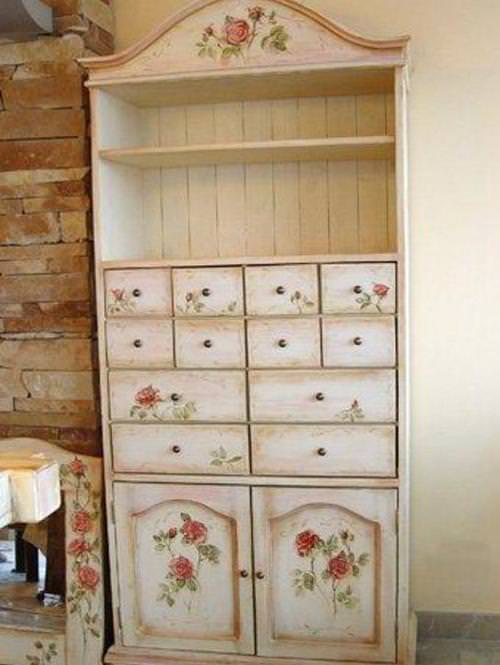
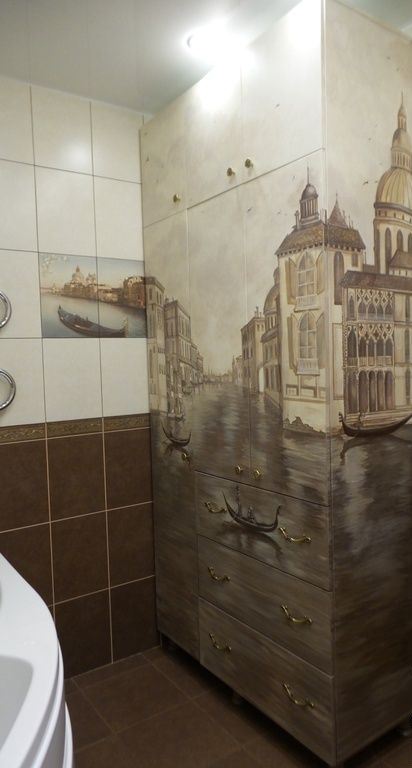
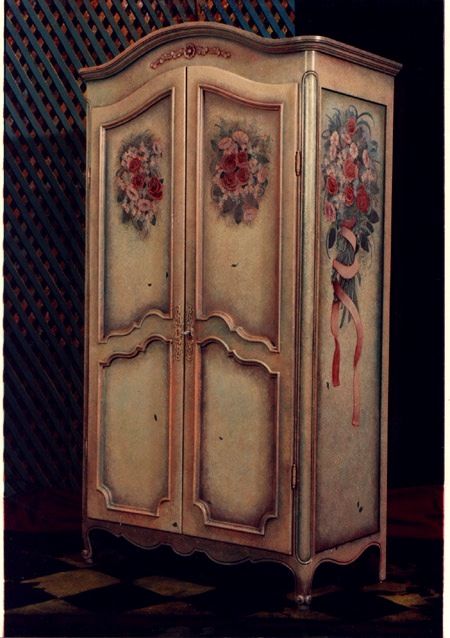
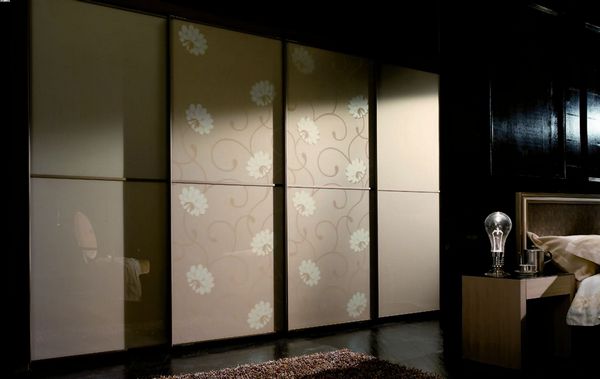
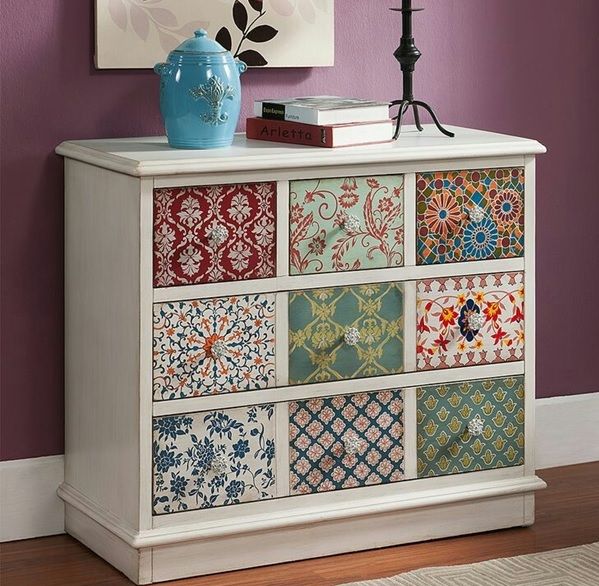
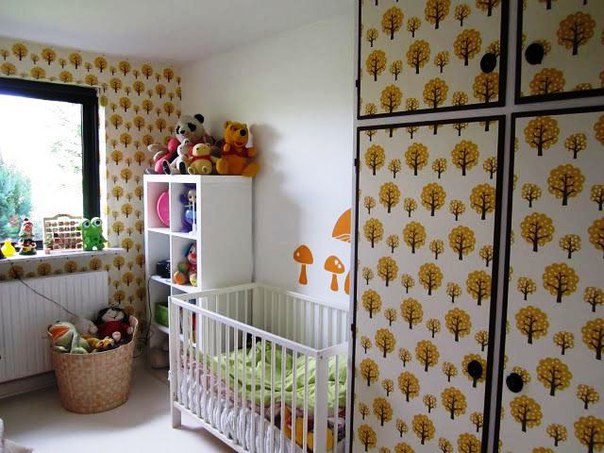
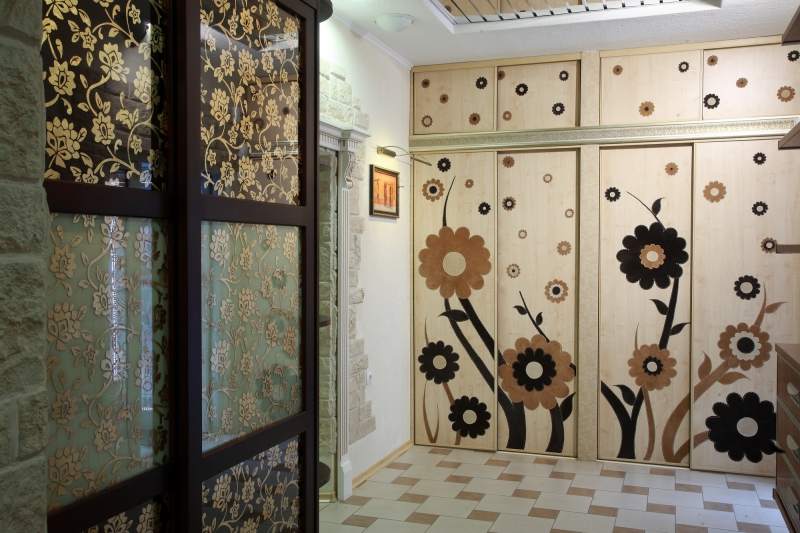
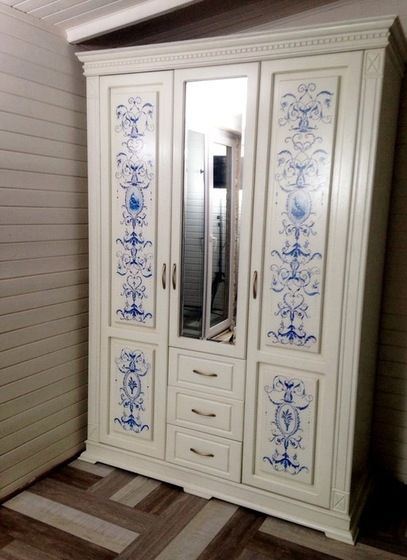
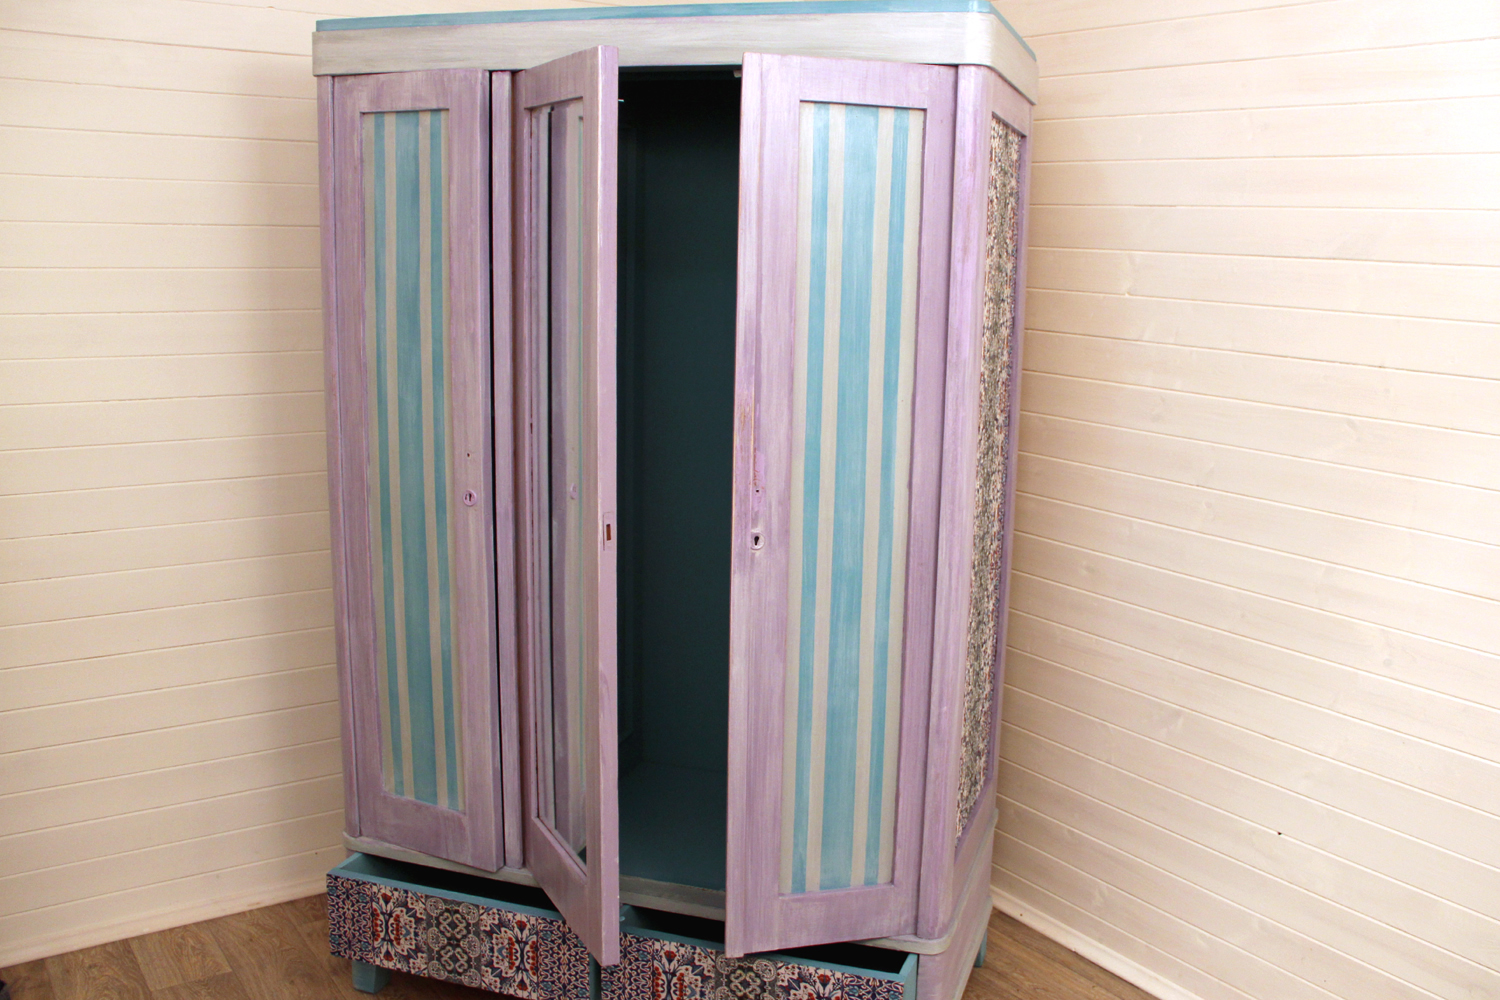
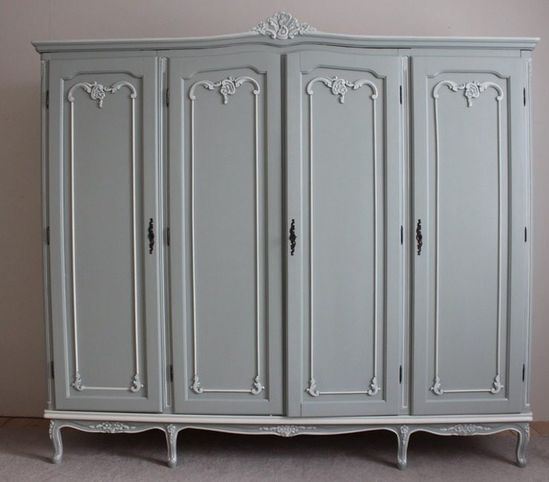
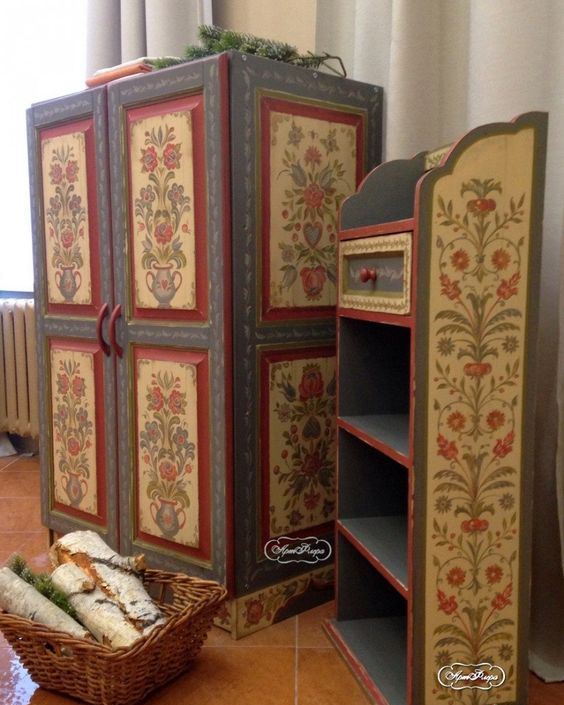
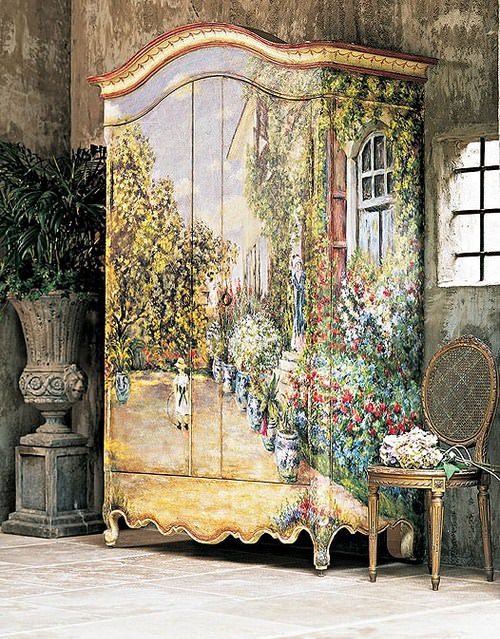
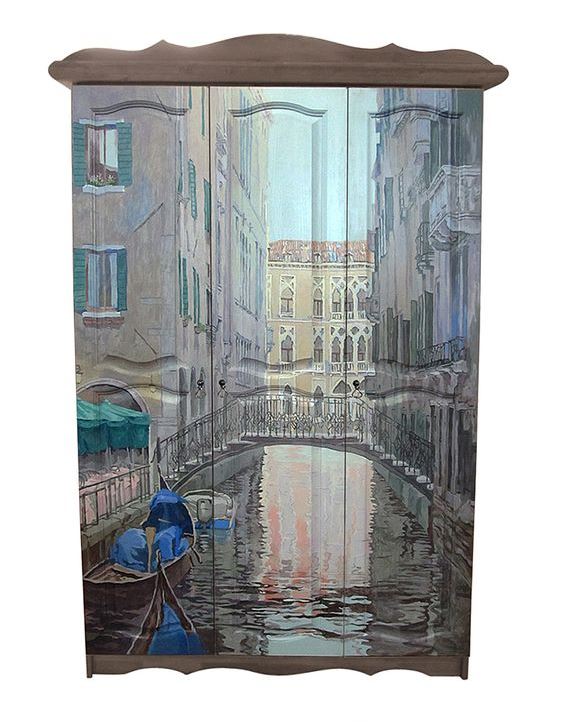
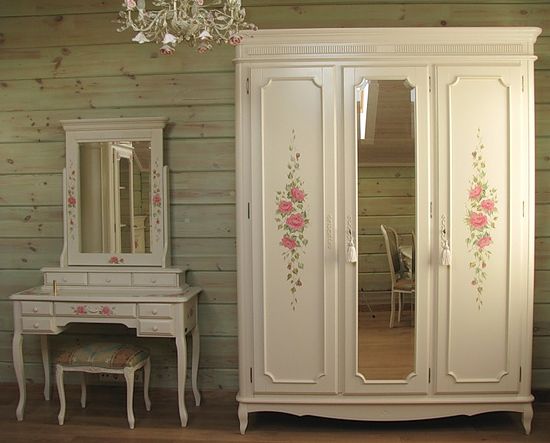
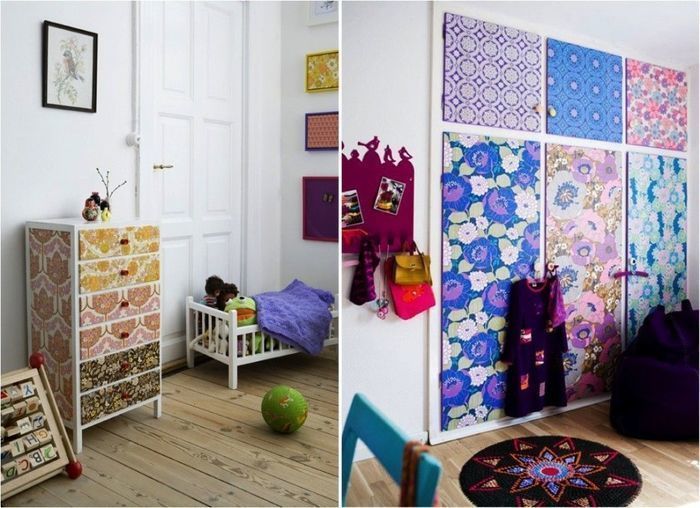
The house can not be really cozy and comfortable without comfortable furniture. However, built-in furniture made of natural wood, which is characterized by a long service life and versatility, is very expensive ....
painted furniture How to paint a chipboard cabinet in white
In each house there is furniture that is of paramount importance in the interior of the room. Wherever she stood, whatever she was - a wardrobe, a chair, a table, a soft corner, she stands in front of everyone. Besides...
Wardrobe in the hallway of wood with their own hands What you need to know before doing the closet in the hallway with your own hands
The hallway will be incomplete if it does not have a good spacious cabinet. It is not necessary to buy it, since the manufacturing process is quite simple. The advantages of this option: ...
wardrobe under the stairs Cabinet under the stairs. Tips for choosing a complete set.
Modern design thought is extremely restless and inventive, and sometimes tends to use every piece of free space to place there something necessary and functional. Under...
We select a special model in order to integrate the refrigerator into the kitchen furniture Each refrigerator has its own wardrobe!
Designing a kitchen is more harmonious, you can win additional space in the room, if you embed a refrigerator in the kitchen. A stand-alone refrigerator takes up extra space ...
Interesting model of the cabinet Advantages and disadvantages of a corner cabinet in a small hallway
The entrance hall is one of the key premises in any home. It must combine practicality and beauty. Family members and visiting guests should be comfortable and spacious. Because it is important to choose a compact, ...
Add a comment
By clicking a button you agree to privacy policy and site rules set forth in user agreement

Sofas

Furniture

Armchairs