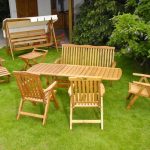
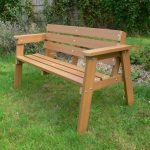
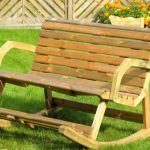
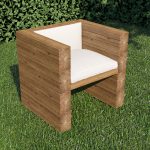
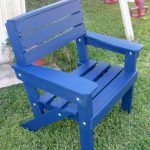
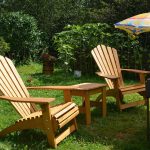
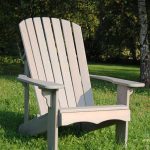
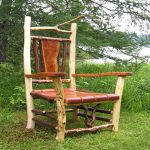
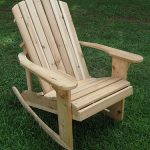
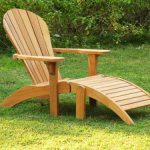
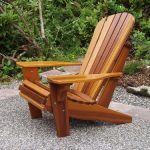
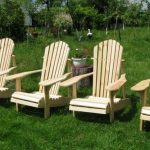
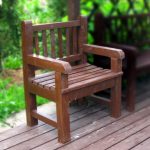
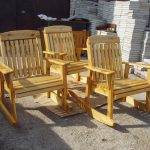
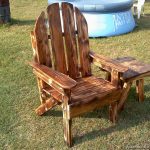
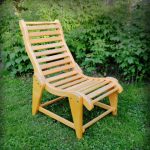
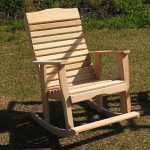
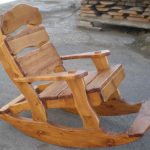
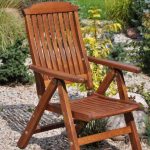
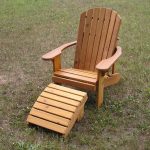
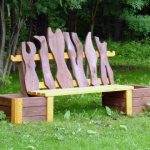
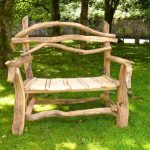
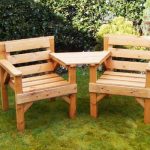
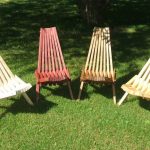
A chair for giving the hands from a tree.
Every day, on the way to work, we dream of long-awaited holidays, weekends, to go to our beloved country house, to enjoy spending time with family and friends, to merge with nature.
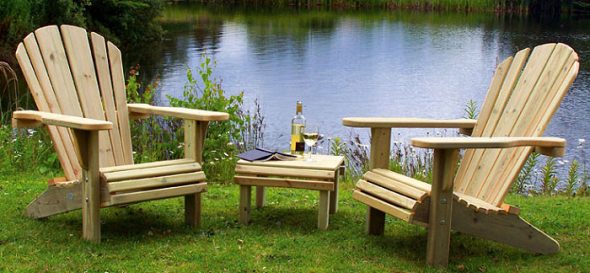
A wooden chair at the cottage is an excellent element of the interior that allows you to comfortably spend your holidays and drink tea on the terrace.
Today, a cozy, well-equipped cottage should not be an unattainable luxury, requiring fabulous expenses. Schemes, drawings, technologies, Internet resources, offer hundreds of ideas for creating garden furniture.
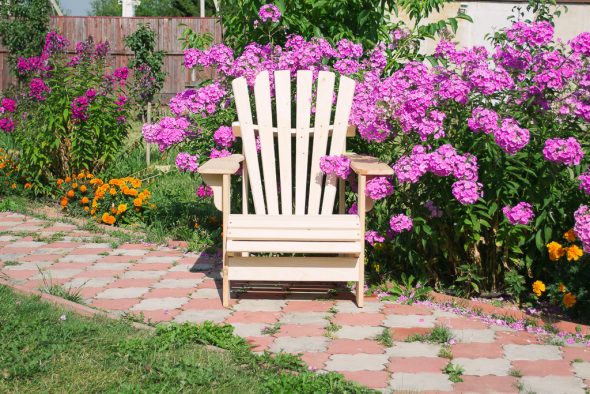
We suggest you create a chair with your own hands for home or garden.
Throughout life, we are surrounded by furniture. The technology of furniture production is evolving and improving. Garden furniture, designer, author — she is everywhere, we are surrounded by furniture! Natural is the desire to purchase a high-quality, practical, stylish thing for the country, at an affordable price.
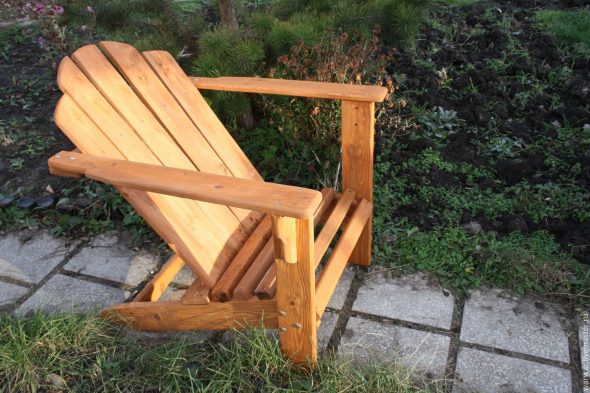
Any owner can assemble a chair with his own hands for a summer house or a private house.
Innovative furniture stores, designer garden furniture stores provide a range of services, sell stylish wooden chairs, children and adults, with and without armrests, but not every average family can afford this kind of pleasure.
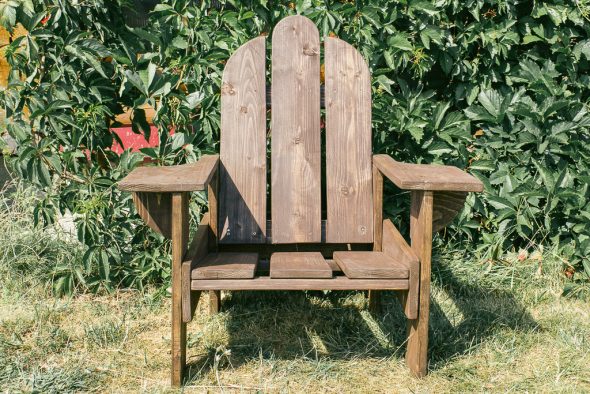
Favorite area will be significantly transformed if it is decorated with a luxurious, reliable armchair, made with your own hands.
It is not necessary to resort to enormous costs for the purchase of fashionable dacha piece of furniture. The handmade product will provide comfort, harmoniously “fit in” with the design of your favorite garden. Flight of fancy, a list of necessary tools - all that is needed to make your dreams come true in everyday life!
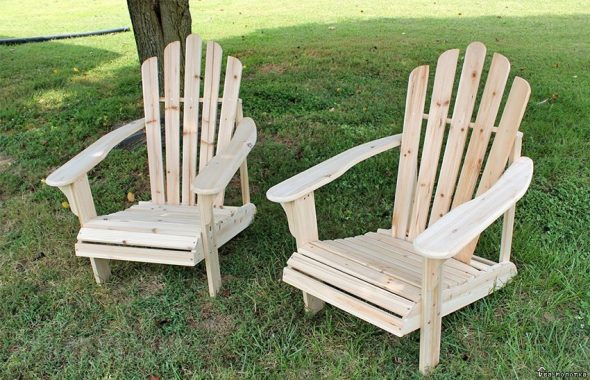
Wooden furniture was and remains a classic that accompanies us everywhere.
Content
- 1 Conditions for the use of country furniture
- 2 A set of standard questions self-taught furniture maker
- 3 Preparation for work
- 4 The process of making a chair with your own hands: step by step instructions
- 5 Assembly of parts
- 6 Making wooden furniture for the garden do it yourself
- 7 VIDEO: How to make a garden chair with your own hands.
- 8 50 photo ideas of country wooden furniture:
Conditions for the use of country furniture
To make the furniture with your own hands served you for a long time, the design must meet certain parameters.
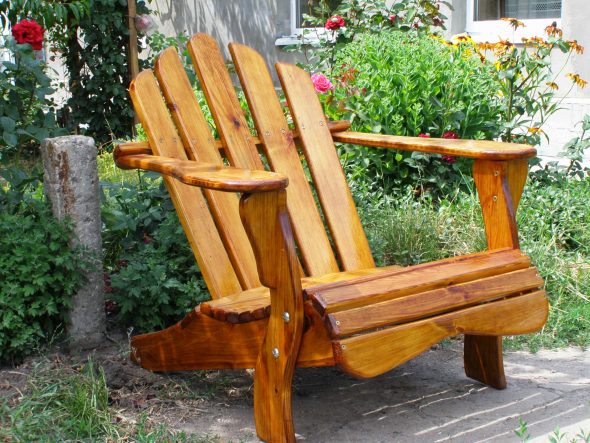
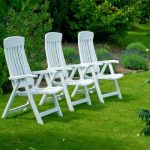
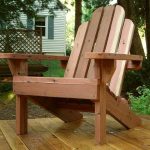
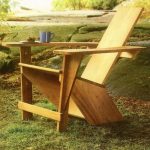
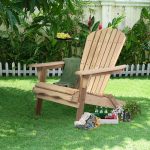
This chair is ideal for relaxing in the country and looks great on the garden plot.
| Transportability | As a rule, wooden chairs are used for outdoor recreation, in the open air. In case of a sudden change in weather conditions, it is convenient to move the seat under a canopy, if it is transportable. |
| Selection of quality raw materials | One of the important conditions in the manufacture of the chair itself, plays the role of hardwood. Despite the high price policy, the result of the design due to the quality material will be excellent. Such species include: aspen, oak, pine, cedar. |
| Maximum weather protection | Long stay in direct sunlight, pouring rain, leads to a deterioration of the external state. Preparations for the protection of the finished chair, begins at the earliest stages of design. High-quality, dry lumber - the key to success. If you bought low-quality raw materials initially, dry the boards in the process.Sand, soak the preform with an antiseptic, apply hot drying oil. At the final stage, after complete drying of the finished product, it is necessary to open it with varnish. Material to get started is ready. |
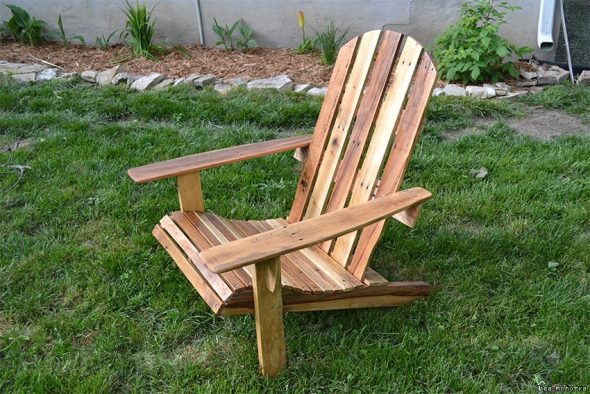
To make a garden chair is not difficult, there are no complex connections and details.
A set of standard questions self-taught furniture maker
How to make a tree chair with your own hands? Is it possible to build a garden chair with armrests? How to make a child seat and where to find the right-made drawings and diagrams? A number of such questions will necessarily flash in the mind of a novice home wizard. There are various models of wooden chairs for summer cottages: folding and standard metal structures, wooden rocking chairs, comfortable chairs for two, children and adults with durable armrests and a comfortable seat.
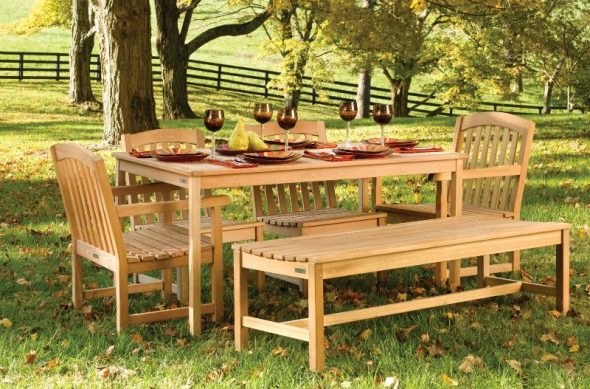
Such furniture can be operated without worrying about scratches and annual painting.
Not always, each of the above designs contributes to proper rest. Consider the process of making a simple model. — wooden garden chair.
Preparation for work
The main component in the preparatory stage is the availability of a list of tools and materials, which should be in the arsenal of the wizard.
Necessary materials:
- “Spline” (24x60 mm) of cedar - 30 pcs .;
- ShBrass urup - 4.5x50 mm and 4.5x32 mm, 20 pcs. each;
- HEveryday paper;
- Tthermostatic glue;
- Mfucking varnish for coatings;
- ABOUTbodice;
- Mally tape;
- TOarton for stencil.
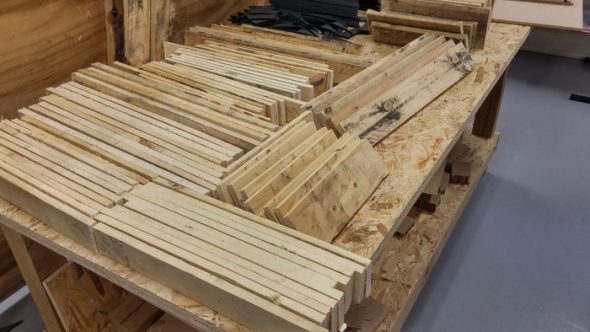
After preparing the materials for the wooden chair, you can proceed to the immediate assembly of the product.
Required tools:
- Psludge (disk);
- RUbanok;
- Rscientific frezer;
- Hwoodcarving;
- Shurupovert;
- Drel;
- WITHtubing;
- Lhoop, tape measure, pencil.
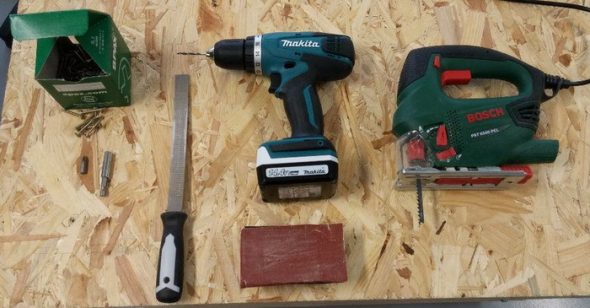
Tools for work.
A preliminary calculation of the measurements of the components of a wooden cedar chair is as follows. Dimensions are in millimeters.
- Legs 4 pcs. (rear 2 pcs., front 2 pcs.)
- Two front legs - 20x254x787;
- Two rear legs - 20x76x533.
- The back of the chair is 20x279x914.
- Armrest for a chair:
- ABOUTtime - 2 pcs., (20x127x406);
- HAdna support - 1 pc., (20x76x610).
- Jumper - 1 pc., (20x51x589).
- Slats-inserts - 2 pcs., (12x20x254).
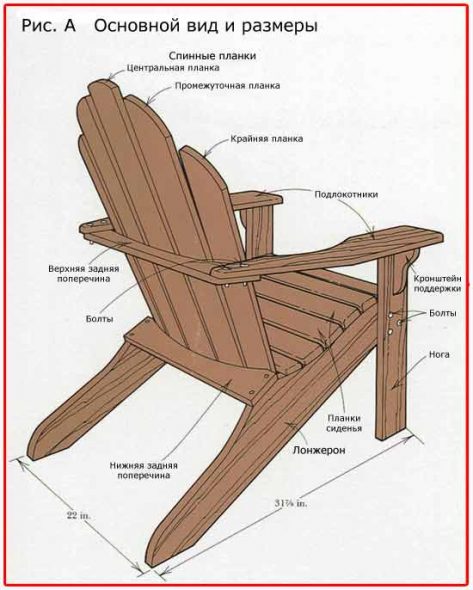
Details that make up the garden chair.
The process of making a chair with your own hands: step by step instructions
Creating basic parts
As a rule, work begins with a preliminary stage. — preparation of the main elements. Having a drawing with detailed tips will facilitate the further process of making a wooden chair with your own hands.
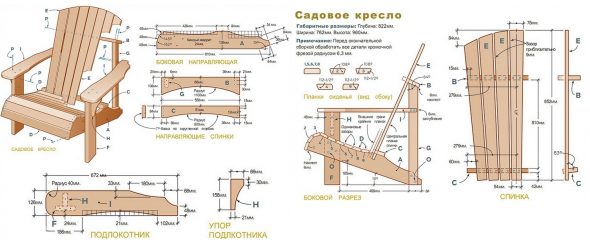
The scheme of creating a garden chair with your own hands.
The most difficult, time-consuming process is the manufacture of the side seat supports. It is necessary to make a full-size side support template on the cardboard.
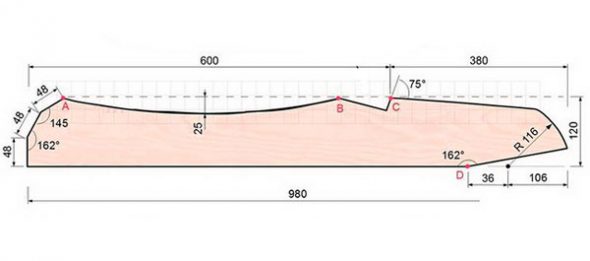
Drawing side support garden chair.
1) Draw the first side of the part, lifting the segment to the left, then the next two at an appropriate angle.
2) Mark up the perpendicular segment, heading to point A.
3) Mark the point C, draw a cut under the transverse coupler.
4) Extend the bottom side of the line, marking the angle of 75 degrees, with the top C.
5) Outline the arc, measuring the angle at point D. The arc radius is 116 mm. Connect the points by a segment.
6) Using a square grid, we draw rounds between points A and B.
7) The resulting pattern is placed on a wooden board. We outline the details along the contour, preparing for the cut.
For cutting straight sections, you must use a saw, a jigsaw is perfect for cutting out curly sections.
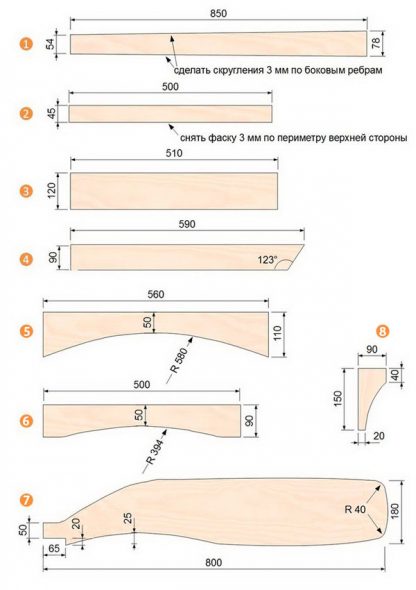
Drawings of details of the garden chair.
IMPORTANT! In order to cut the cedar board less, the cutting blade of the tool must be carried out in the direction of the fibers!
After transferring the finished drawing to the board, we mark out the same, according to the first scheme, using the already cut out part.
If there is no ready-made piece of armrests - it does not matter! Circumference is not important.
1) It is necessary to make wedge-shaped supports for armrests, using a saw, beveling the upper edges by 6 degrees.
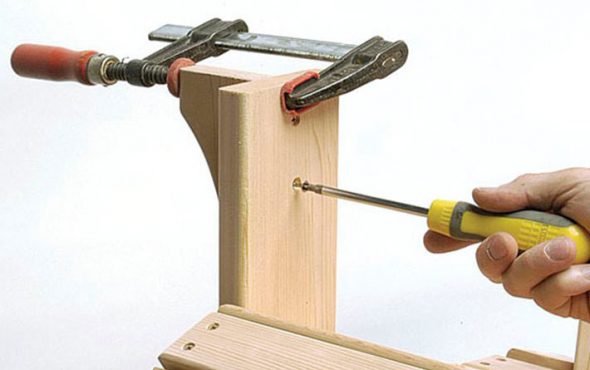
For convenient connection of parts, use a clamp.
2) Carefully fasten the support to the front legs. For bonding use glue and screws.
3) We cut out the armrests, rear support.
4) Using sandpaper, we clean the ends of the finished part.
5) Cut off the ends of the support.
6) We press the back support part to the back.
7) We mill the edges of the surfaces.
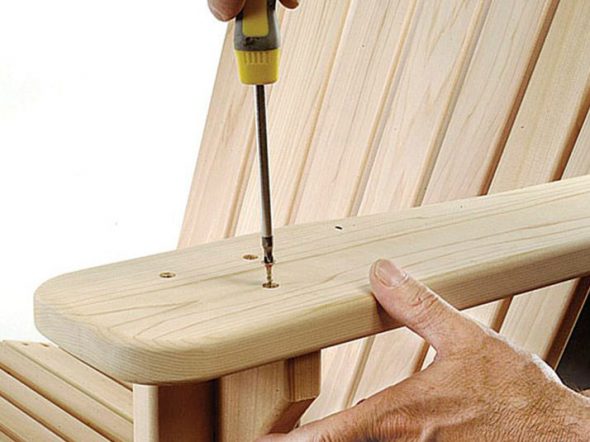
Mounting armrests to the wedge-shaped support.
IMPORTANT! Clay plays an important role in the manufacture of a garden chair with his own hands. Heat-resistant glue for wood, unlike common and often used PVA glue, will not lose its properties under the influence of high temperatures, moisture, does not crack and will not crumble. For this reason, to create a wood product, we recommend using heat resistant glue.
Assembly of parts
Before assembly, it is necessary to carefully cover each of the parts with a triple layer of antiseptic in order to preserve the internal surfaces. After processing the material, you can proceed to the following steps.
- Align the finished parts, pre-scheduled drilling points.
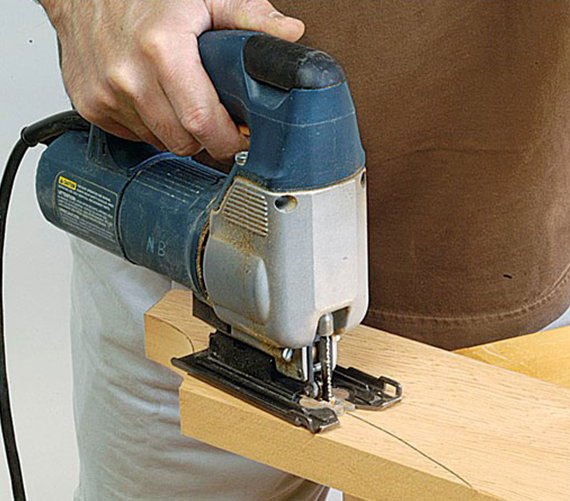
Cut out the details exactly on the marked contour.
- Making holes for bolts andQuickly fasten the details.
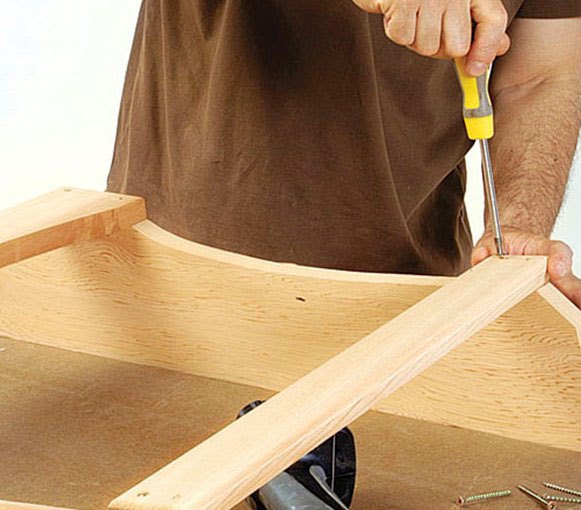
Note that the strength of the seat will depend on the location of the boards.
- Install the rear leg perpendicular to the support bevel (like the first one, we assemble the second side of the frame), withWe unite the side parts of the wooden chair with the lower cross bar of the backrest and the first plank of the seat.
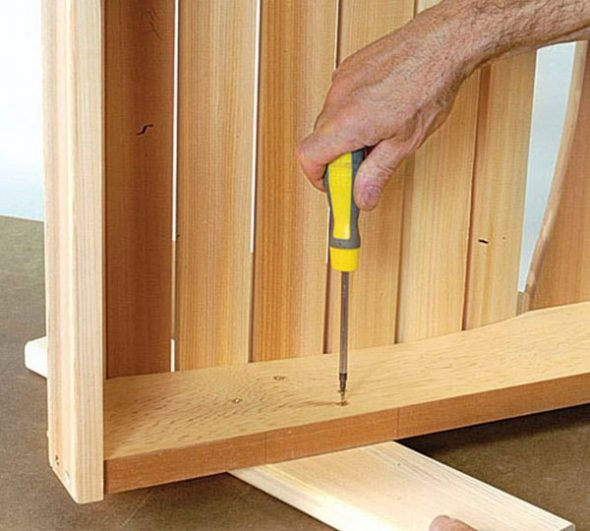
The ends of the slats and the opposite ends of the legs should match, which will mean the correct position of the backrest.
- Install the props.We fix props with clamps.
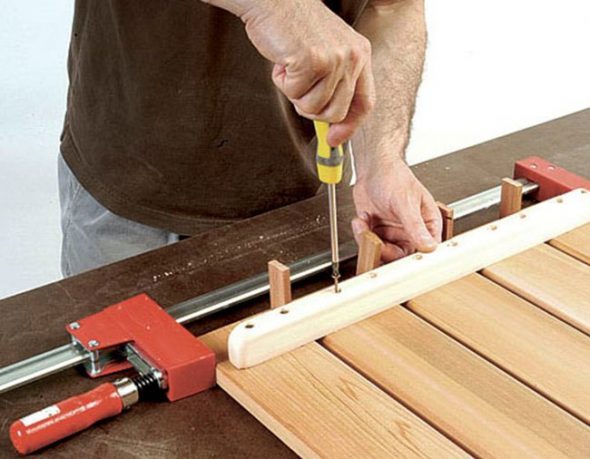
But the joint will turn out to be tight, which is what we need.
- Fasten the upper backrest guide with screws, trying to align with the lower cross member.Draw a line on all transverse boards, as well as on the backrest plank, then drill a guide hole, holding the plank.
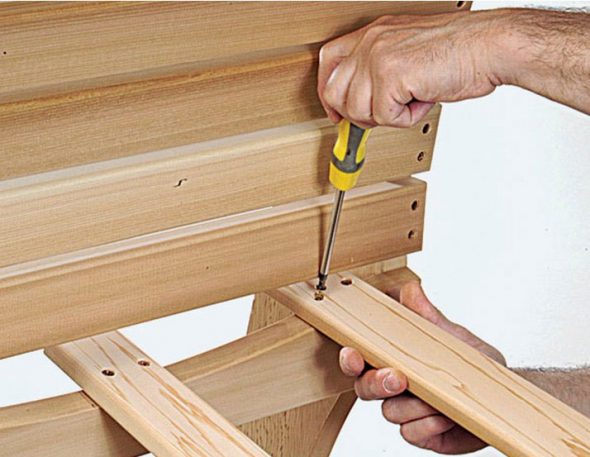
After fixing the top rails and uniformly fix all the strips in turn.
- We spend the radius of rounding, cutting off the strips on the markup.
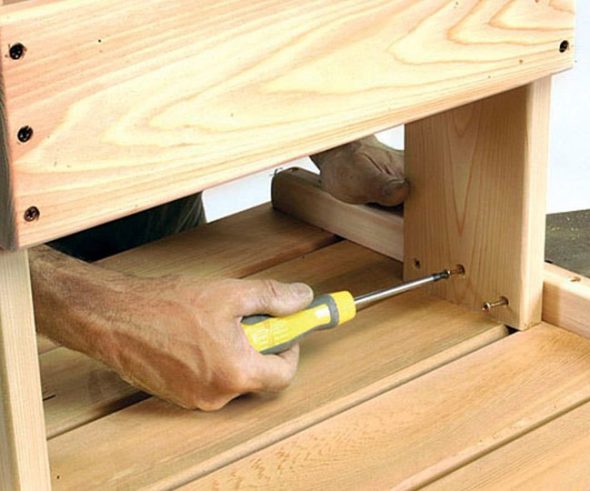
Choosing the correct width of the final slats, put it in place of the seat.
- Carefully grind the edges, the upper surface of the backrest, seats.Wooden plugs close the screws and grind. Using hot linseed oil or oil impregnation process finished wooden chair.
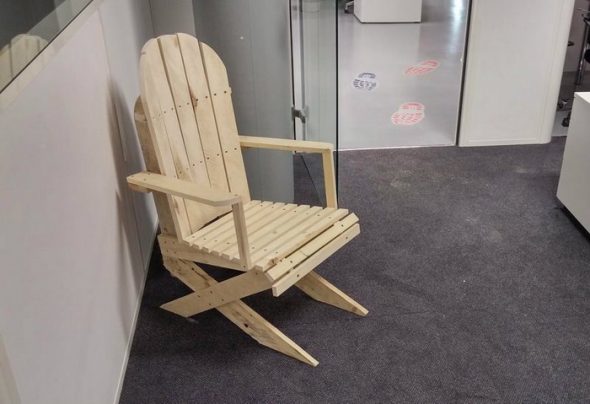
Drying and varnishing products - the final stage of production.
Making wooden furniture for the garden do it yourself
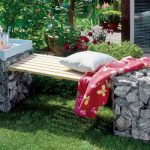
The decor is one of the important components. With the help of unnecessary things, pillows, bright patches, twigs of the vine and hard work you can achieve phenomenal results.
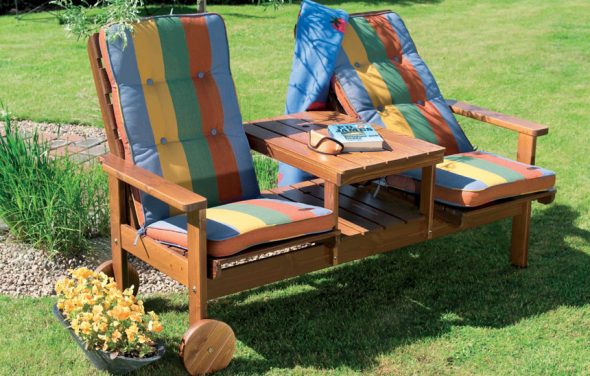
As you can see, making a wooden garden chair with armrests with your own hands is not at all difficult.
Fantasy, imagination, positive charge, basic knowledge, diagrams and drawings - this is the whole list of necessary components for creating a wooden chair with your own hands. Desire and a little work - that is the key to success!
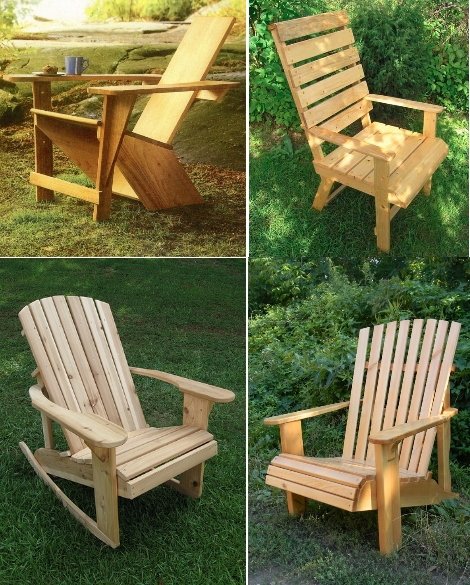
Wooden chair, made by hand, will last for many years.
Keeping the original appearance, such a chair will perfectly fit into the natural atmosphere and allow you to enjoy a comfortable rest.
VIDEO: How to make a garden chair with your own hands.
50 photo ideas of country wooden furniture:
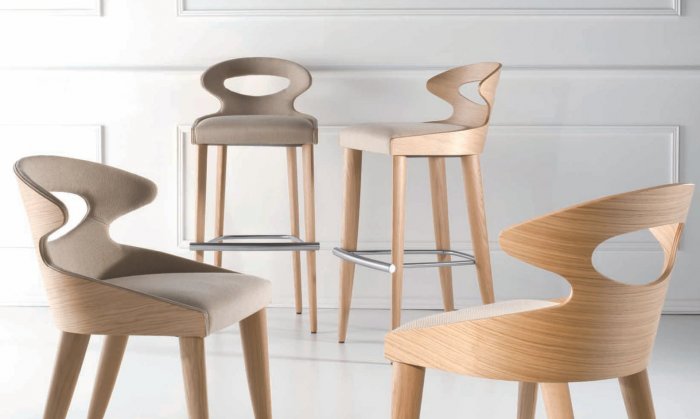 How to make a bar stool with your own hands?
 Furniture for the hallway with a narrow corridor.
 We carry out aging of furniture in Provence style with your own hands
 How to make a changing table do it yourself
 How to choose furniture for a small hallway
