 Making the original kitchen with your own hands from furniture panels
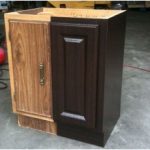
How to paint your own kitchen set
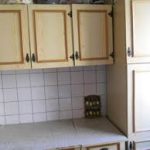
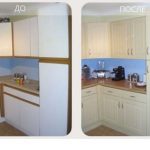
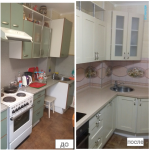
The kitchen is one of the most significant places in the house. In the evening, when coming from work or school, the whole family sits down at the table, has dinner, and talks over a cup of tea about how the day went, what ideas you would like to bring to life. That is why the situation in the kitchen affects our emotions and sensations. The mood immediately spoils, I don’t even want to enter the room if the furniture does not look properly. Therefore, it is necessary to bring interior items in order. Even the easiest way - painting a kitchen set - will significantly change the look.
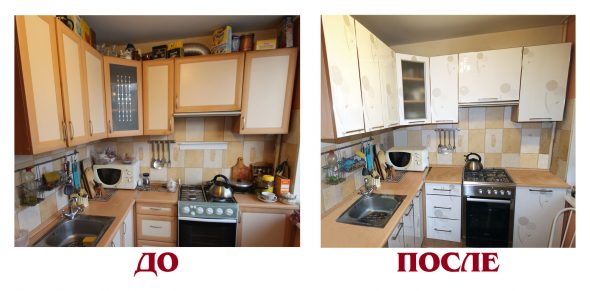
The kitchen is one of the most significant places in the house.
Content
The benefits of painting do it yourself
To transform kitchen furniture, do not need large investments, just enough to buy paint. Paint the headset is simple. If you have never done this, then you can easily cope with this work.
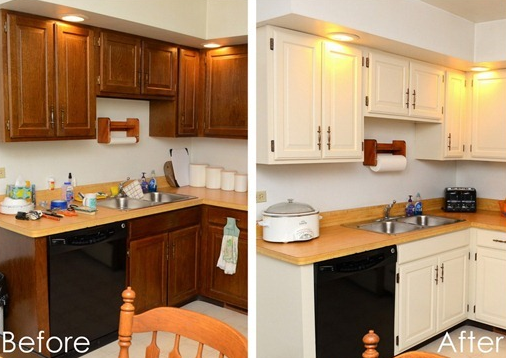
The atmosphere in the kitchen affects our emotions and sensations.
This kind of furniture renovation is the most common option. There is no need to be an expert and have a great experience in this matter. The method is very economical, but the result will exceed all expectations. Coloring will take a fairly short time, without any special zeal.
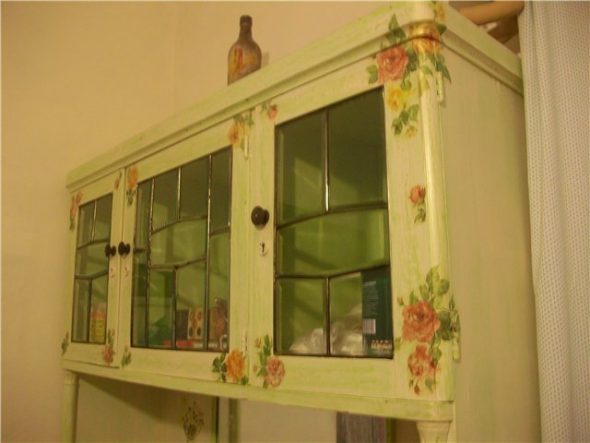
Even the easiest way - painting a kitchen set - will significantly change the look.
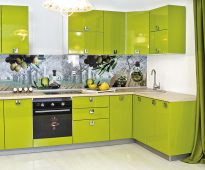
Choice of color solution
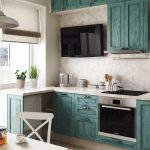
So, if you decided to repaint the kitchen set and decide what color it will be, be prepared for the fact that you have to change the textiles on the windows and upholstery in upholstered furniture. You can choose one color or several, which becomes very popular, it is important that the color scheme is in harmony with the overall interior. Whoever has the taste, it will be easy for those, but for beginners in this business - a bit complicated.
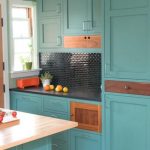
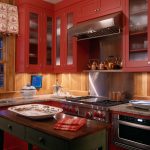
Neutral solution. This includes all beige varieties, as well as brown, black, gray and white. Combining these colors, it is quite difficult to make a mistake, you just need to carefully combine the dark colors. The most common option: the upper cabinets are light-colored, the lower ones are dark. This combination is more suitable for classic interiors.
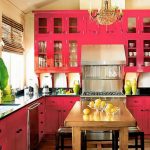
It is important to remember that it is better not to combine only dark or only light colors. Do not forget about the bright colors. So, black can be combined with red, green, mint, pink, beige, white - with blue, lilac, blue, beige - with red, lilac - with cappuccino color, burgundy - with cream, white, wood color, etc. Two bright or two neutral colors - an interesting option, here you have to rely on your taste. No less interesting will look themes of fruits and vegetables.
You want to have an original interior, combine contrasting colors - yellow with lilac, orange with blue, blue with red or pink. For a more relaxed atmosphere - orange with red or yellow, green with yellow or blue with green.
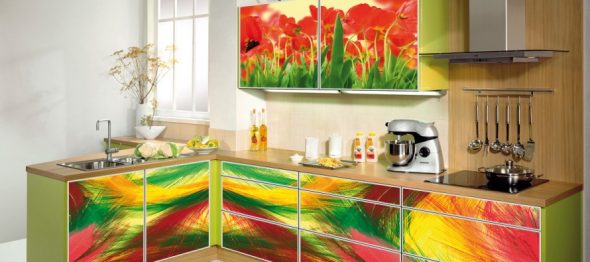
To date, widespread use of multiple colors simultaneously. For example, you can “dilute” two calm shades with colorful detail.You can use your own color for each individual facade - your kitchen will be in retro style. The main thing is a competent approach, and simple coloring will give a new life to the old headset.
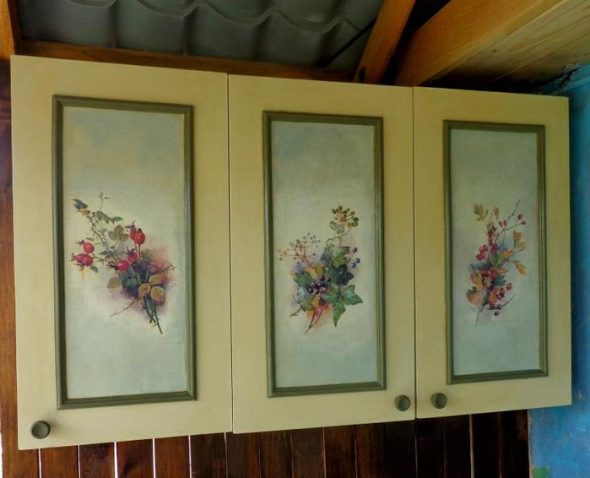
To transform kitchen furniture, do not need large investments, just enough to buy paint.
Paint selection
Today in the shops you can see a huge range of colors. But not everyone is suitable for kitchen fronts. Do not use water-based paint and oil paint - they will lie unevenly and leak. Acrylic paint is also not recommended - it will not tolerate moisture and various cleaning products.
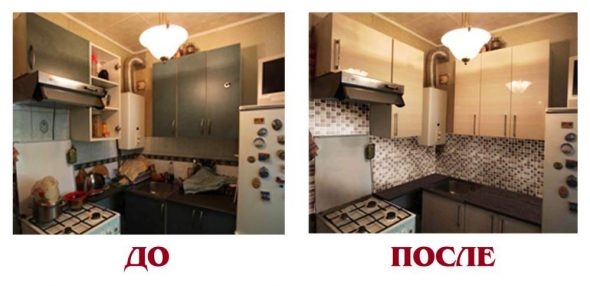
After all the work we have done, we attach the fittings, we insert the glass, we hang the cabinets.
The best option is spray paint alkyd in cans or auto enamel. This material is applied smoothly, without smudges, its properties are reliable, durable, it easily tolerates moisture and temperature changes, there is a variety of colors.
Necessary materials
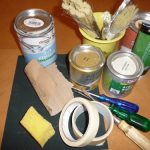
From the materials we need:
- spray paint,
- sandpaper
- wood primer
- solvent,
- putty,
- gloves,
- protective glasses,
- masking tape,
- Glizal for decorations
- fittings (if you decide to change the old one),
- oilcloth or film, so as not to drip on the floor.
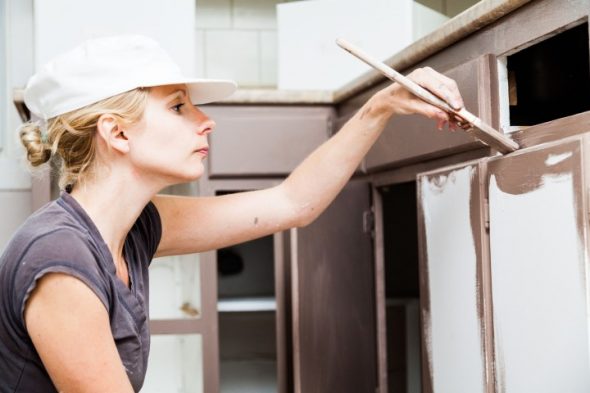
Paint the headset is simple.
Required Tools
What tools are useful:
- roller or brush,
- Sander,
- construction dryer,
- screwdriver or screwdriver
- putty knife,
- paint tray.
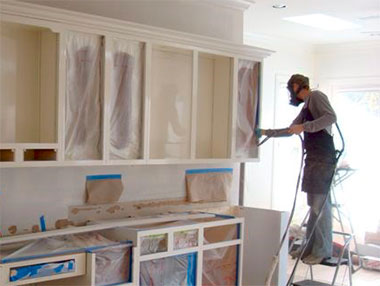
This kind of furniture renovation is the most common option.
Stepwise painting algorithm
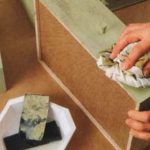
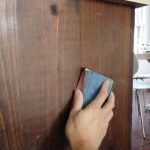
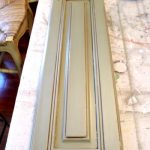
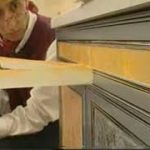
How to paint the kitchen set? First you need to remove the doors from the cabinets, all fittings, stained glass or simple mirror rates. If there is PVC film on the surface, remove it with the help of a building dryer. We approach this stage of work very carefully so that there is not the slightest bit left. Then clean the dirt and dust. Now you need to polish the surface using sandpaper fine grit or grinding machine. The plane should be smooth, carefully processed, without minor defects. In the same way we remove the old paint. In addition, you can apply a special liquid to remove paint and varnish. Again, wipe the surface, remove the dust, it is better to use a brush so that the dust does not clog in the gap.
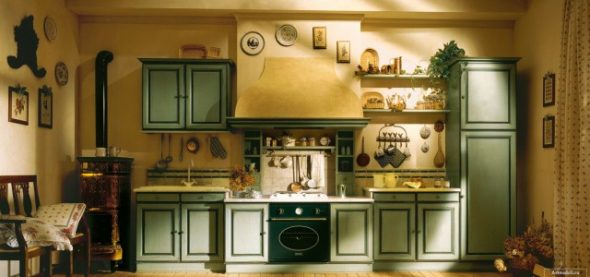
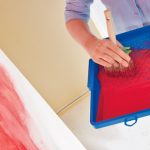
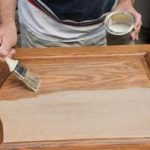
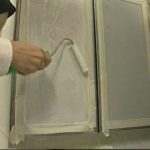
For perfect coloring, we apply paint by moving the brush or roller in one direction, no need to rush.
The next step is to treat the surface with a degreasing agent. Give dry, primed plane, applying the solution on the tree. Leave to dry completely, optimally - for 24 hours. To completely remove all irregularities, putty putty. After drying, you need to re-process the sandpaper. After the surface has been completely cleaned up, we start painting.
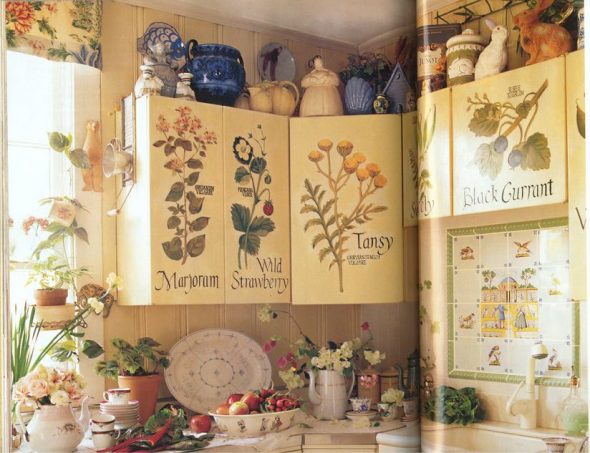
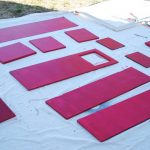
It is necessary to cover everything around with foil to prevent paint from entering.
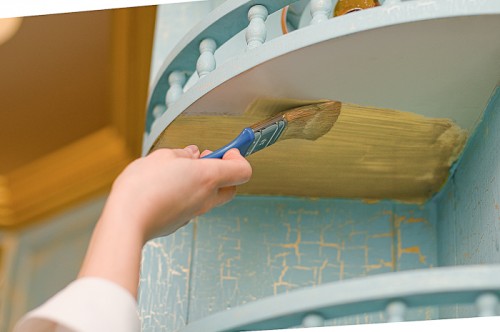
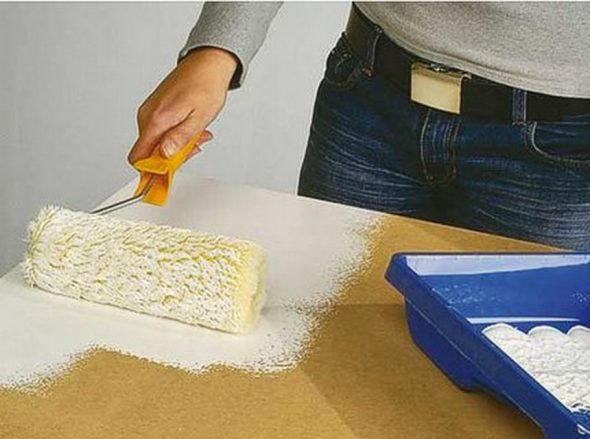
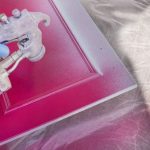
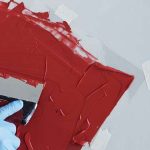
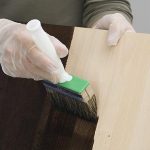
For perfect coloring, we apply paint by moving the brush or roller in one direction, no need to rush. If you use a series of tones, seal the boundaries with masking tape. Of course, painting from the aerosol will be more accurate. Here we must remember that during the work a part of the material will be sprayed to the sides. Therefore, it is necessary to cover everything around with foil so that paint does not get caught. For a more saturated color, you can paint it again after the first layer is completely dry.
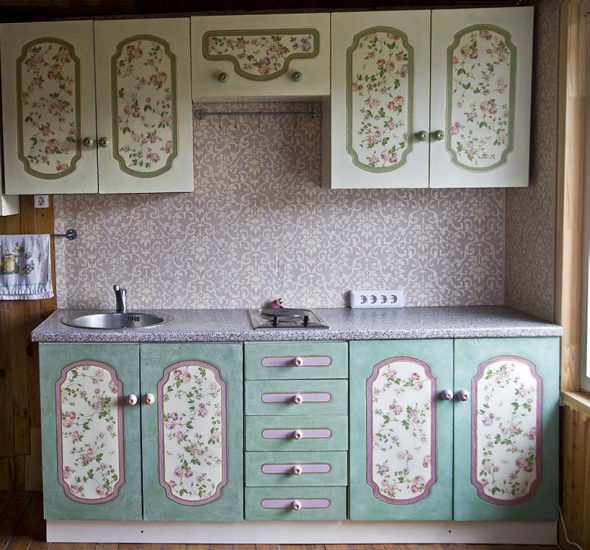
For a more saturated color, you can paint it again after the first layer is completely dry.
After all the work we have done, we attach the fittings, we insert the glass, we hang the cabinets. It was so easy and simple to get the original kitchen set, which we reconstructed by ourselves.
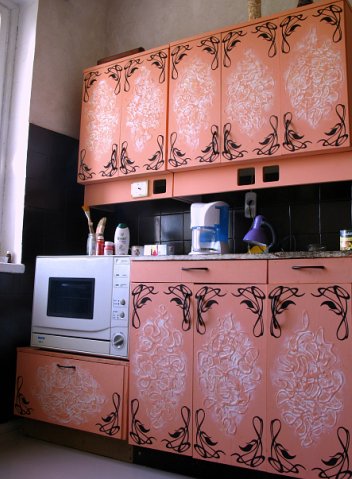
Coloring will take a fairly short time, without any special zeal.
The final stage - decorating
Many people want the kitchen to be unique and comfortable. Not everyone has the opportunity to change the headset to a new one.It is best to update the unpleasant looking furniture with decorating.
You can choose any method, in addition to the restoration of the headset, you can update the dining area by replacing the upholstery on chairs, stools, or stitching covers on them.
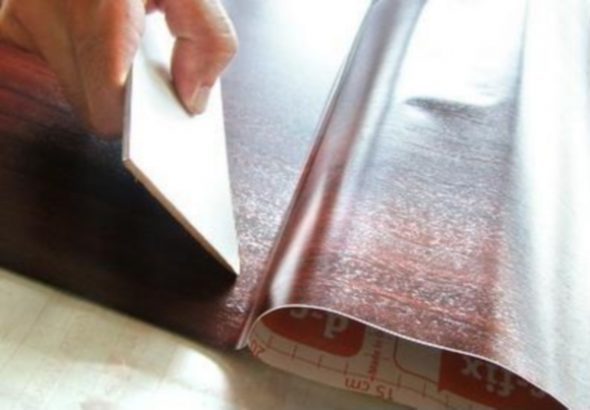
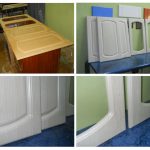
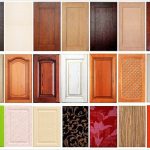
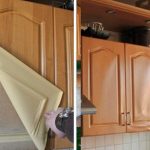
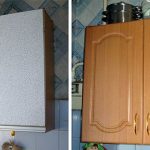
In addition to staining, the facades can be put in order with the help of a self-adhesive film, its choice is very rich - a variety of colors, various patterns imitating wood. The material is applied to the treated surface and leveled with a special spatula. If in the process of work bubbles appear, they are pierced and pressed to the plane. If the film is stuck crookedly, with "wrinkles", remove it and glue another piece.
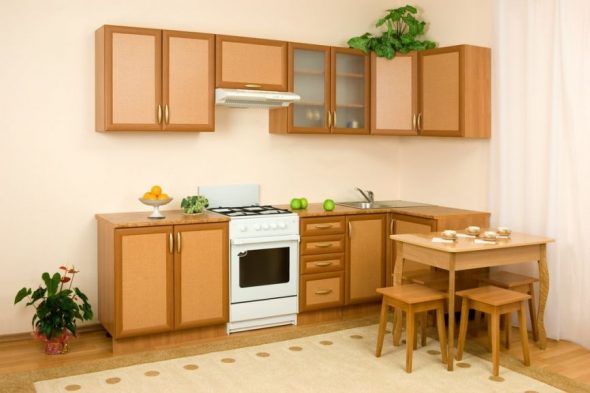
To date, widespread use of multiple colors simultaneously.
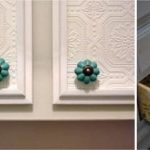
Do not want a film, use wallpaper. The plane is pre-processed - polished, primed. After complete drying paste the wallpaper. Then varnish to protect the surface.
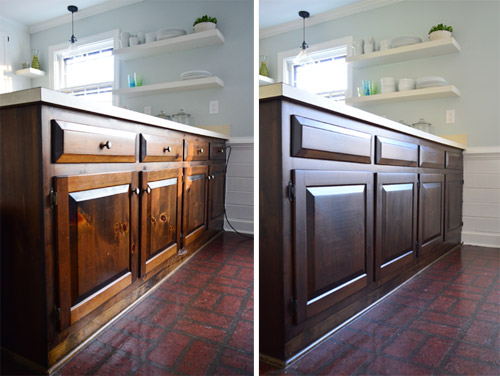
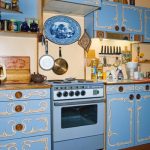
You can use your own color for each individual facade - your kitchen will be in retro style.
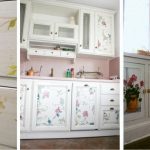
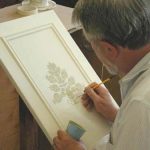
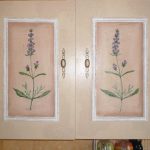
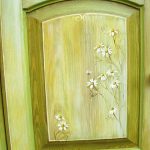
Want an original kitchen set, use decoupage. Here you can use dekupazhnye cards or napkins with a pattern, you can take a variety of pictures, cut from magazines, print any pattern on the printer. Images are placed on the facades, glued on the PVA, leave to dry completely. At the end we cover with transparent varnish in several layers.
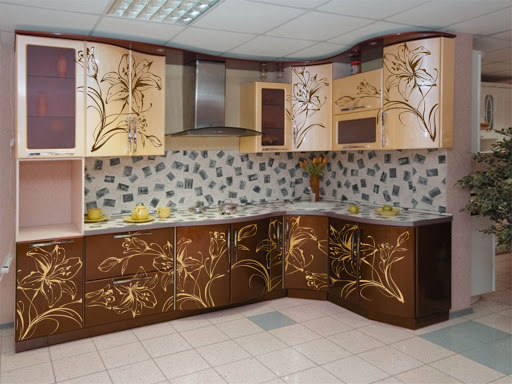
The main thing is a competent approach, and simple coloring will give a new life to the old headset.
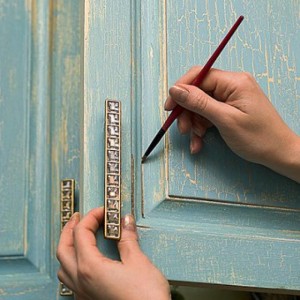
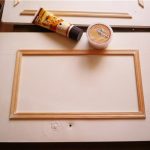
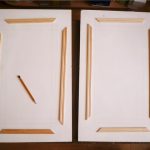
Diversity can be made if you stick a mosaic, tile or decorative plinth - moldings. Details of the required length are glued to the surface, forming a frame.
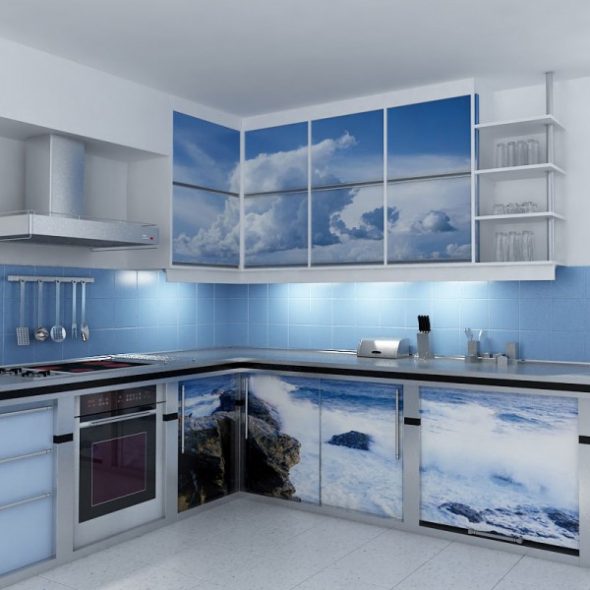
The best option is spray paint alkyd in cans or auto enamel.
You can choose any method, in addition to the restoration of the headset, you can update the dining area by replacing the upholstery on chairs, stools, or stitching covers on them. You can also apply an image to the surface of the table using the decoupage style.
You can choose one color or several, which becomes very popular, it is important that the color scheme is in harmony with the overall interior.
How to make a tree old
This way of working with wood is quite common. Designers use it in the restoration of furniture, in the planning of the interior. You can make a tree on your own, and your homely furniture will look very different, more profitable than even factory furniture. How to age a tree at home? We present some methods that are simple but highly effective.
Details of the required length are glued to the surface, forming a frame.
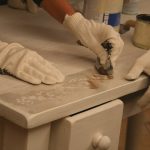
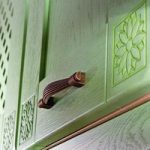
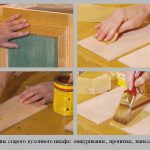
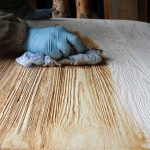
A special way of aging is brushing. Here, using a metal brush, remove the soft fibers from the plane. The brush should move exactly along the fiber line. Pressure on it is produced evenly. Thus, it turns out the picture, the texture of which can be multiplied by tinting. The next step will be grinding the surface. At the end of the work we remove dust and sawdust. Now we will tint, using the "Belinka" dark shade. Brush or roller apply tint. After a few minutes, very carefully with a sponge we remove the outer layer of paint, thus, showing the pattern of the tree. We give completely dry, we put a transparent varnish.
If you decided to repaint the kitchen set and decide what color it will be, be prepared for the fact that you have to change the textiles on the windows and upholstery in upholstered furniture.
This method of aging and further coloring decorate large parts of the interior, for example, ceiling beams.
1. Coloring in several layers.
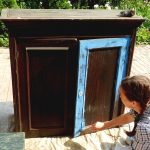
Furniture is restored in this way, as a result a wonderful effect is obtained. Before starting work, the tree must be scratched, chipped, dimpled, worn, even a wormhole. This will require certain tools.For the result to be obvious, to look genuine, it is necessary to do it, but in moderation. Then we take the dark-colored Pinotex toning agent and apply a layer on the surface. Give dry and handle sandpaper.
Diversity can be made if you stick a mosaic, tile or decorative plinth - moldings.
Apply a white translucent "Belinka" with a second layer, but so that a dark base is visible. We leave to dry, then we take a metal brush and, moving along the fibers, we form a texture pattern. White glaze in half diluted with solvent and again applied to the surface.
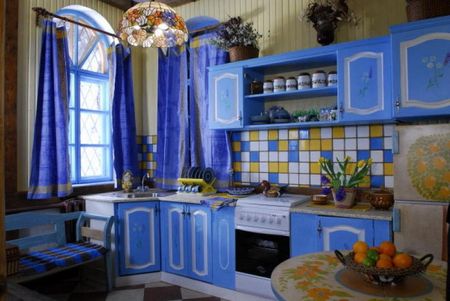
Whoever has the taste, it will be easy for those, but for beginners in this business - a bit complicated.
2. Aging with open fire.
Here a gas burner is used, the wood is treated with fire, the wood becomes saturated in color, then it is passed through sandpaper, showing a pattern. At the end put a protective varnish.
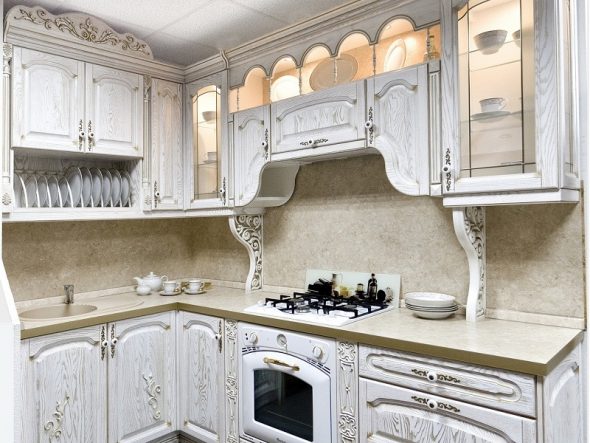
Combining colors, it is quite difficult to make a mistake, you only need to carefully combine dark colors.
3. Use vinegar and steel wool.
This method is based on the chemical reaction of these substances and how the color and the surface of the wood subsequently change. The result is great.
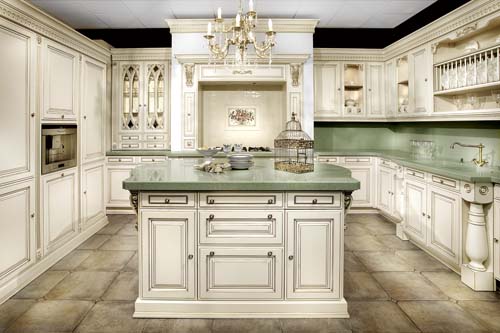
The most common option: the upper cabinets are light-colored, the lower ones are dark.
4. Can be used craquelure technique.
With this method, you will not only get old painted furniture, but also give a cracked look. Of course, these are not all the ways how to age a tree. In fact, there are more intricate techniques for the technique. We brought the most affordable.
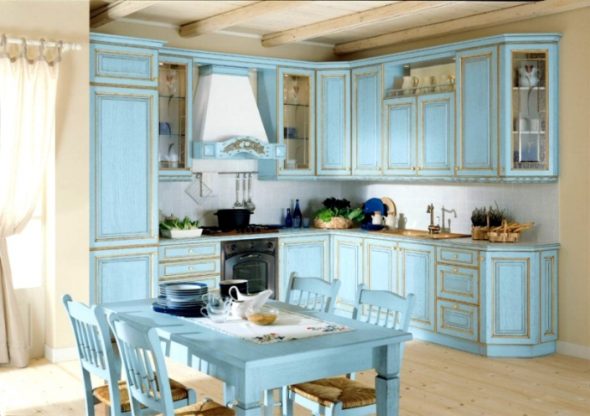
There are various options for how to restore furniture.
There are various options for how to restore furniture. Use all your imagination and skill, and you will achieve the desired results.
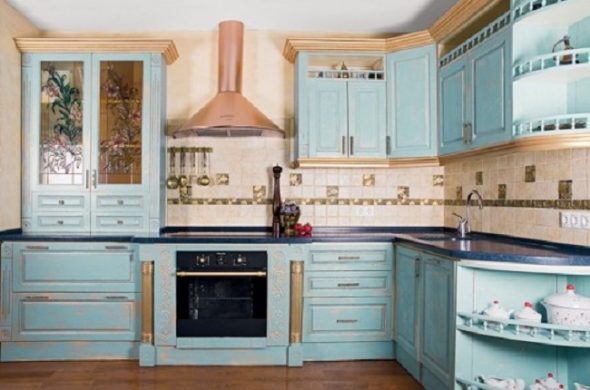
A special way of aging is brushing.
VIDEO:Kitchen renovation. Part 2.
50 photo ideas how to paint a kitchen set
 Making the original kitchen with your own hands from furniture panels
 Choosing a cabinet for built-in oven
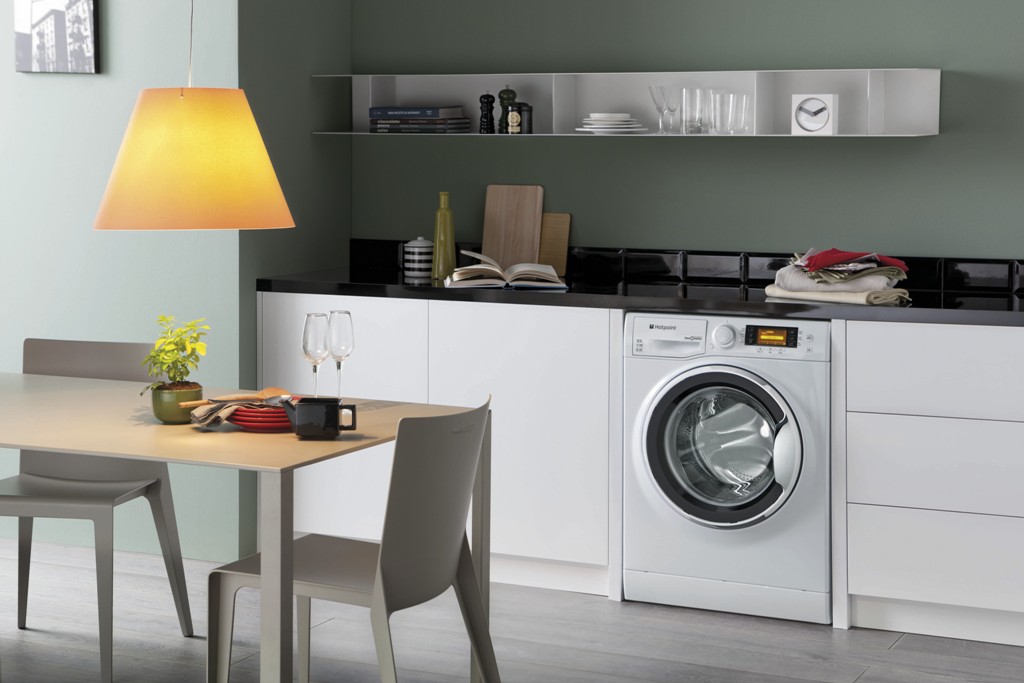 How to build a washing machine in the kitchen.
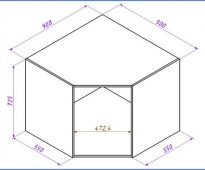 Standard sizes of kitchen cabinets
 We do a banner of a kitchen corner the hands
 At what height can you hang kitchen cabinets?












Painted the ceiling in the kitchen paint Dyuleks, the result on the eyes. Masks all the irregularities on the ceiling, easy to apply. I really liked the haze and it looks decent.