 Choosing a children's bed with a table.
We assemble a cot for the baby with our own hands.
The first main subject of the interior with the appearance of a beloved child is crib.

Crib - the first and most important furniture for a new family member.
If three decades ago we didn’t know any other options besides the classic one, now it’s difficult to understand the huge choice of a cozy and beautiful sleeping place for our baby.
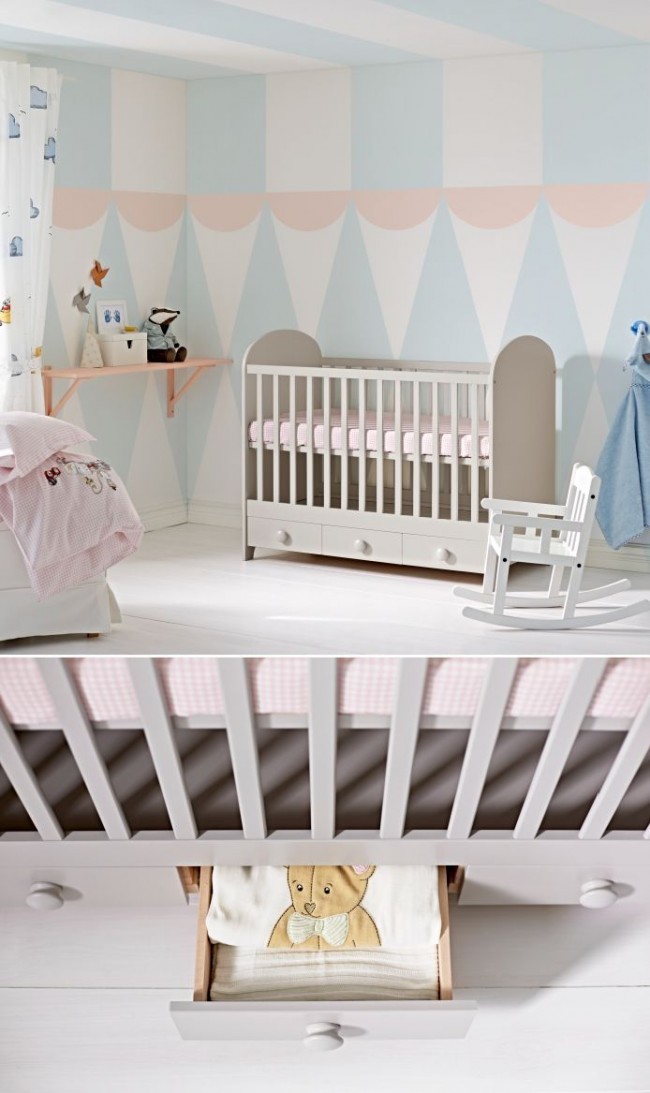
The cot should be a comfortable and safe place for the growth and development of the child, because it is here that he will sleep, play, learn to roll over and stand on his feet.
Content
Big choice
Size, color, shape, functionality, availability of drawers and changing table - all this and much more is taken into account in the sleeping places for children. They are divided into several types:
- Classic;

Classic cribs remain the most sought after. Universal in size, design and purpose, they fit into any interior, and therefore do not lose popularity.
- Cradles;
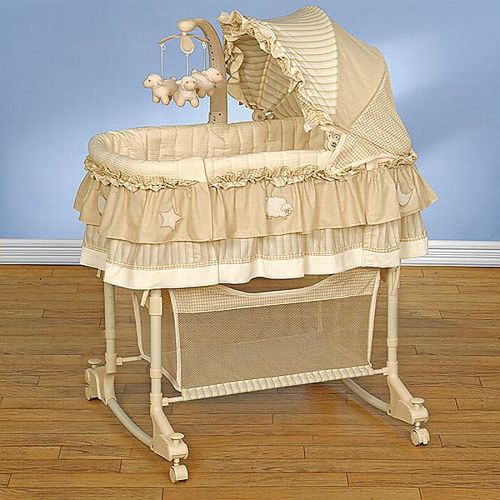
The cradle for newborns is a cozy nest in which the baby will sleep the first 6 months of its life.
- Swing;

The rocking cot is a comfortable and durable model. It has a beautiful design, harmoniously fit into the nursery and will reliably and for a long time serve the crumbs with a comfortable sleeping place.
- Manege;
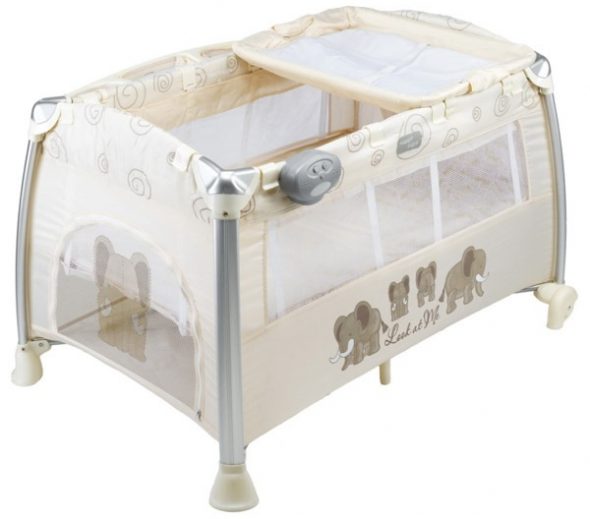
Baby cots are designed for newborns. The level of safety and comfort in them at the highest level.
- Pendulum.

A crib with a pendulum system, unlike other models, is equipped with a baby rocking mechanism. This function will be of great help to the parents of the newborn in the first months of his life.
“Classic” involves tilting the sides and adjusting the height of the bottom. The option is the most popular because of its relative availability.

Classic beds can be on the legs, on wheels or on runners.
«Pendulum" and rocking chair have similar functionality, the main difference in the retainer. At the rocking chair it is in the form of wheels, and inpendulum " there is an individual mechanism, significantly prolonging the "oscillatory" process.
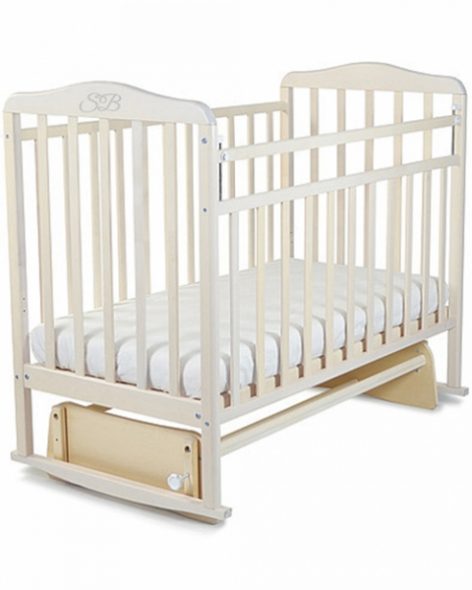
One has only to push the smart design with his hand, as it begins to sway slowly, laying the restless baby.
AT "pendulum " there are fixation elements that do not require unscrewing every day.

The indisputable advantage of the pendulum is the sensitivity of the mechanism to light touch, thanks to which the baby can set the crib in motion.
Bed-Mezhie has a difference in the side parts: they are made of cloth and are applicable to children who have learned to walk.

Breathable mesh walls allow the mother to watch the games or sleep a child.
Each of the species is good in its own way, but lately, young parents increasingly prefer the pendulum variant.
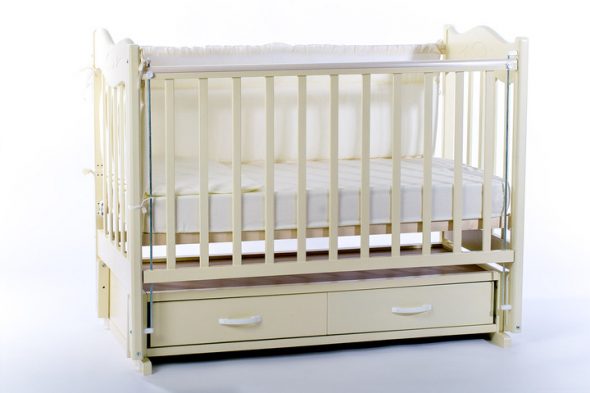
This option is convenient, practical and comfortable for the baby.
Composition pendulum beds - natural wood coated with waterproof varnish.

In many models there are drawers, dressers.
The design consists of a frame, a place to sleep, backs, legs and mechanismwhich is the main functional element. Some models are equipped with height adjusters.
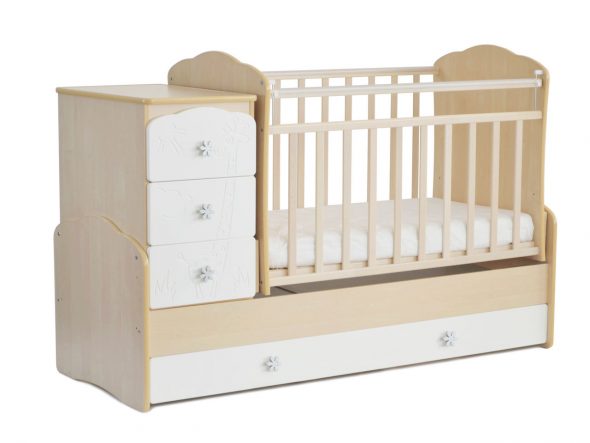
Boxes for linen will allow mother to quickly change diapers, baby clothes, in addition, you can store toys or a first aid kit there.
Pendulum mechanism may be longitudinal, transverse or universal. If you need a stop pendulum, special fixing parts are installed on it.

A pendulum crib, if necessary, is quite simple to make the traditional fixed. It is required only to stop the system with latches, which, as a rule, come complete with furniture.
How to build a pendulum crib
Assembly we are accustomed to trust professionals with large pieces of furniture and interior. BUT baby cotAs a rule, dads prefer to install independently.

For a new baby furniture to be safe and secure, you need to be patient and time carefully following the instructions carefully.
This process must be approached very responsibly, since the parts installed and mechanism will depend on the safety and tranquility of the baby.
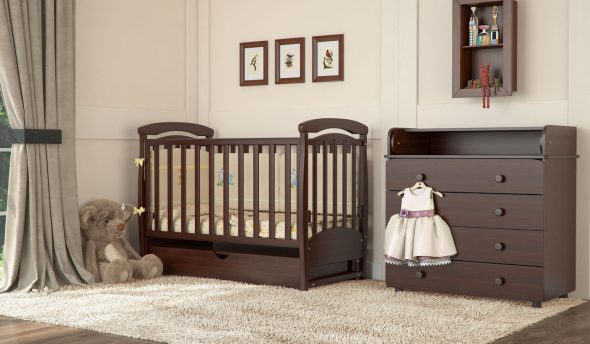
It is preferable to assemble the crib in the child’s future nursery. This will eliminate the need to move furniture and squeeze through the doorway, which can cause scratches and damage.
Before starting the assembly, carefully read the attached instructions.

Leave the instructions in a prominent place to follow the recommendations carefully.
For assembly Prepare a screwdriver, accessories of furniture, including screw and silencing elements. In order not to damage the details of the construction or the flooring, cover the place where you will work with a light-colored fabric or a paper sheet.
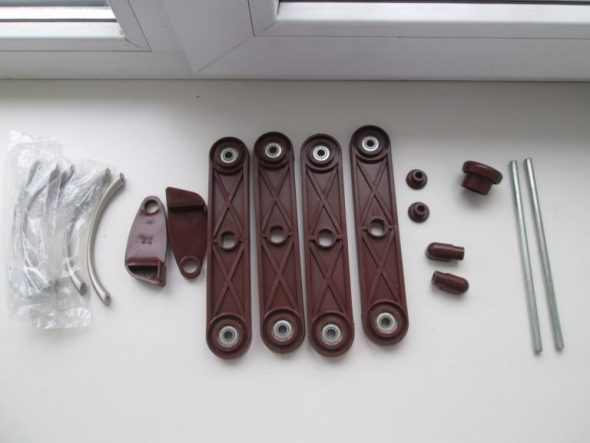
The same measure will help to avoid the loss of small items and spare parts.
Rear partwhich is fixed, we attach to the side walls with the screws included in the kit, usually two on each side. At the top and bottom parts The back wall is similar in size and shape, they can be confused.
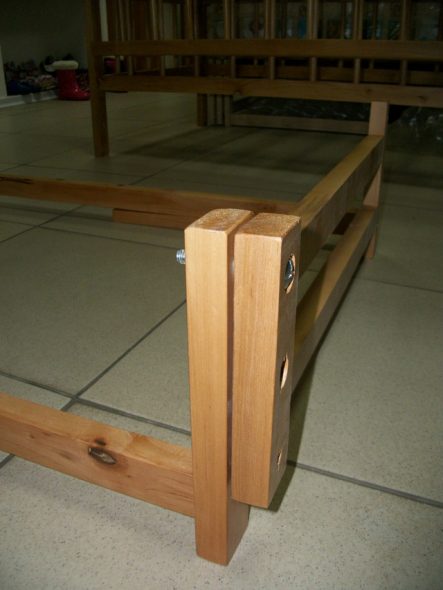
The side parts are equipped with legs, so they are easy to understand.
The next stage - the installation of the bed. Different models assume the integrity of the element, others are a few wide wooden slats, fastened with a cord. The slats are installed in the holes of the rear wall with the help of a special separate bar.

If something is missing in the kit, or there are defects, damages, and notches, you should immediately contact the store and return the goods or exchange the parts for new ones.
First, the fastening should not be strong, just sit down in a screw way. Then front part, which is movable, is fixed in the guide grooves of the side walls. Now it is time to thoroughly fix the bottom of the case. When turning the case, it is noticeable that there are accessories for the wheels below.

If you intend to roll the pendulum crib, install the wheels in the designated places.
To do this, in the fixed form you need to turn it over and proceed to the assembly. pendulum mechanism. Inside pendulum Drawers are installed, its sidewall is fastened with fastening screws.
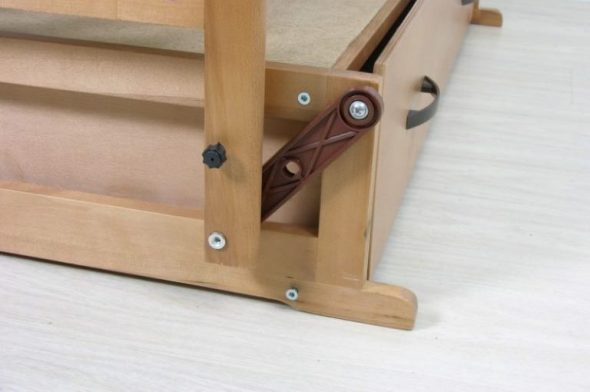
With the help of the bearing mechanism, the housing is assembled on the pendulum.
The grooves for the locking elements must be clearly arranged according to the pattern. assembly and available holes.
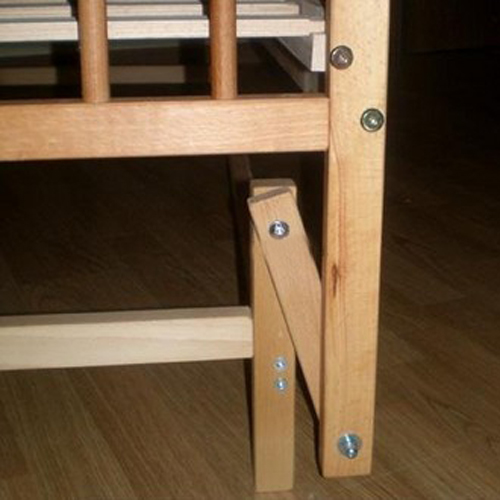
The finished pendulum crib should swing effortlessly.
After installing the clamps on the screws put on the plugs, which are also an aesthetic addition.
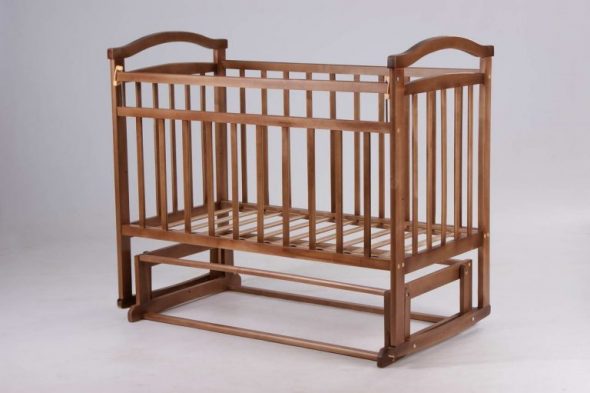
Make it a rule to check the crib every week, as the bolts can loosen, gaps and sharp corners appear.
VIDEO: We are assembling a pendulum crib with our own hands.
50 photo ideas of cots in the interior:
 Choosing a children's bed with a table.
 Soaring bed: What is it - exotic or affordable piece of furniture?
 Choosing a double bed is a delicate matter
 IKEA bunk bed
 Advantages and disadvantages of bunk beds for children.
 Features retractable beds for two children and their use in the interior.
