


 Where to buy cheap double beds with a mattress.
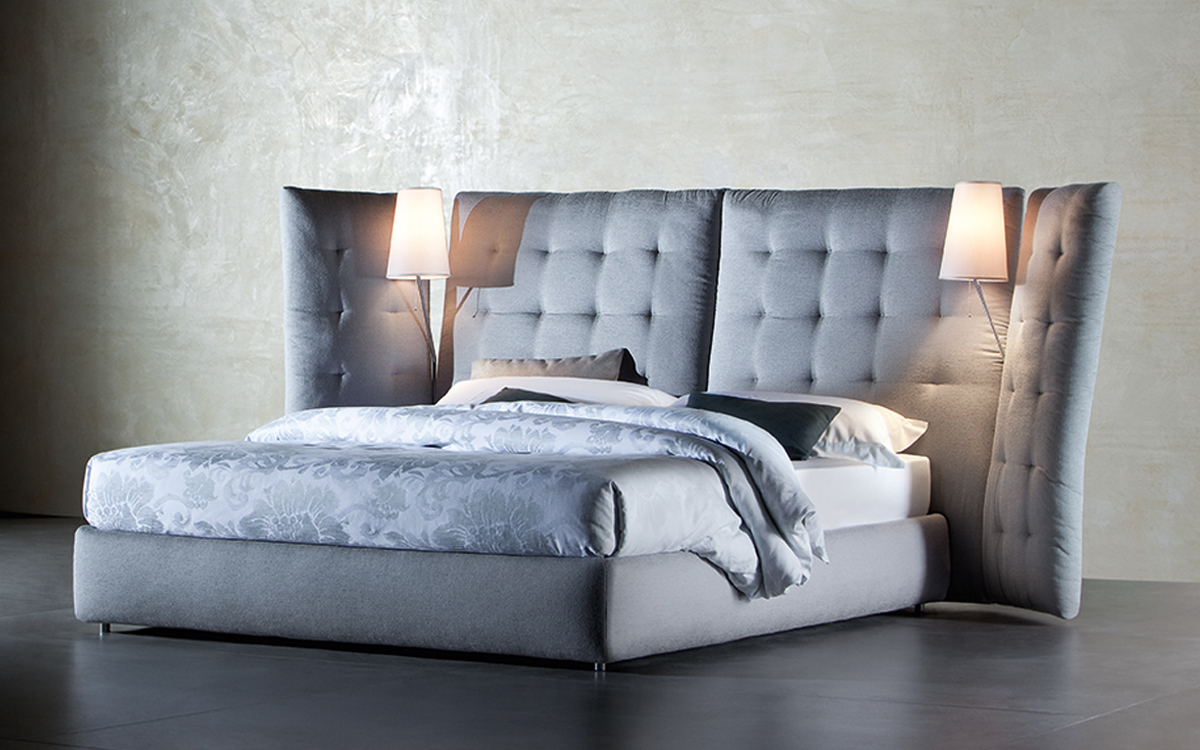
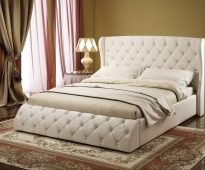
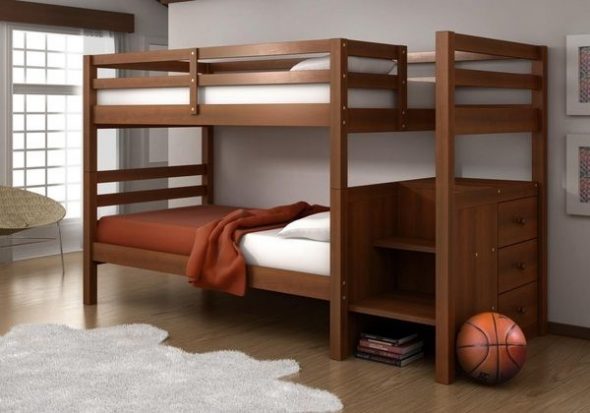
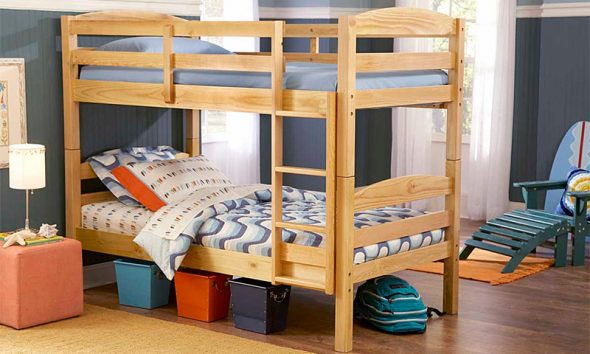
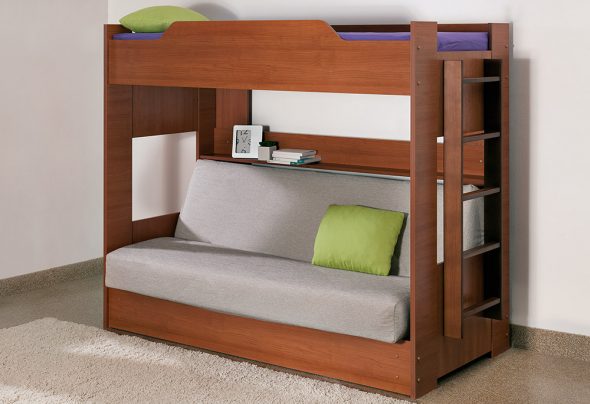
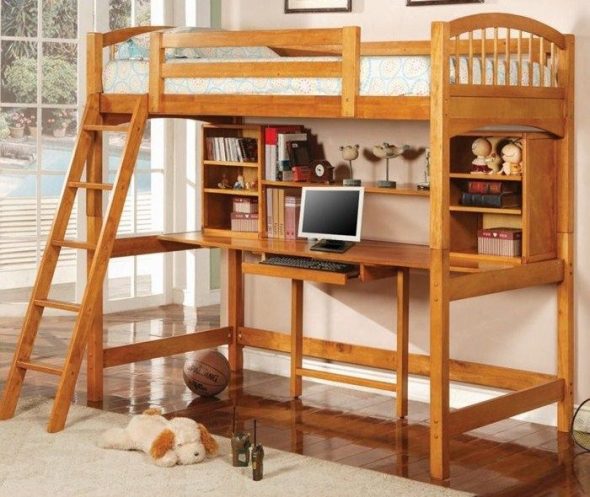
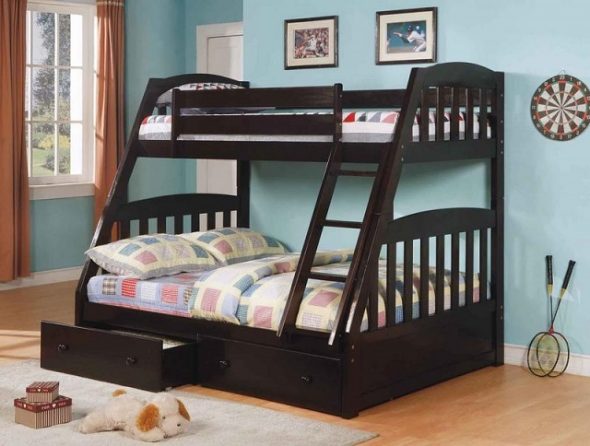
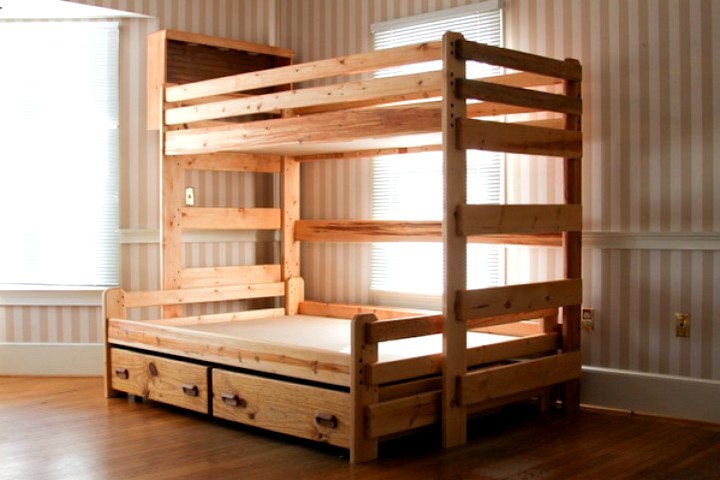
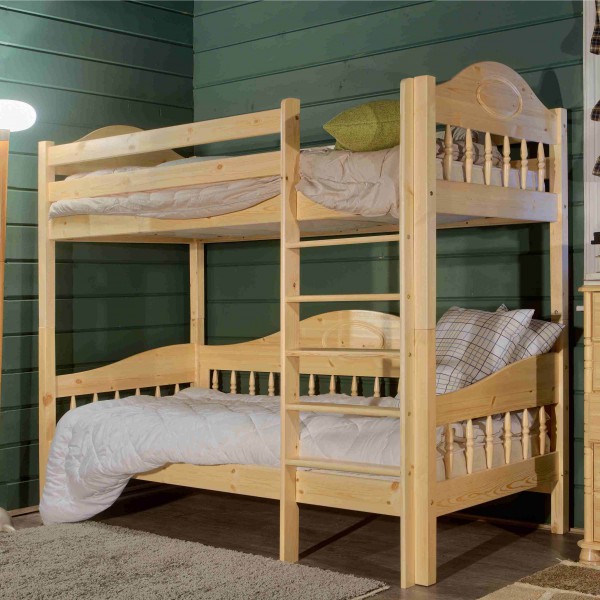
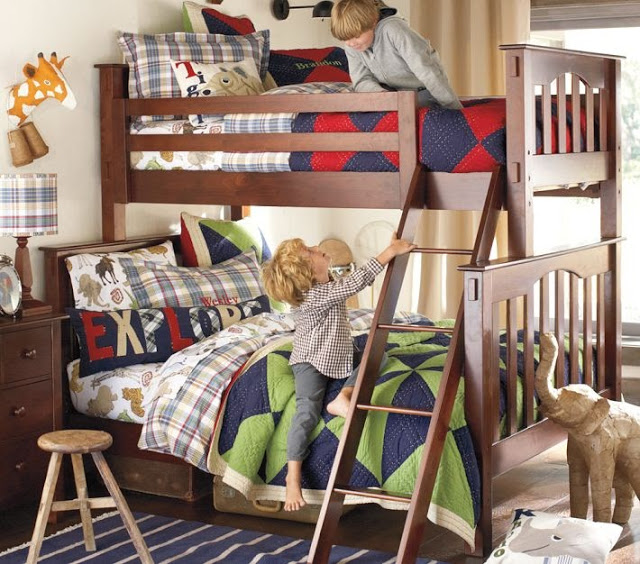
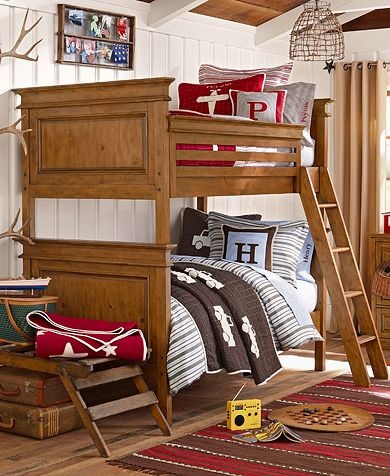
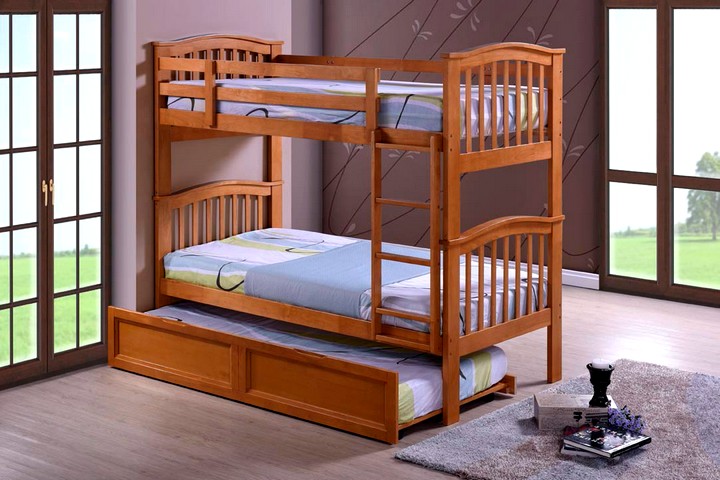
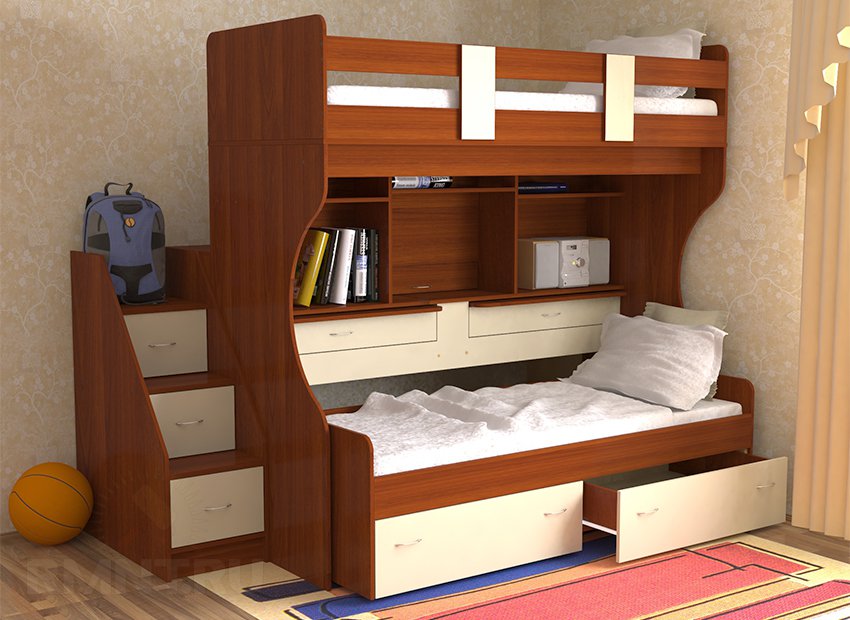
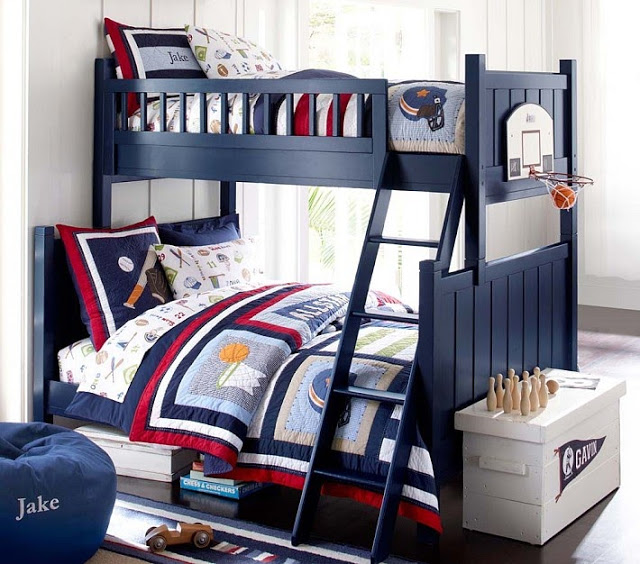
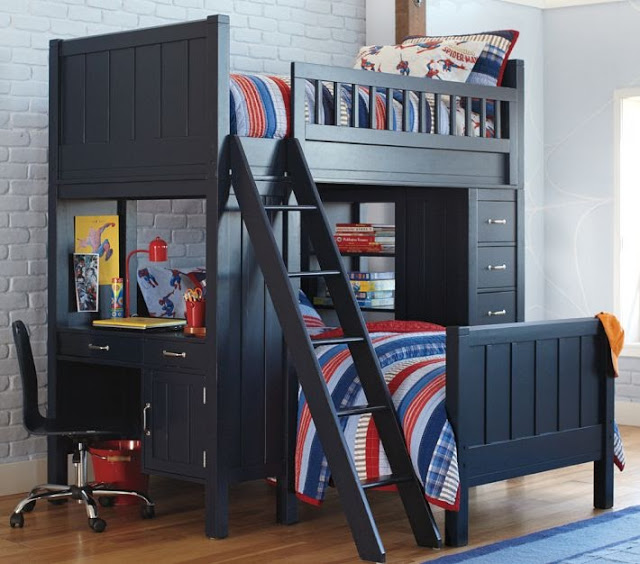
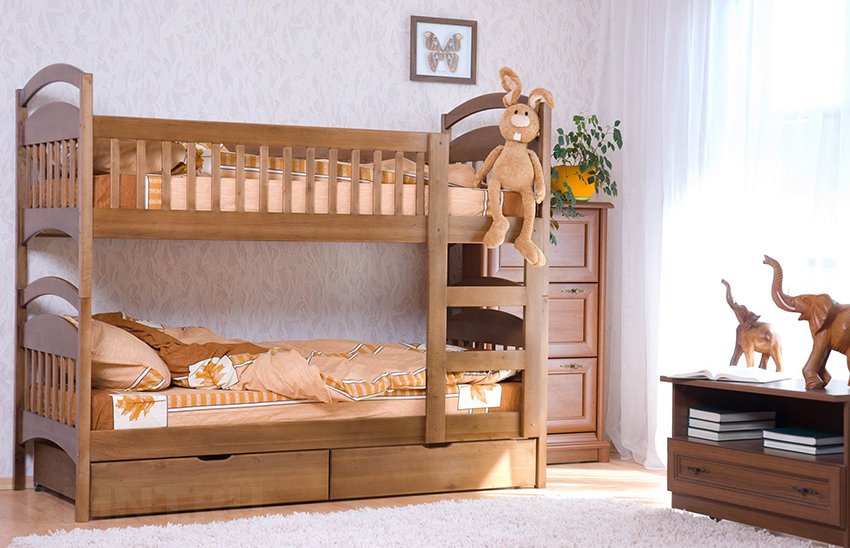
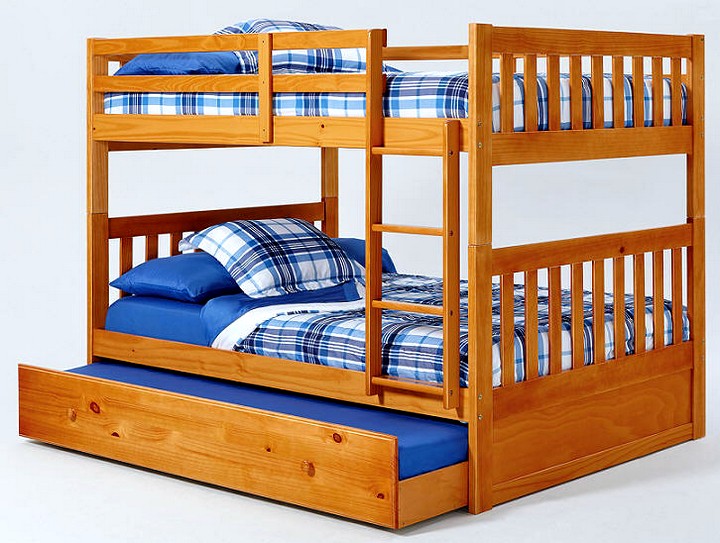
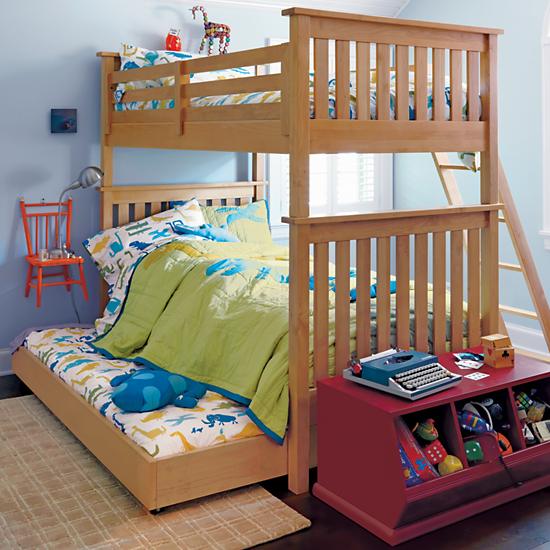
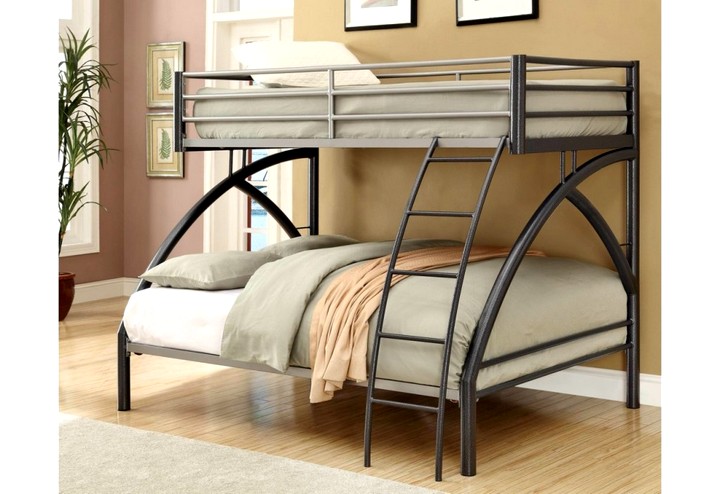
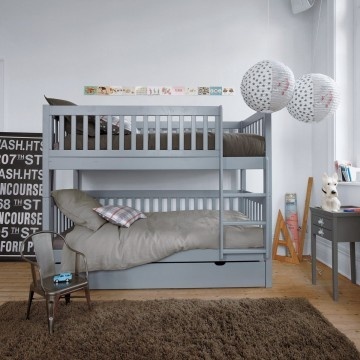
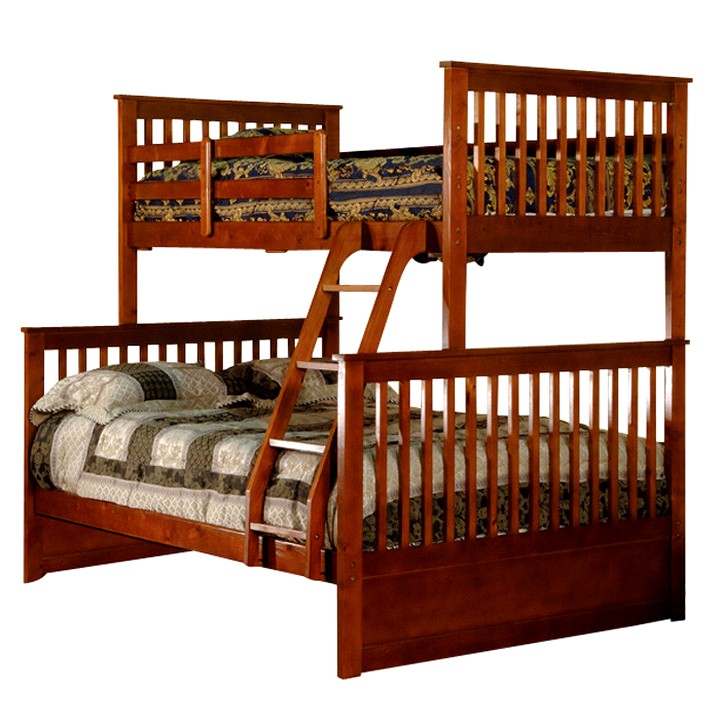
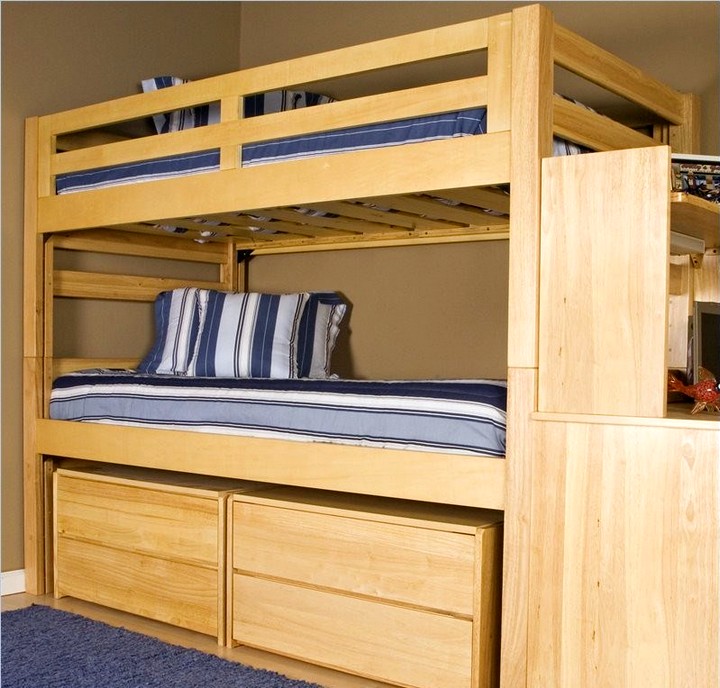
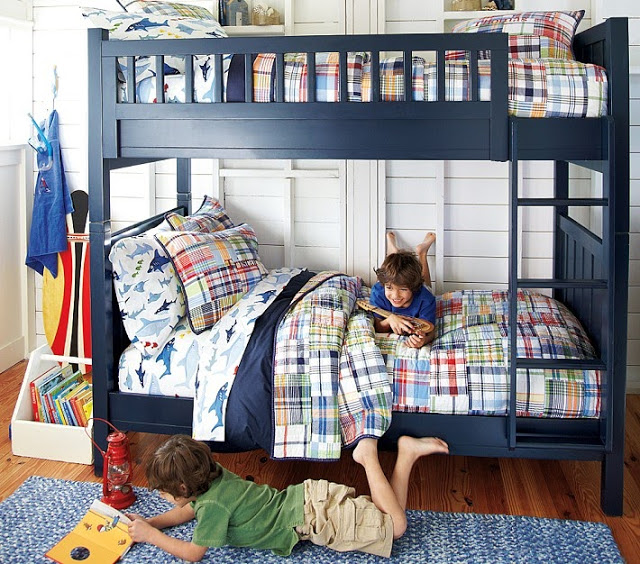
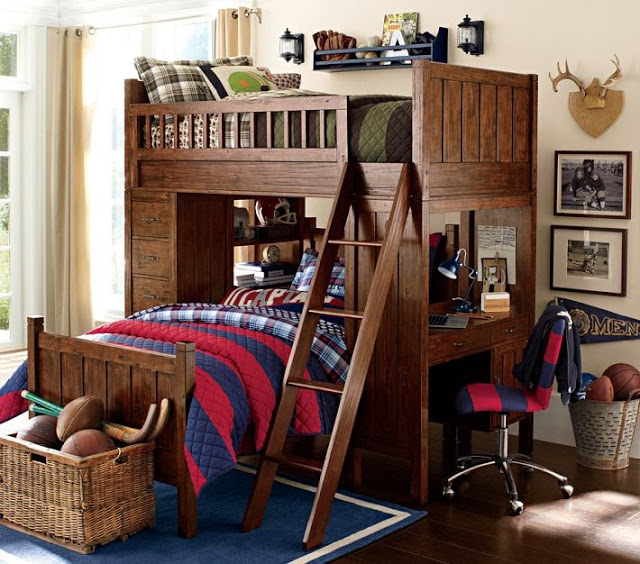
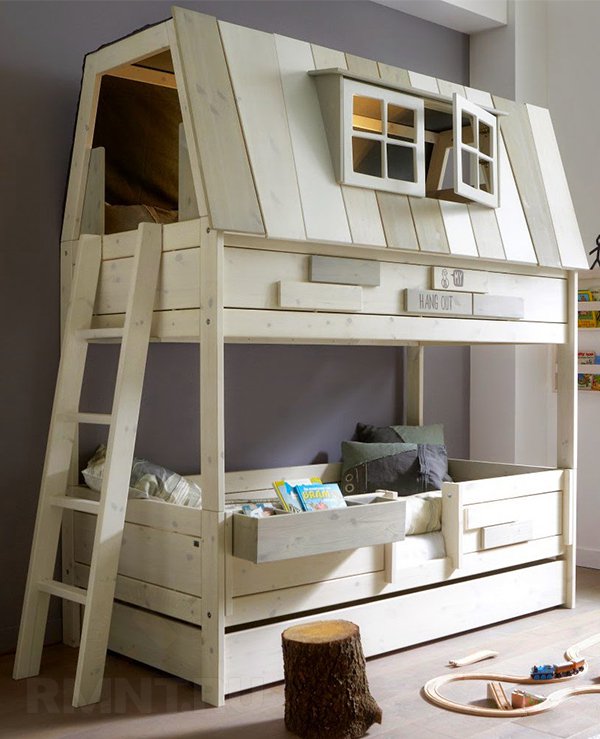
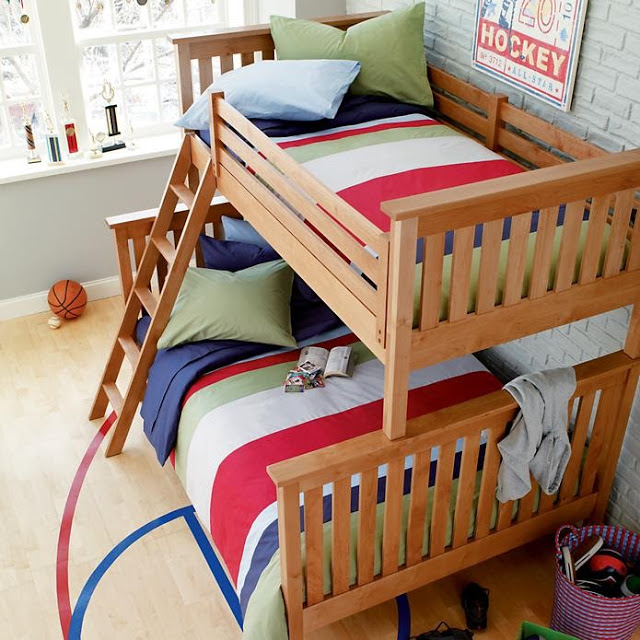
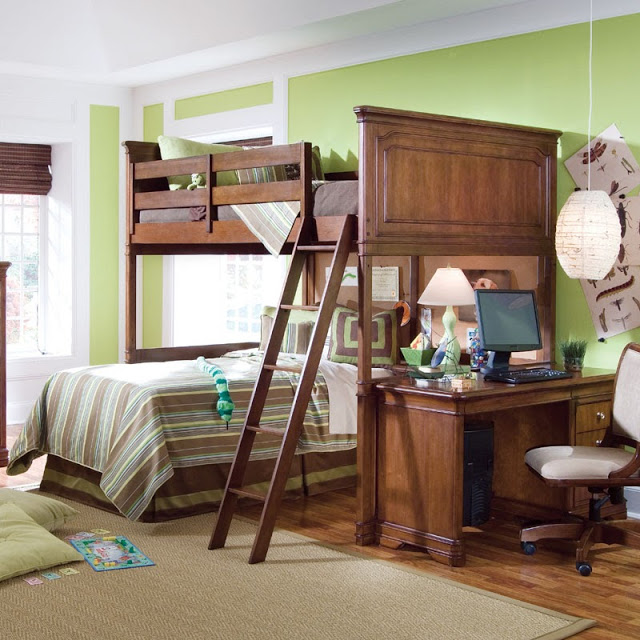
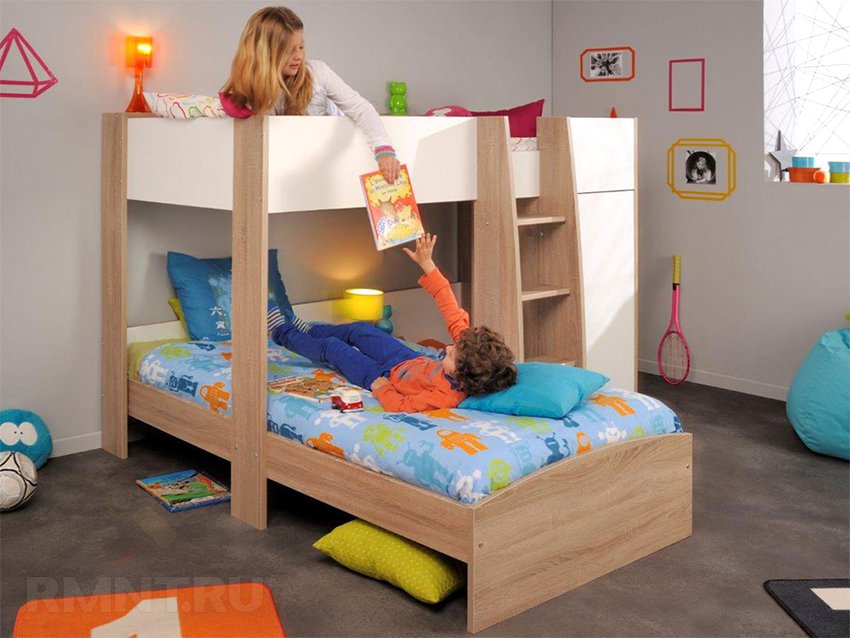
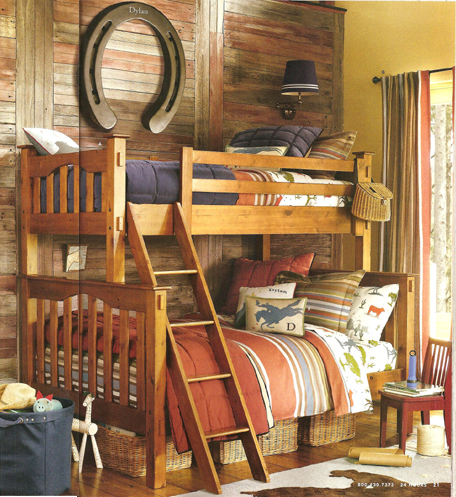
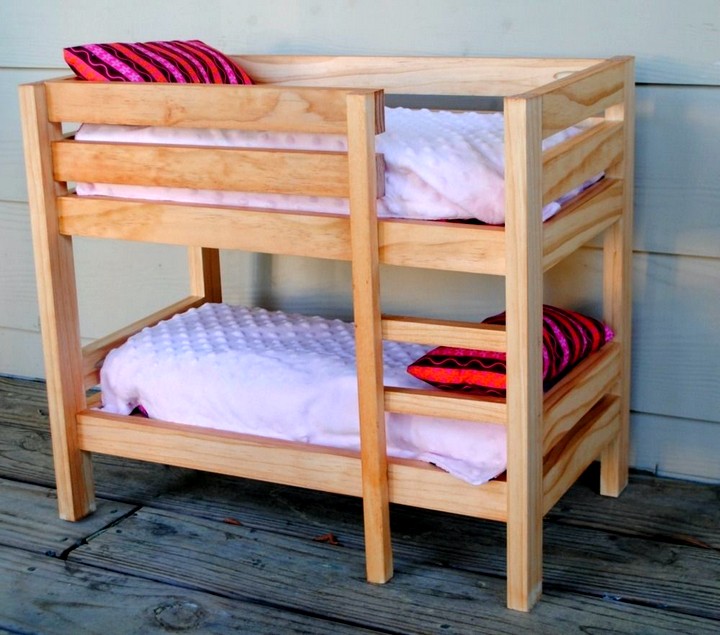
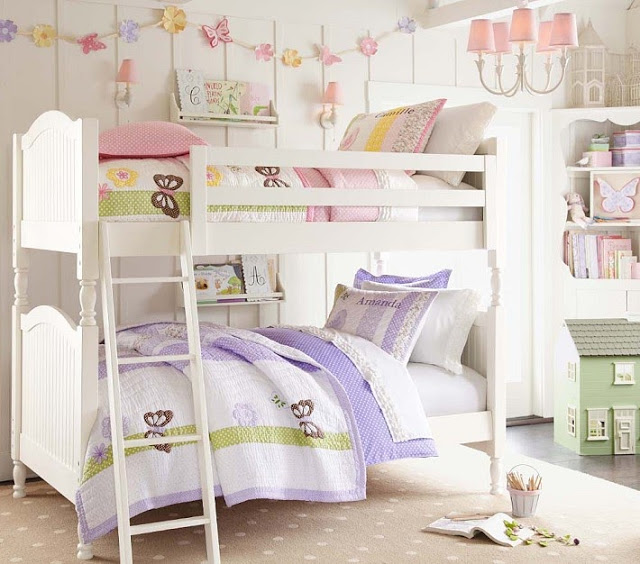
Choosing an inexpensive double bed model is quite difficult. If you need to save money, you can choose the right one for the interior, and most importantly - a quality one, an option for your room. Here are some ...