 Baby bed with drawers for storage. Advantages and disadvantages
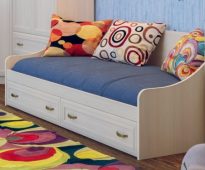
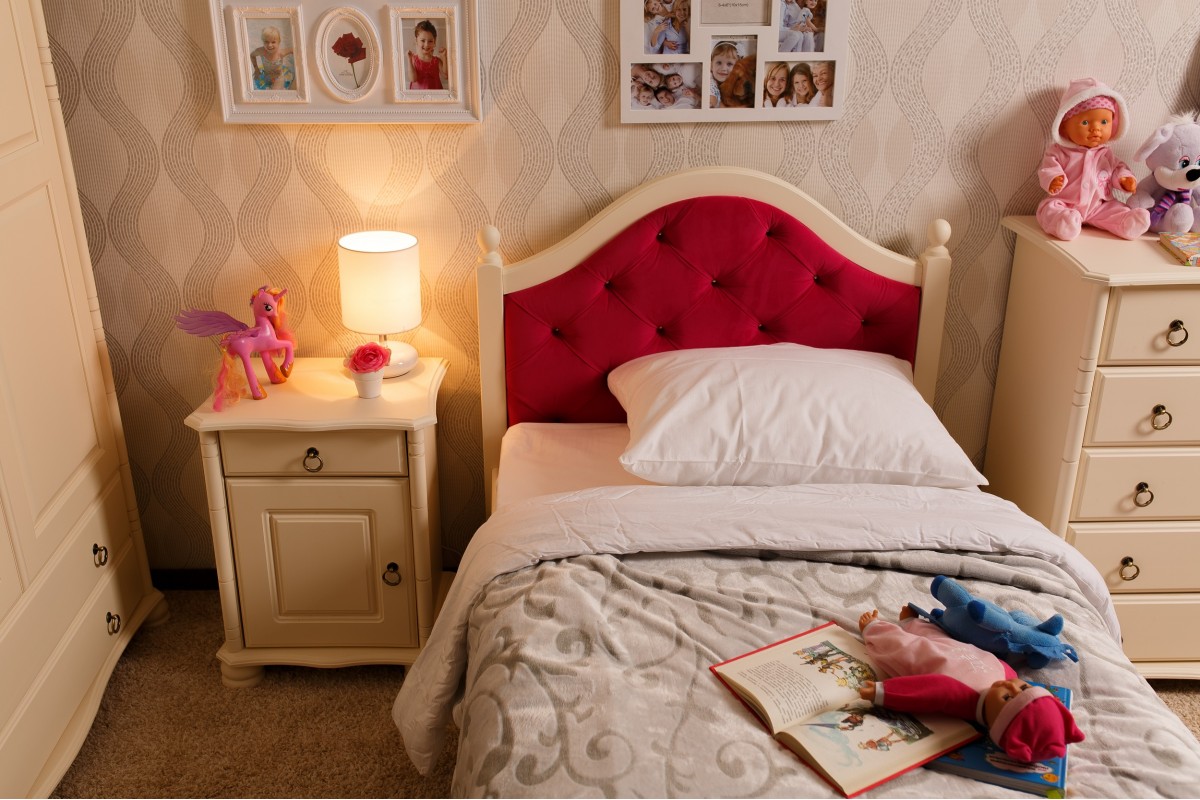
Sleeping child should be comfortable, comfortable.Often, the space of a child's room is limited, you have to think about functional furniture, which will not take up much space ...
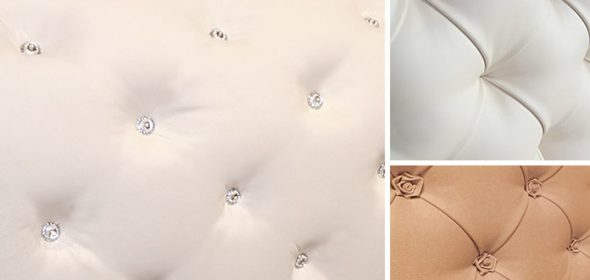
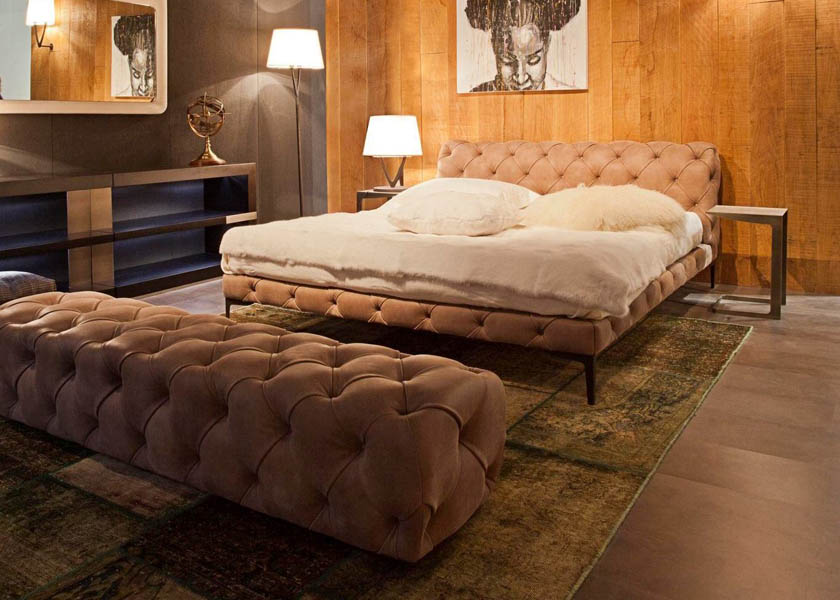
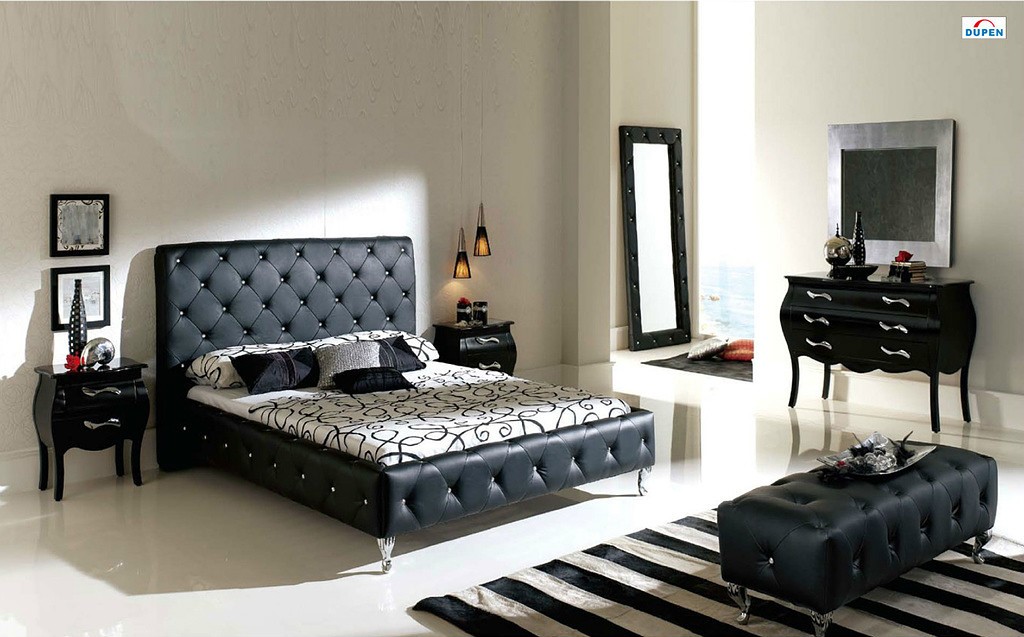
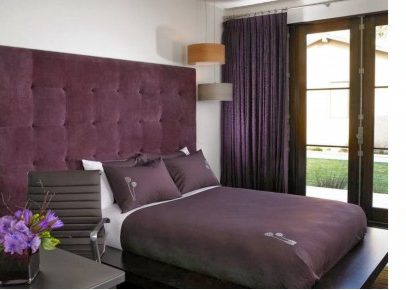
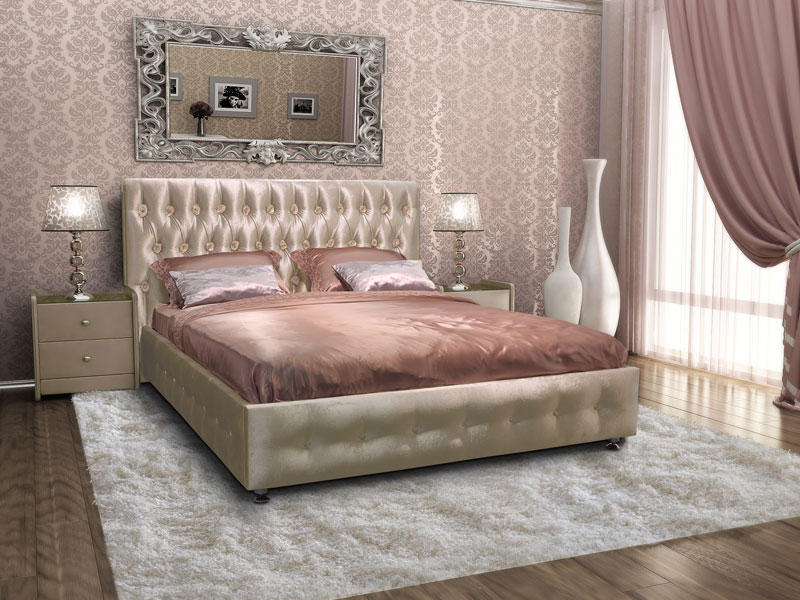
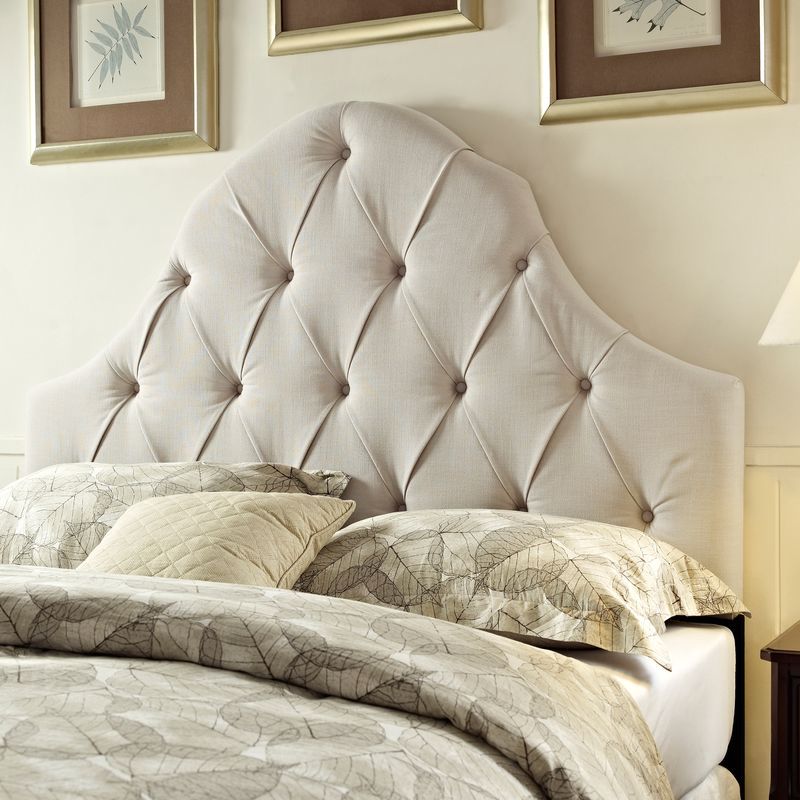
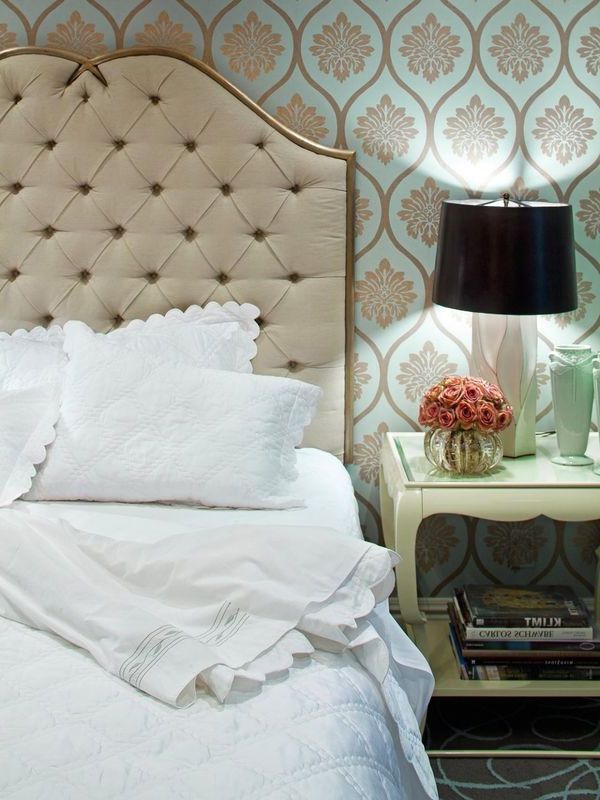
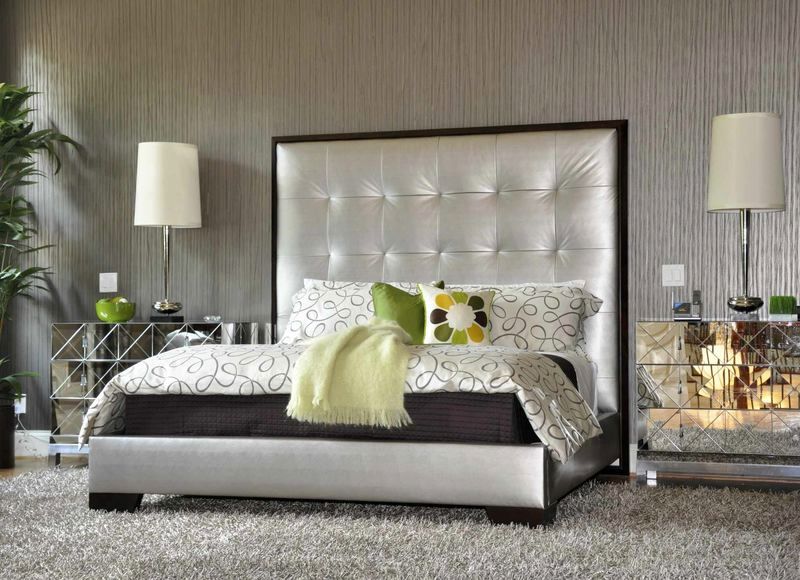
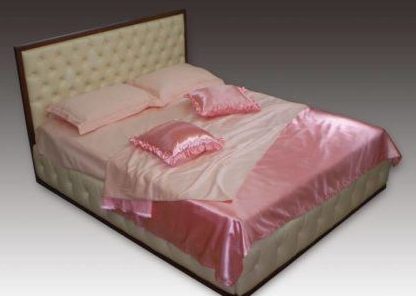
“Kapitone”, or carriage stitch - is one of the most luxurious types of furniture and interior decoration. Volumetric rhombuses or squares, covered with expensive fabrics, decorated with buttons or rhinestones, can transform and revitalize any environment.
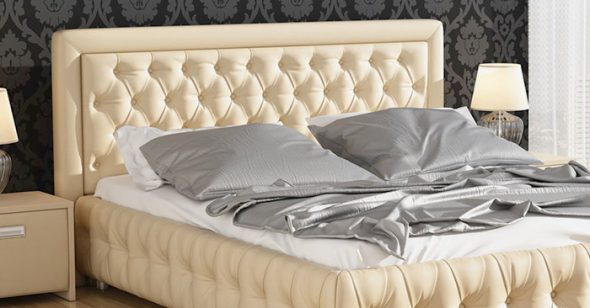
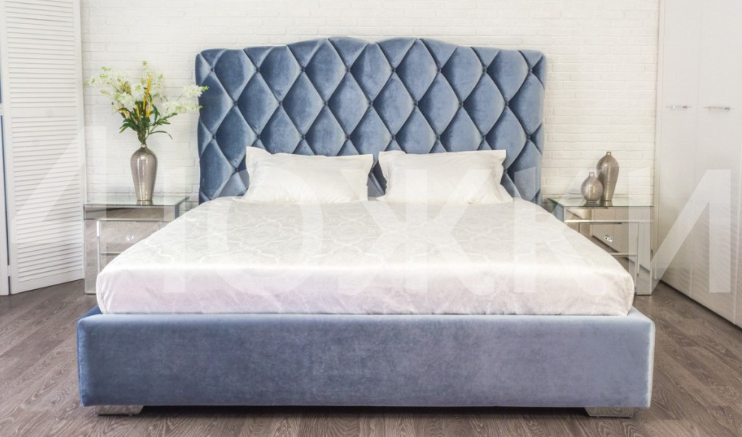
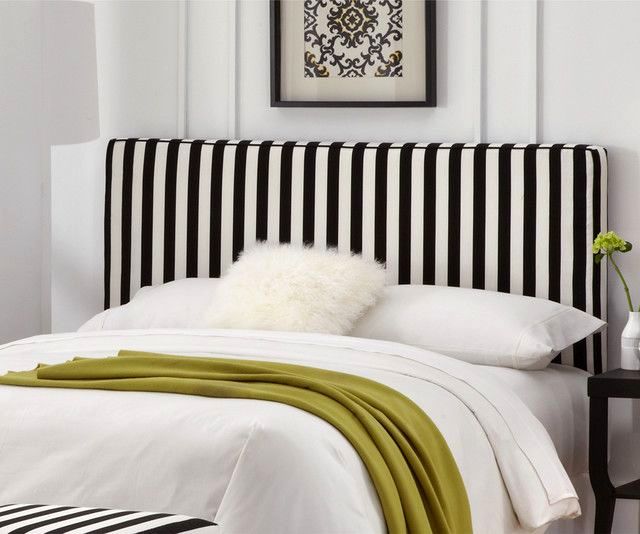
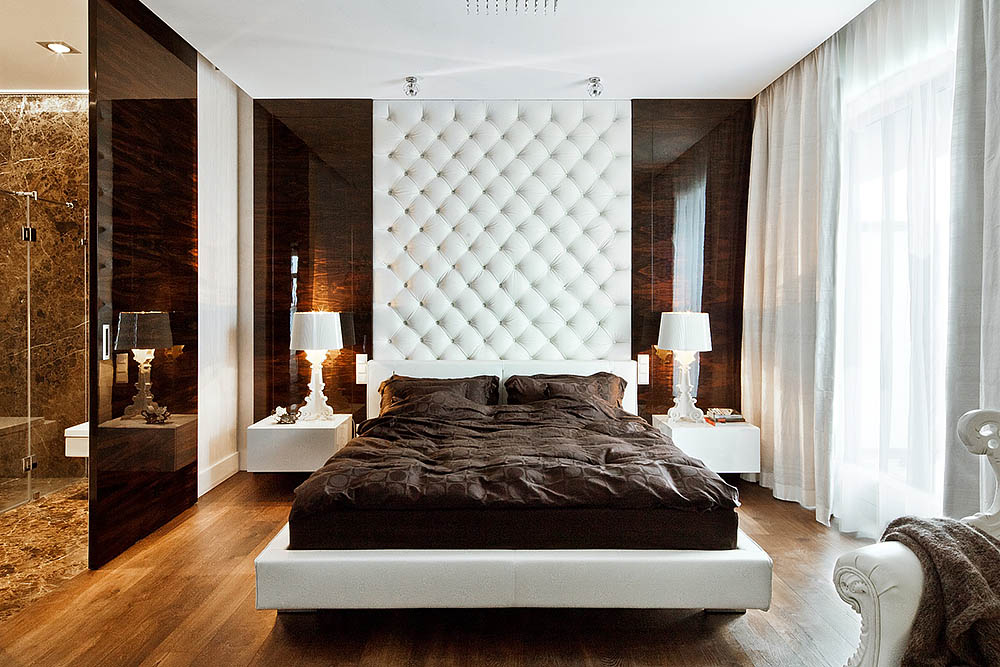
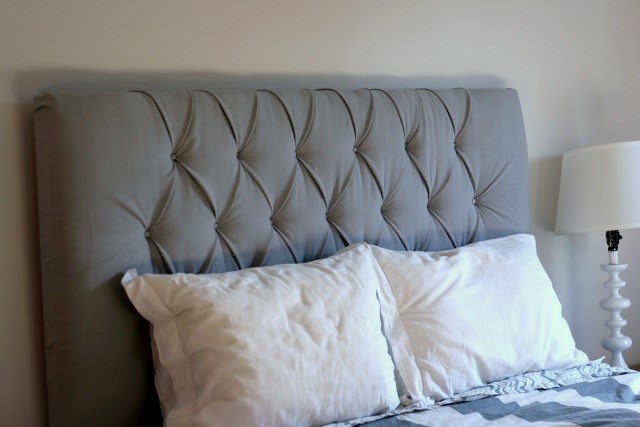
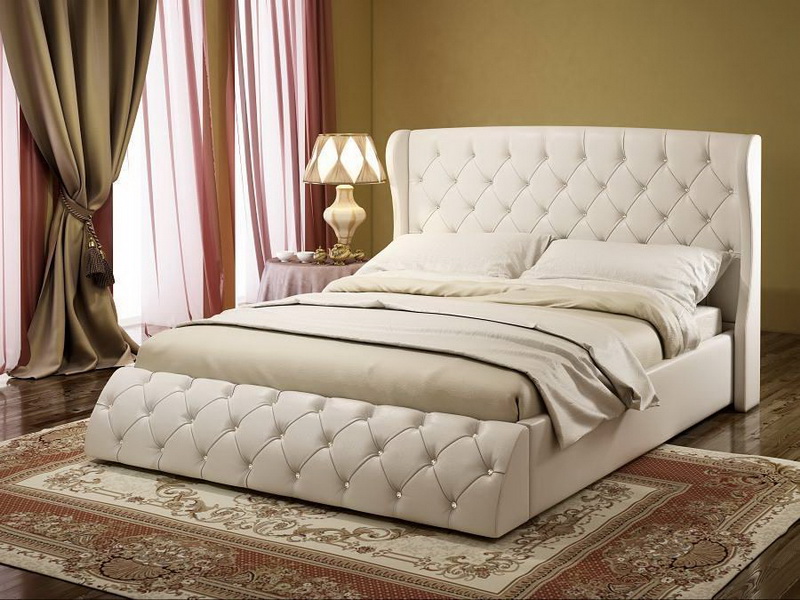
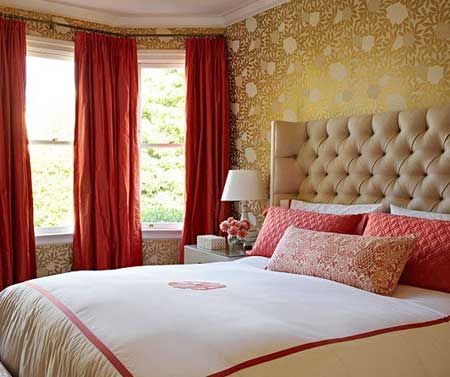
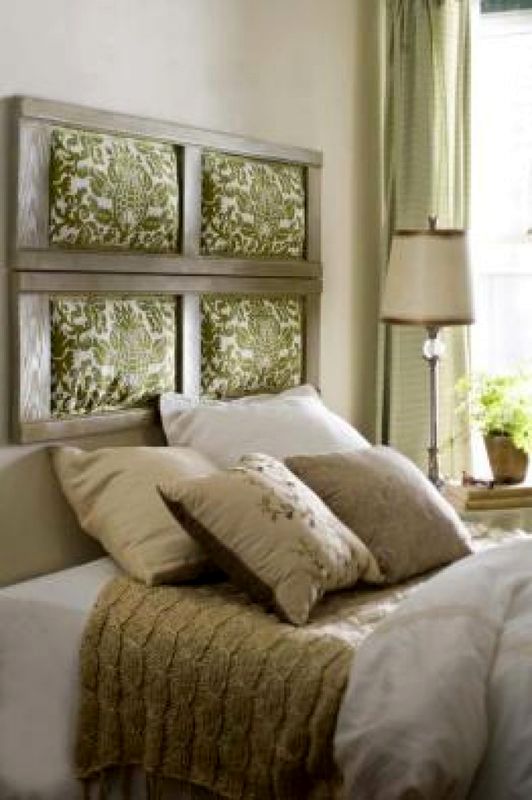
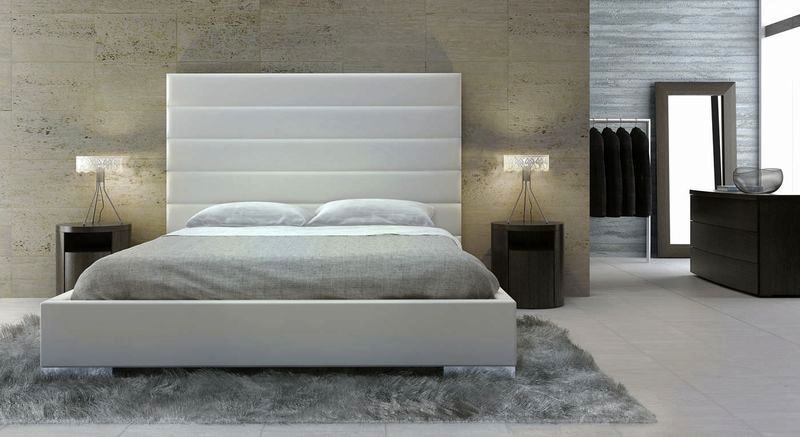
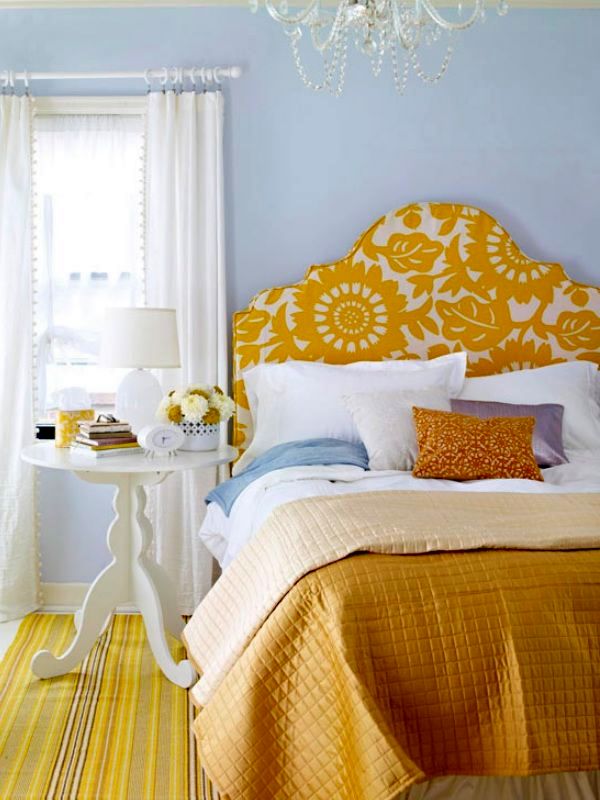
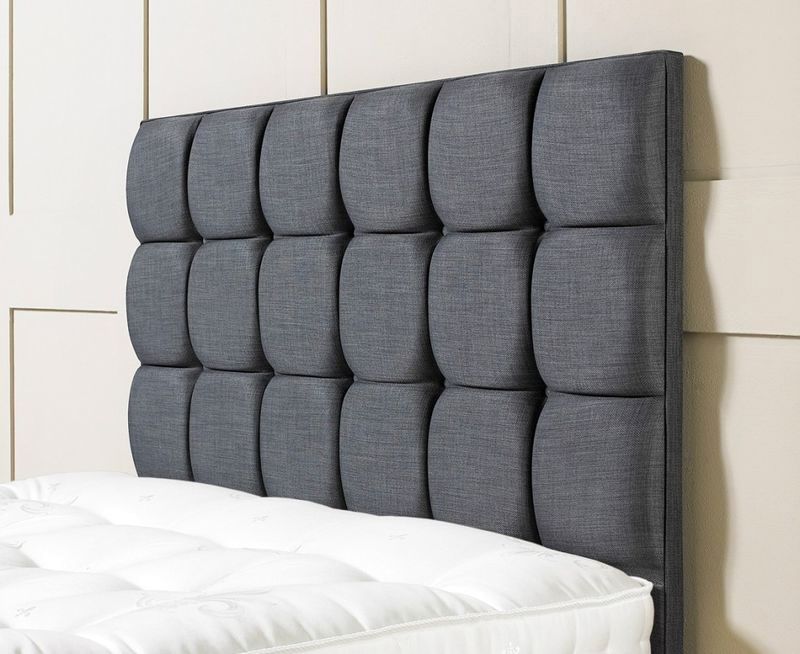
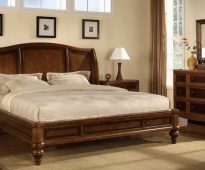
Beds with a soft headboard create a special comfort in the bedroom
Its history began in the middle of the eighteenth century, in France, during the reign of Emperor Napoleon III. In those days, this type of decoration was associated only with luxury and chic. The name “carriage fastener” is connected with the fact that this decor was used for the internal decoration of carriages. Unique finishing techniques quickly became widespread throughout Europe.
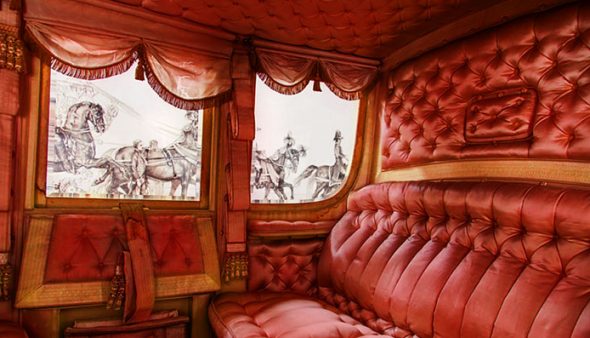
In the 18th century, carriages were decorated with this method
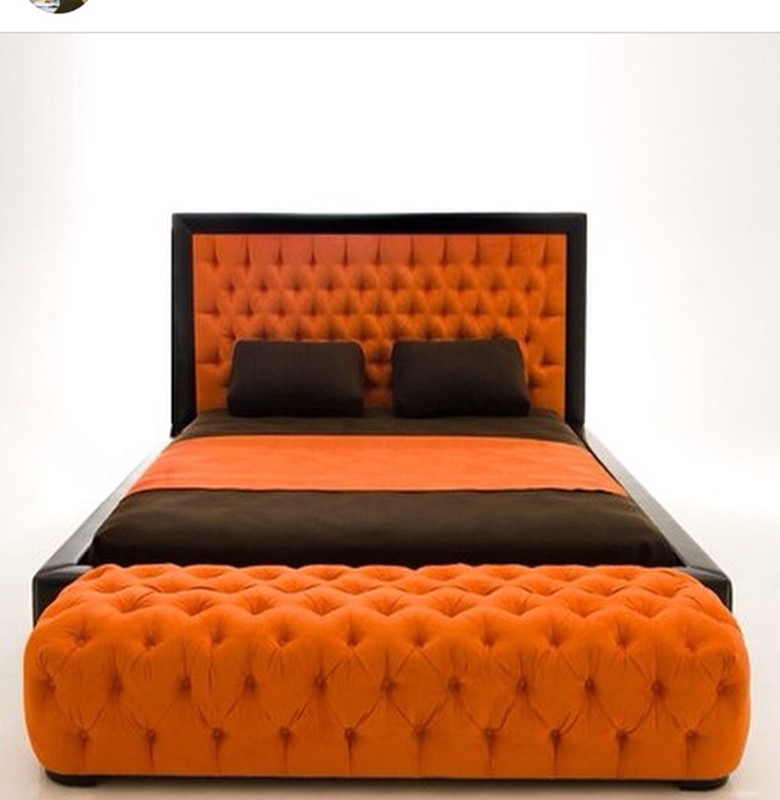
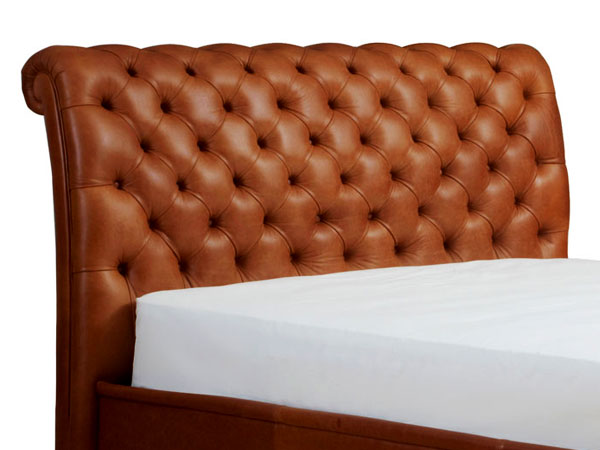
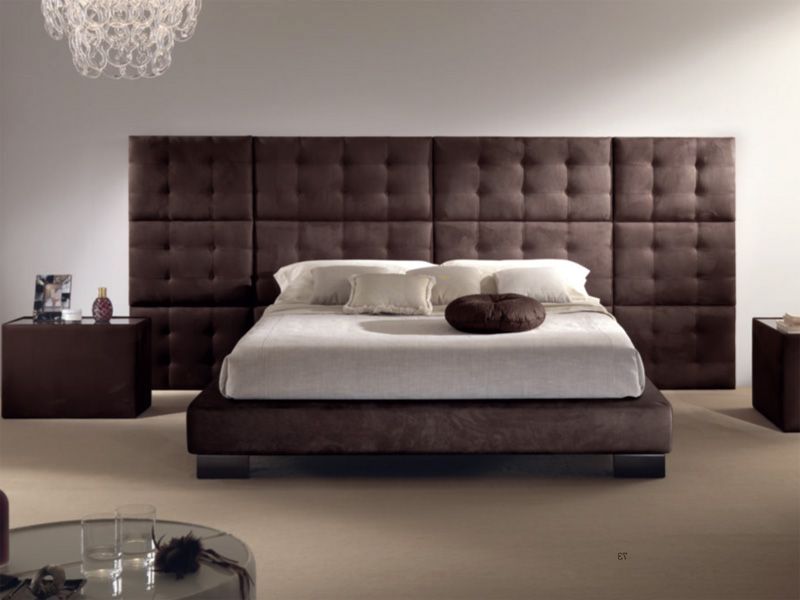
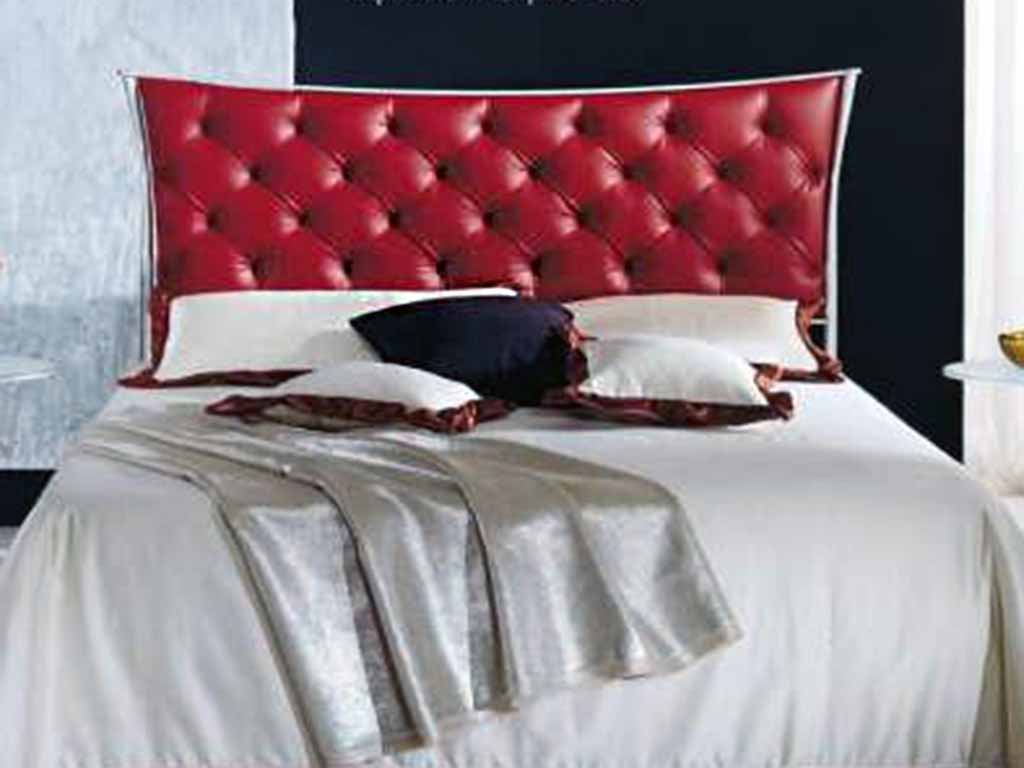
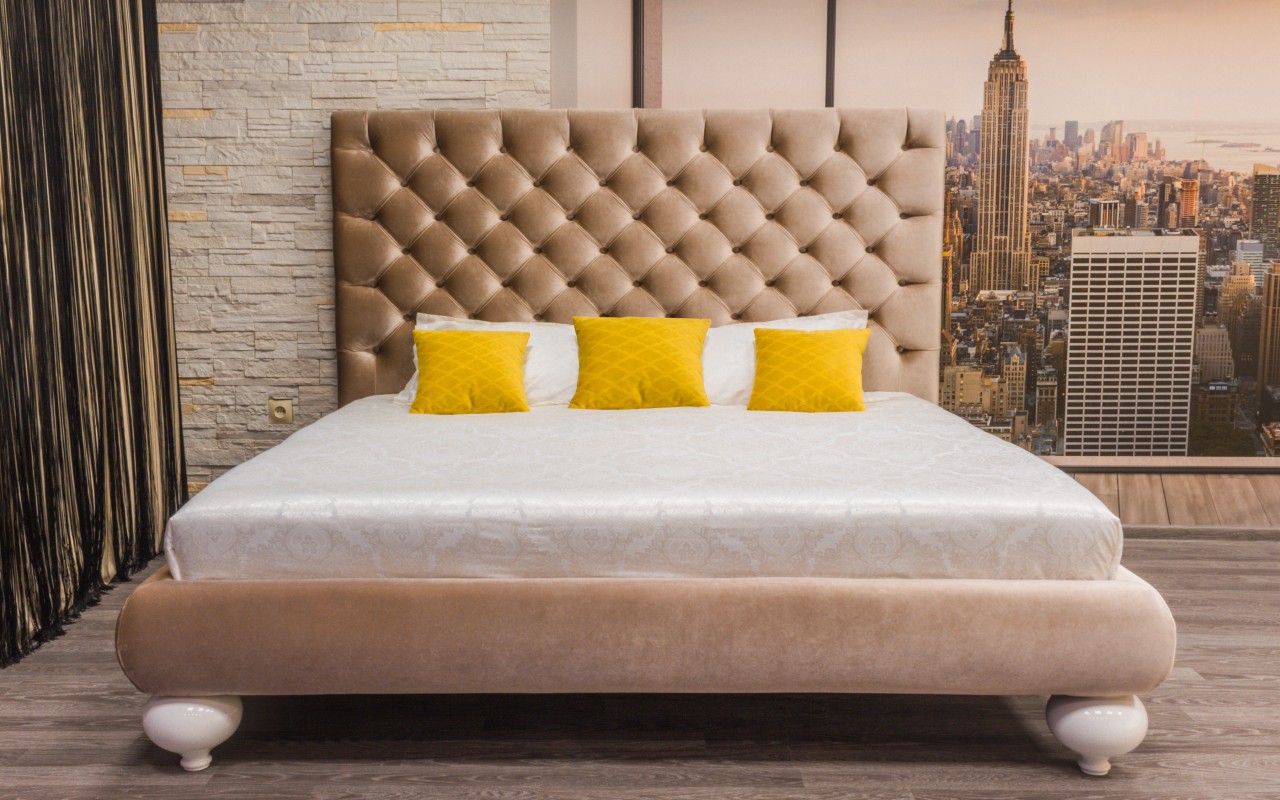
Today, the popularity of the carriage tie is still wide. For example, the authentic, legendary design of the Chesterfield sofa is still incredibly in demand among people who want to make their interior refined and luxurious.
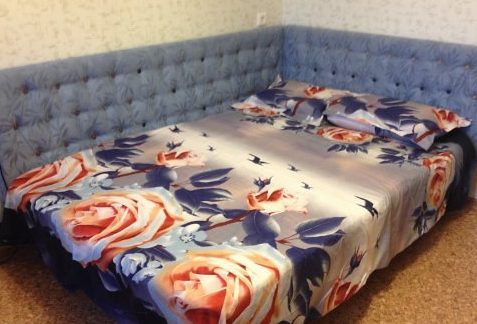
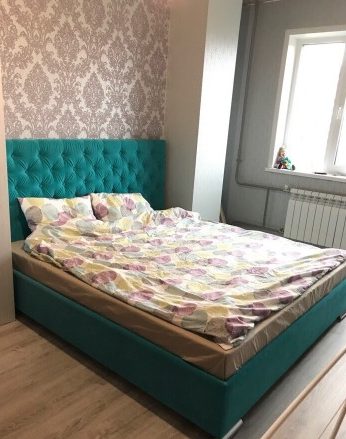
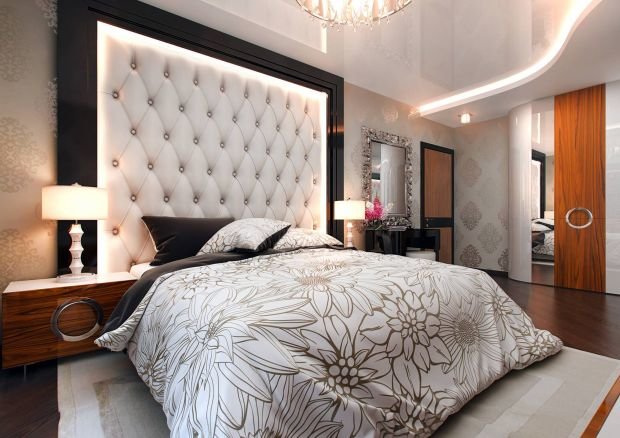
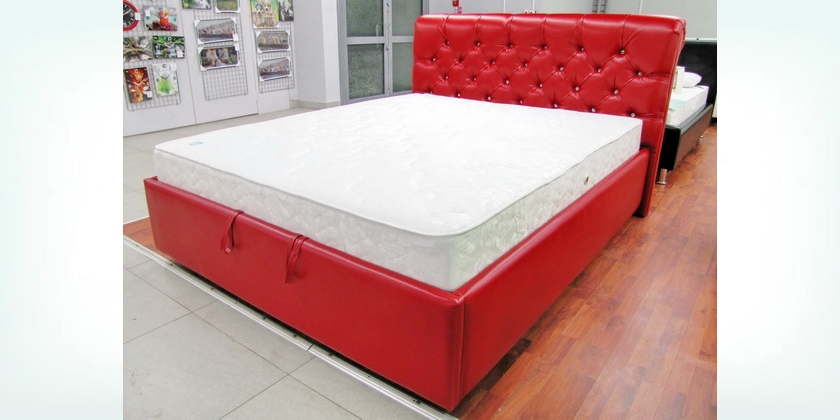
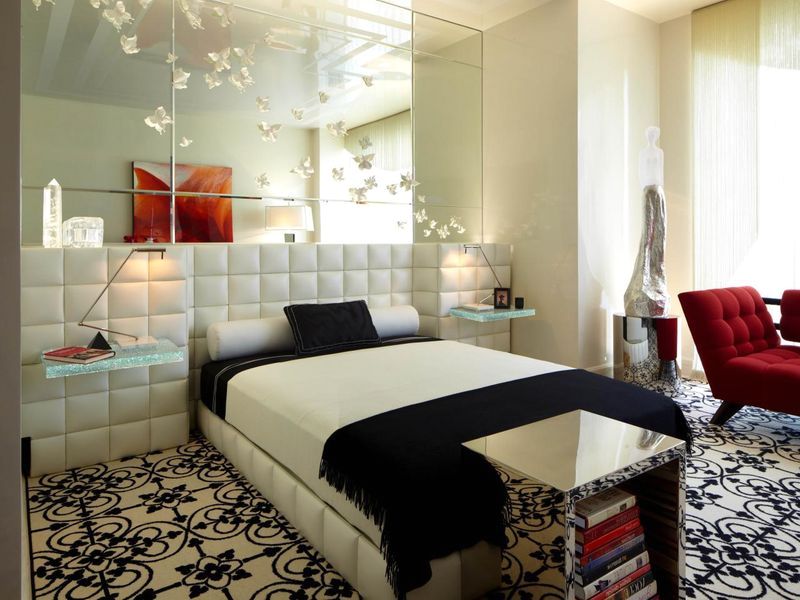
Currently, the Kapitone technique is used to decorate wall panels, furniture elements; its design can be used on materials for walls and decoration. Its distinctive feature is a soft upholstery, tied with buttons, while the folds between them form the pattern of the finished product - diamonds or squares. For such upholstery, high-quality, wear-resistant fabrics with a dense texture are used - natural and artificial leather, suede, velvet, velor, flock. For screed, we use pull buttons, or furniture nails with rhinestones and pearls.

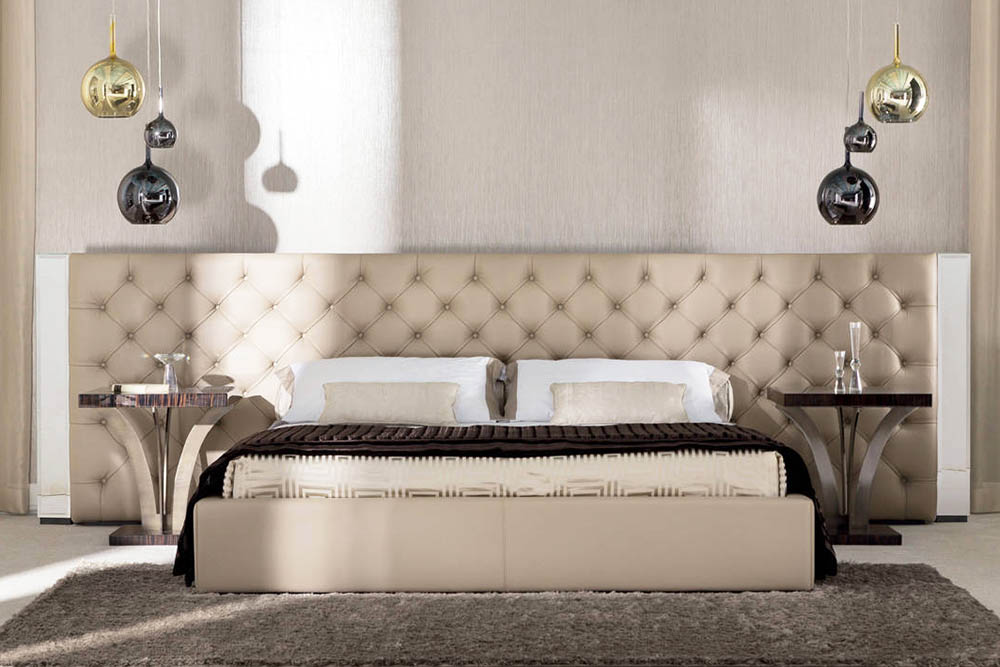
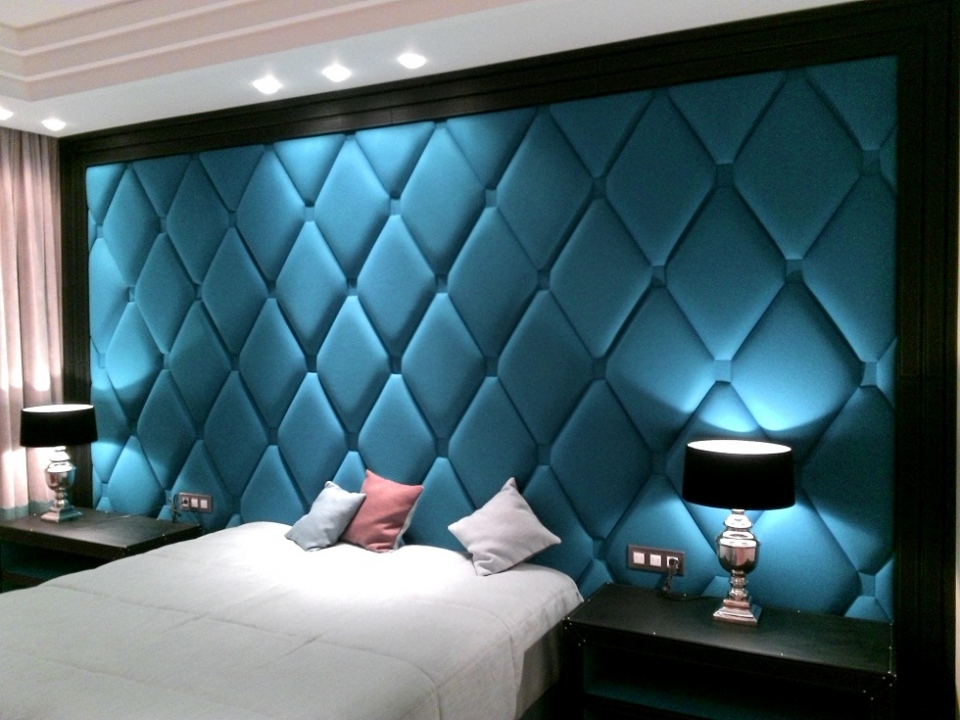
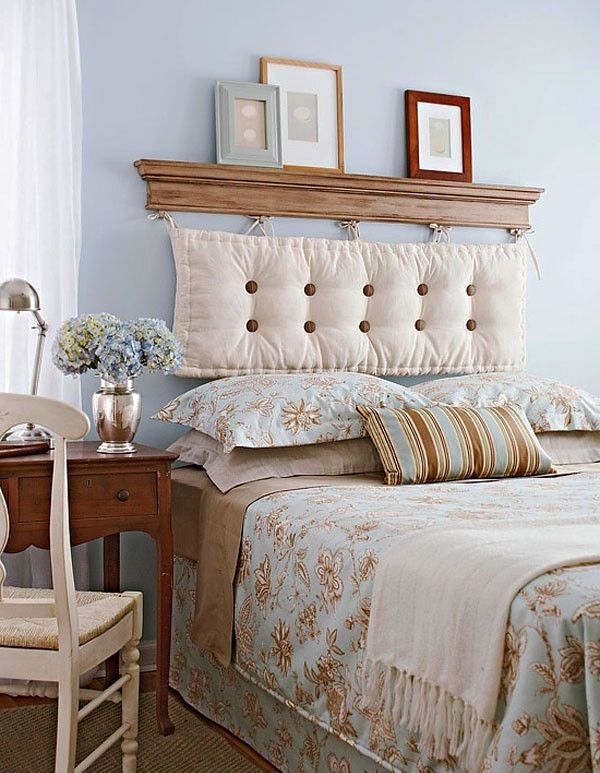
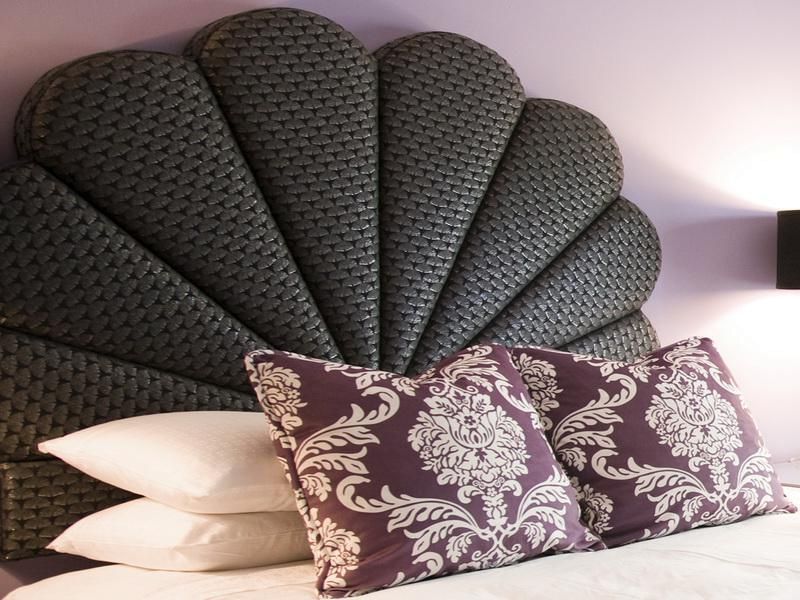
In addition to decorating sofas, armchairs, chairs and beds, the capitone technique is now actively used to decorate walls.
Content
Four-sided carriage headband for do-it-yourself headboard
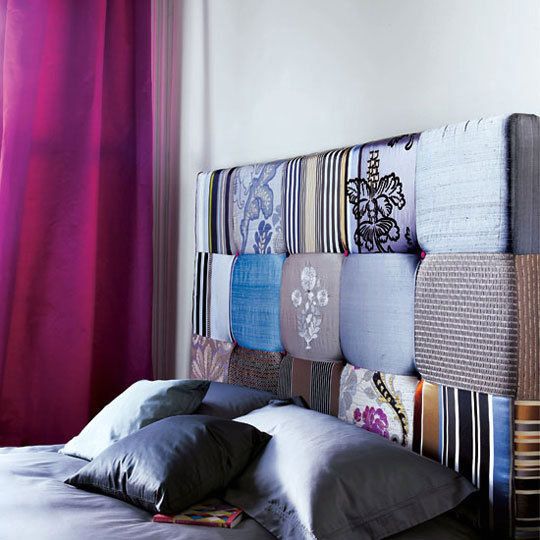
Carriage screed can also be used to update the annoying furniture. For example, you can upgrade your old bed by making a headboard for her with “Kapitone” trimming yourself. Of course, this will have to make a lot of effort, but the result will certainly justify them. Self-production has a number of obvious advantages over the purchased product:
In order for the bed, dragged by your own hands, to look perfect, you must strictly adhere to the instructions for the manufacture of the four-sided screed.
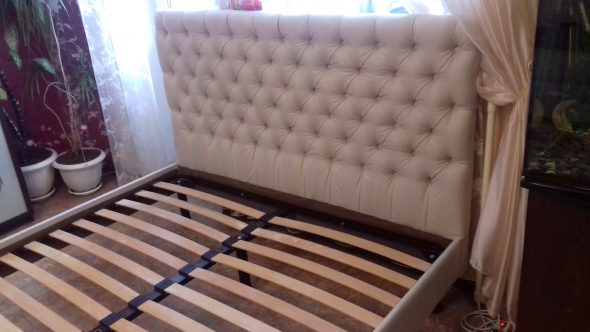
Homemade bed with a headboard with a four-sided tie
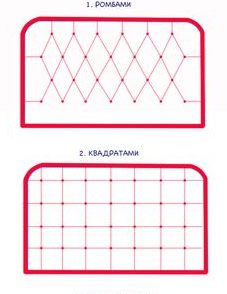
Types of patterns carriage stitch
First, you should decide on the decor pattern - a rhombus or square, as well as the design and shape of the future design. For the first experience, it is recommended to build on simple headboard shapes - a rectangle or a square. Next you need to think about what material will be used for upholstery.Here it is recommended to choose from durable furniture fabrics that can withstand high loads during operation, since thin matter, not intended for upholstery, can be torn during the stretching of buttons. The choice of color is left to the discretion of the master, but it is preferable to use plain fabrics. Large drawings and patterns are deformed when the waist and can ruin the appearance of the product. If you plan to use pulling buttons, then you should take care of this in advance - buy a special press and make blanks, or order their production in a specialized workshop. With ready-made furniture buttons are much easier - you can choose them in the furniture fittings shop.
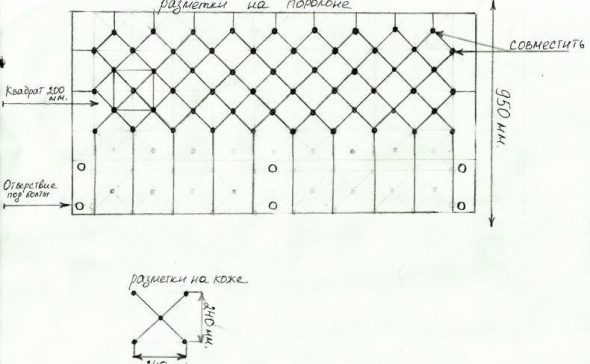
Sketch of a future headboard for a bed with dimensions
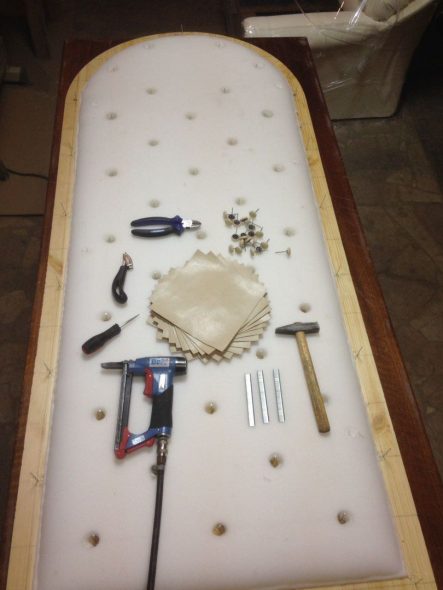
Materials and tools for the manufacture of carriage screed
After the sketch is made, you can proceed directly to the manufacturing process.
List of necessary materials and tools.
When choosing foam rubber, you need to pay attention to its density, elasticity and purpose. The life of the finished product depends on these parameters.
The choice of glue also requires increased attention. It is not recommended to use adhesive solutions that contain toxic and flammable components, such as trichloroethane and toluene. In addition to the obvious harm to health, the bonding strength of them also leaves much to be desired. It is recommended to use adhesive compositions based on polyurethane, neoprene, and butadiene styrene. High-quality foam glue must be safe for humans and the environment, to form a strong seam, flexible and moisture-resistant, to be non-flammable.

High-quality foam glue
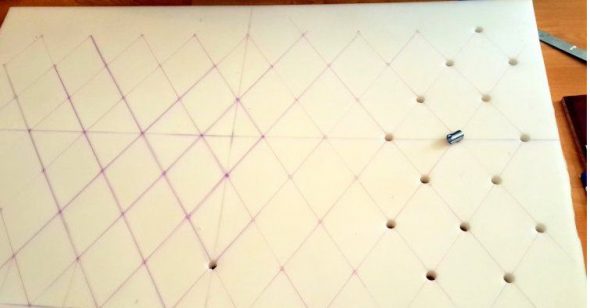
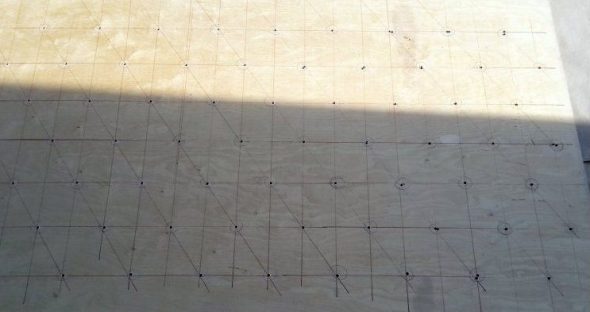
We cut the sheet of foam rubber in accordance with our dimensions and begin to mark it with diamond elements.
The first step is to draw the outline of the future carriage tie on a sheet of foam rubber. The easiest way is to cut a diamond pattern of the desired size and mark the entire sheet by it. First, you should draw 2 axes intersecting in the center of the sheet - vertical and horizontal. Attach a rhombus-center pattern to the center of the intersection of the axes and thus draw the entire working area.
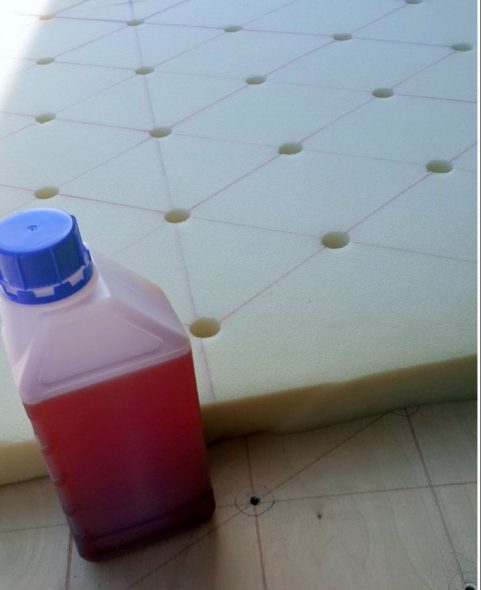
With the nozzle “digital” on the marked attachment points we cut out shallow holes
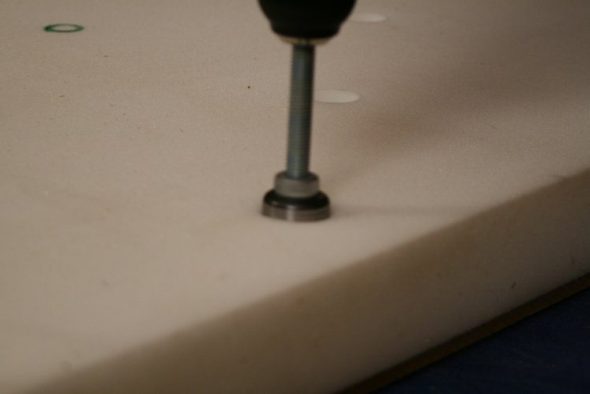
The tops of the rhombus will be the points of the button tension. In these places it is necessary to make round holes in foam rubber. They are made using a special nozzle on the drill - “digital set”, but for want of it, it can be replaced with a metal tube of a suitable diameter. It is installed in the right place and even cuts are cut down by a tube. In extreme cases, they can be cut with a stationery knife, but then the edges of the holes are uneven. This is not critical and does not affect the appearance of the product.
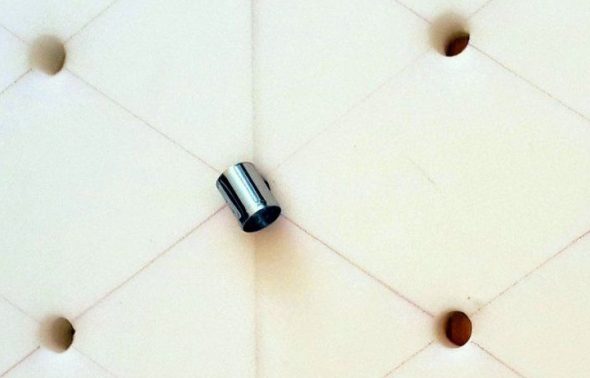
Click on the shape of the tube and at the same time scrolling through it, make through holes
After all the cuts are ready, you need to mark them on a sheet of plywood. To do this, attach the foam to the plywood and mark the points in the places of the holes. Drill a plywood shield at each point with a drill.
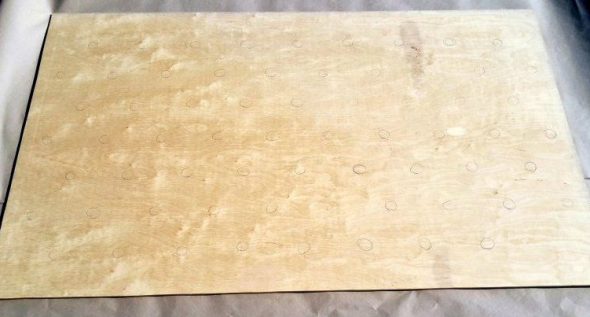
Saw a sheet of plywood in accordance with the size of a sheet of foam rubber and transfer markings to plywood
Drill a hole at the intersection of the rhombus with a drill
Next, you need to glue the foam rubber to the plywood board, making sure that the edges and all openings of these two parts coincide. Do not use glue, corrosive porous structure of foam rubber, otherwise the finished product will not last long. It is recommended to use a special adhesive for foam rubber, safe for health and characterized by high adhesion to various surfaces.
Glue a sheet of foam rubber to plywood with furniture glue
Sometimes for strong bonding it is necessary to withstand a certain time. Characteristics of adhesive compositions of different brands differ from each other. Read the information on the label.
After the foam is firmly glued to the plywood, you need to carefully cover it with a thin padding polyester. The edges of the padding polyester fixed with a stapler on the back of the plywood
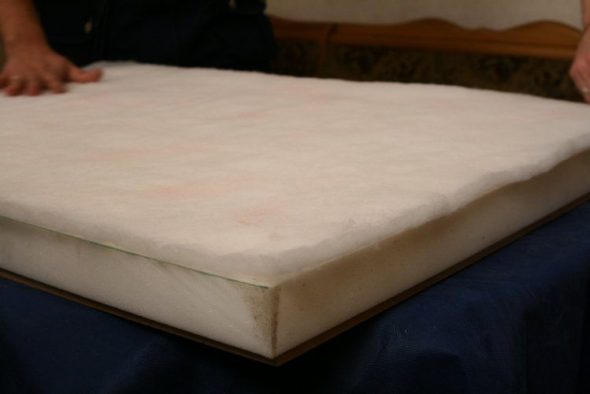
On the rubber glue to the foam we glue synthetic winterizer
We cover the headboard with the main fabric, starting from the extreme left side
When the base of the head is ready, you can begin the process of covering the frame with furniture fabric. It should start at the extreme point of the head, gradually moving to the opposite side. 2 needles with a strong thread are introduced simultaneously into each hole, pulled out by pulling the fabric onto the reverse side of the plywood and fixed with a stapler several times as a zigzag.
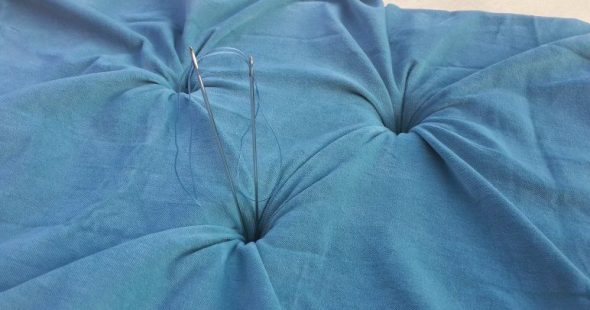
Insert polyester thread into 2 long needles
Fasten furniture stapler zigzag several times
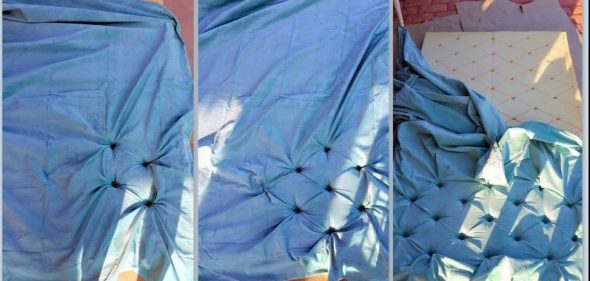
In the course of laying the fabric, between the points of tension, folds are formed from it, in accordance with the designed pattern (diamonds, squares). When the whole picture of the carriage tie is ready, it is necessary to wrap the edges of the fabric on the wrong side of the frame and firmly fix it with a stapler along the entire perimeter.
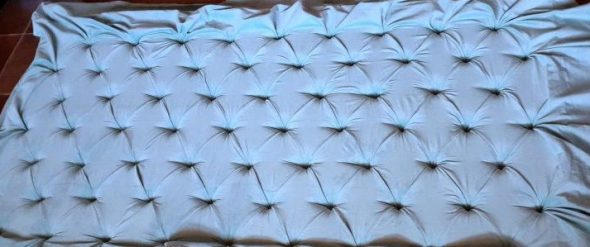
All folds are formed and firmly fixed on the back side.
We make the edges of the headboard and fasten the fabric on the wrong side
Options for decorating the four-sided tie
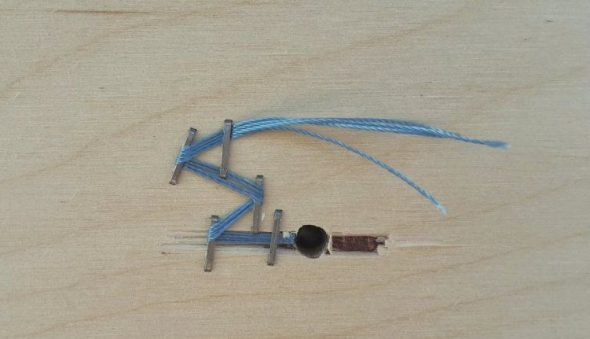
Last of all, buttons are sewn into the holes, or fastened in the manner described above, with the help of two long needles that pull the thread on which the button is held, on the wrong side. There is another way in which the folds are immediately attached to the button, but in this case there is a risk of a violation of the pattern if it comes off during operation.
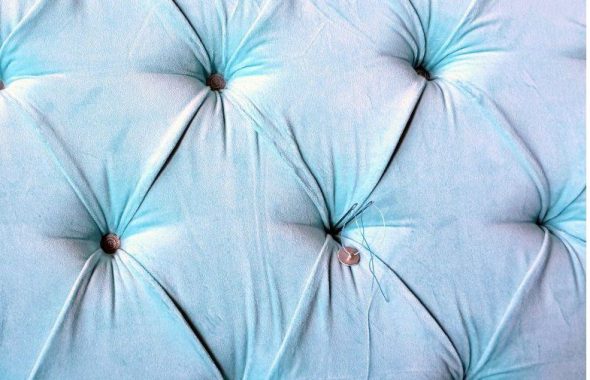
Sew decorative buttons, straighten all the folds
After the front side of the backrest is completely ready, its back side is neatly covered with technical fabric (spunbond, coarse calico).
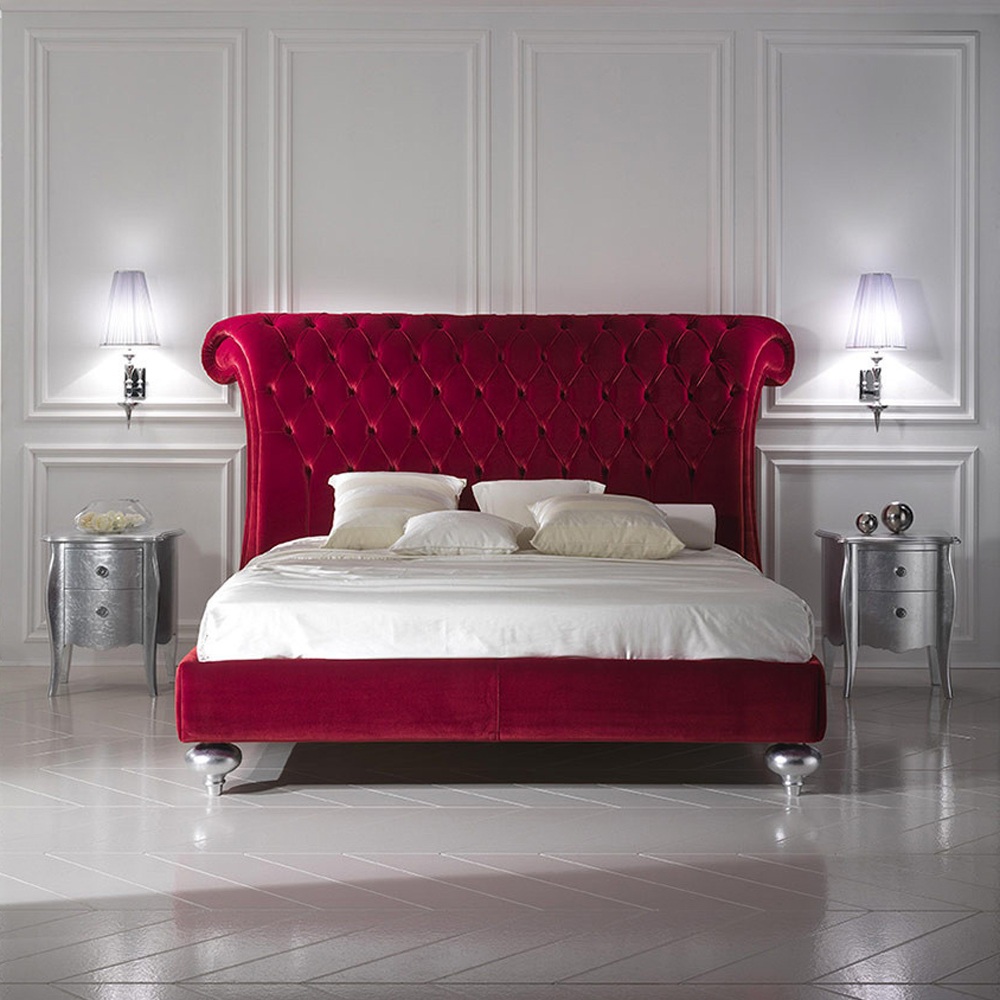
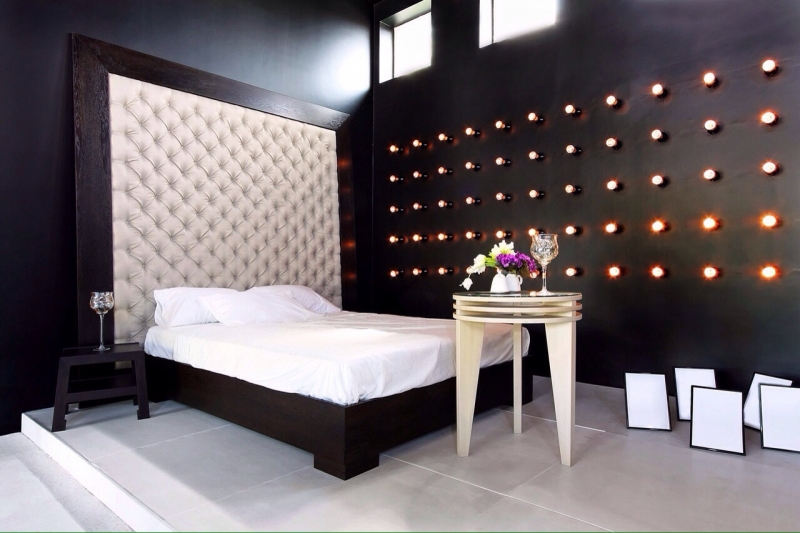
The headboard with a carriage fastener can be framed in a carved baguette or used without it. It can be mounted on the wall, near which the bed will be installed, and can be mounted directly to the bed frame - this remains for the user to choose.
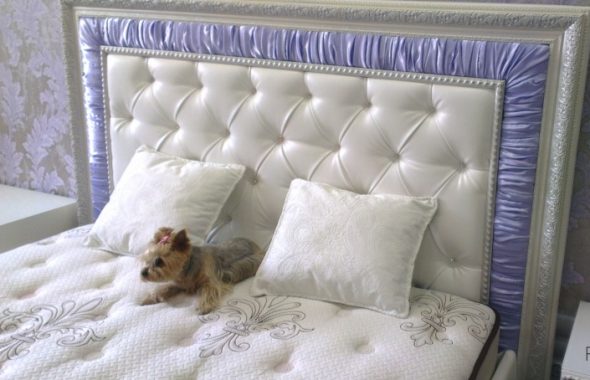
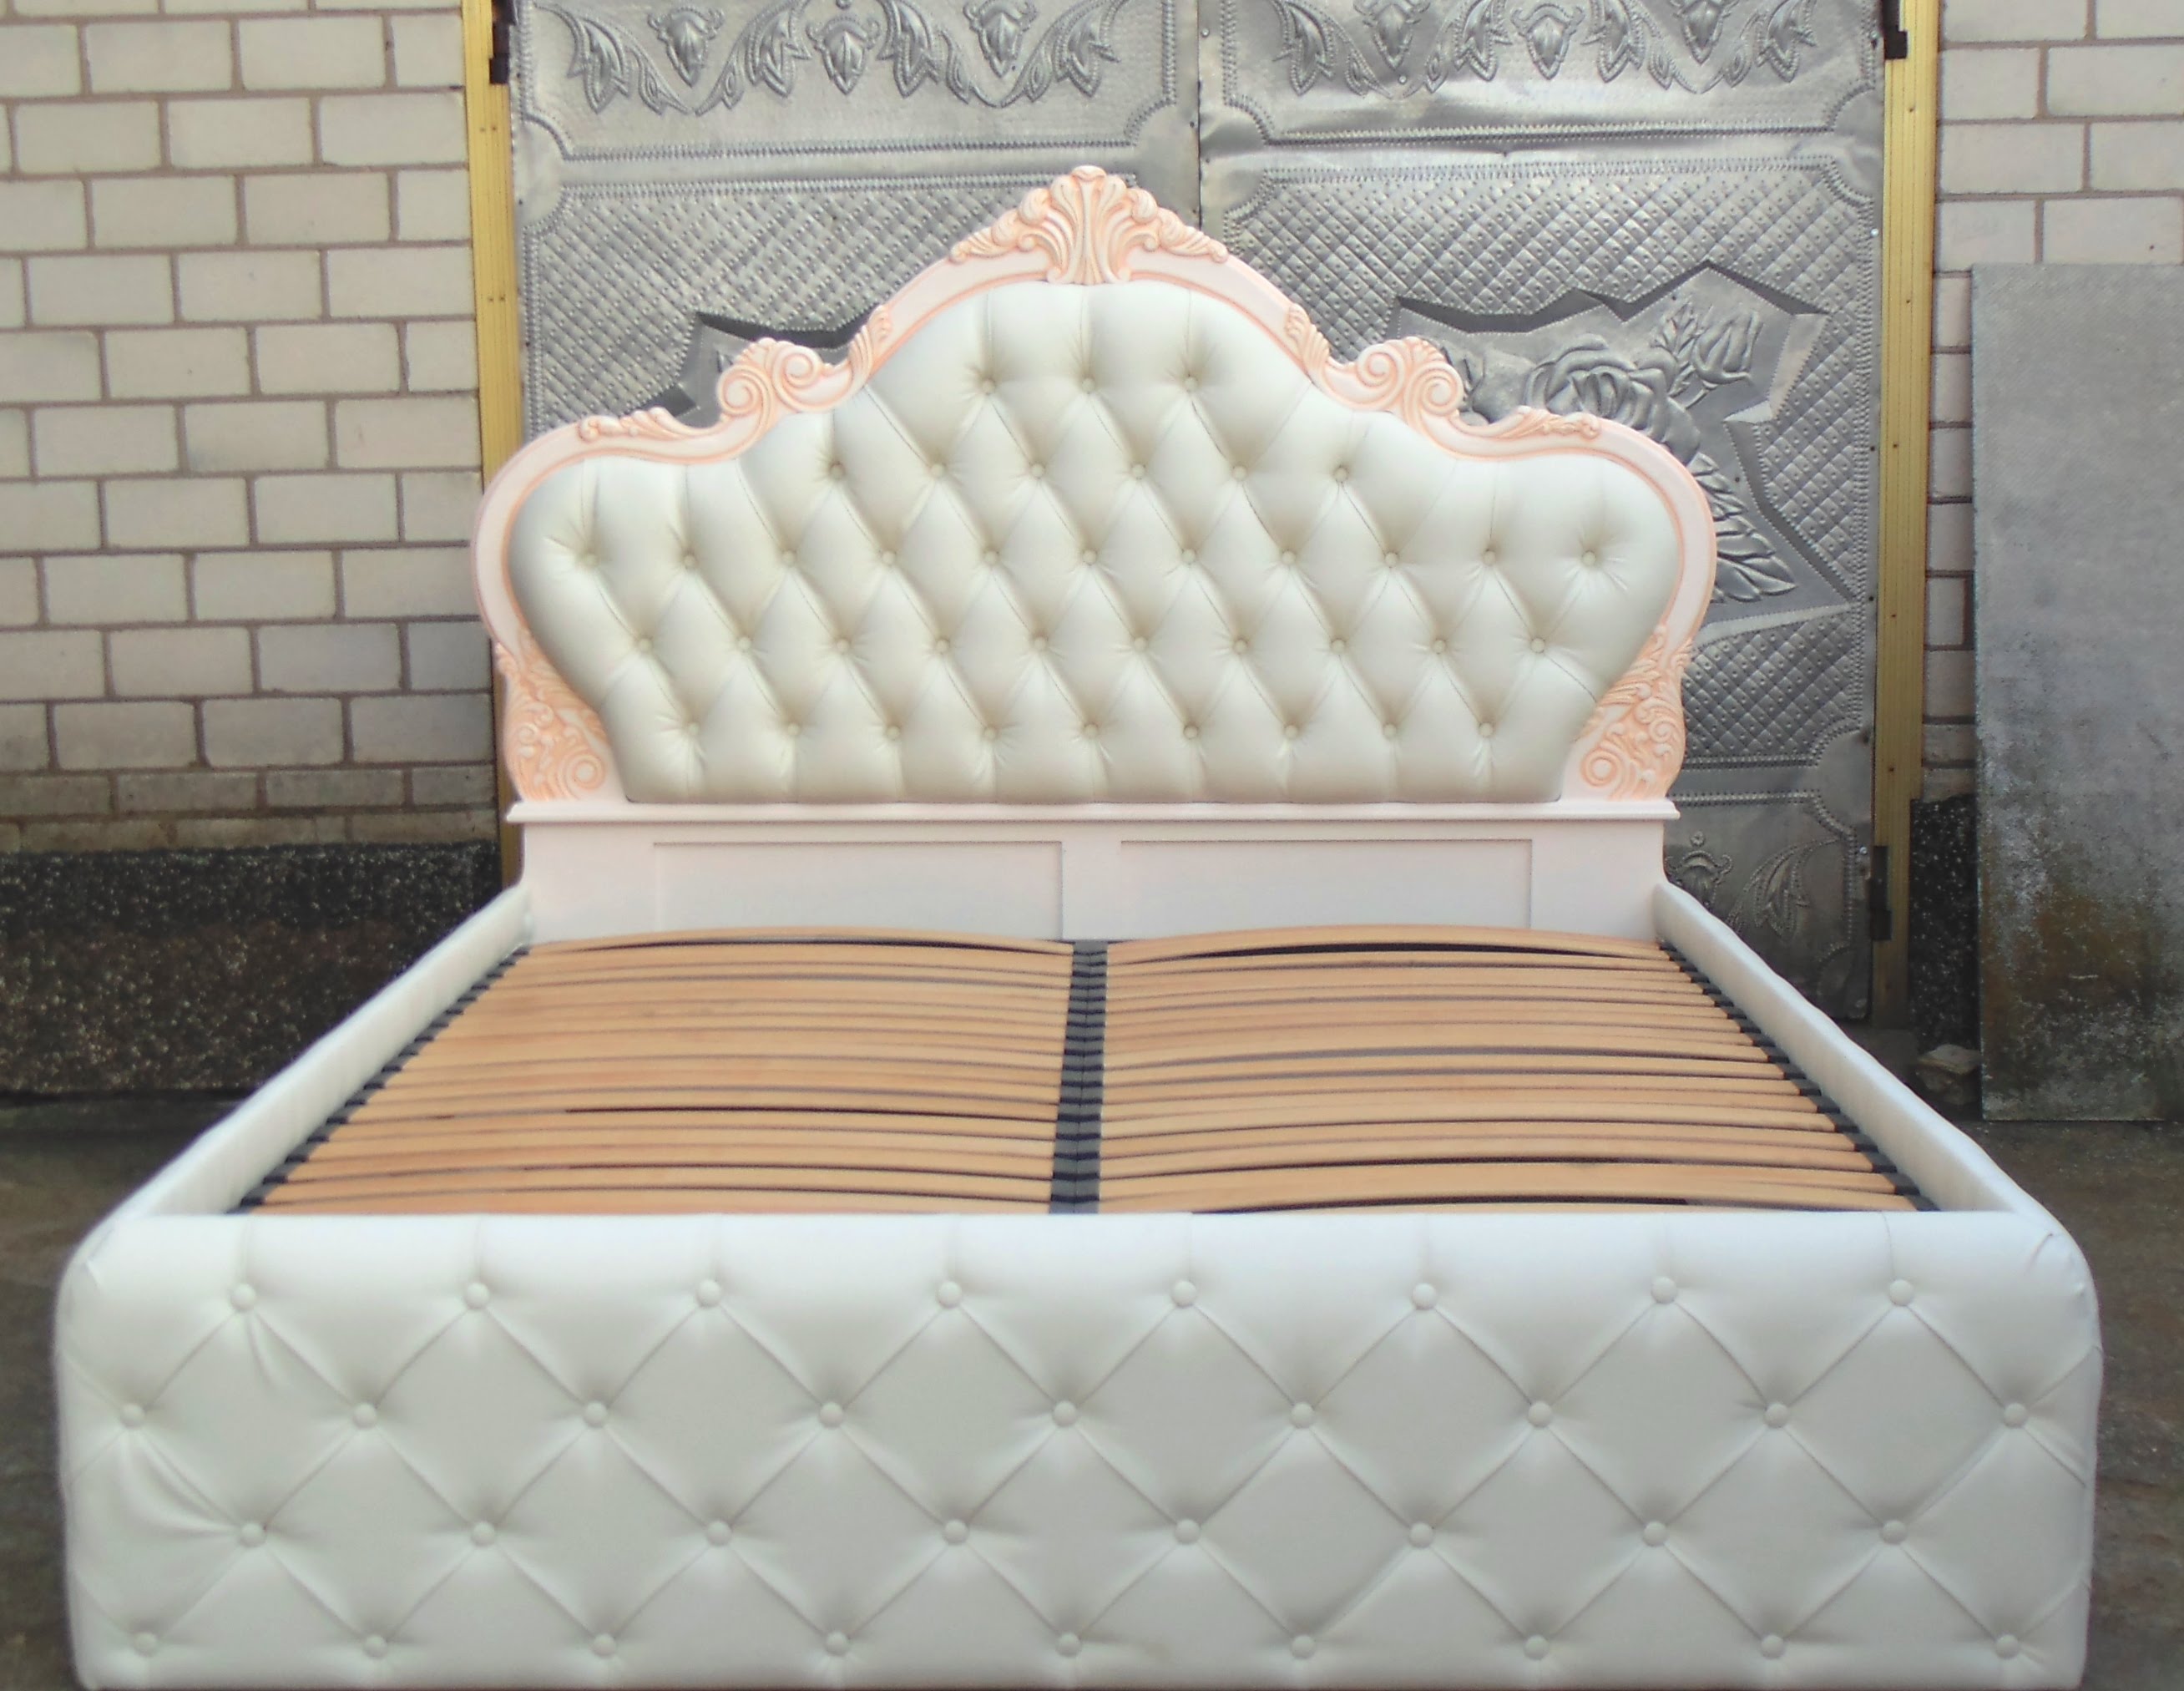
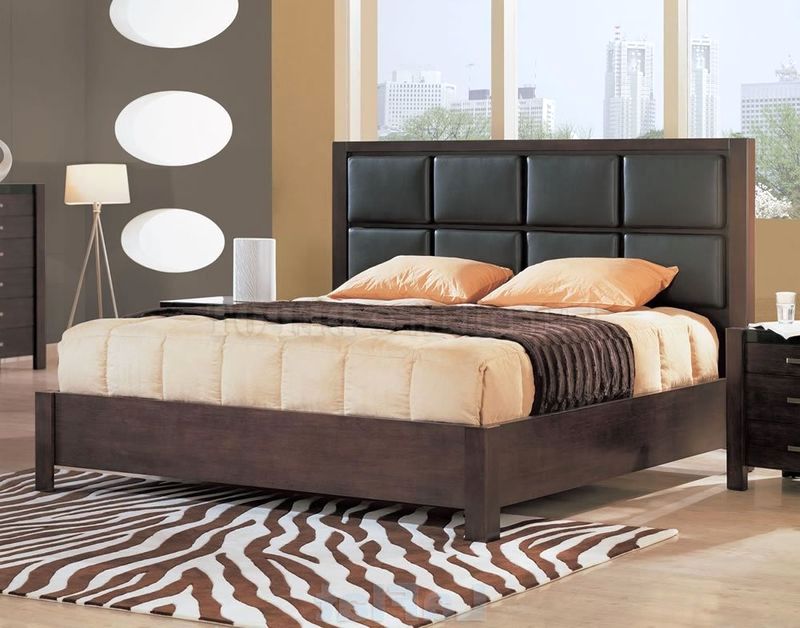
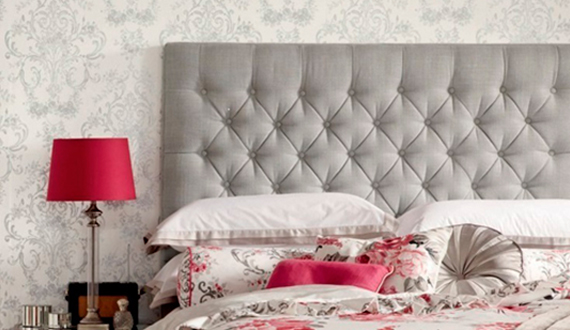
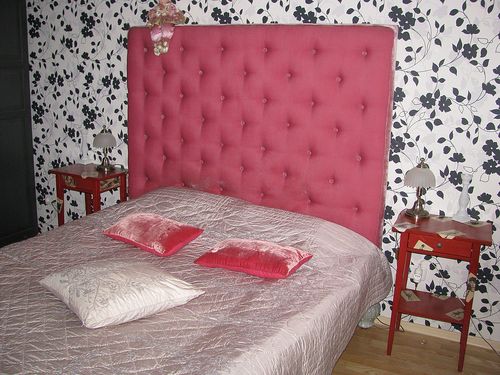
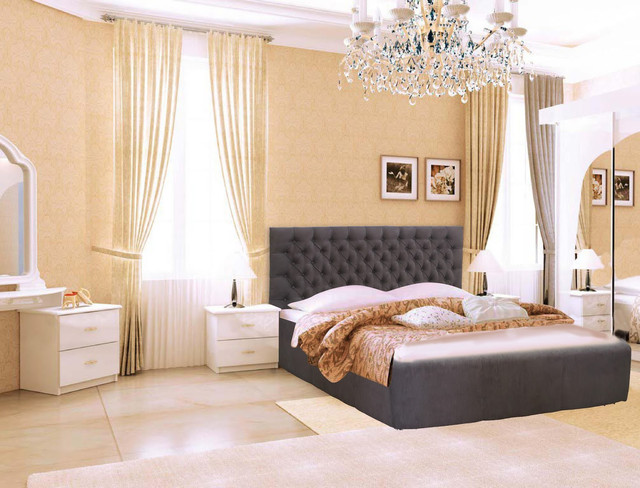
Bed with baguette and decorative stitch
If desired, the bed frame can also be covered with the same furniture fabric used to make a soft headboard. A thin foam rubber is applied to the bed box and wrapped around the padding polyester. The prepared construction is covered with a cloth, which is fixed by a stapler on the inside of the bed box. The outer side of the box, as well as the borders of the headboard, can be decorated with furniture studs or decorative cords.
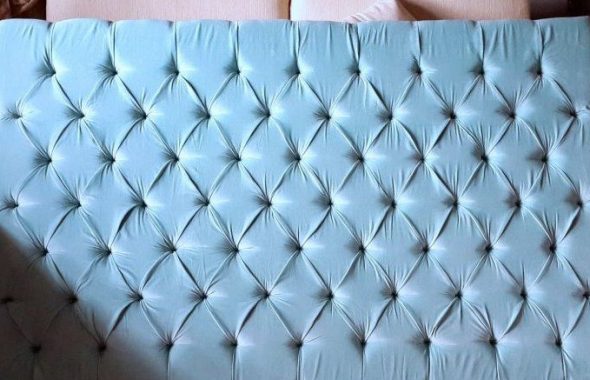
With a certain skill, attentiveness and creativity, making the headboard with a “Capitone” is not as difficult as it seems at first glance. But such a detail can become a decoration of the bedroom and an object of pride for its owner.
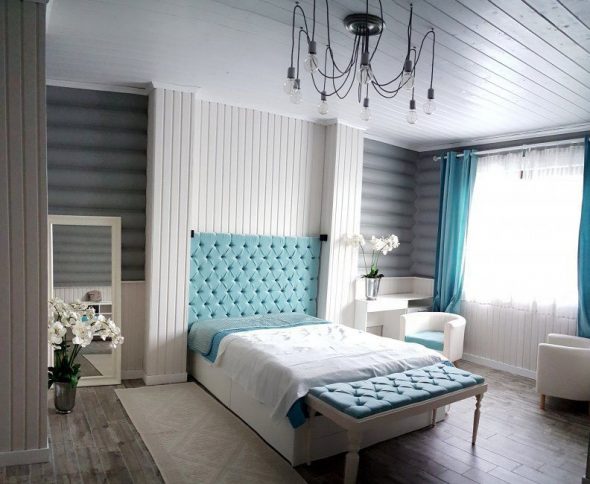
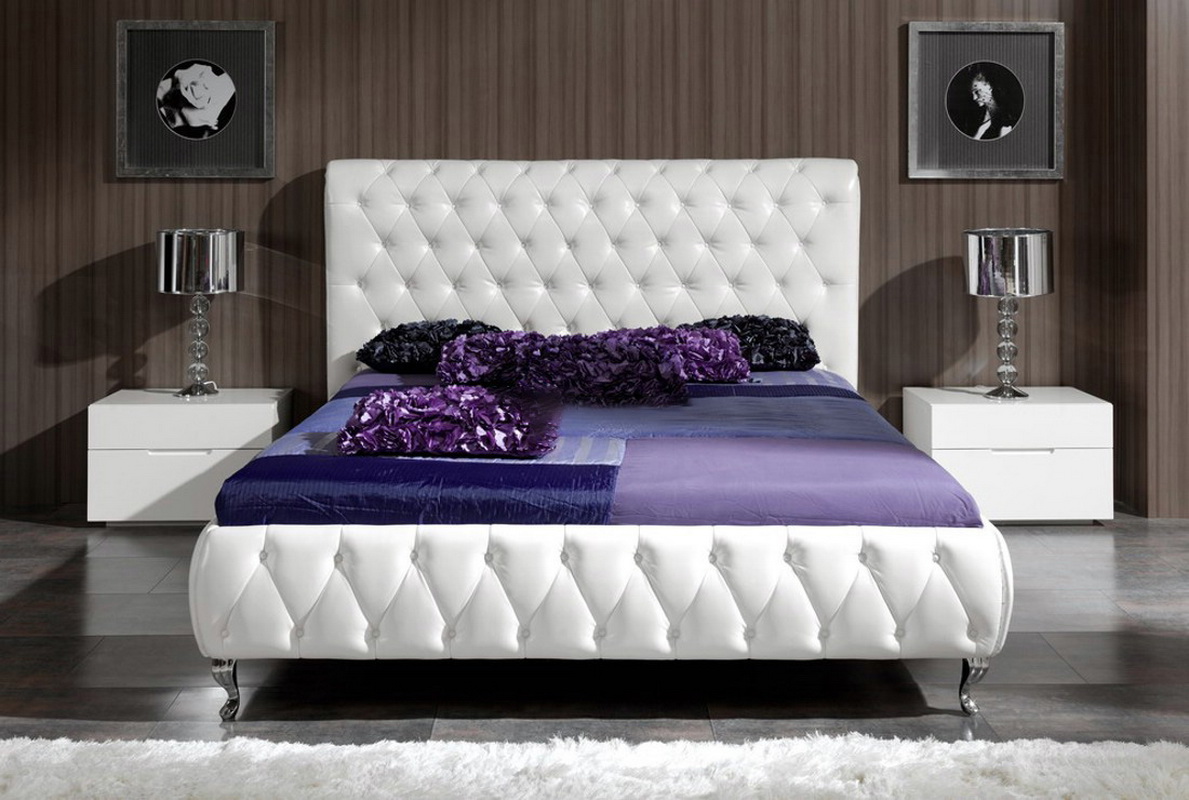
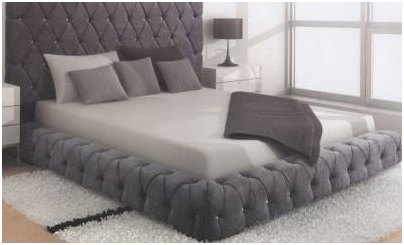
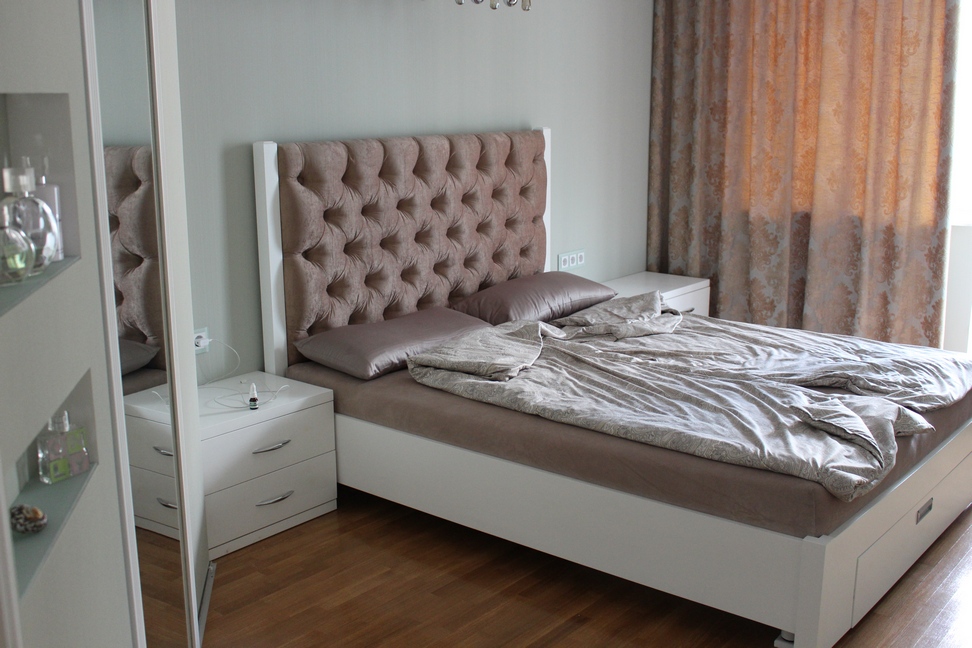
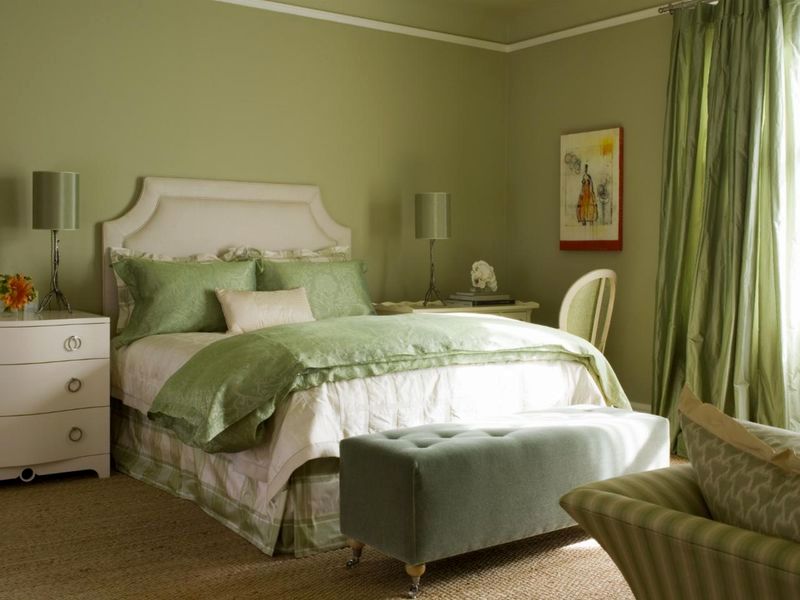
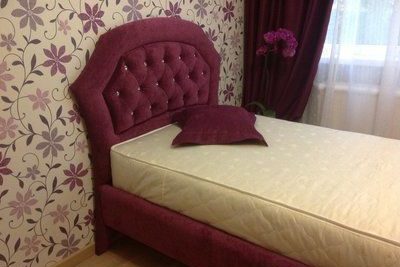
Ready-made headboard with carriages in the bedroom


Baby bed with drawers for storage. Advantages and disadvantages
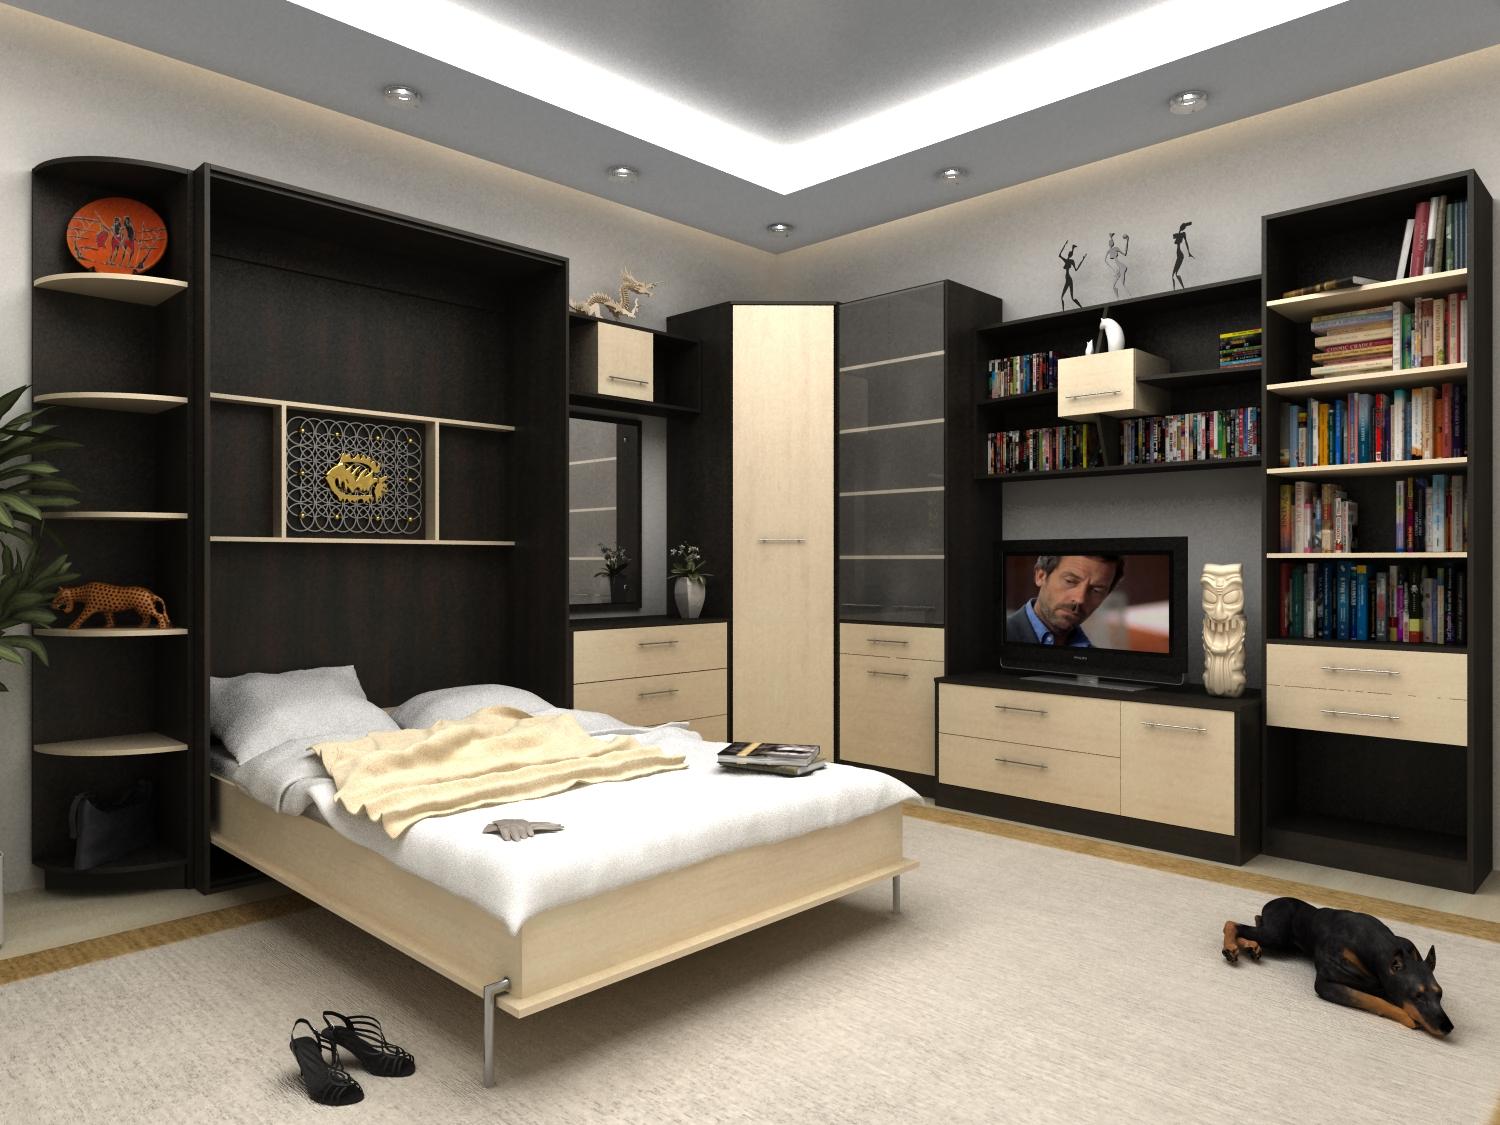 Mechanisms for lifting a bed: advantages and disadvantages
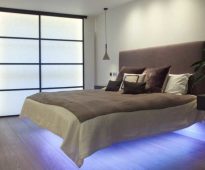 Soaring bed: What is it - exotic or affordable piece of furniture?
 Hanging bed do it yourself - a heavenly place to relax in your apartment!
 Double bed from solid wood: advantages and disadvantages
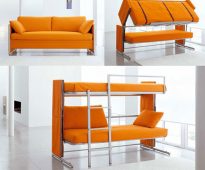 Features bunk beds-transformers
 To collect the dream apartment


