 Clean up the closet
Many seek to maintain order and cleanliness in their own home. To do this, a regular cleaning of all rooms. And on the order in the closet often do not have time. Especially true for large ...
In the modern rhythmic world, handmade products have become very valuable, it does not matter if it is clothing, dishes, furniture or other decorative elements. This is because the market is oversaturated with machine-made products. There are many types of art in the world, but this article will plunge you into the world of decoupage.
These decoupage techniques are quite simple in their design, both with patchwork motifs and collages.
Content
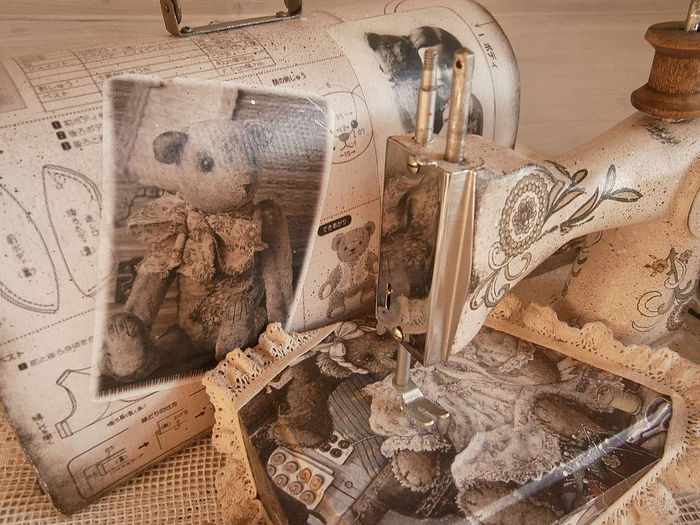
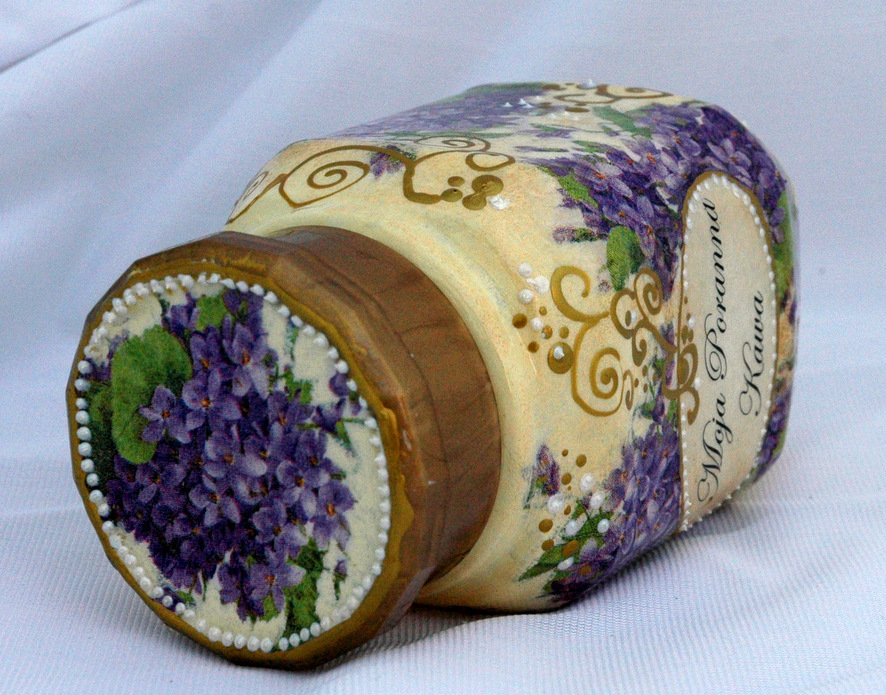
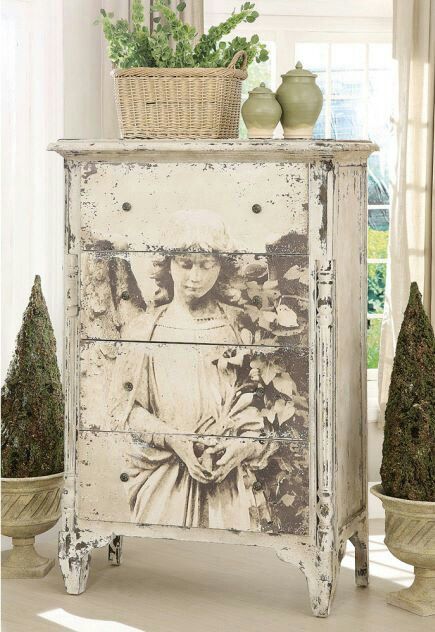
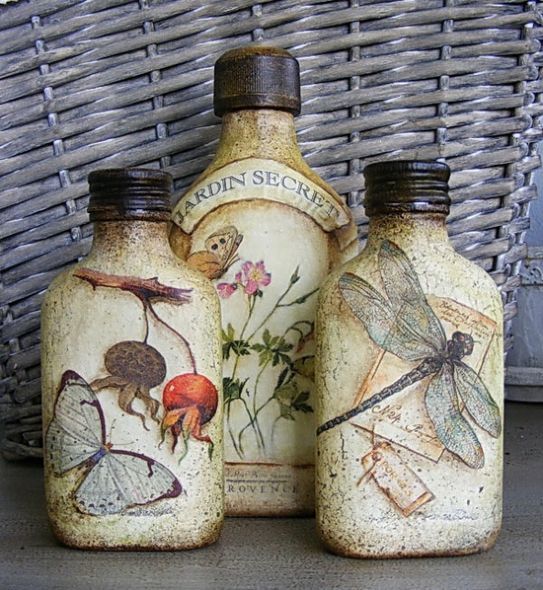
Decoupage is a word that came to us from French and literally translates as "cut." This is a very simple technique is the application of the finished paper pattern on any surface. Most often it is either glass, less metal and plastic.
Absolutely any person can be engaged in this kind of needlework, without spending a lot of time and effort on it.
Decoupage is a type of decorative and applied art that allows each person to create something truly beautiful using the most simple and affordable materials. You may not believe, but most of the necessary tools are already at your home!
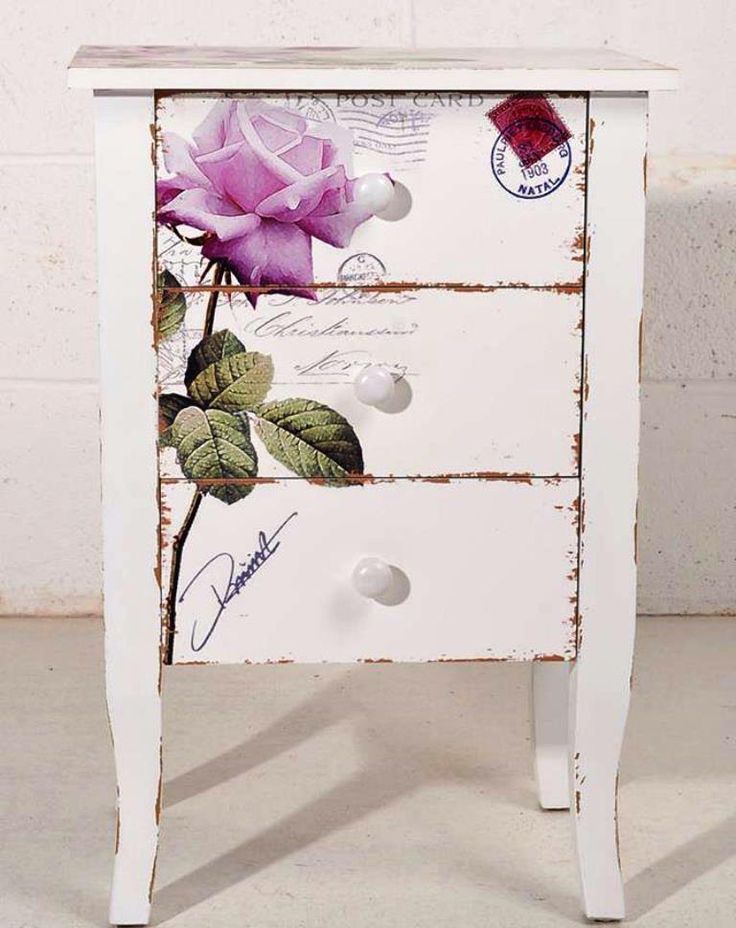
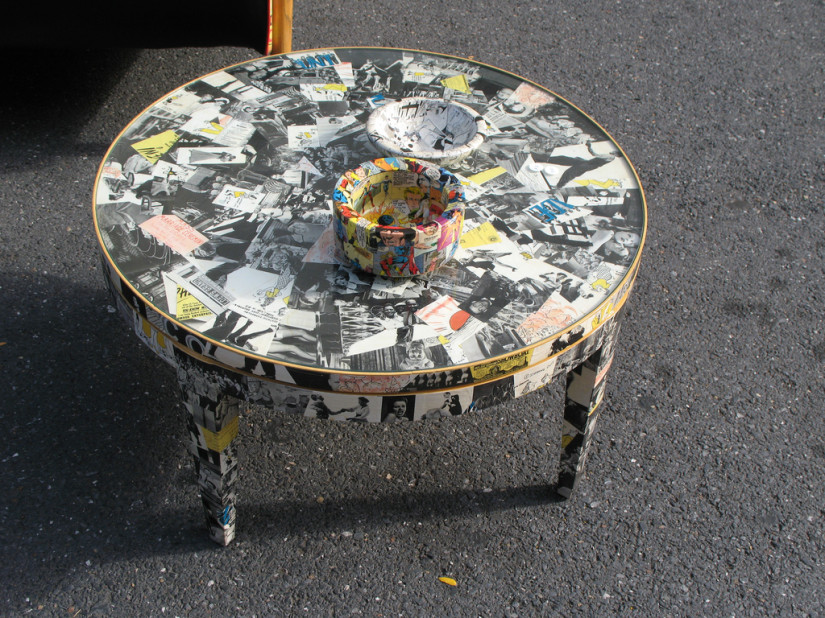
Decoupage technique for product design and furniture decoupage again at the peak of popularity.
We will understand what is required before starting work.
Instruments
It all depends on the goals you are pursuing.
Consumables
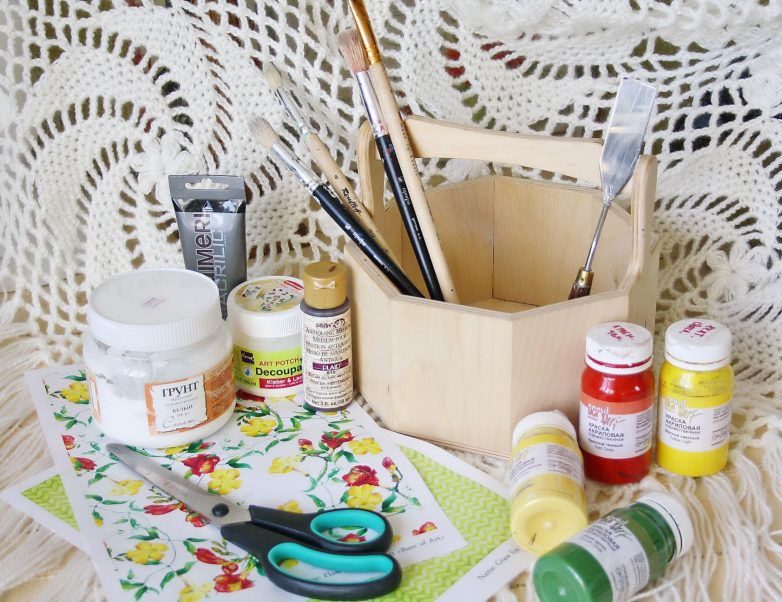
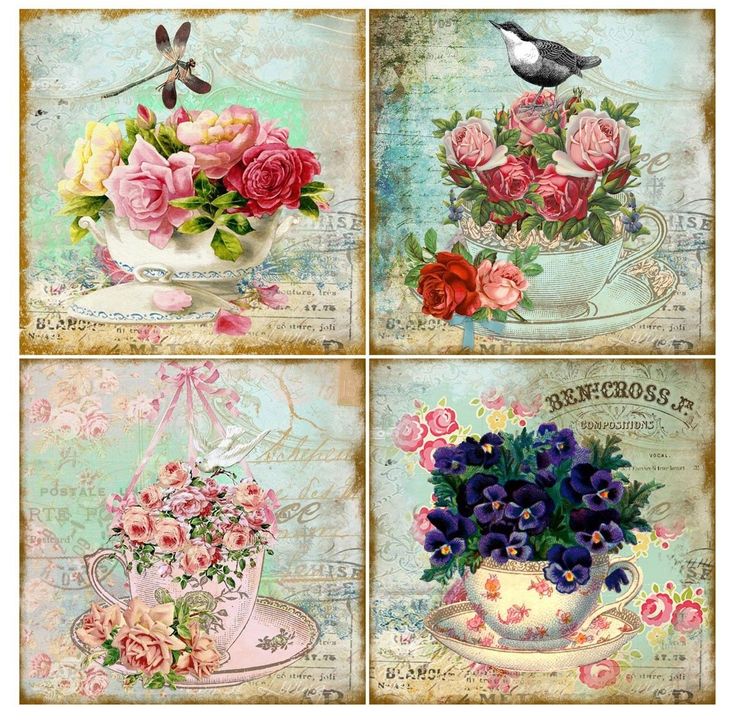
As an image, table napkins are used, which are usually multi-layered.
If we talk about the popularity of materials for decoupage, then napkins are the undisputed leader. Napkins are the basis of all technology, which is why it is so important to take into account all the nuances when choosing napkins.
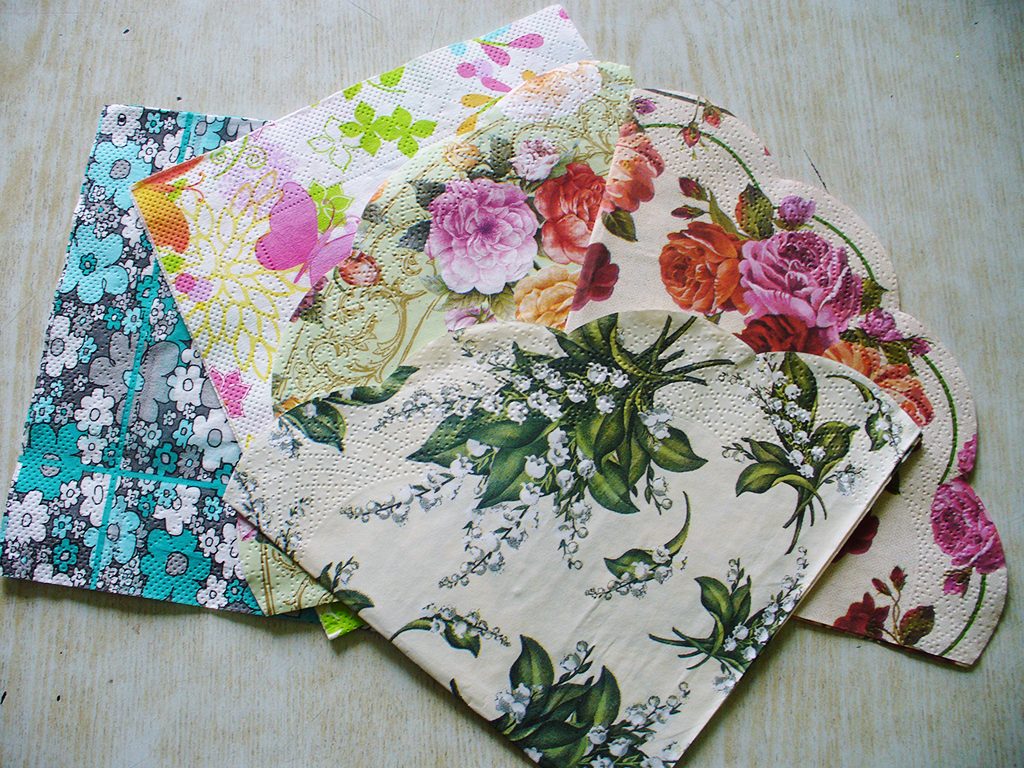
You only need the top layer with a pattern.
Of course, at first creative pores, the beginner master can use simple serving napkins, but with the help of such napkins it is not always possible to achieve the desired result, because some napkins are too thin and not of good quality, while others are, on the contrary, too thick. Do not chase for cheap materials, purchase special wipes for decoupage in a specialized shop.
They differ from dining rooms not only in bright color and good print quality, but also in texture and density suitable for decoupage.
Decoupage wipes differ from each other in the number of layers (but the work will still use only the top layer, which shows the picture), the size (21X21cm, 25X25cm, 33X33cm, 40X40cm) and the shape (square, round, rectangular). The same arrangement of motifs can vary from napkin to napkin. There are five basic arrangements: four identical motives, two identical motives located on a napkin in pairs, four different motives, two different motives and, finally, one motive occupying the entire area of the napkin.
The surface of the base must be light.
When choosing napkins, it is also worth paying much attention to their properties.

When applying lacquer, the napkin becomes more transparent, and on a dark background the pattern will lose its contrast.
Like any creative material, napkins have their advantages and disadvantages.
Consider the main advantages of this material.
The mistakes made while fixing the picture can be easily corrected - remove the crumpled napkin and wash the surface.
Of the minuses can be identified limited in size of the finished work. But this disadvantage can be easily eliminated, if you fantasize.
In comparison with other materials for decoupage, a napkin is the best solution, considering all its positive aspects and minor drawbacks.
For decoupage, you can use postcards that are pre-soaked in water, after which the top layer is removed.
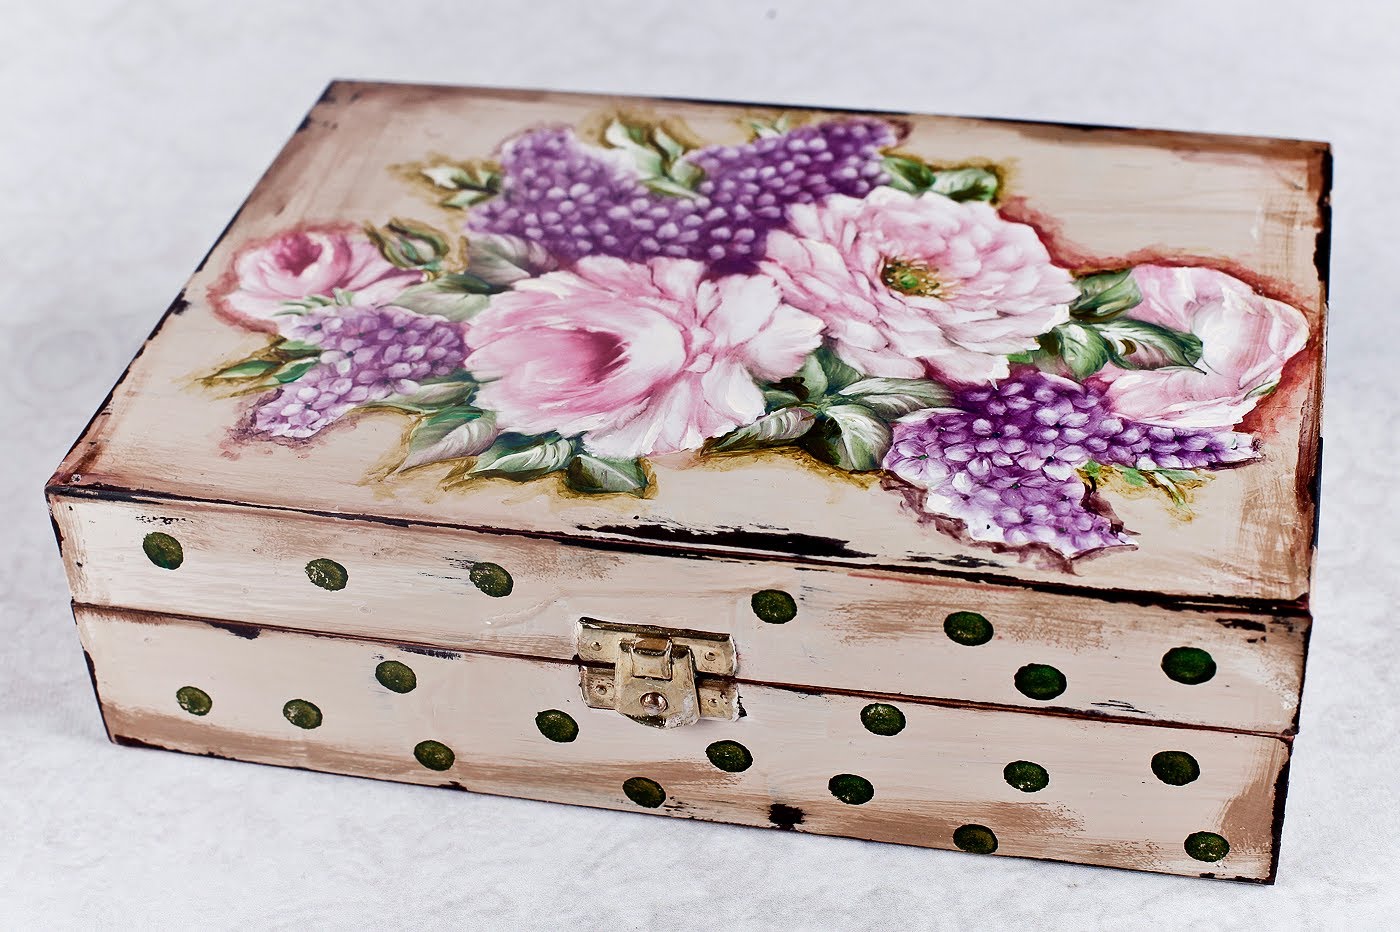
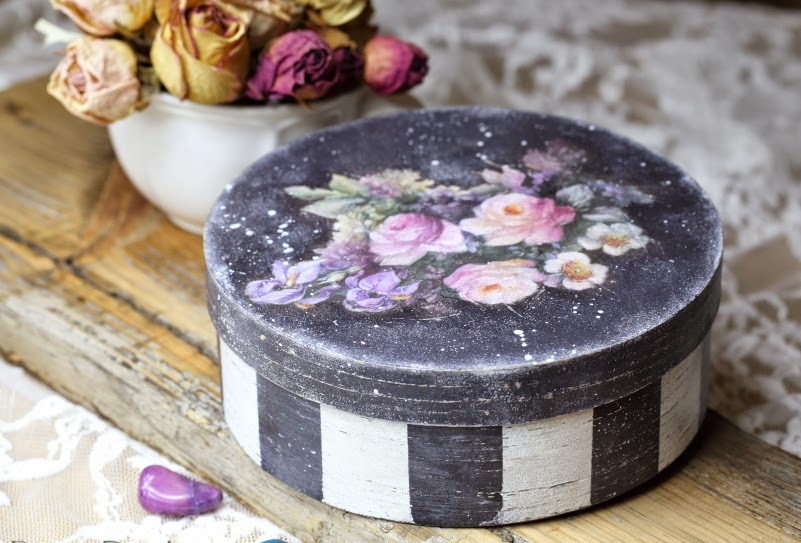
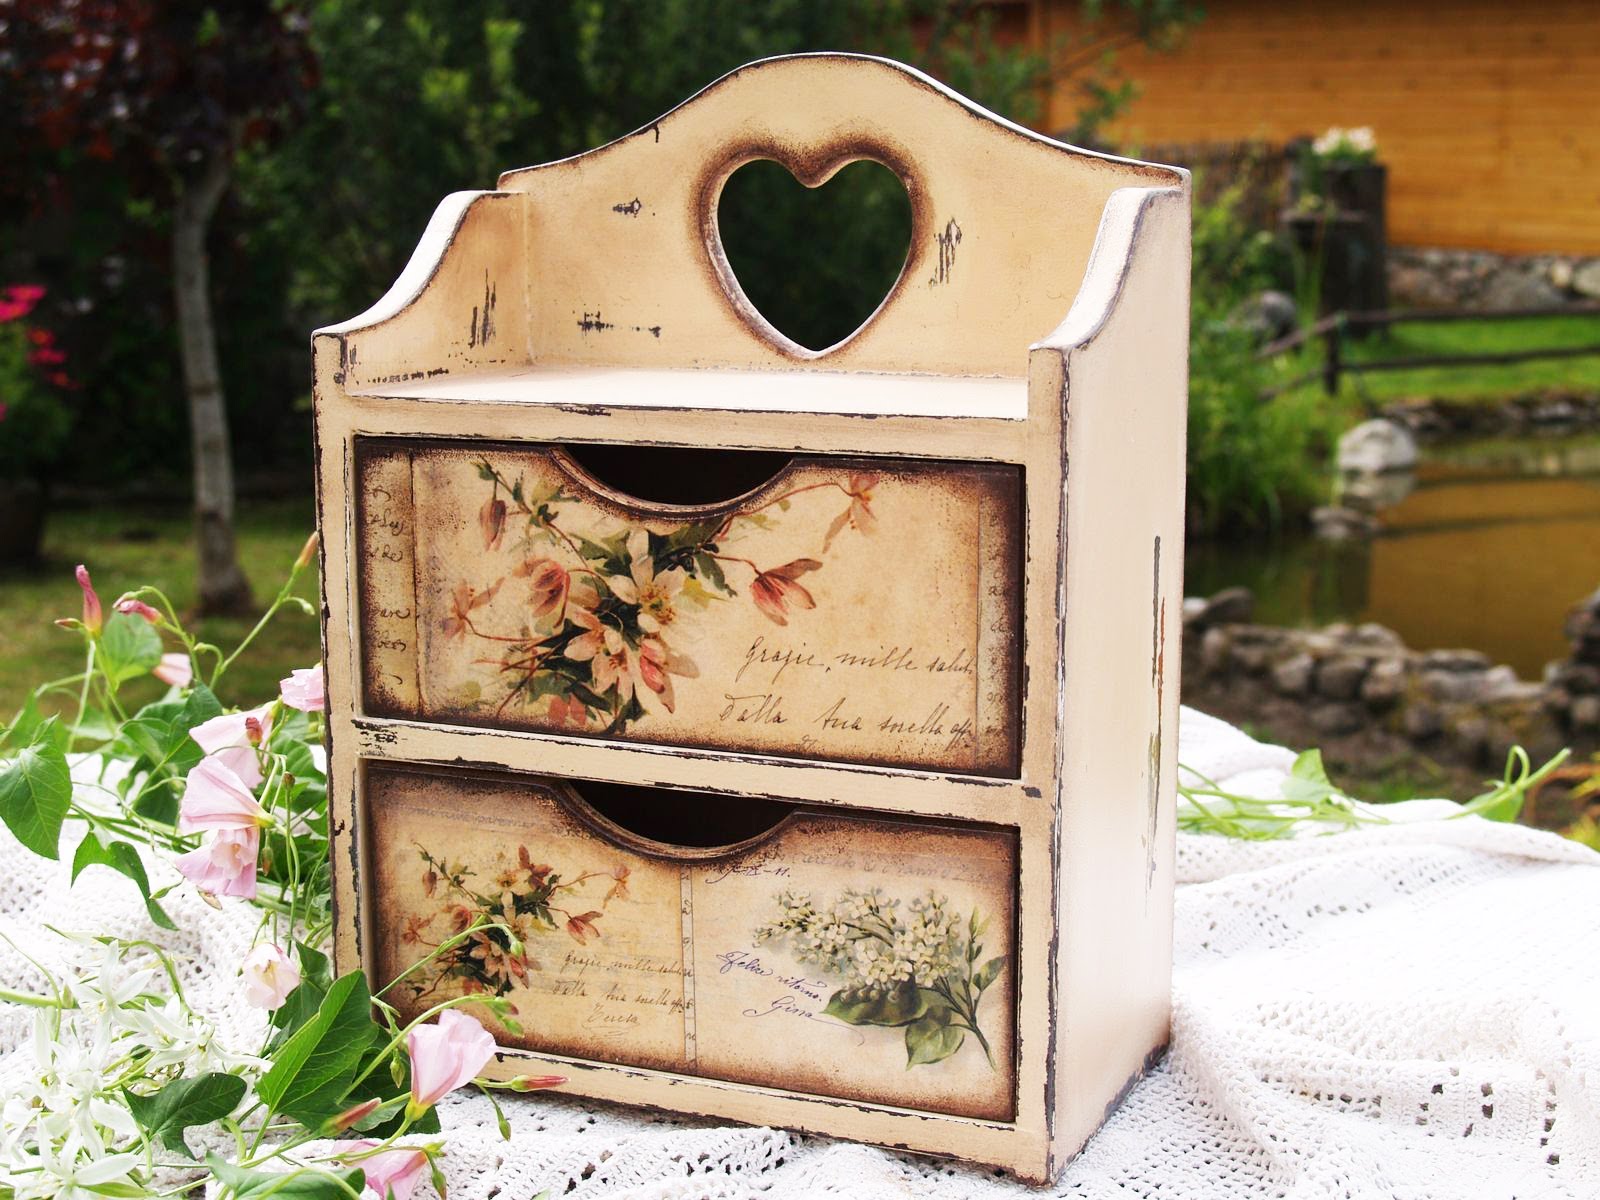
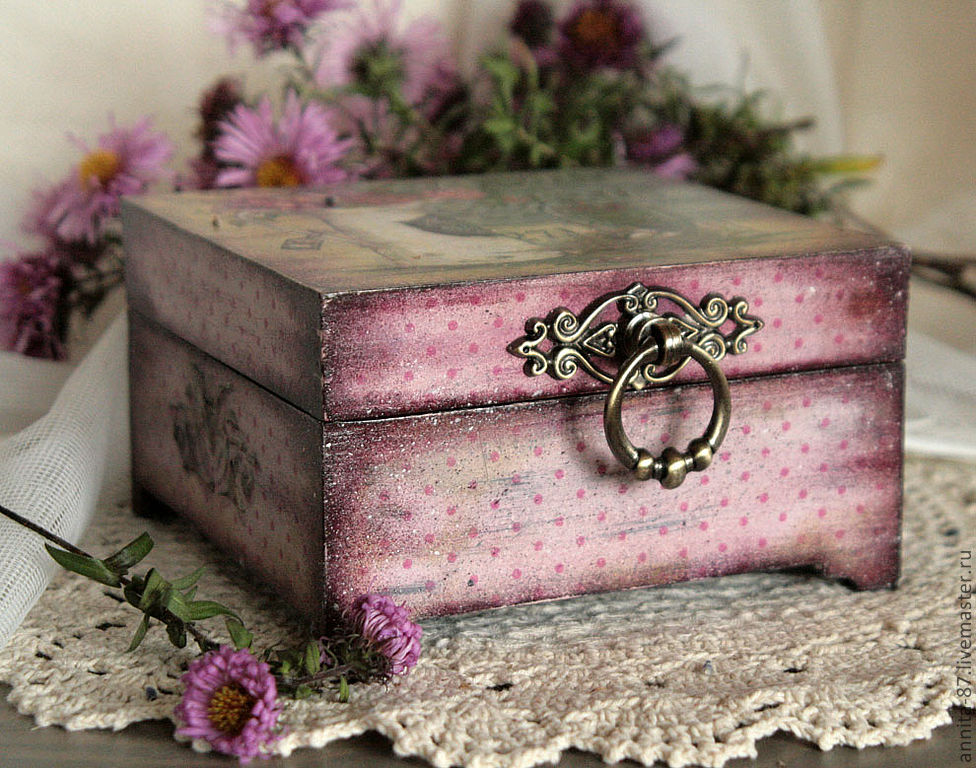
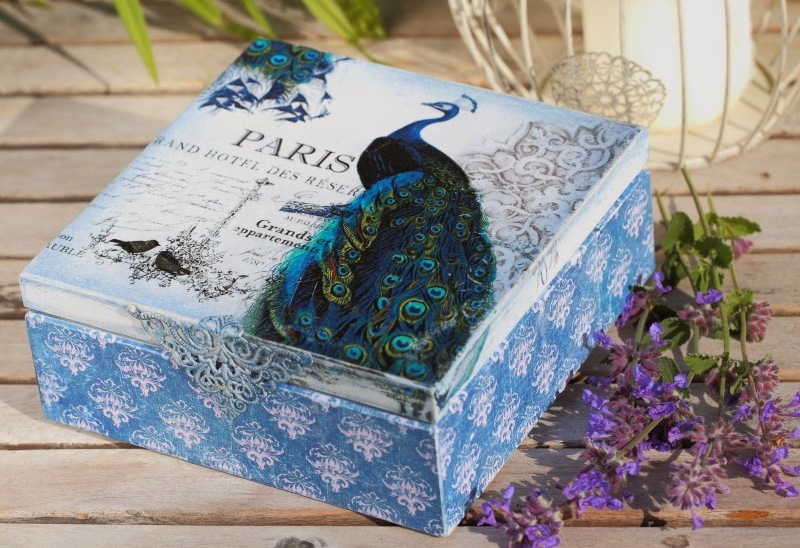
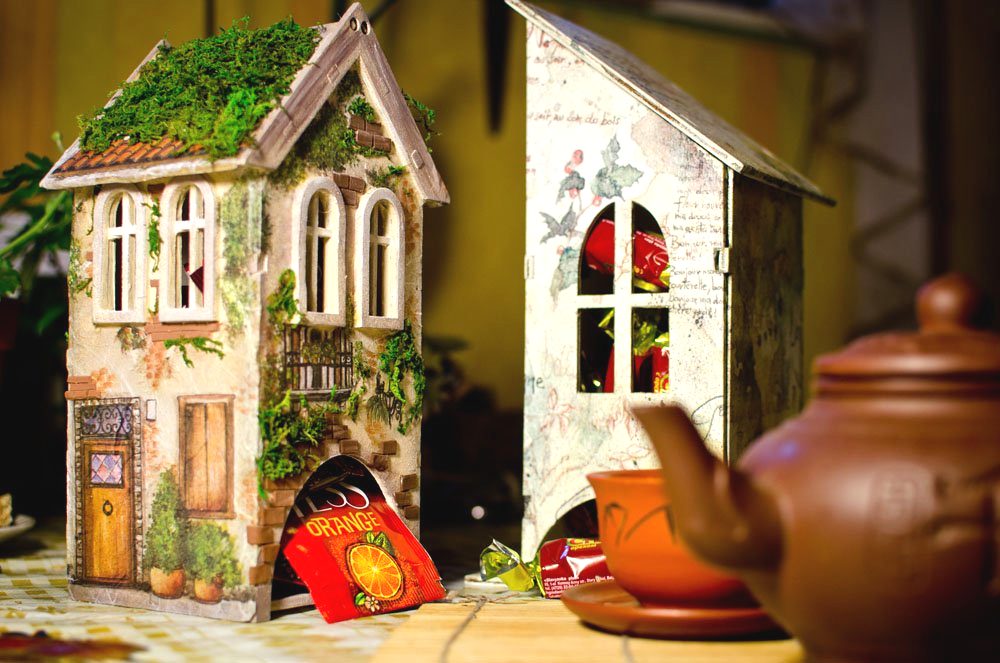
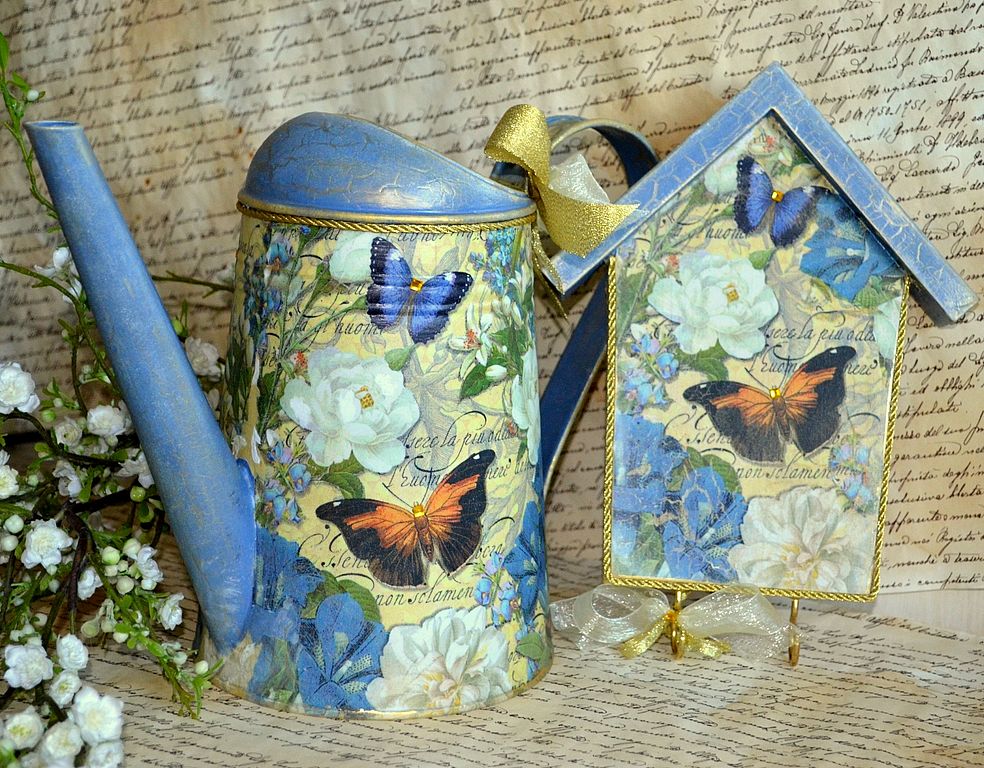
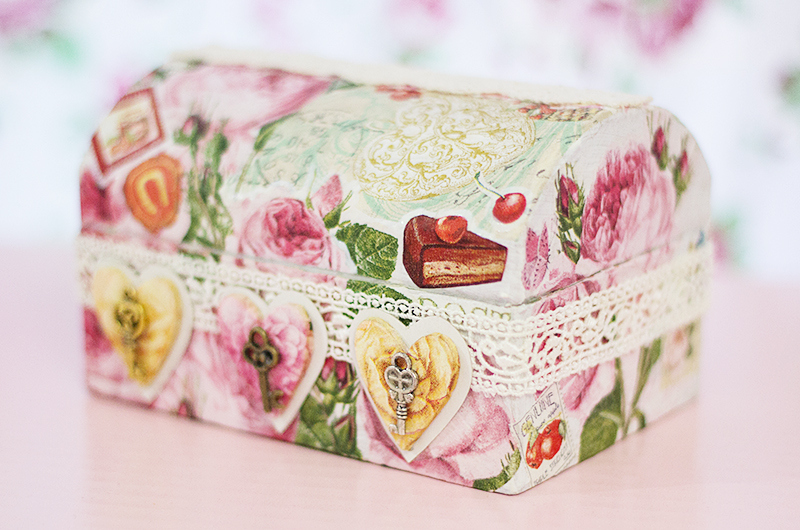
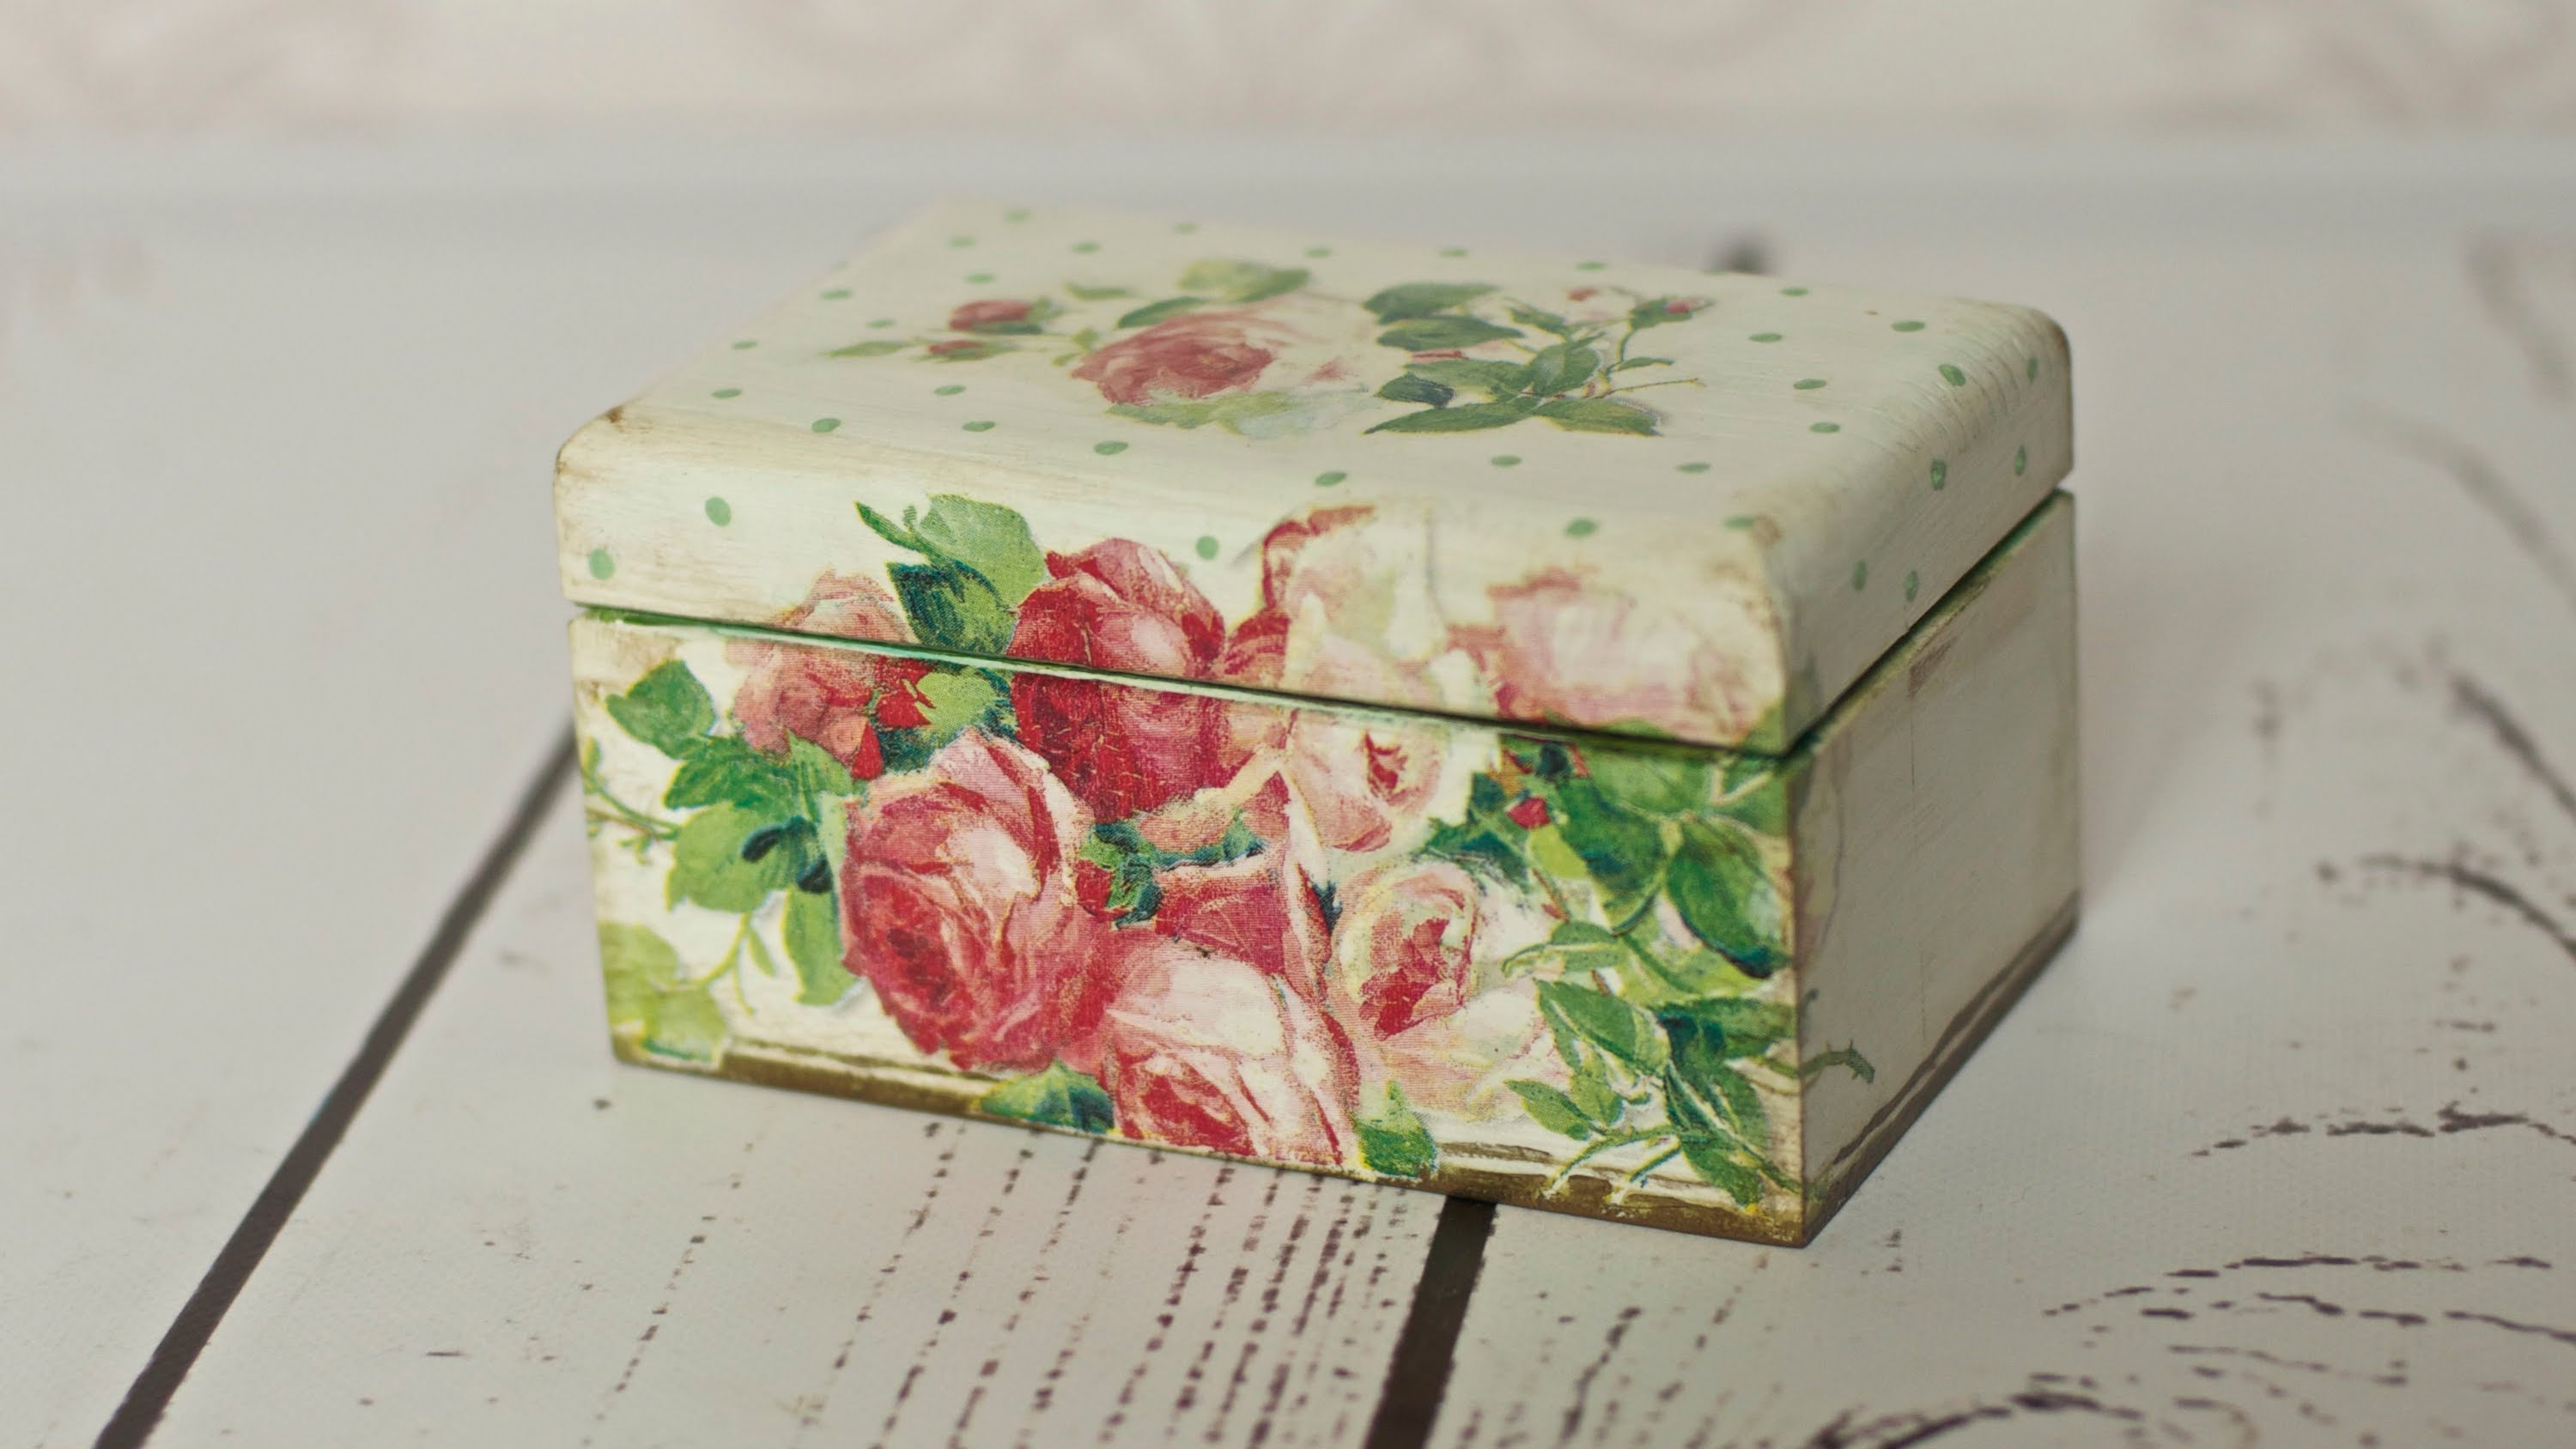
The main idea of decoupage is to decorate the surface of any object with a pattern or ornament. The process is creative, and, as in any work, there are no concepts of “right” or “wrong”.
The main thing in the work is how accurately you managed to get closer to the original idea.
If you want your work to be smooth, without cracks, scuffs, bubbles, then this step-by-step instruction for beginners will help to avoid such mistakes.
Remember that a beautiful decoupage with napkins will turn out if the basis on which the napkins are glued is well prepared. It should be as smooth as possible, without tubercles, dimples, crevices, cracks.
For each basic material should conduct their preparatory work.
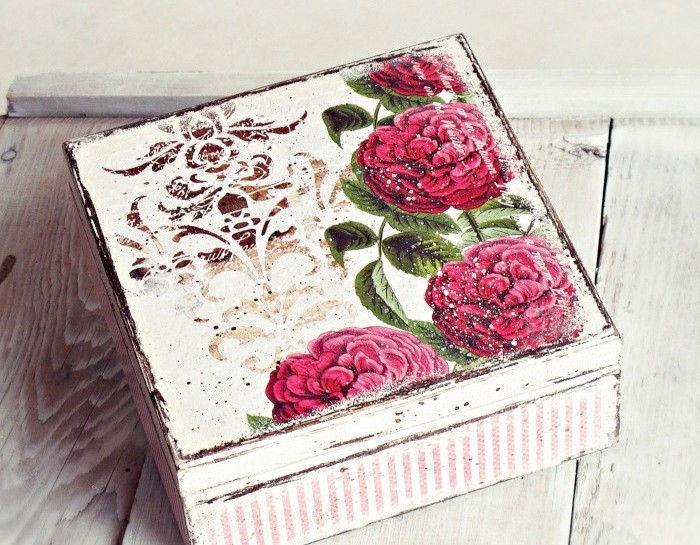
Figure varnished for reliability.
Note! No matter what material you choose as the base, be sure to paint the blank with white paint after the primer, then the pattern will appear brighter.
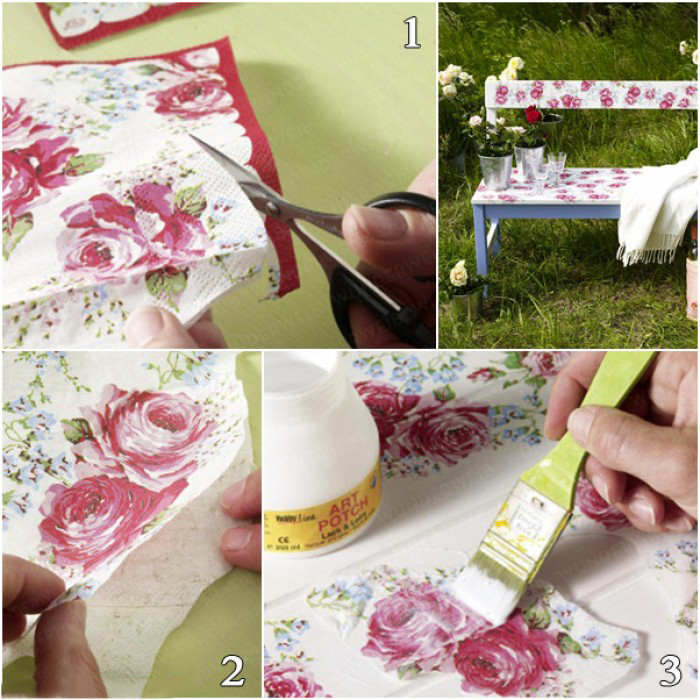
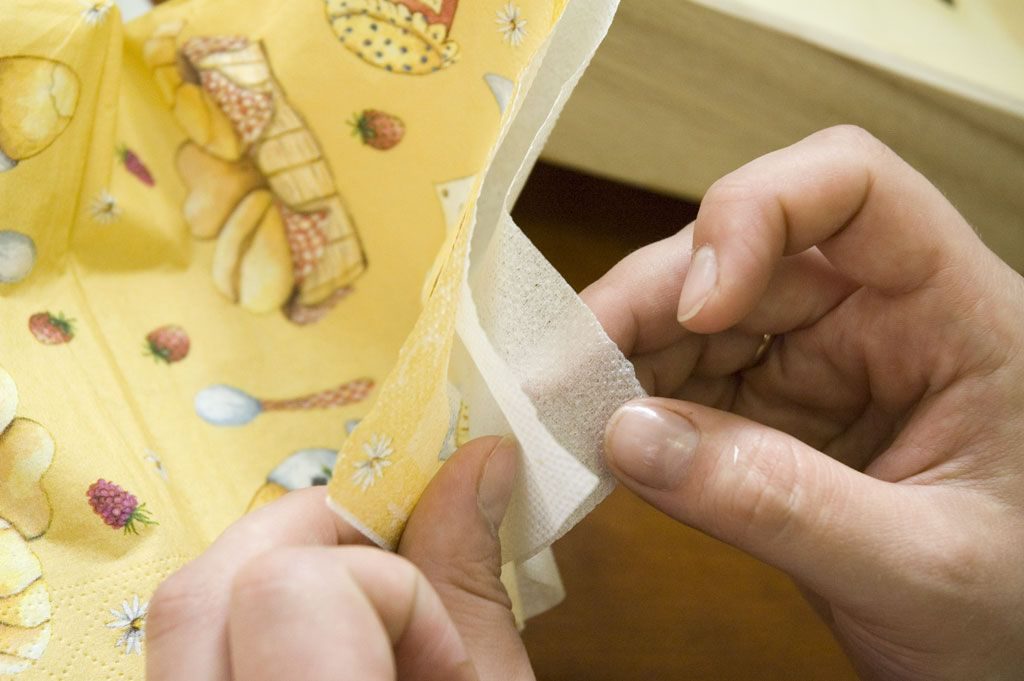
For all methods and techniques of gluing napkins, there is a single rule: use only the top layer of napkin, which is easily separated from other layers. This article presents the three most simple and common ways of decoupage. Each of them is effective in its own way and is suitable for decorating various objects. This section will tell you how to do decoupage from napkins. The choice of method depends only on you.
Think about what exactly you want to decorate, and choose the method that suits you the most.
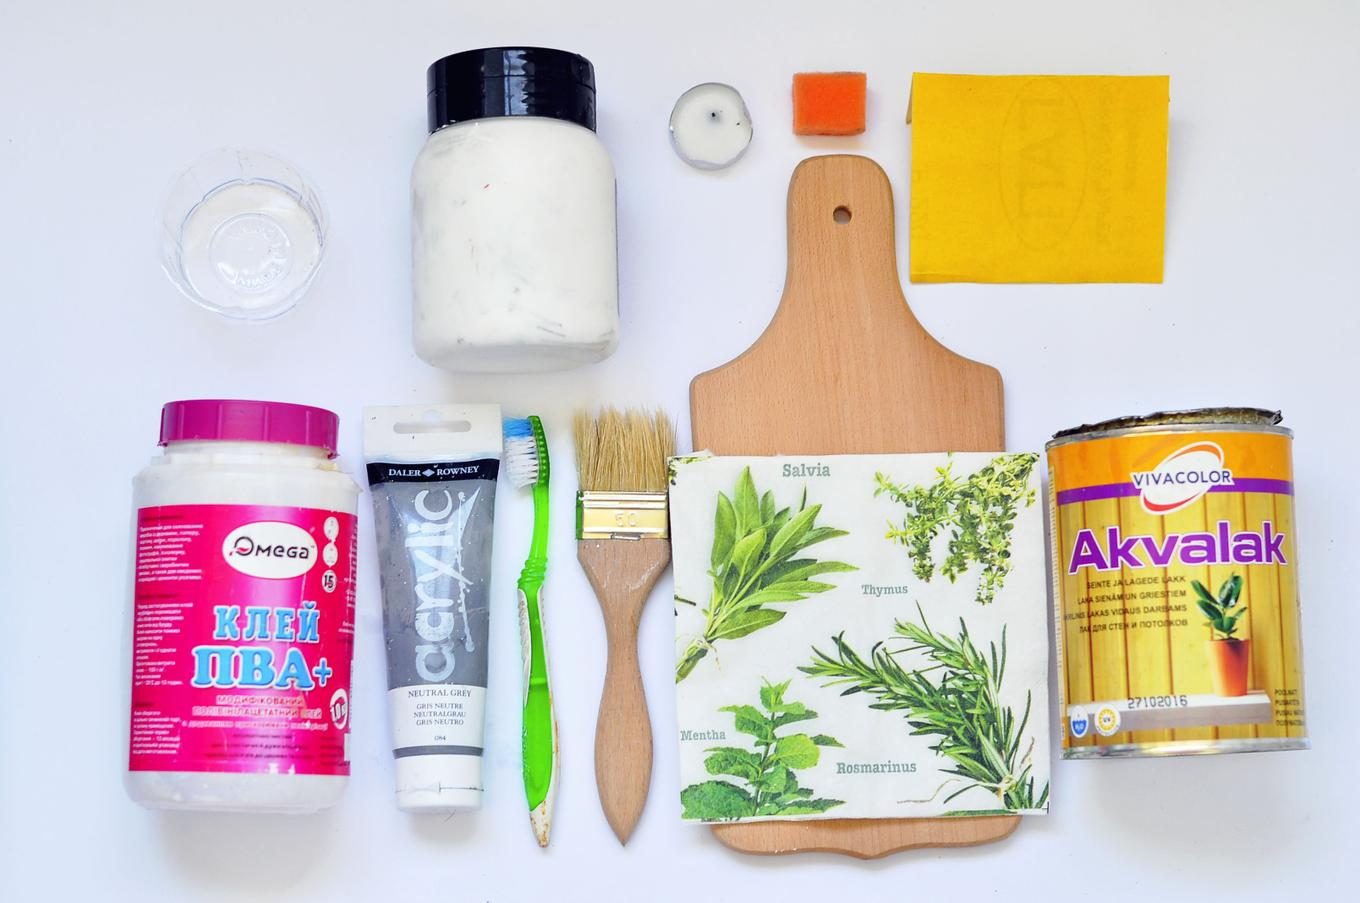
Before you start, prepare:
Select the image you want to transfer to the surface.
Algorithm of actions:
This method is very simple.
It is suitable for transferring a piece of napkin to the surface of any shape. For example, a rounded, flat, shape with adjacent faces.
Here we will need the same materials in the previous method from the supplements only iron.
Algorithm of actions:
This method is only suitable for decorating smooth surfaces.
The method is quite simple, even a beginner can handle it.
Necessary materials:
This method of implanting paper into the base will suit experienced masters who want to decorate concave or, on the contrary, convex objects.
Algorithm of actions:
Even experienced craftswomen have misfires, but do not worry, they are easy to fix or prevent. If you decorate the product with small fragments of torn napkins, then smooth out the wet paper with your fingers or a wet brush, this will help prevent creases during drying. Notice the non-uniform color in the background? No problem! Feel free to dilute the paint with water to the desired shade and correct this error. At the dry work there were bumps and irregularities? Grind the work carefully with a fine abrasive and coat with several layers of varnish.

If there are not enough details at work, then acrylic paints and thin brushes will come to the rescue.
The next step is to draw the edges of the finished product. Someone prefers to paint them with paint in the color of the background, someone has a dark contrast, and bold needlewomen wraps the edges of the napkin on the sides.
After that, you should thoroughly dry the product, the process can be slightly accelerated with a hair dryer, but keep the unit at a great distance from work, constantly changing the direction of air flow, so that the product dries from all sides.

After that, you should leave work at night so that all layers firmly and surely grapple with each other.
Important! Remember that half of the mistakes can be prevented by proper technique and preparation of the working surface.
When the product is completely dry, it should be coated with water-based acrylic varnish in several layers. Some works varnish in 100 layers! But when decorating small areas of work, you can keep within three or four layers, until you are sure that there is no step between the background and the picture.
It is very important to sand each coat of varnish before applying a new soft sandpaper.
This will help avoid detachment, air bubbles and cracks. The varnish should be applied with a wide synthetic brush, which leaves no obvious traces. Also protect the varnishing process for your health, work in a well-ventilated area!
Depending on the decoupage technique and the style of the future product, you may need additional materials and tools.
Here are some additional tips that will facilitate decoupage napkins for beginning masters.
Before starting work, moisten the cut out fragments of the picture with water from a spray bottle.
So the napkin for decoupage will become softer and more pliable, and it will be easier to stick it on the base.
If your folds still form, do not despair. Try sprinkling a dry napkin with an acrylic lacquer spray. But remember that then the drawing will not pass the glue through itself, so you should put an ornament on the workpiece already greased with glue.
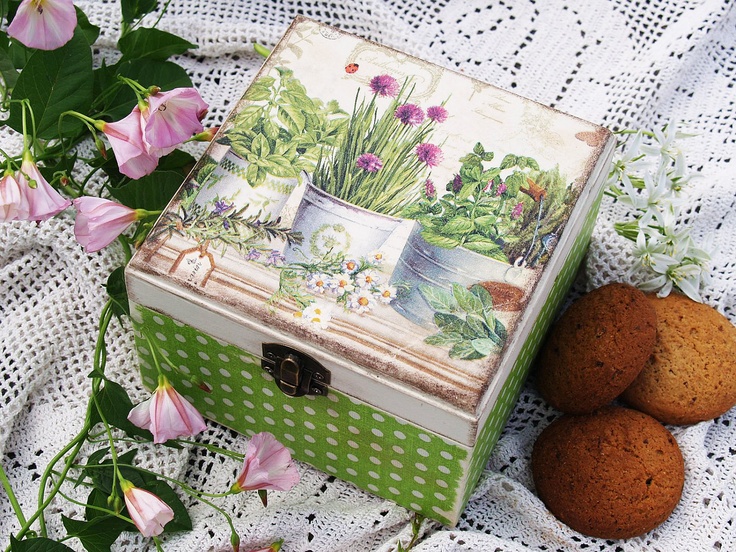
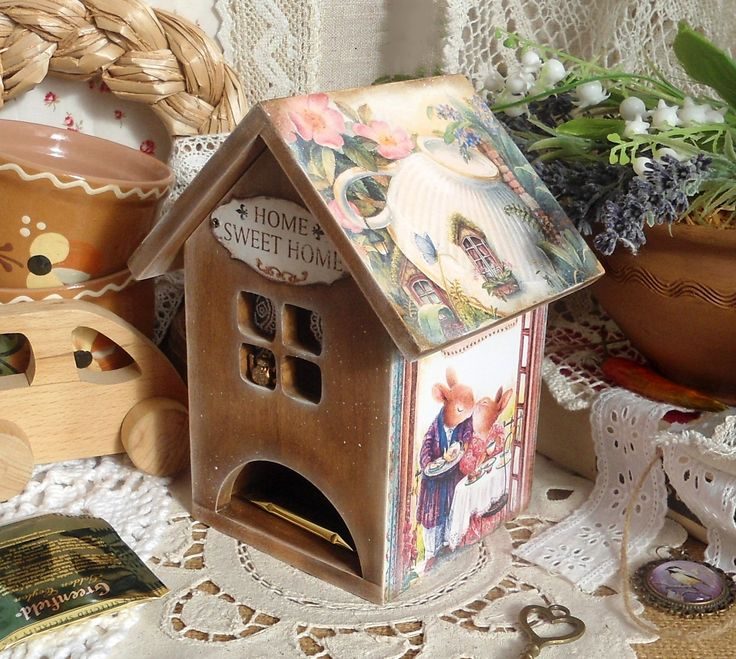
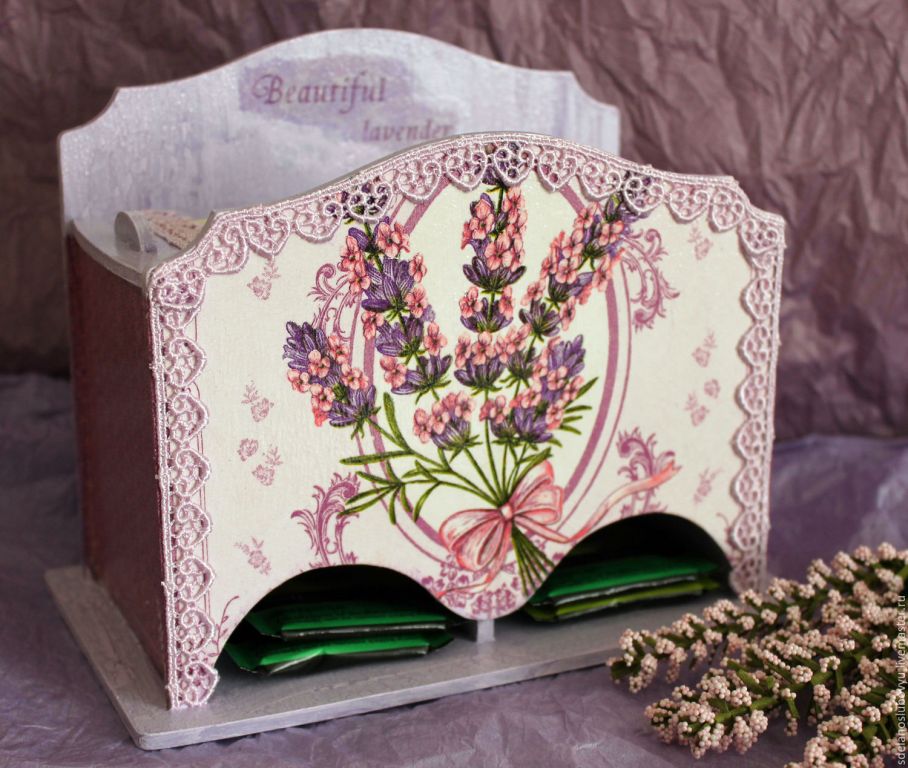
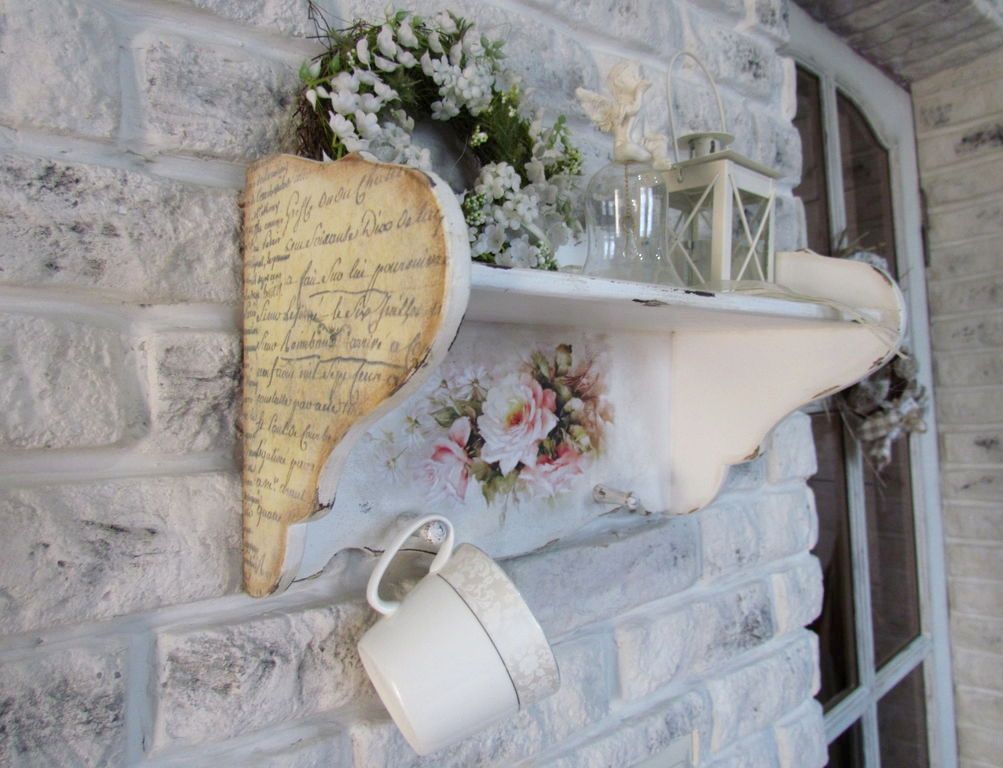
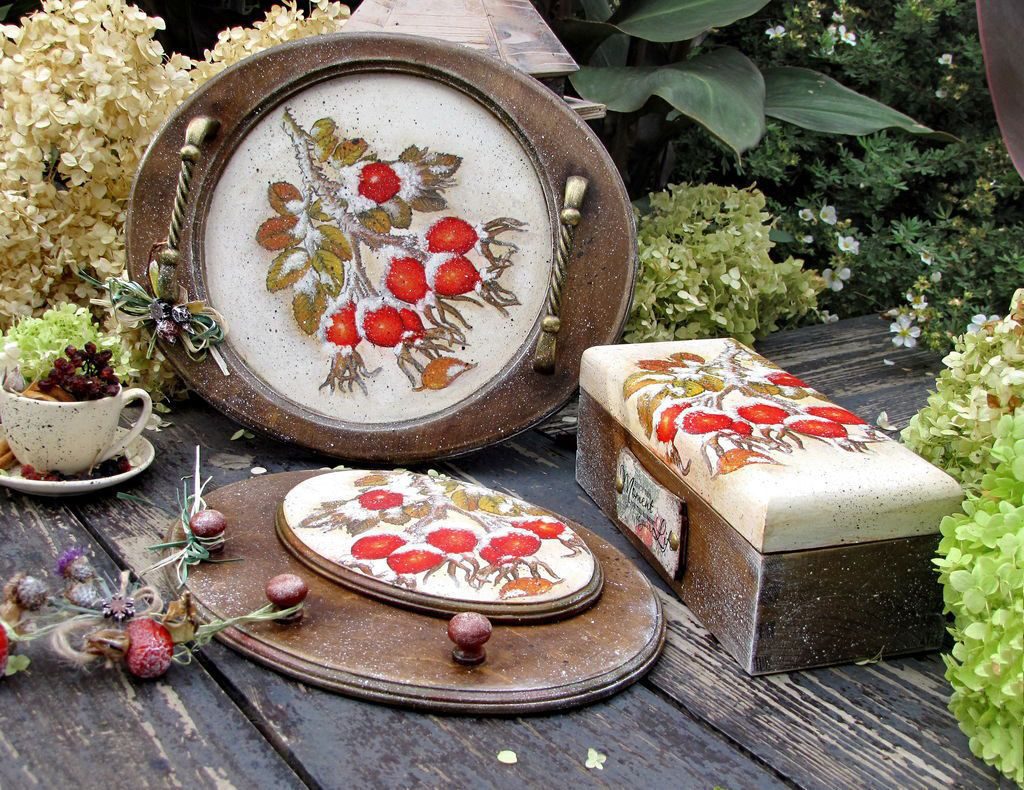
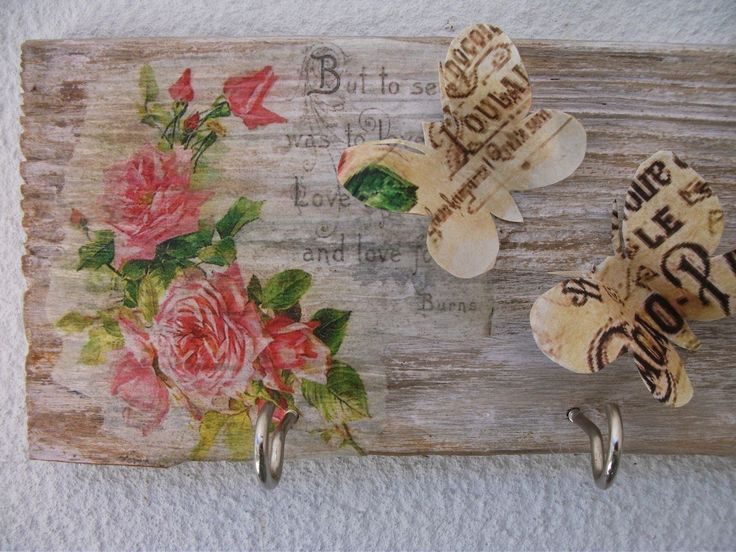
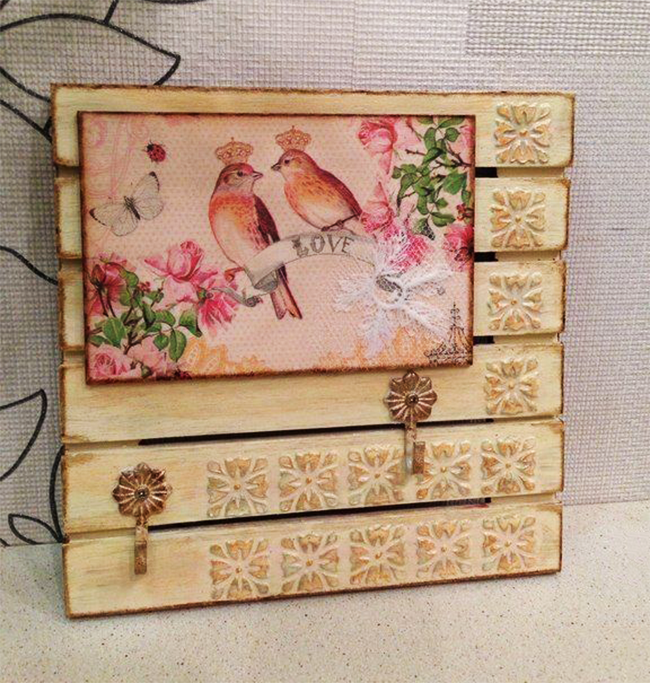
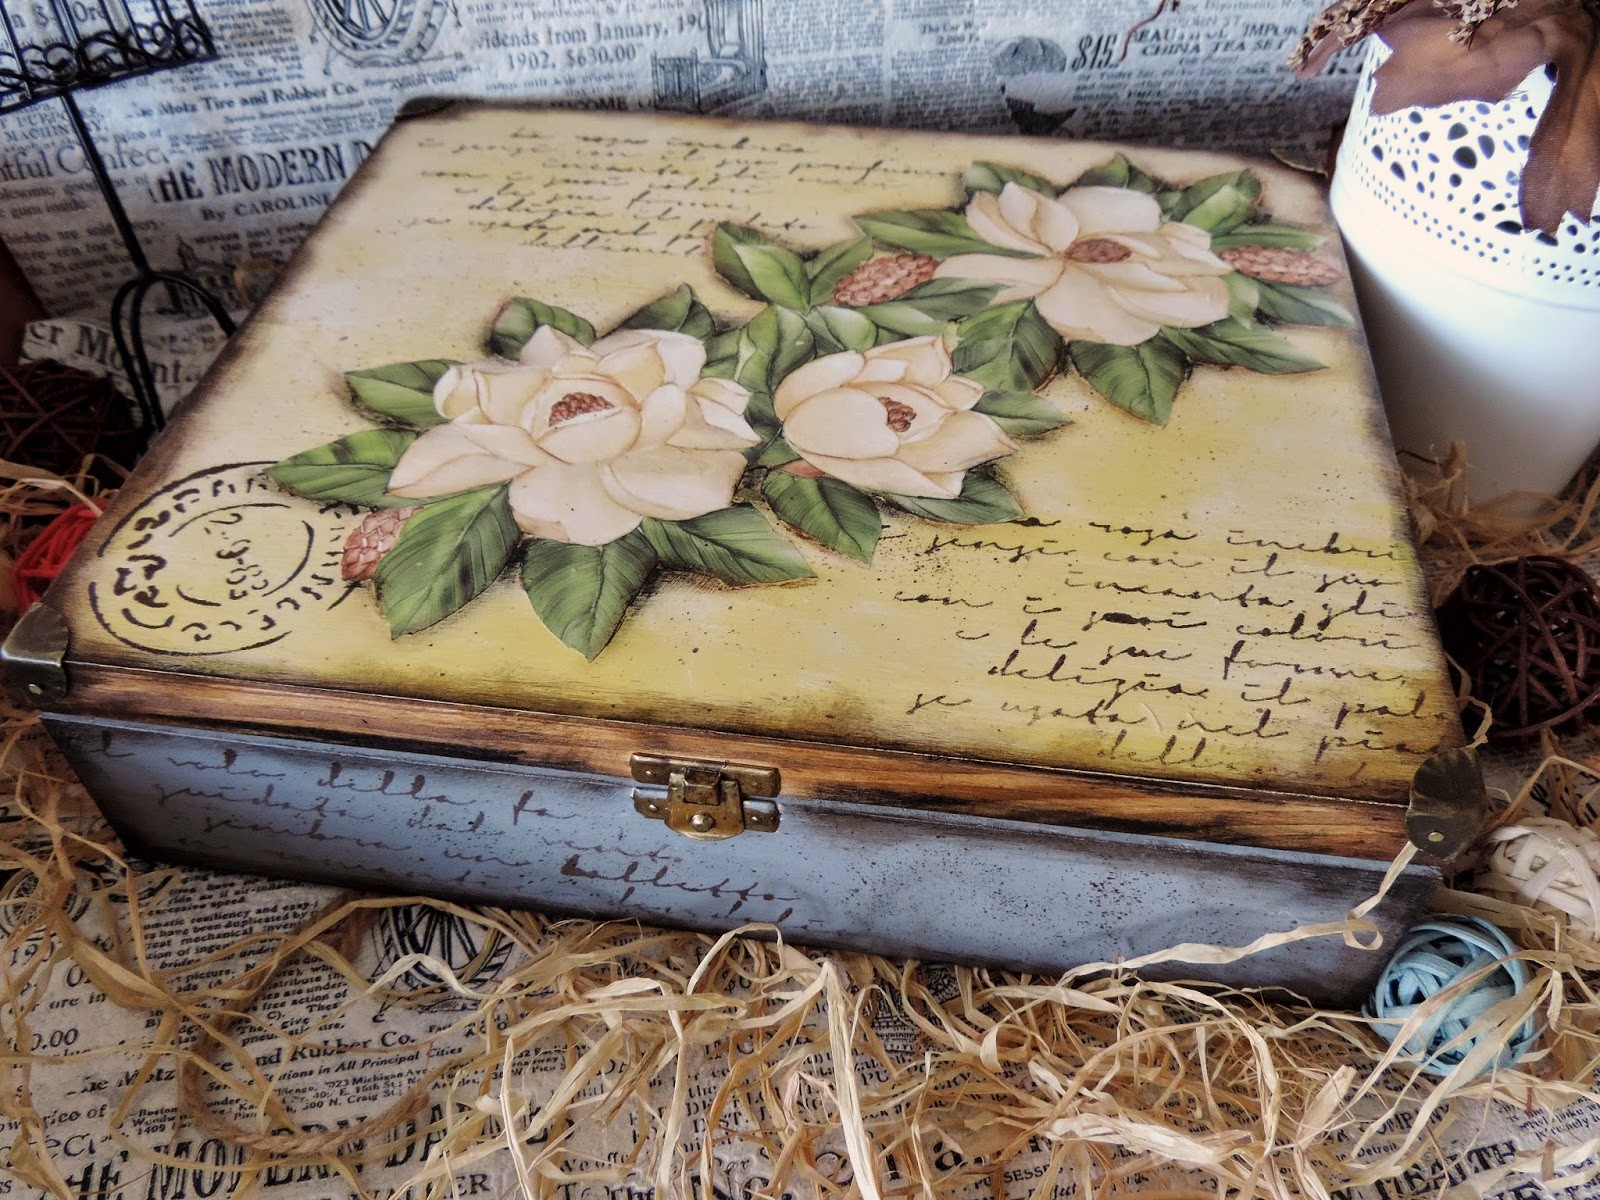
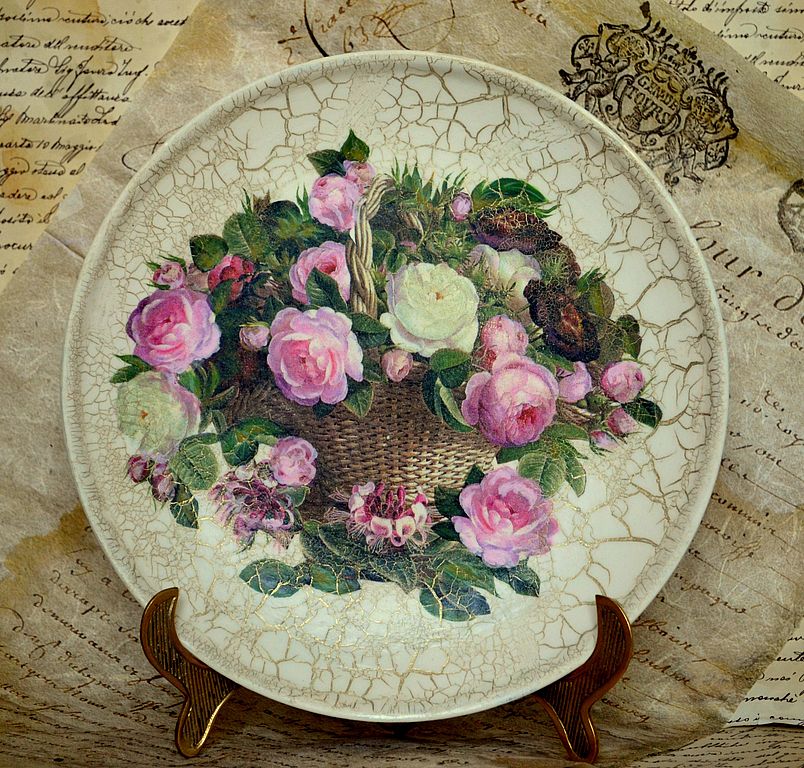
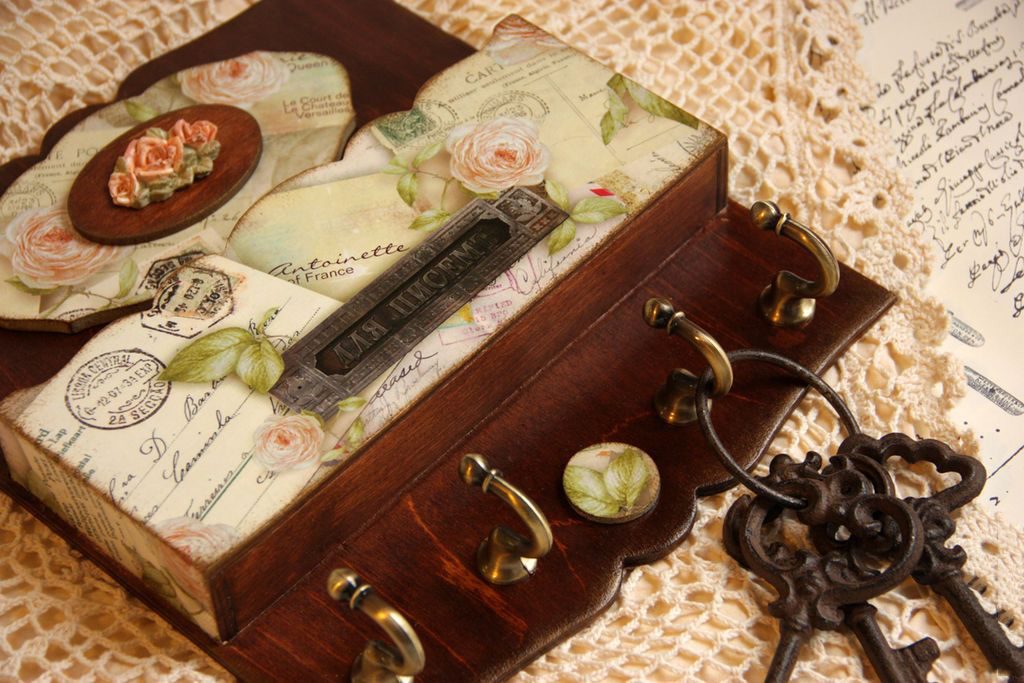
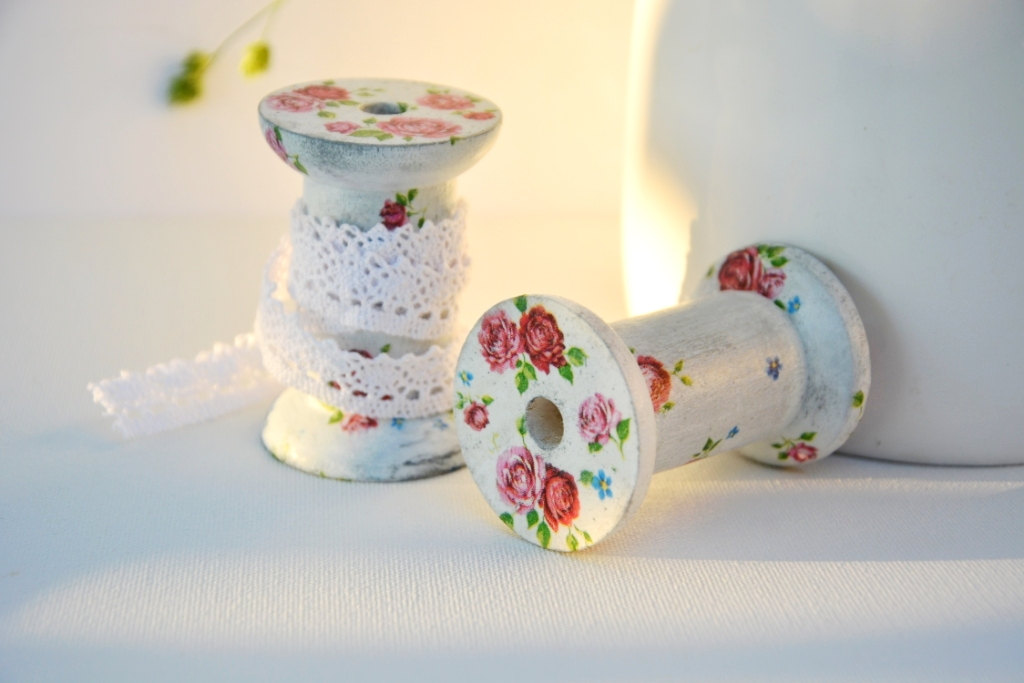
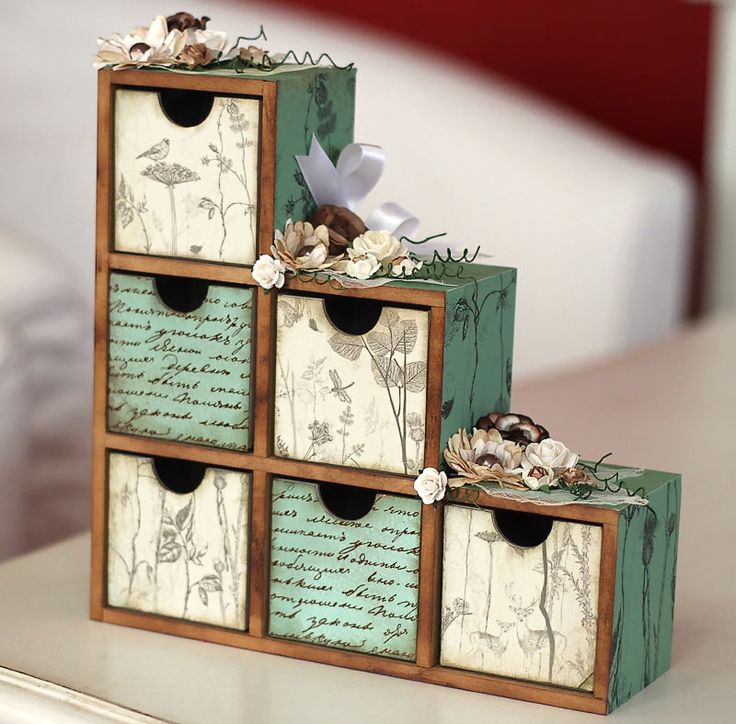
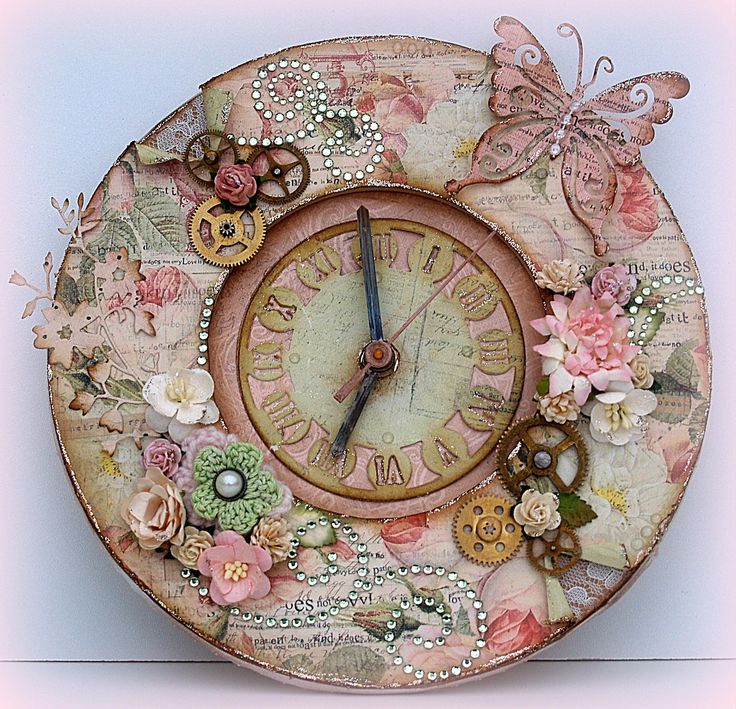
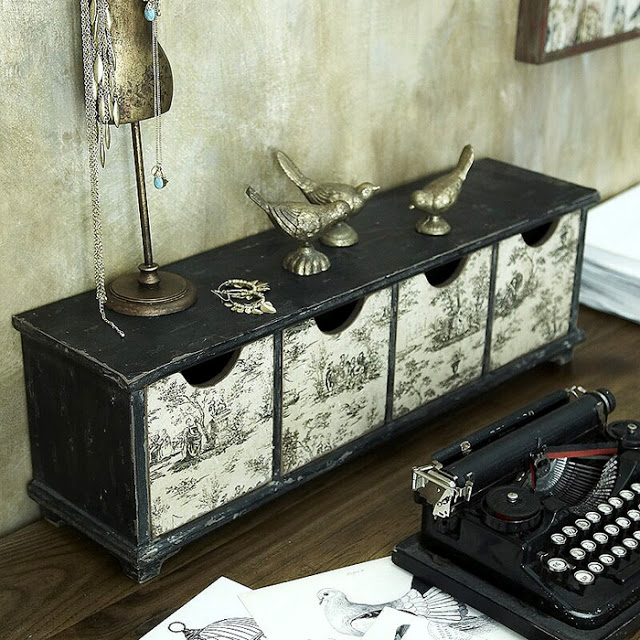
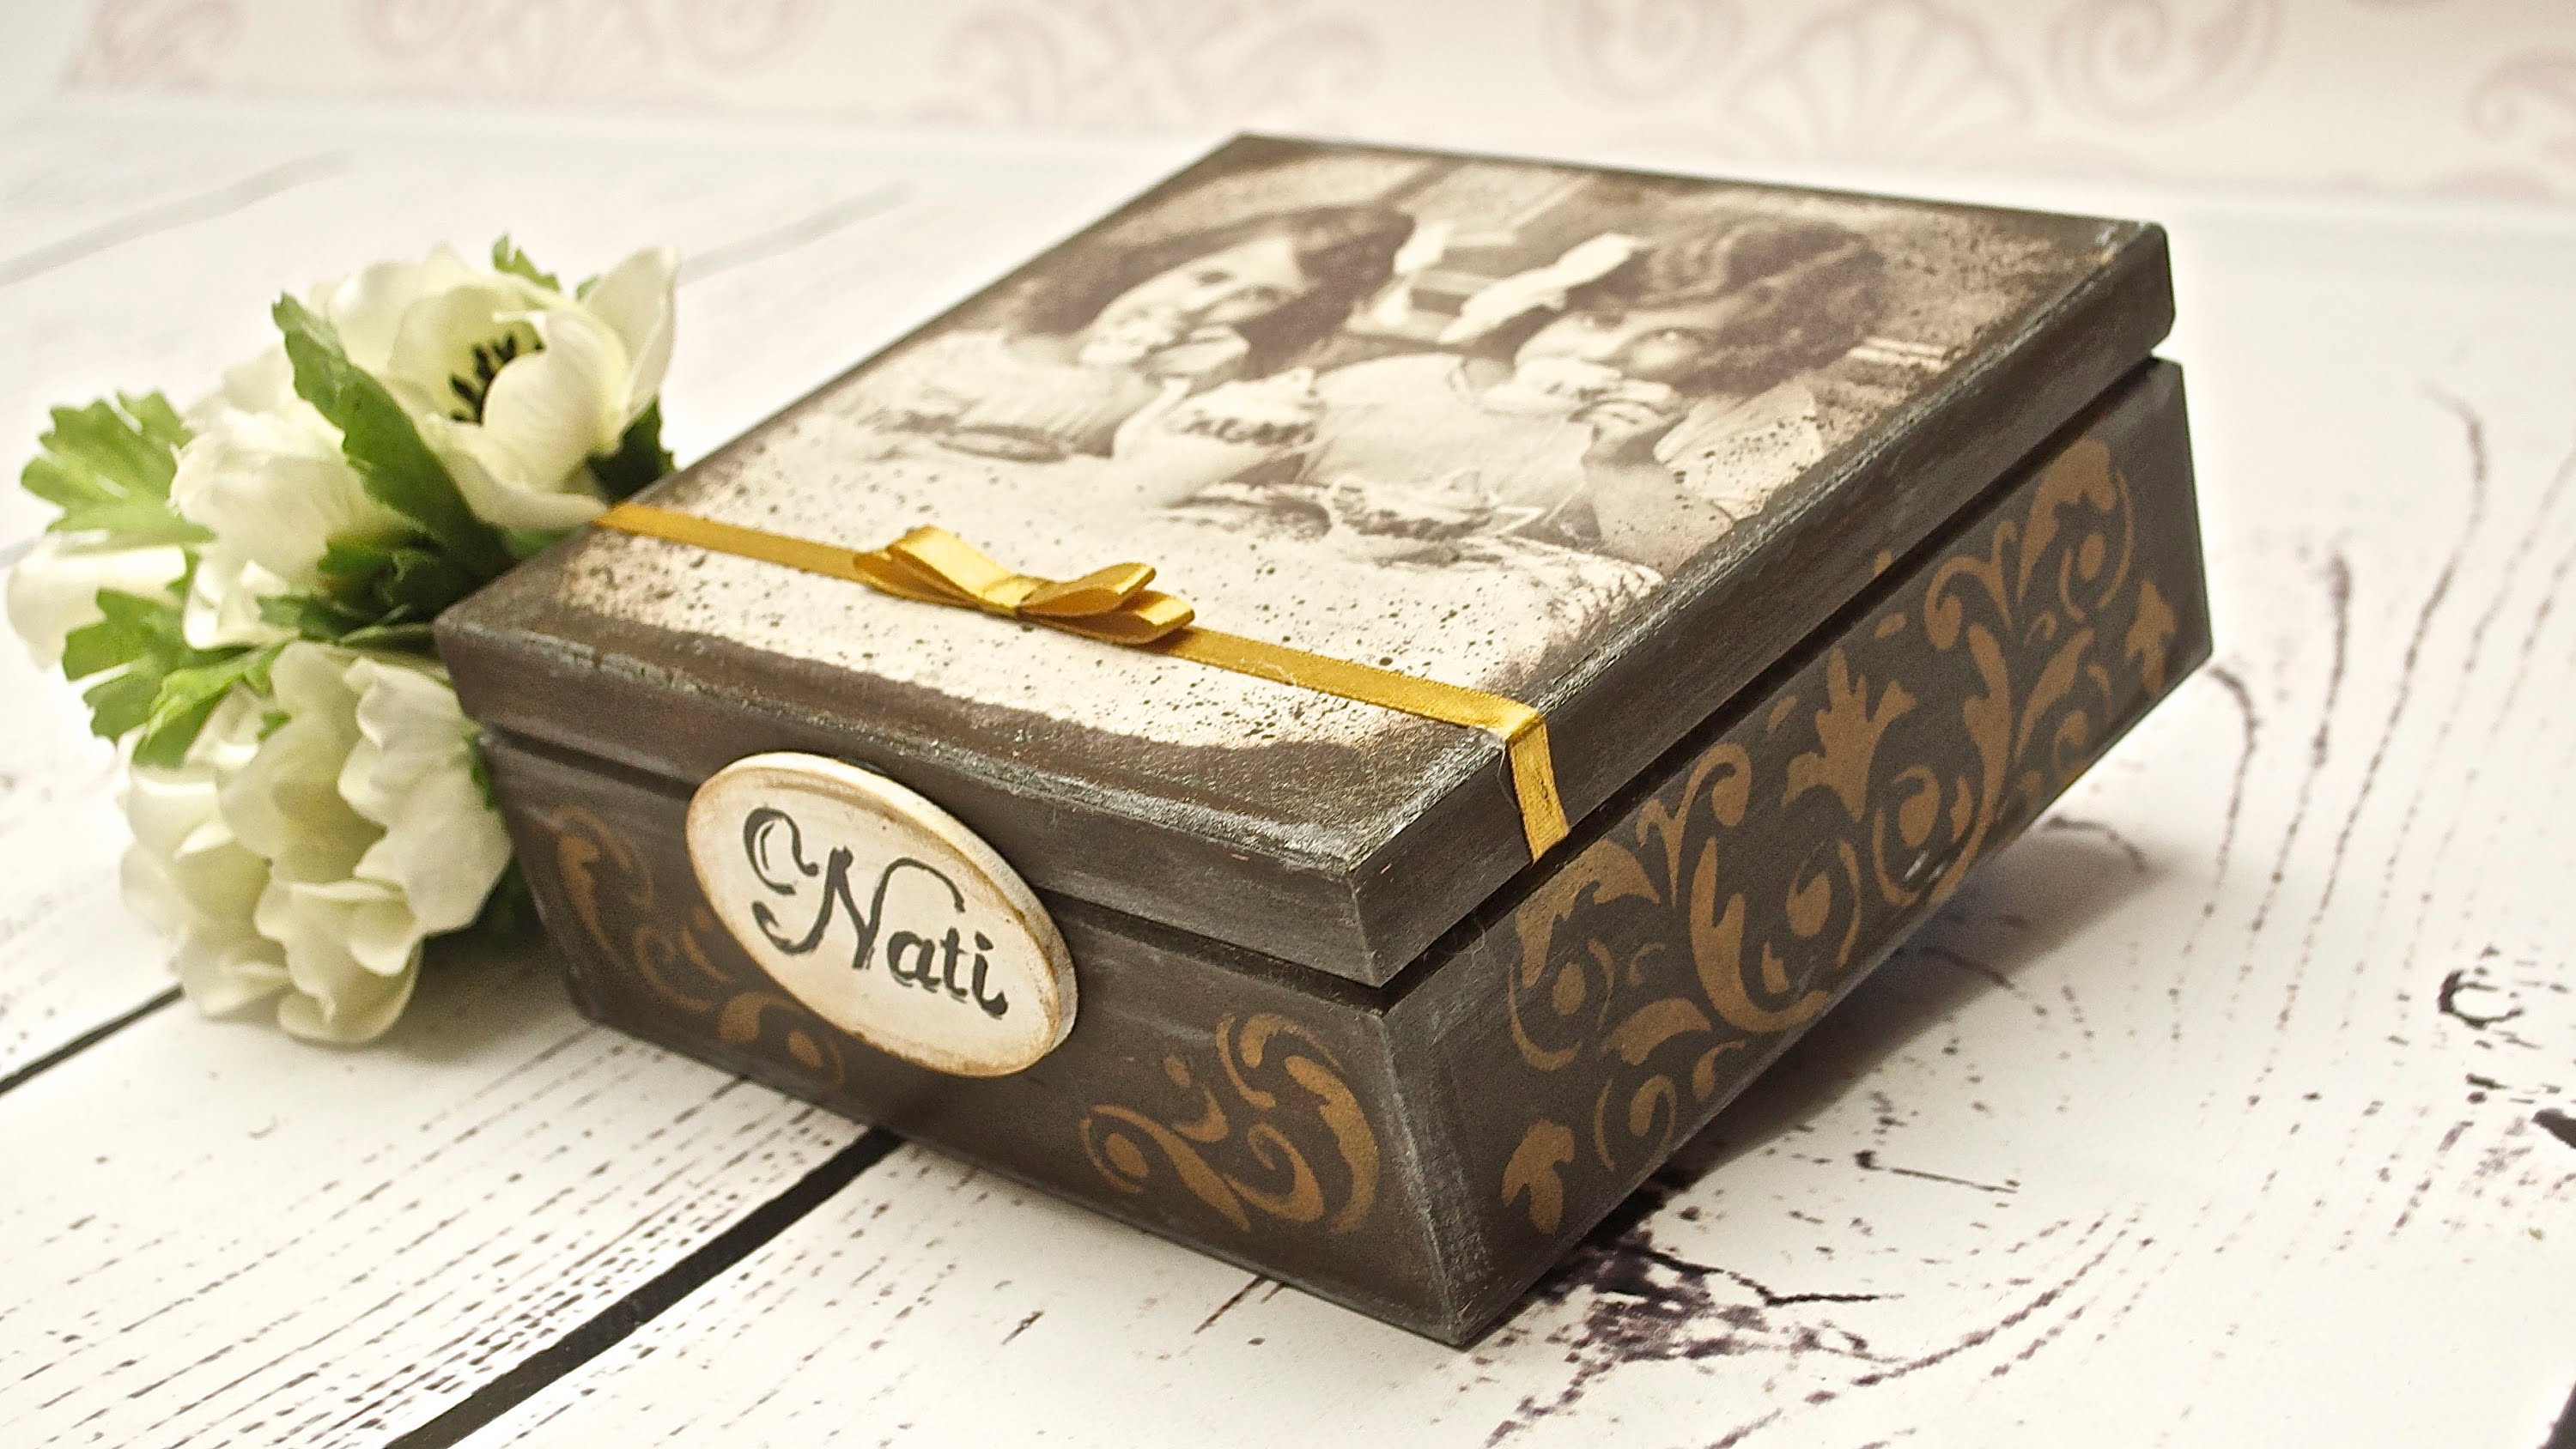
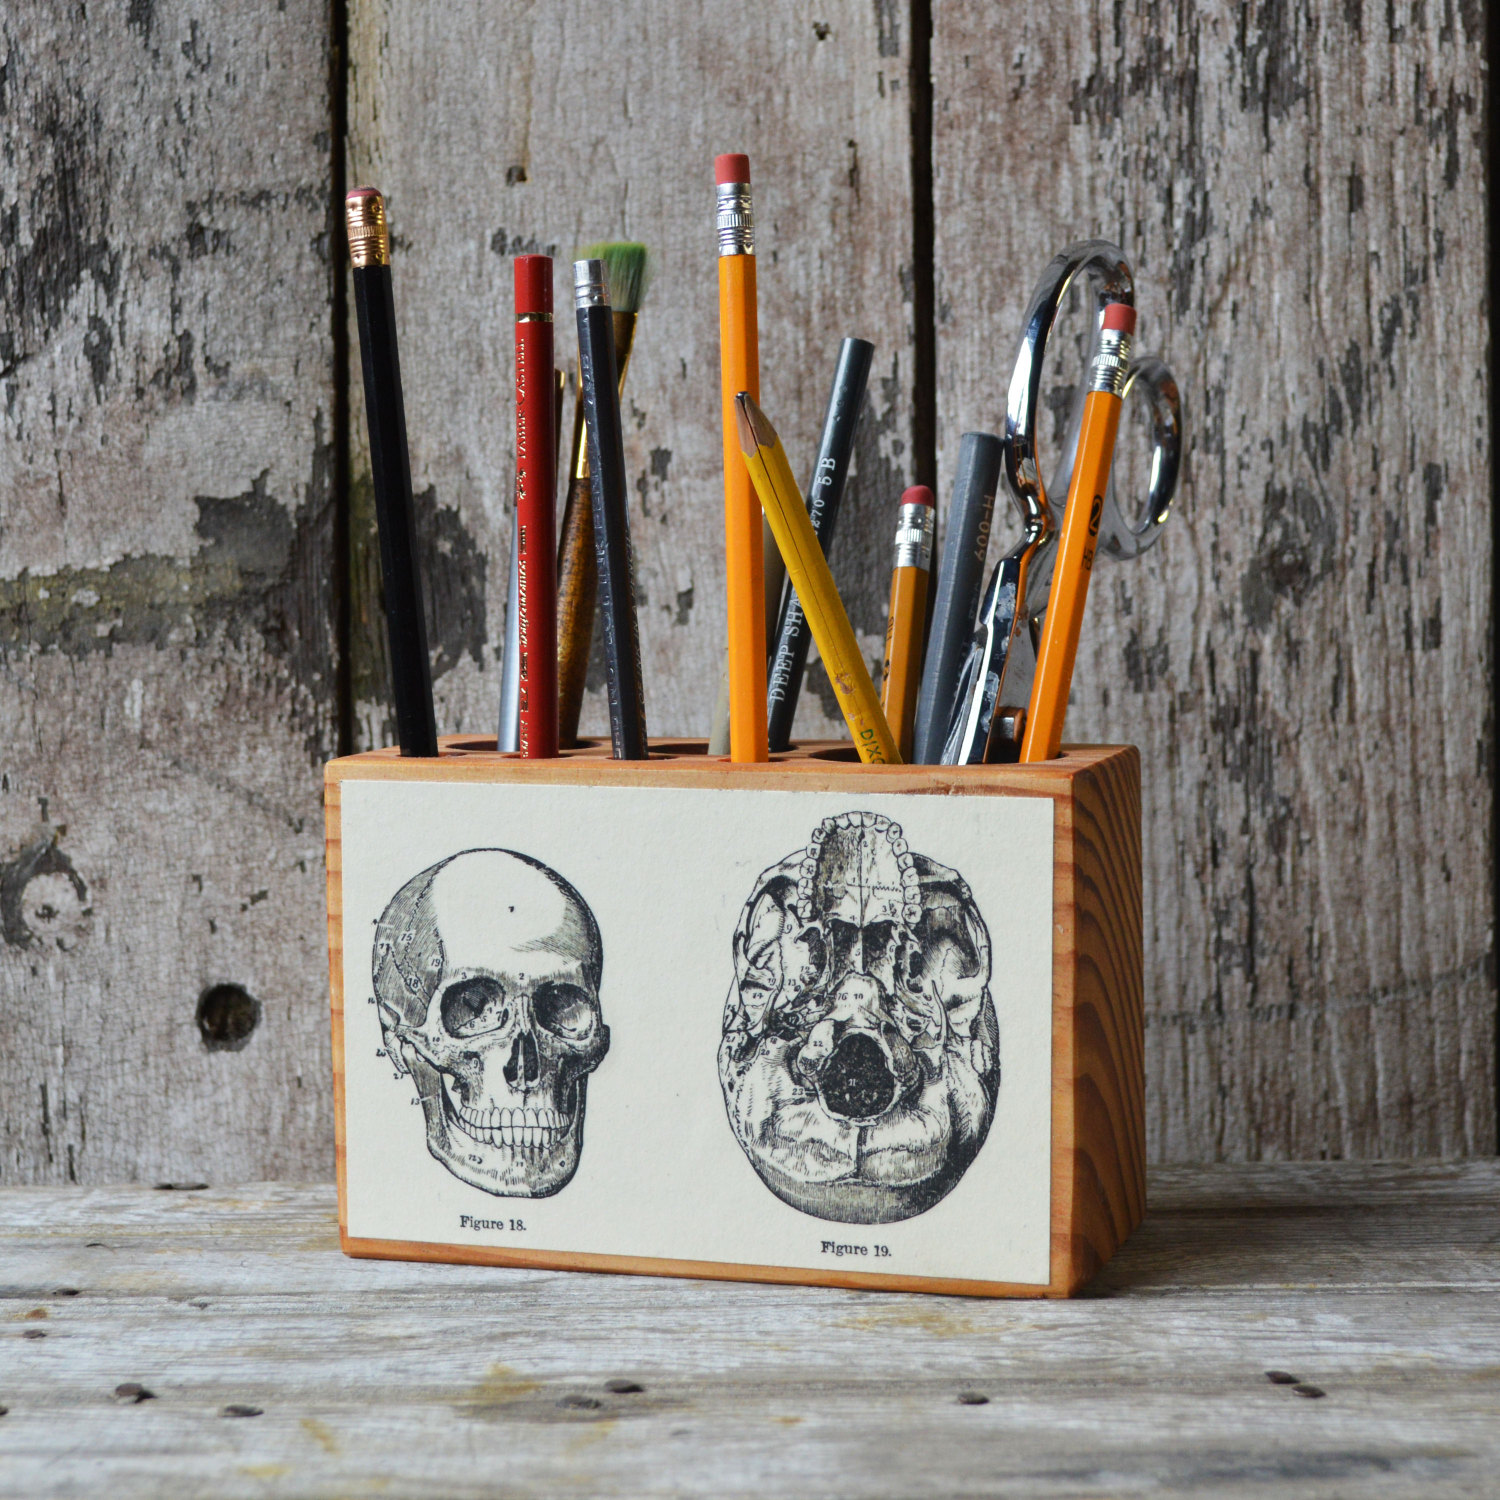
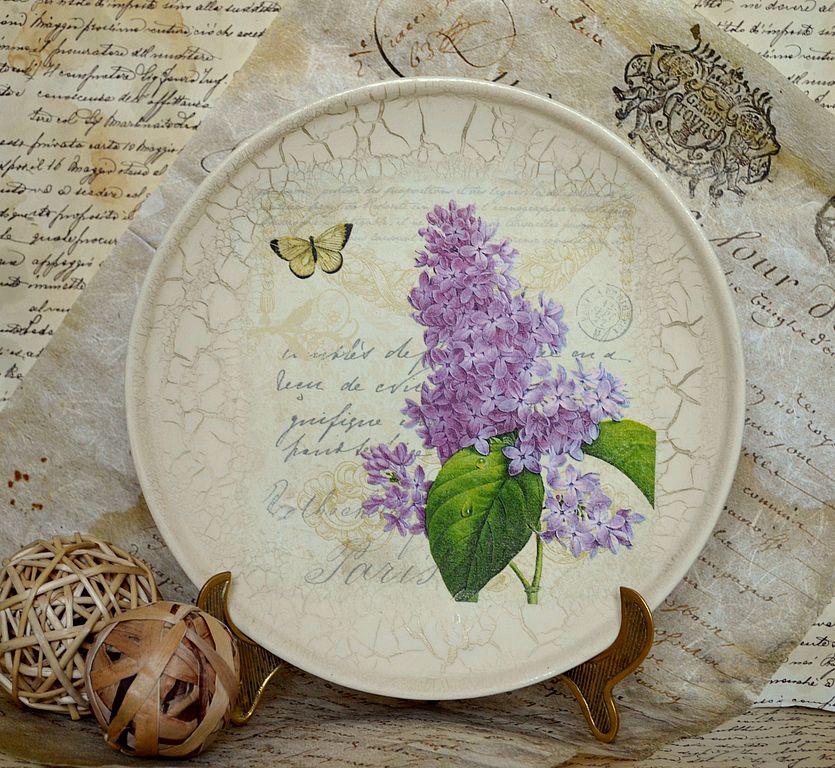
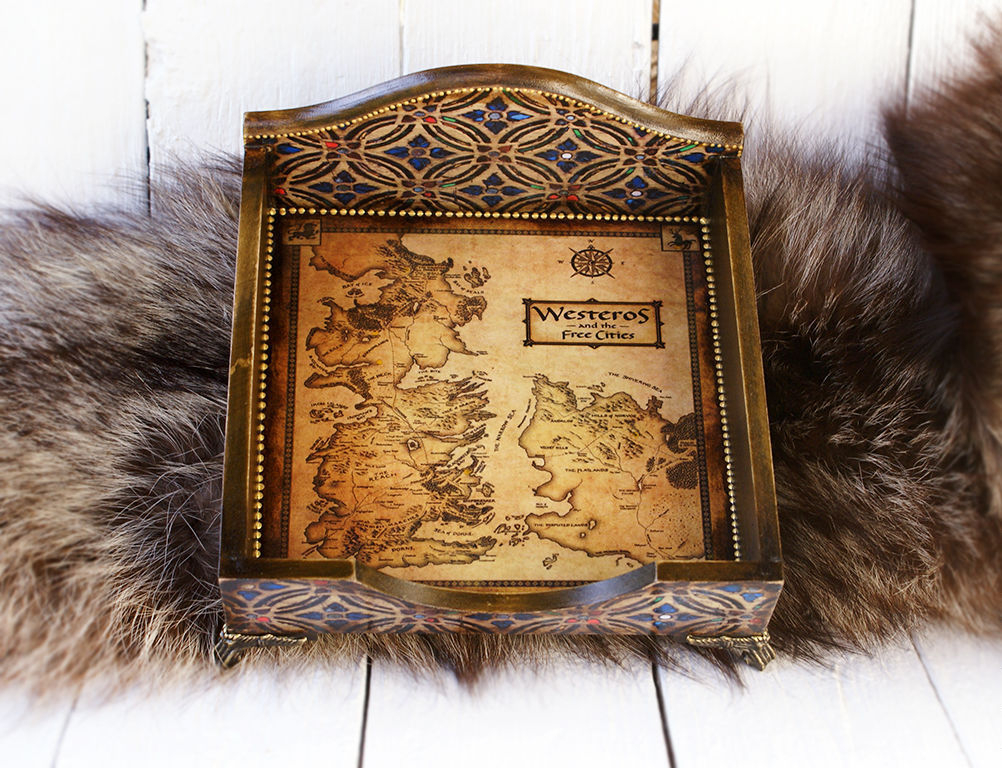
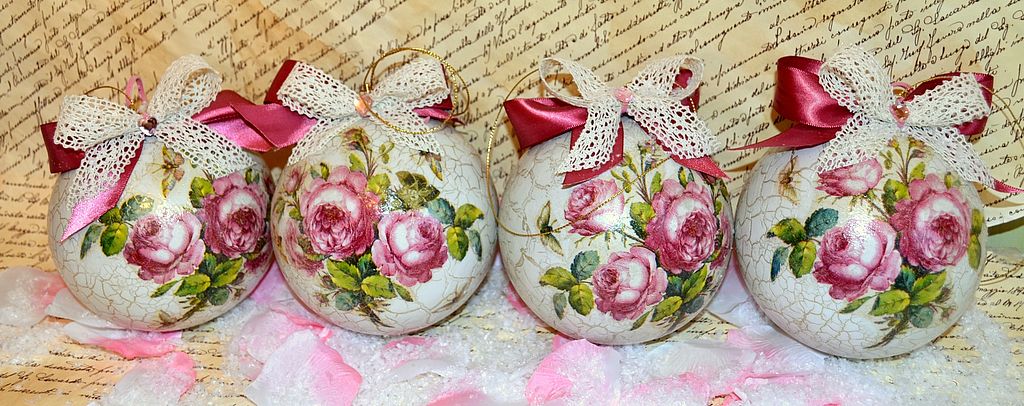
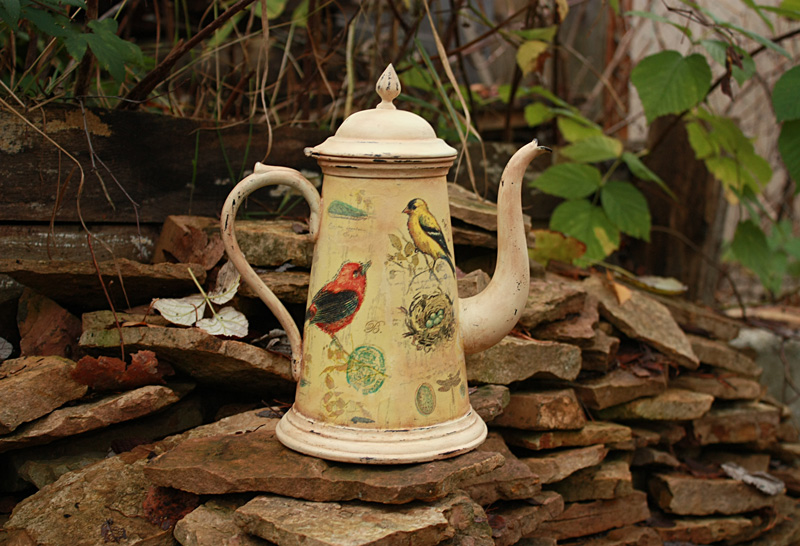
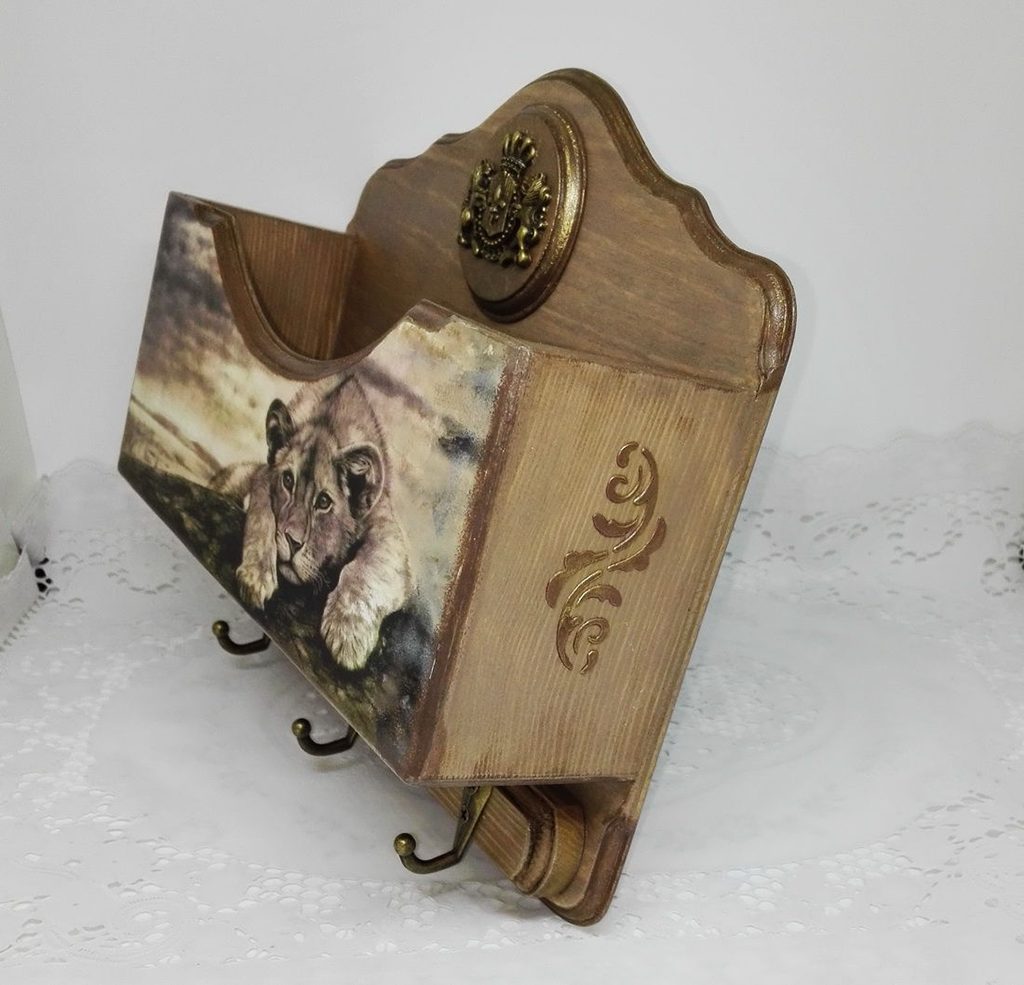
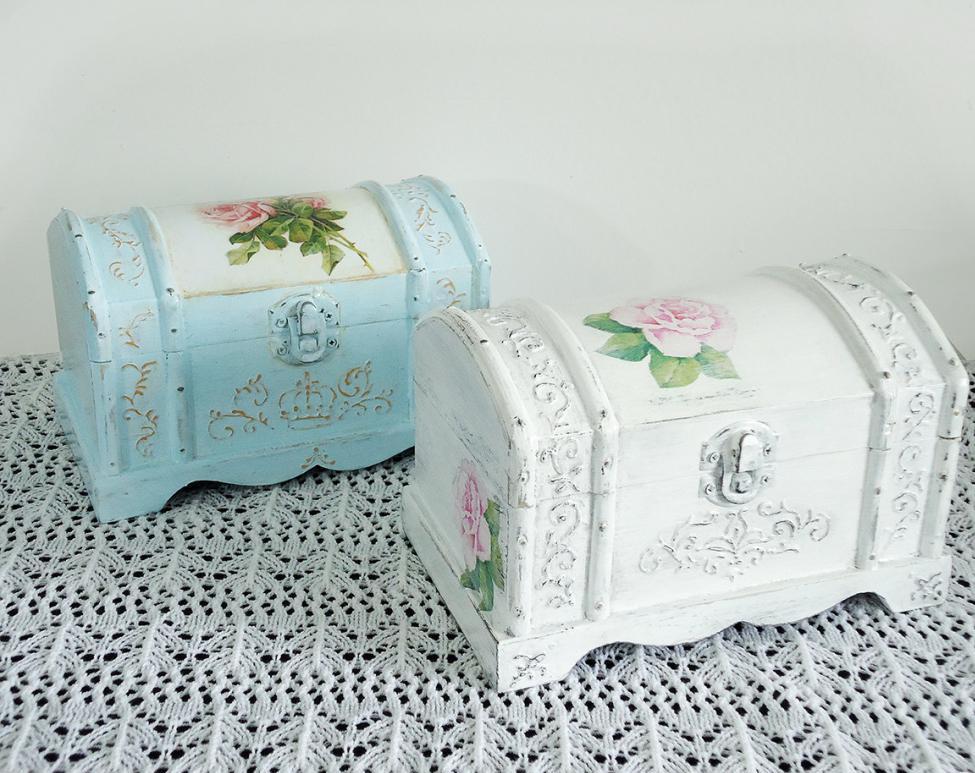
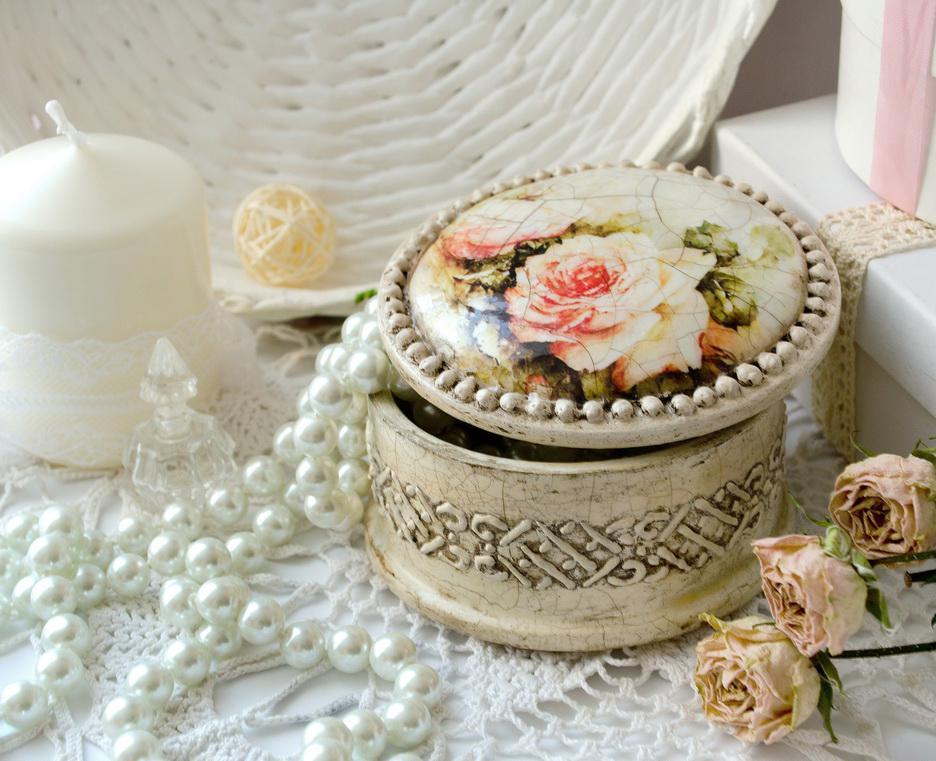
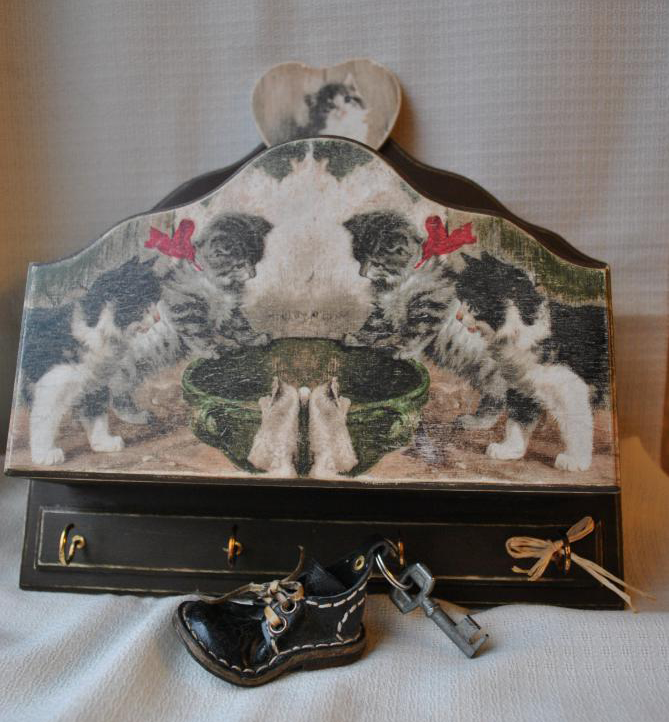
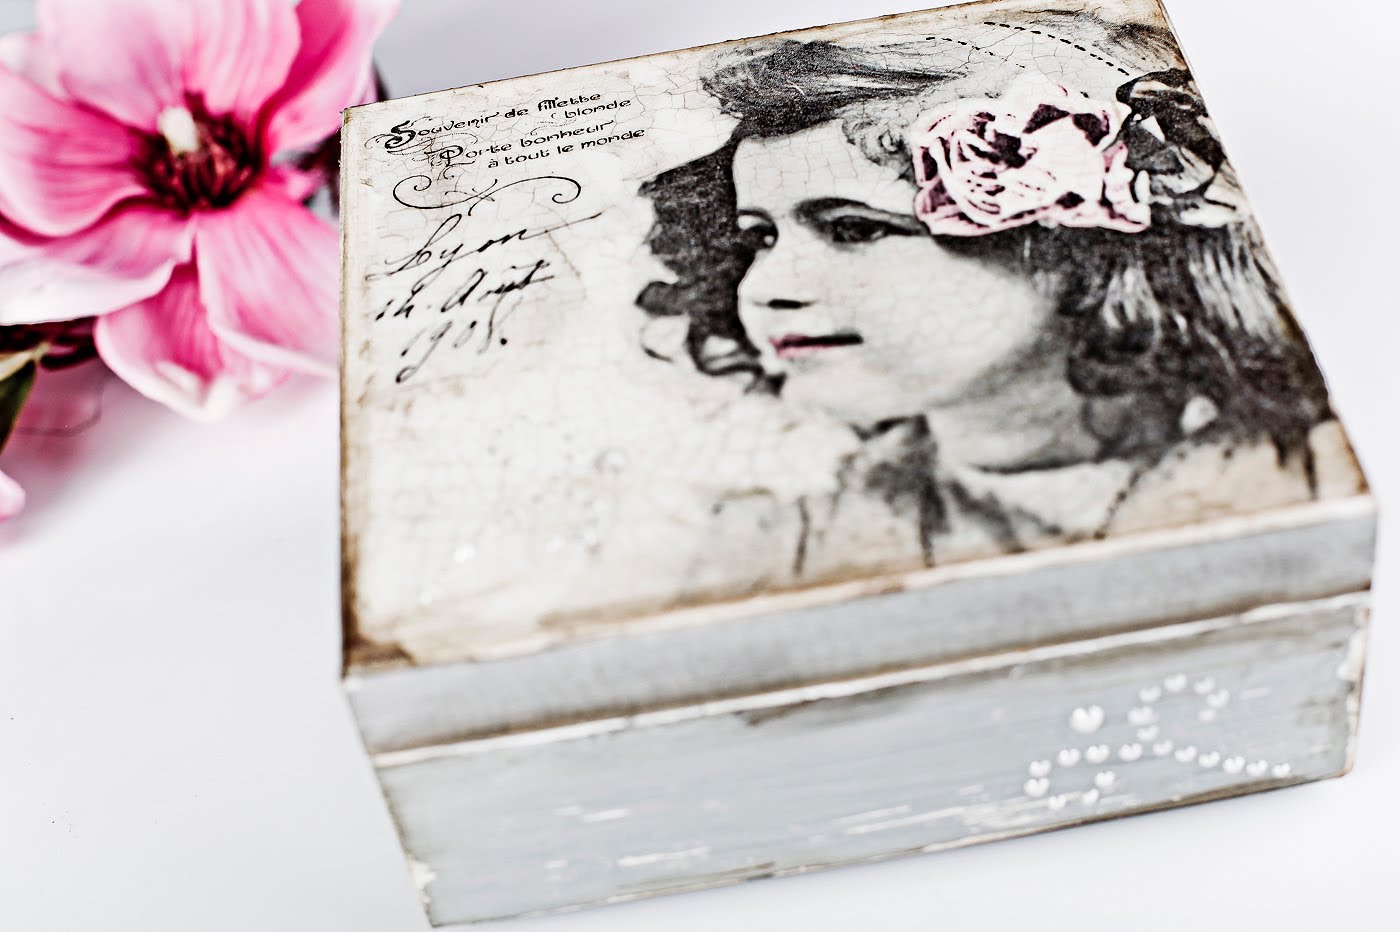
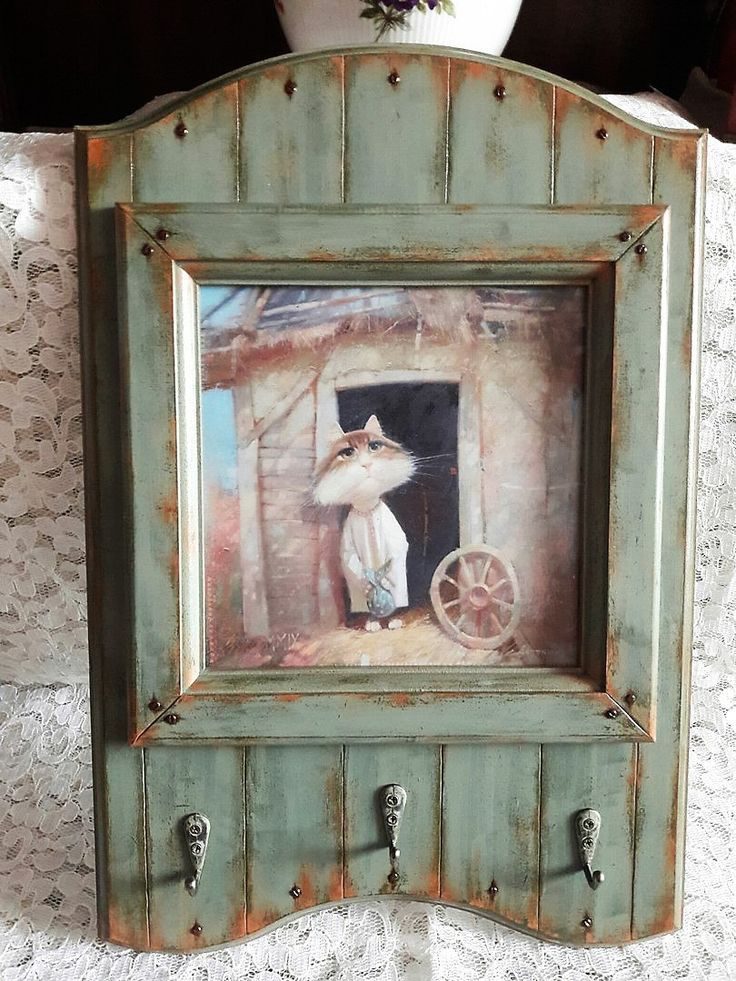
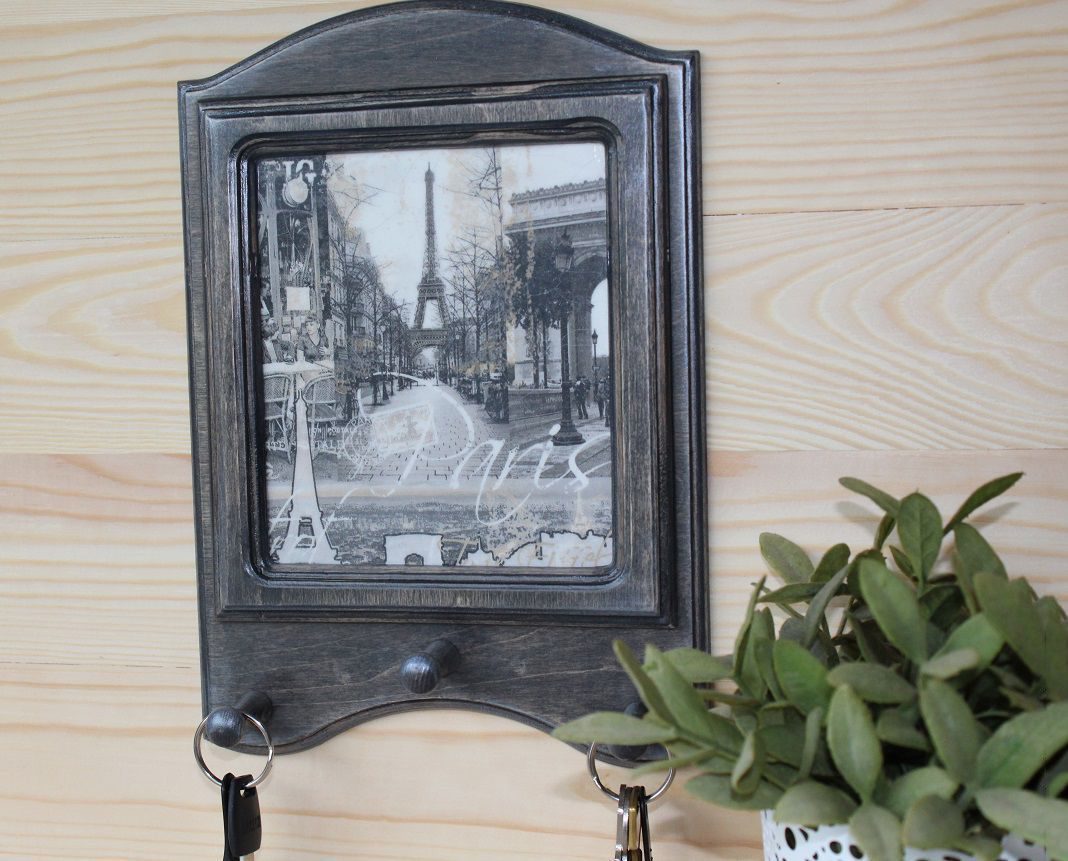
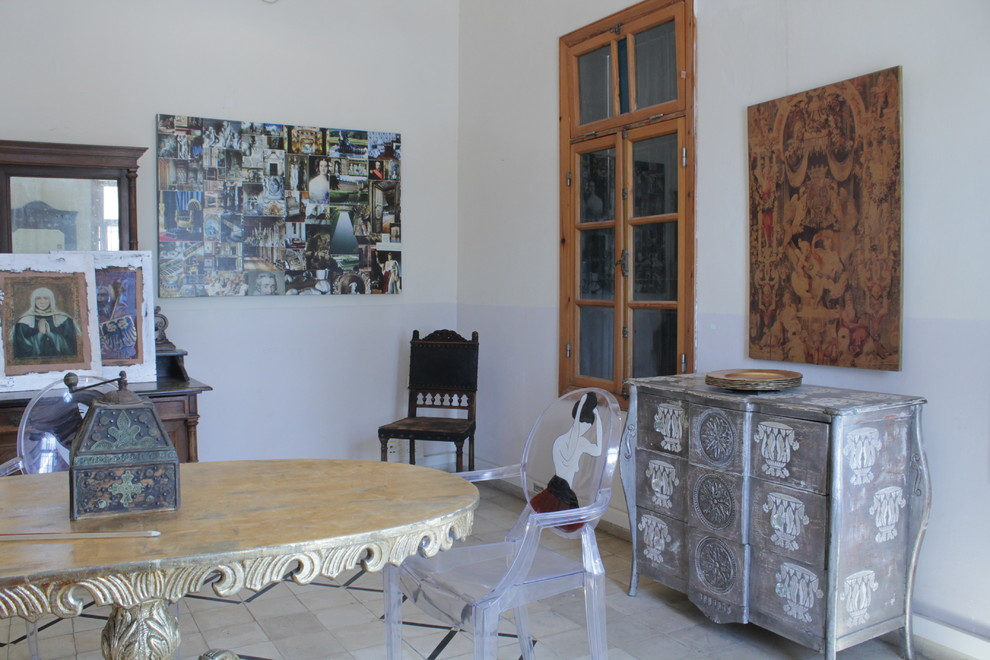
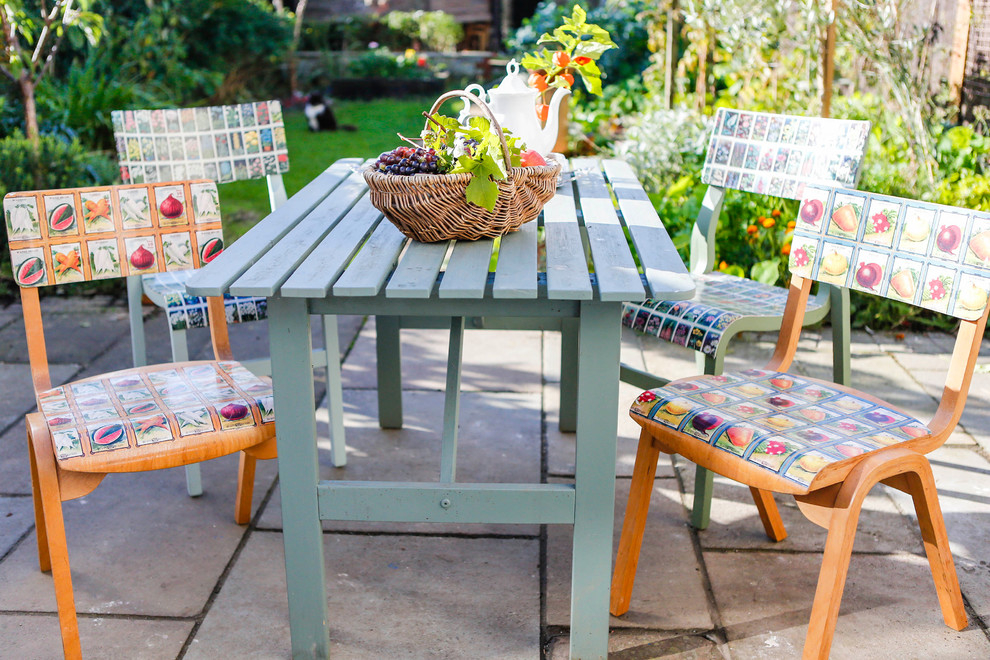
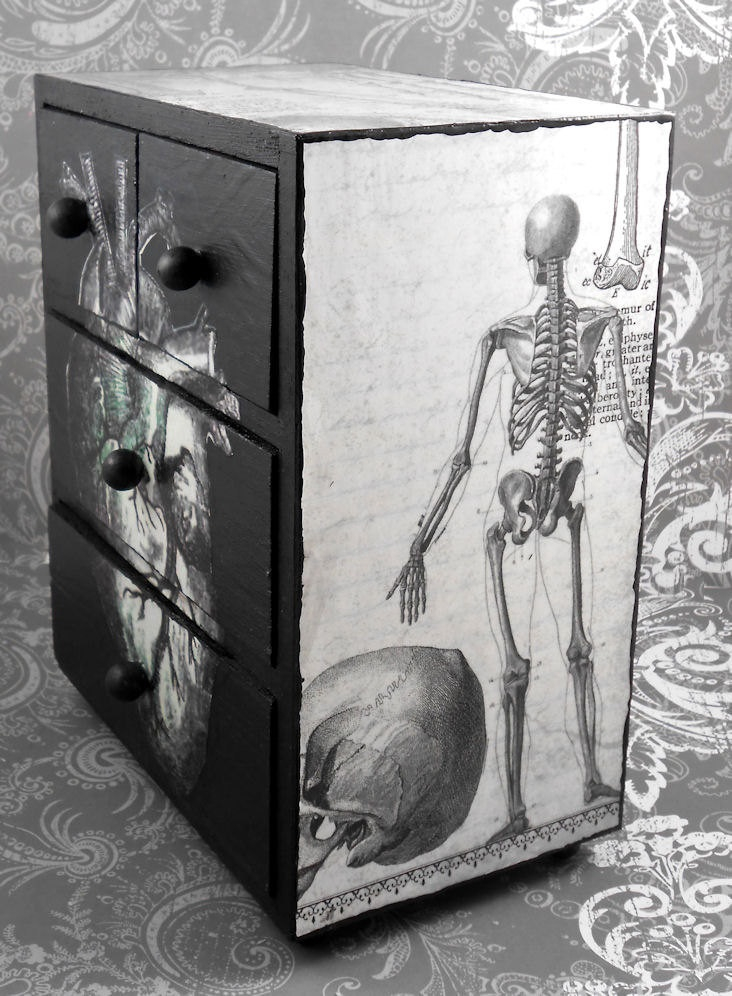
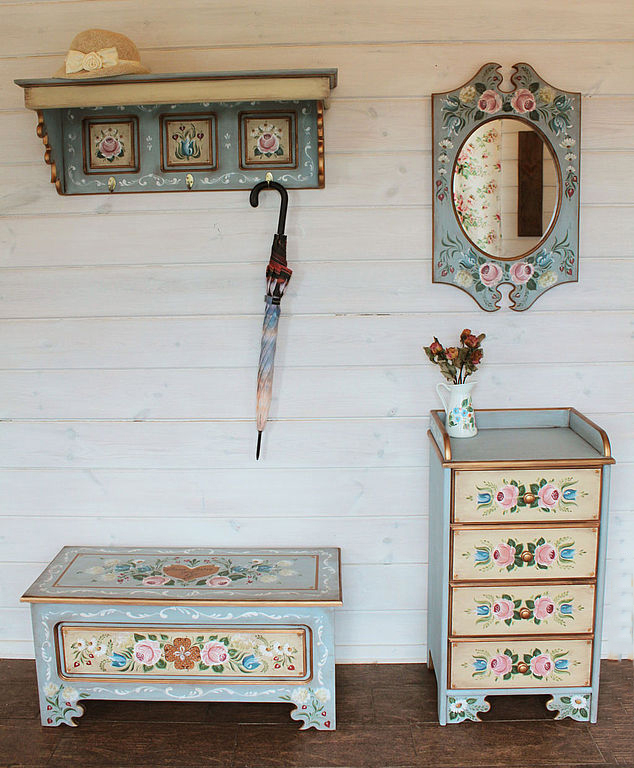
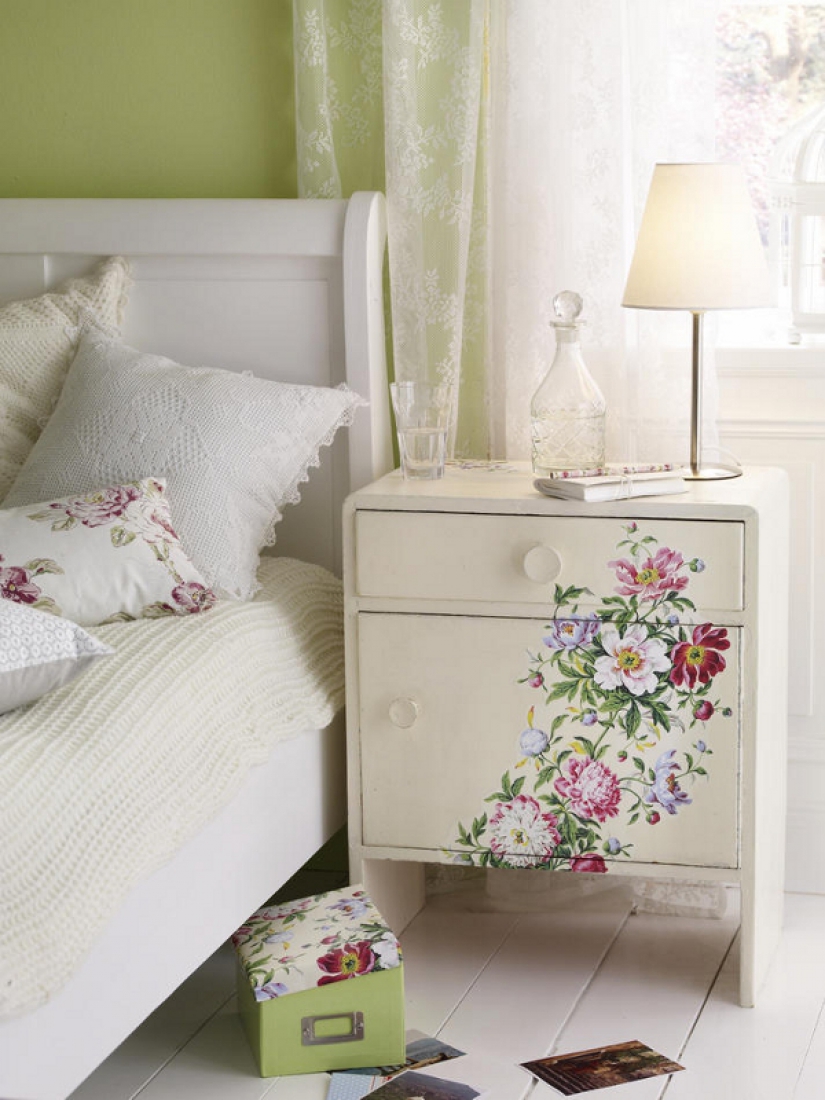
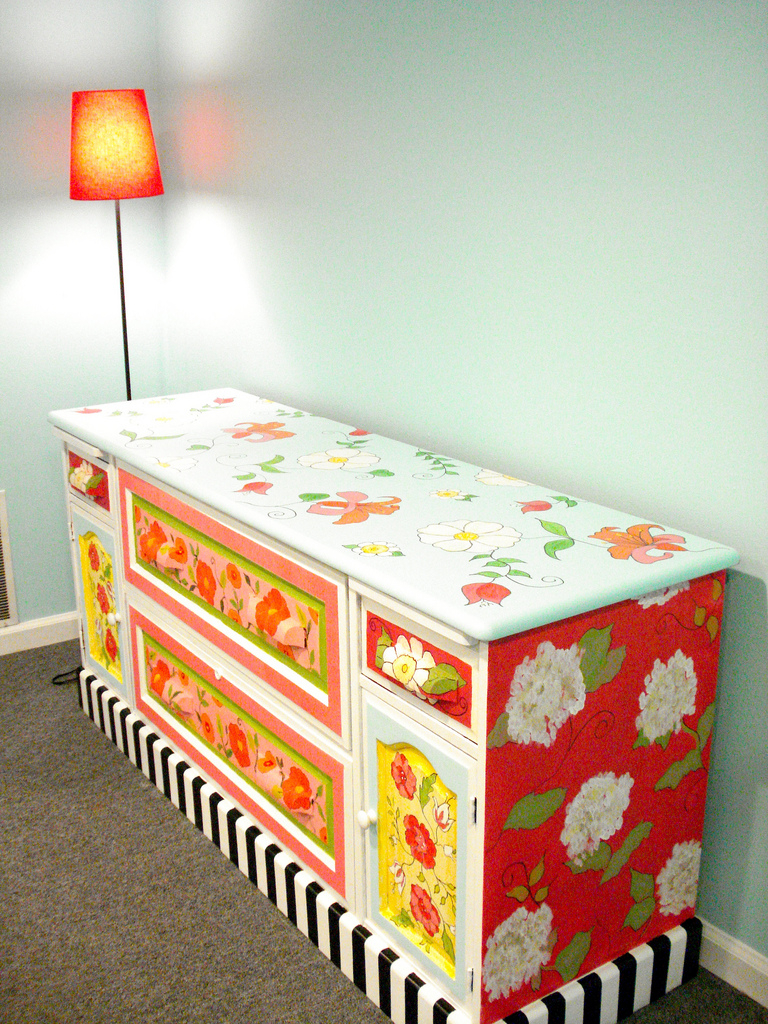
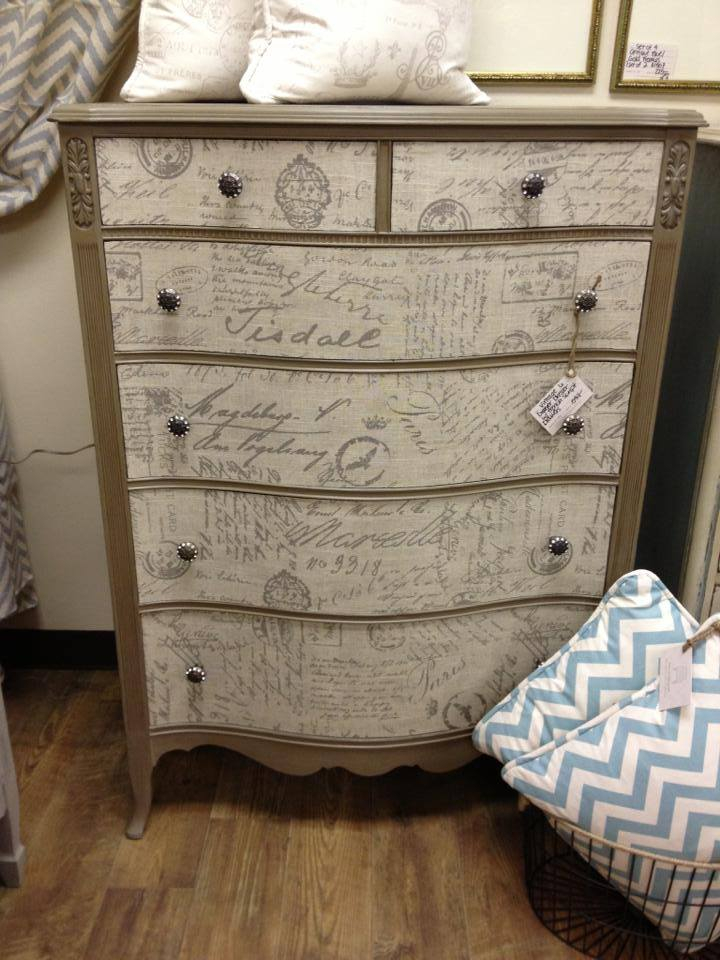
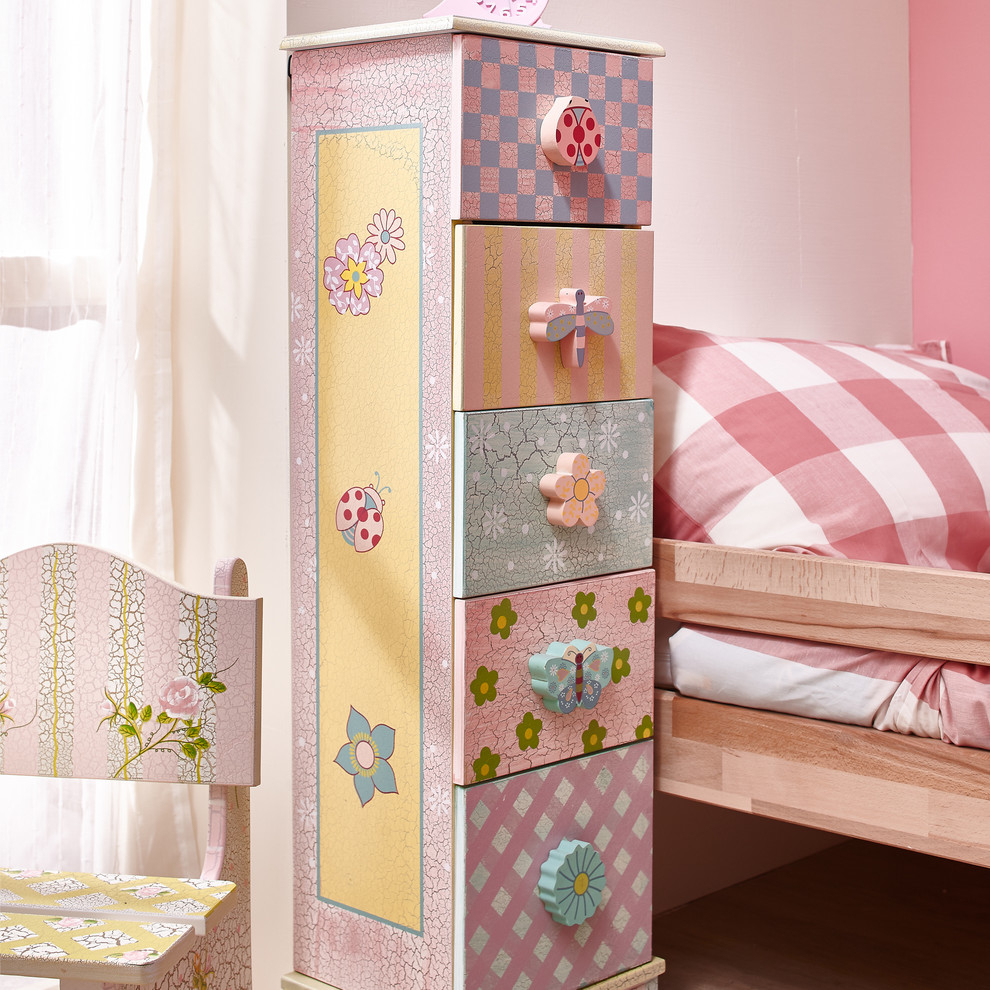
In this technique there are a large number of styles, each needlewoman will find something to their liking. With the help of decoupage, you can turn a completely unremarkable furniture, dishes, vase, into a real work of art.
The main thing is not to be afraid to try something new, expanding your creative horizons!


 Clean up the closet
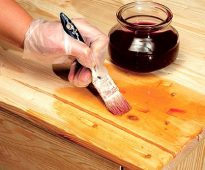 Furniture lacquer. What is it and what is it for?
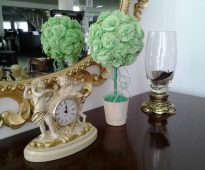 How to make topiary paper napkins with your own hands?
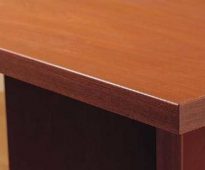 Furniture edge - what is it and why is it needed?
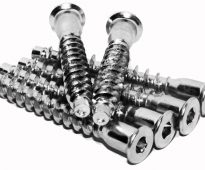 Choosing screws to assemble furniture wisely
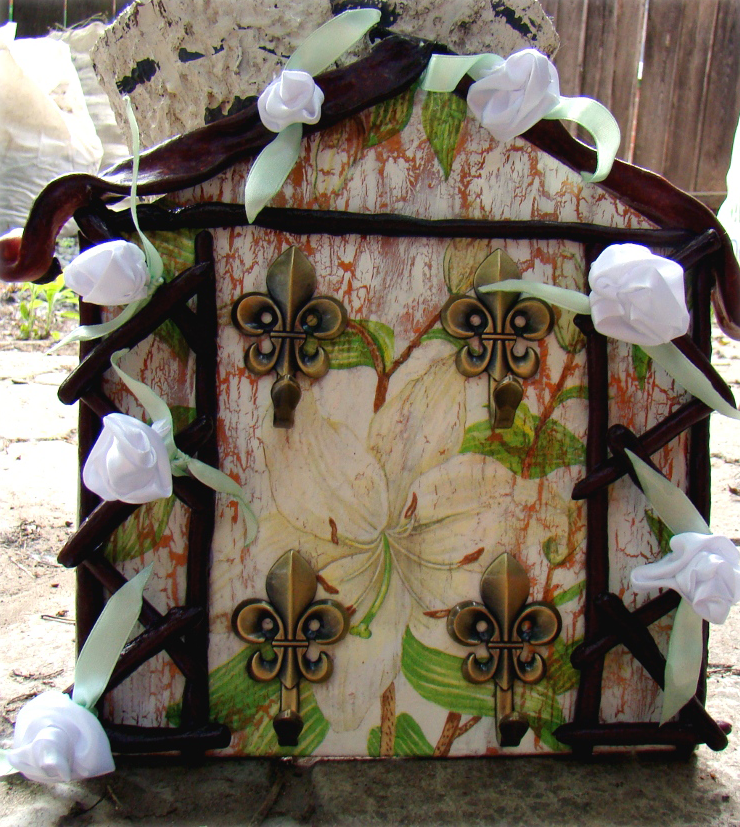
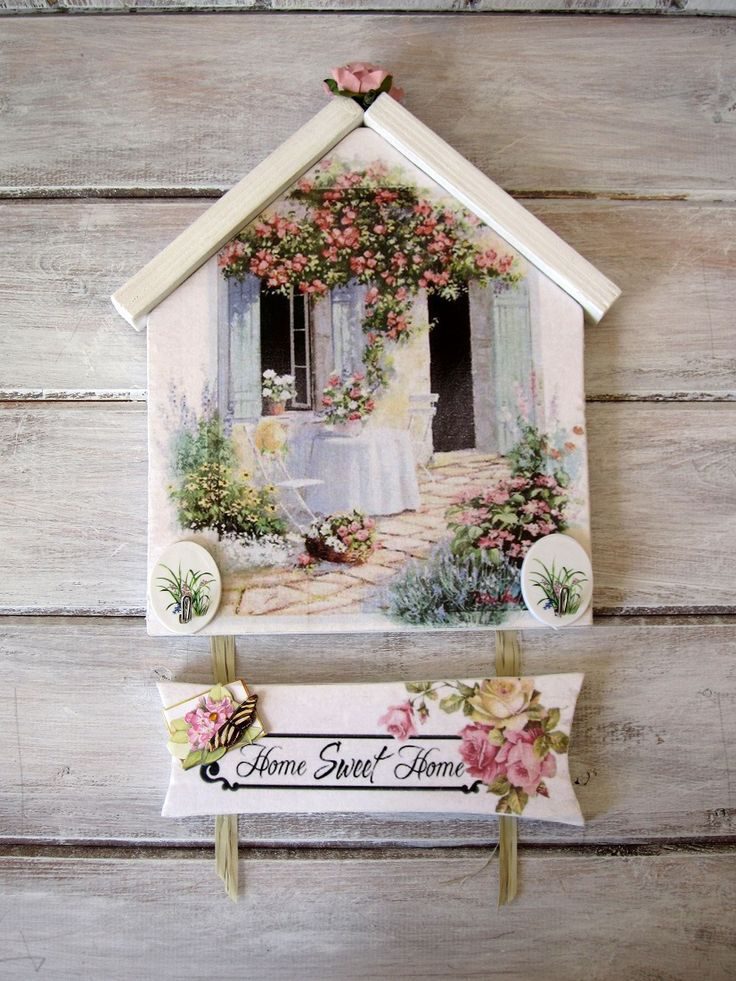
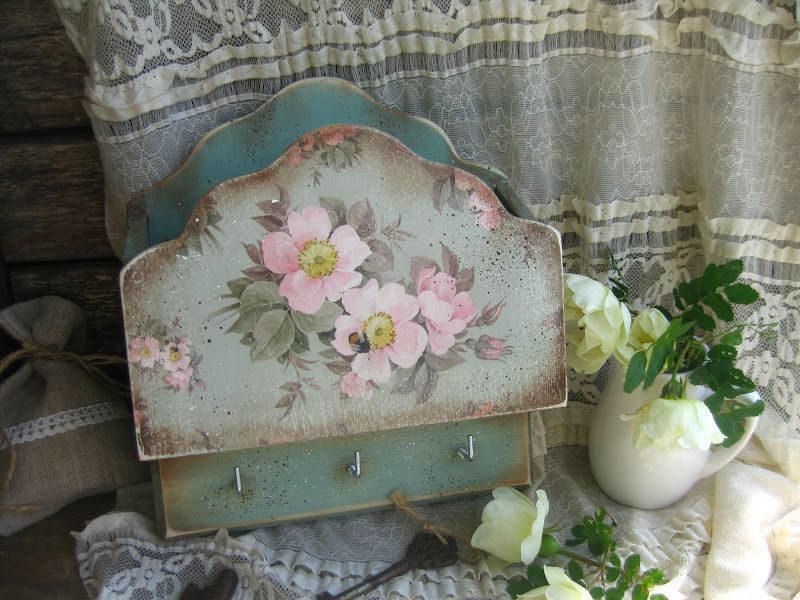
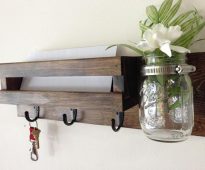 How to make a wall hanger housekeeper with your own hands?
 To collect the dream apartment


