 Clean up the closet
Many seek to maintain order and cleanliness in their own home. To do this, a regular cleaning of all rooms. And on the order in the closet often do not have time. Especially true for large ...
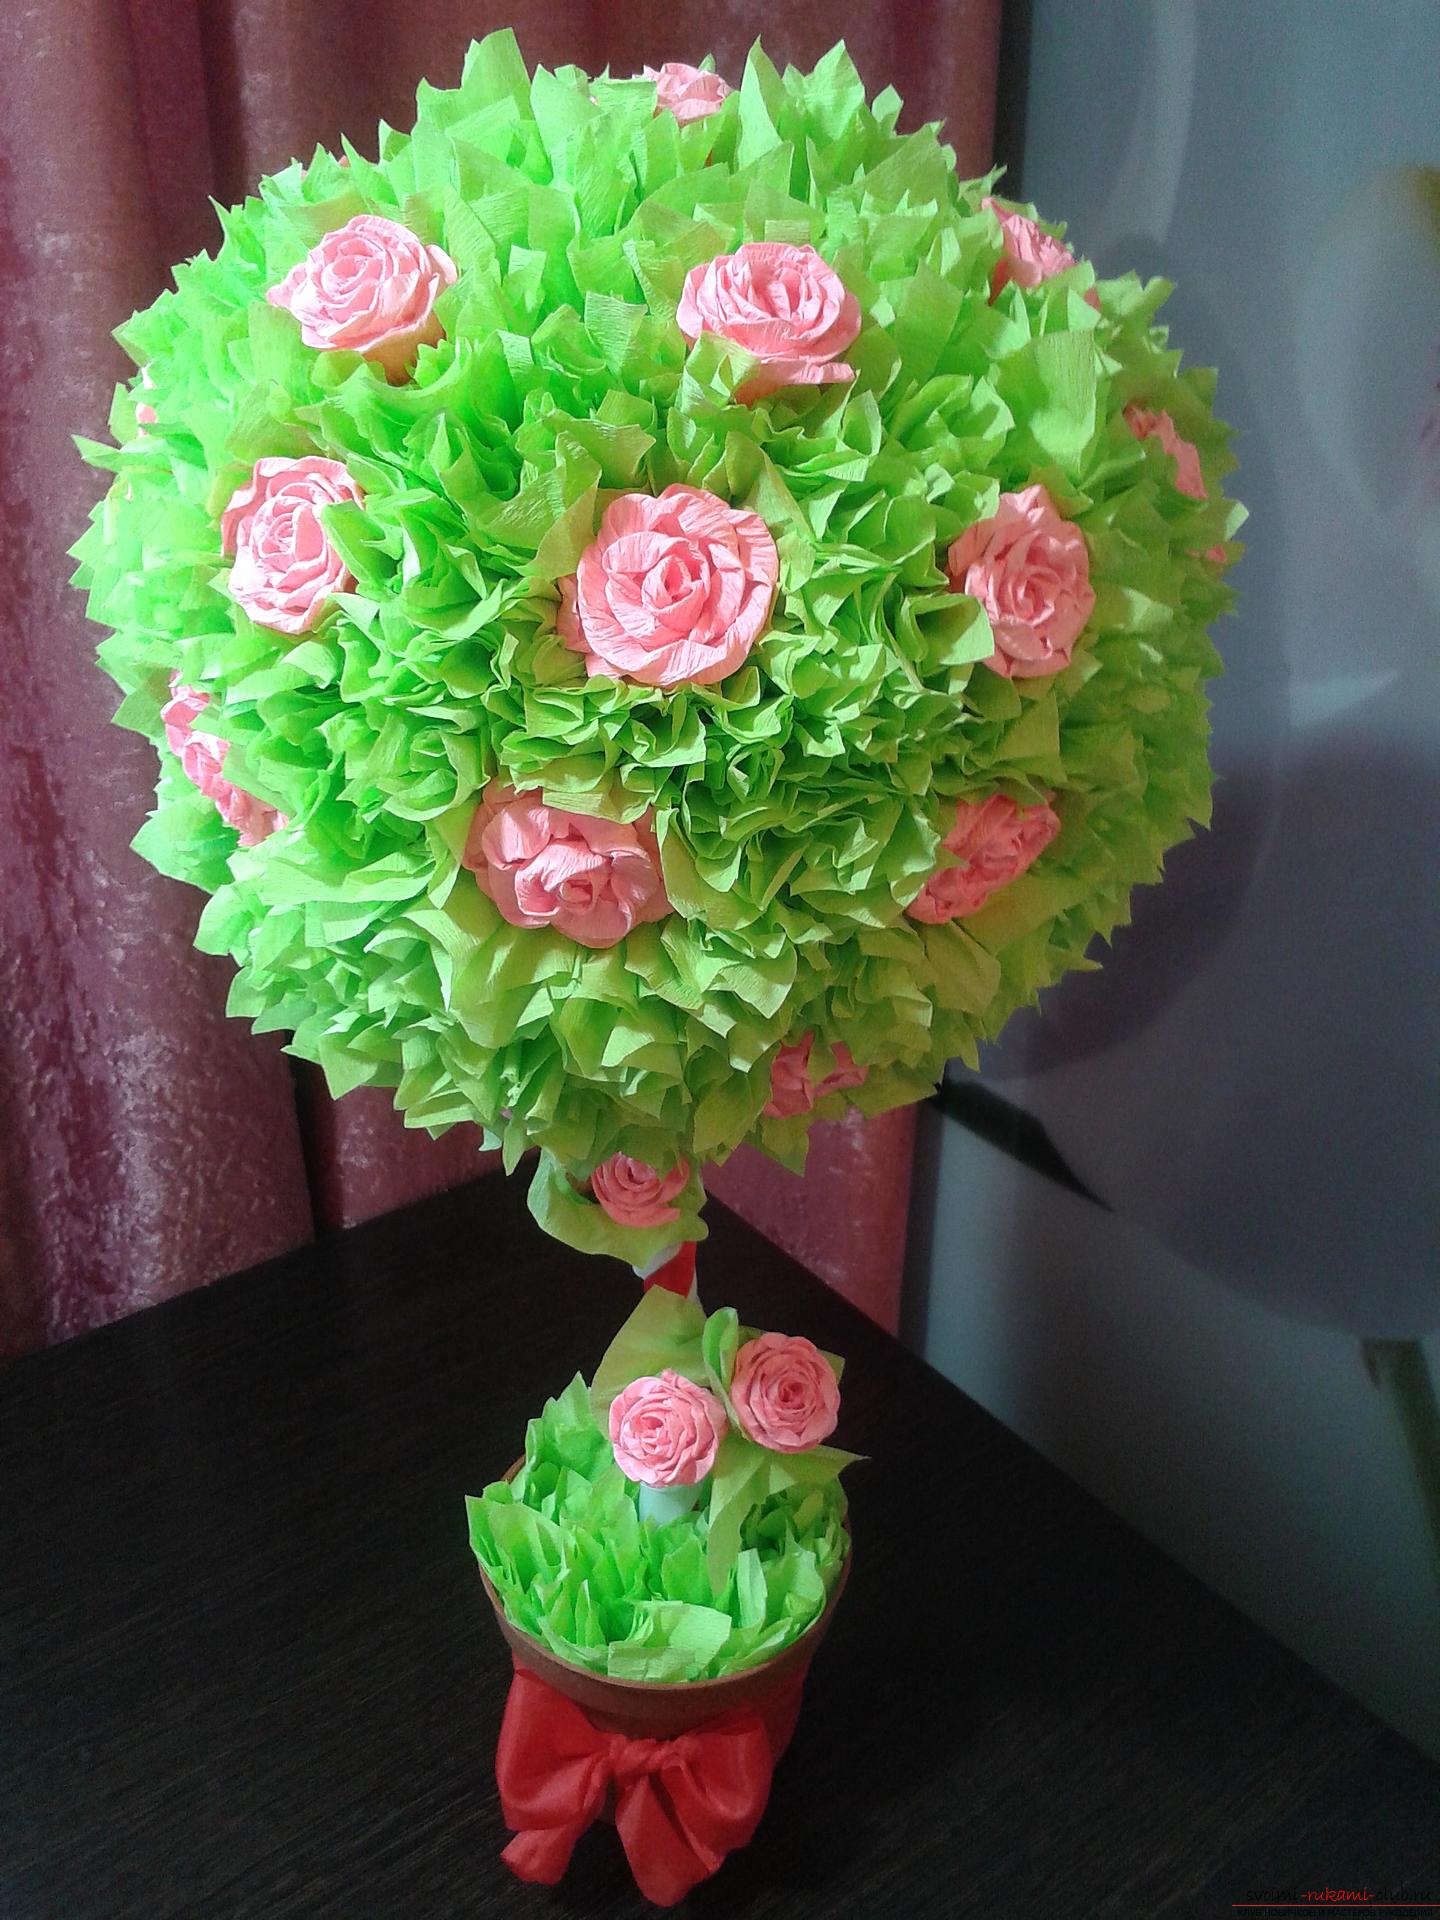
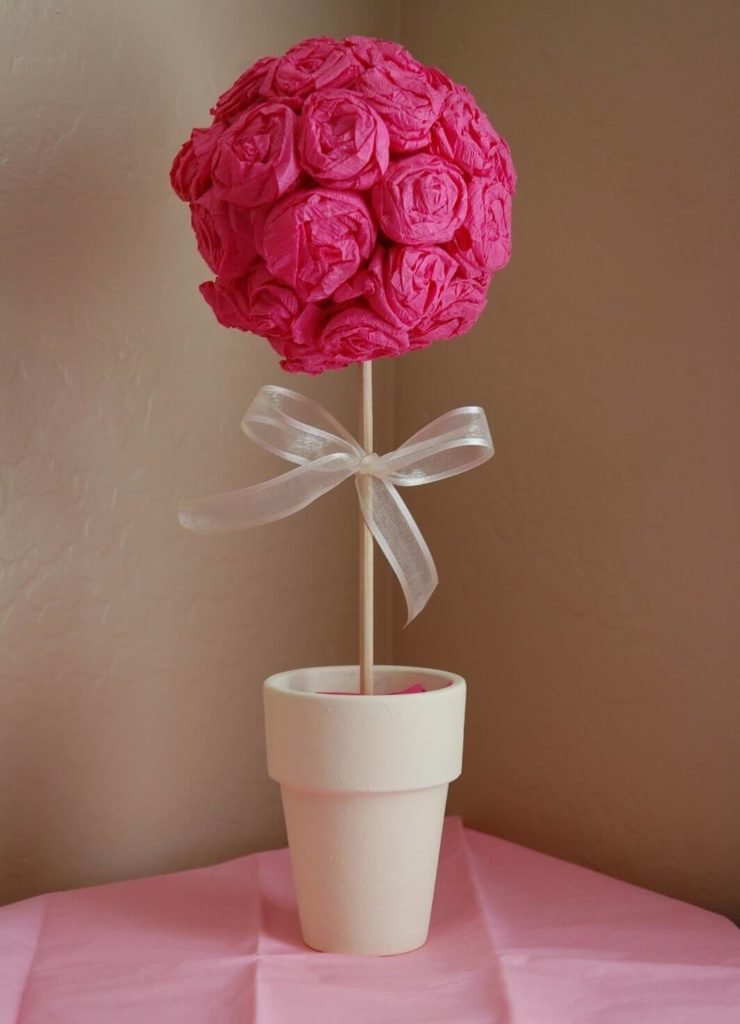
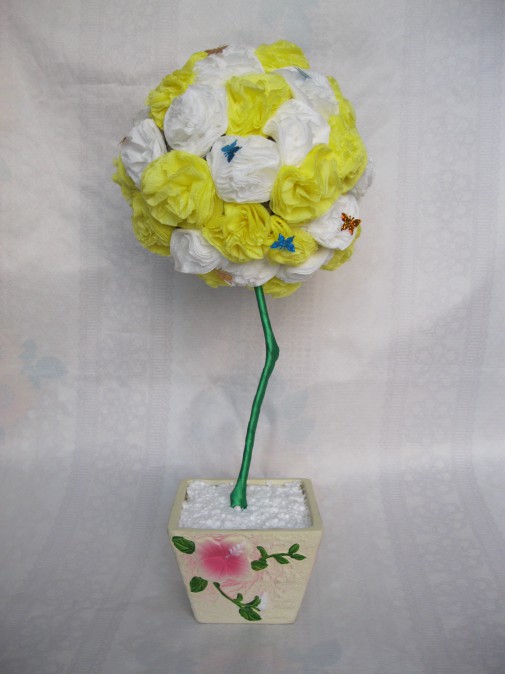
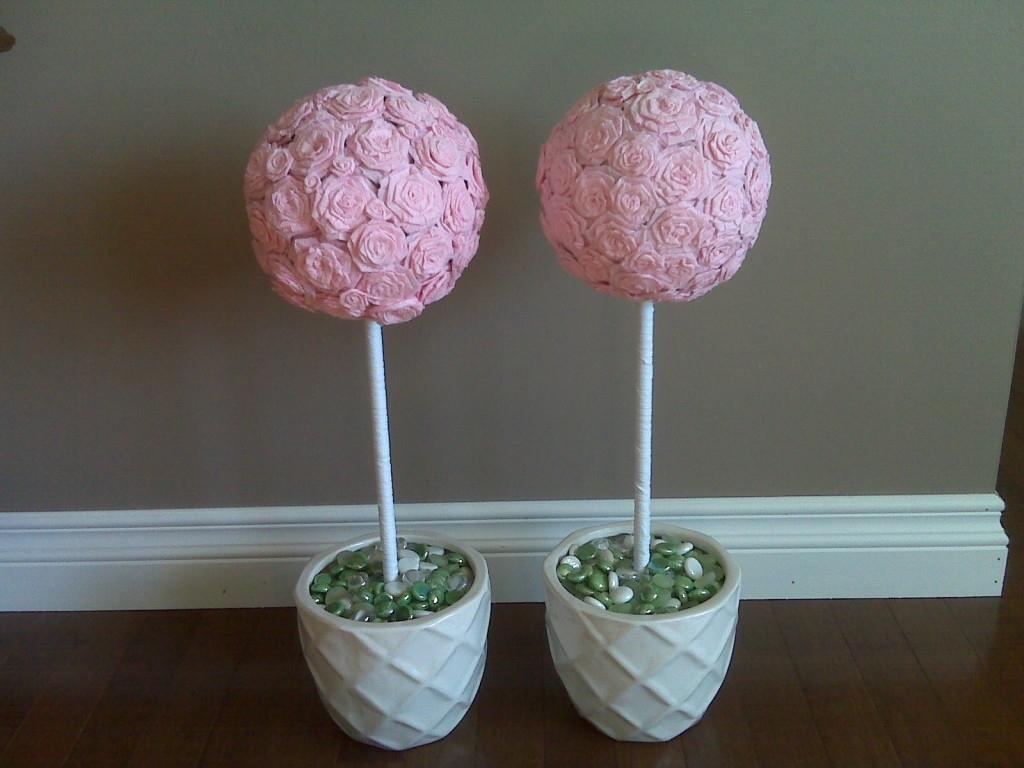
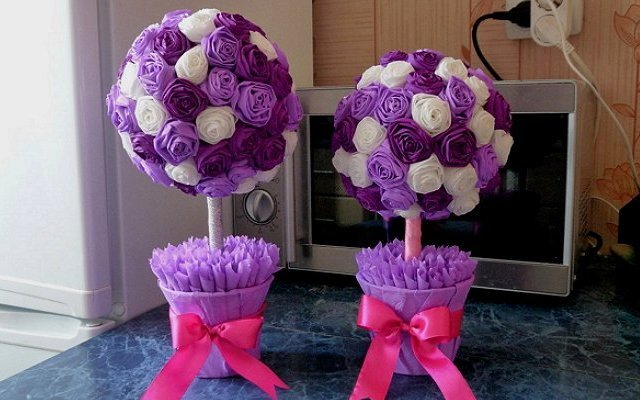
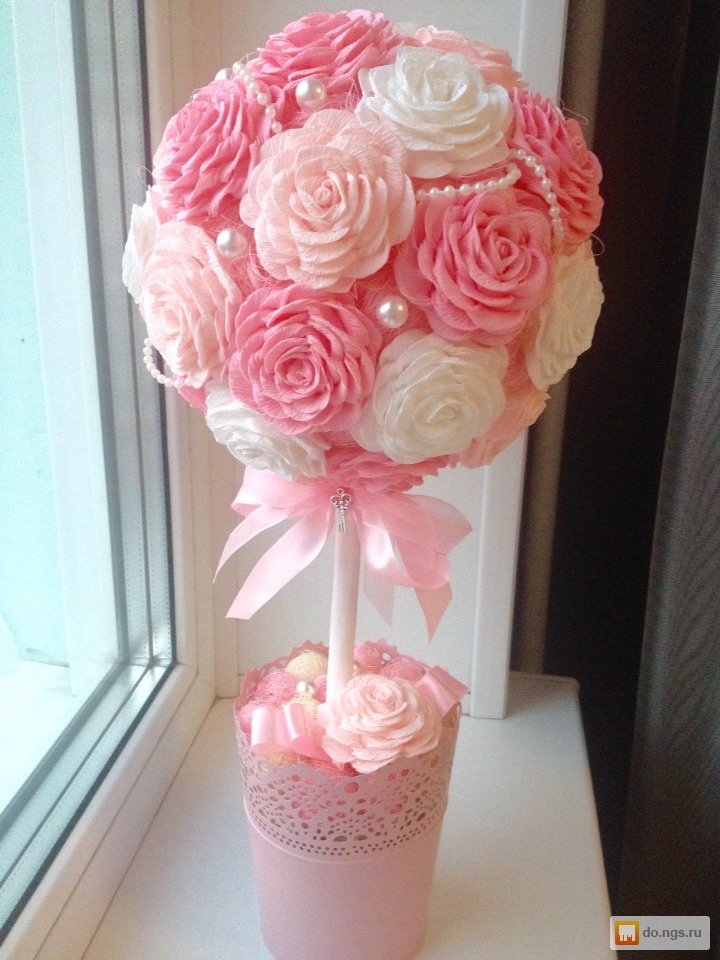
Topiary is a small tree with a lush, neat crown. Previously, it was a form of curly garden plants. Today topiary or May tree is one of the most popular trends in needlework. Used to decorate the interior. The easiest way is to make a decorative tree from paper napkins. This option is suitable even for beginner craftsmen.
Creative corrugated paper topiarias - a stylish decoration of the living room, living room or office space.
It is believed that it brings well-being to the owners.
Content
Step-by-step instructions for beginners in making topiary from napkins with their own hands - one of the most simple. MK consists of only 6 steps. They will master even a schoolboy. For the manufacture of topiarii of napkins with their own hands will need a simple set of tools and materials.
In the East, it was called a symbol of new life and prosperity.
A small amount of crepe paper and some imagination are required for work.
Important! Before you make a topiary of napkins, you need to make sure that the diameter of the pot does not exceed the size of the ball. Otherwise, the crafts will not look too aesthetically pleasing.
The composition will be an unforgettable gift for loved ones.
Corrugated paper topiary is not only a stylish decoration, but also a symbol of good luck.
We proceed to the manufacture of floral wood from napkins with their own hands.
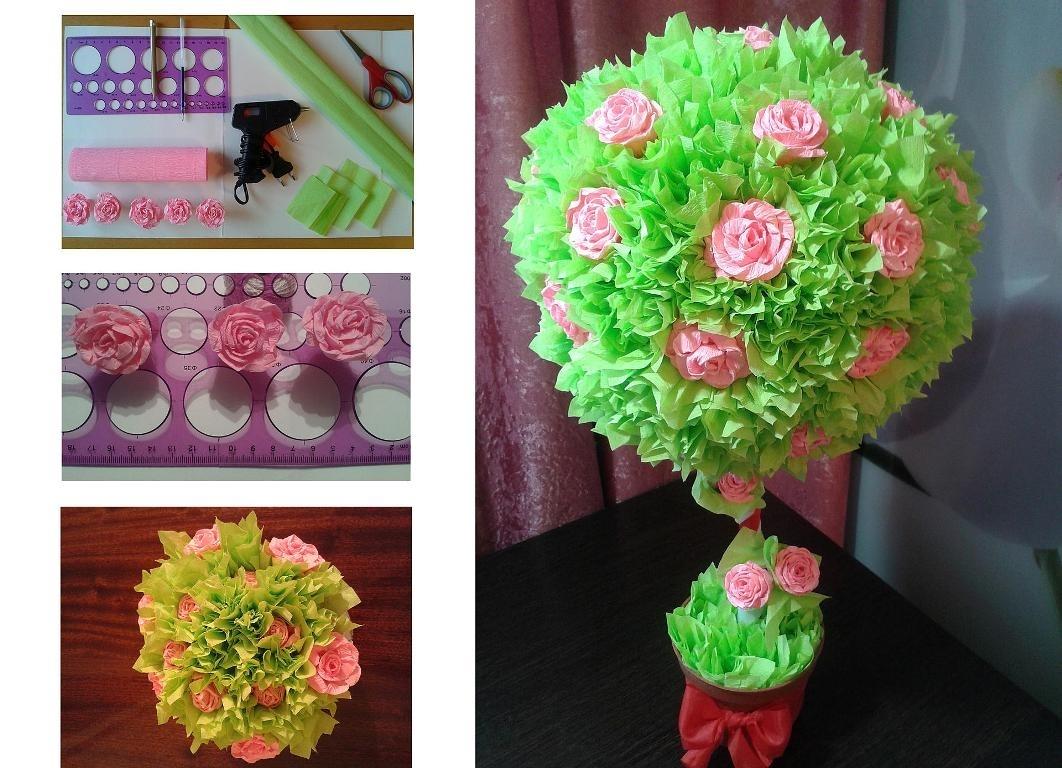
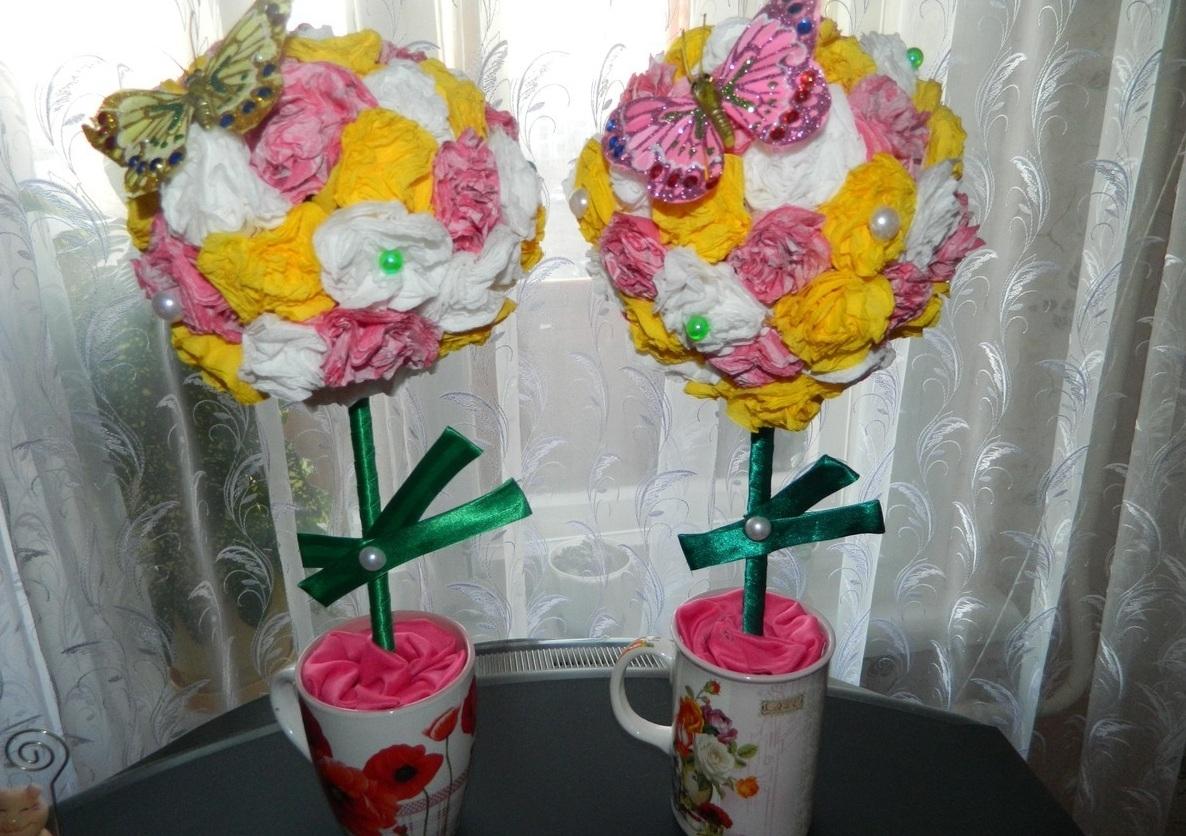
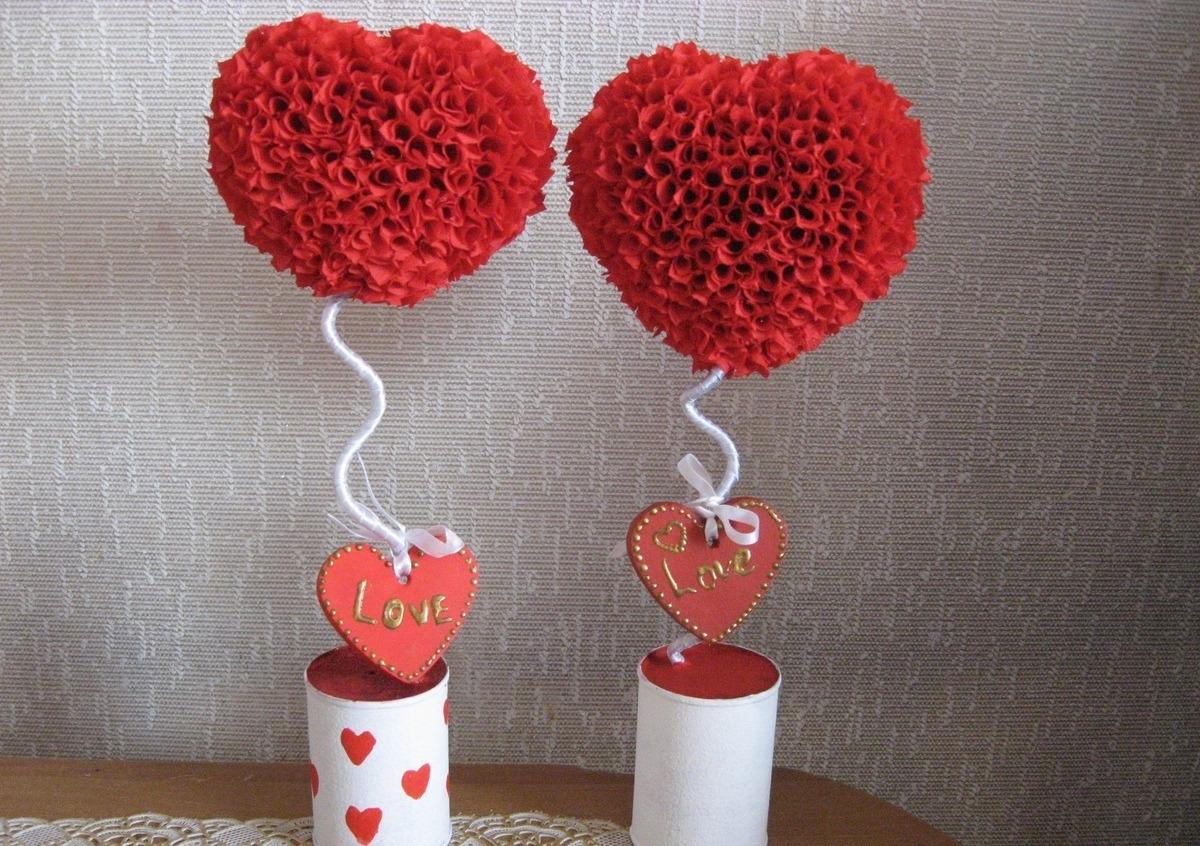
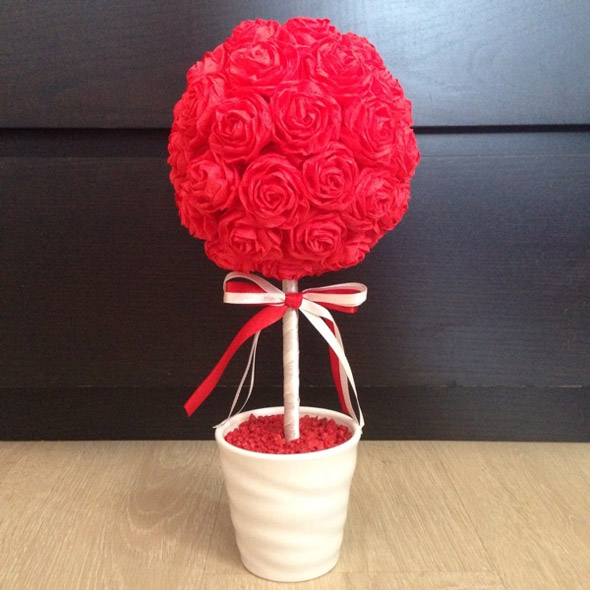
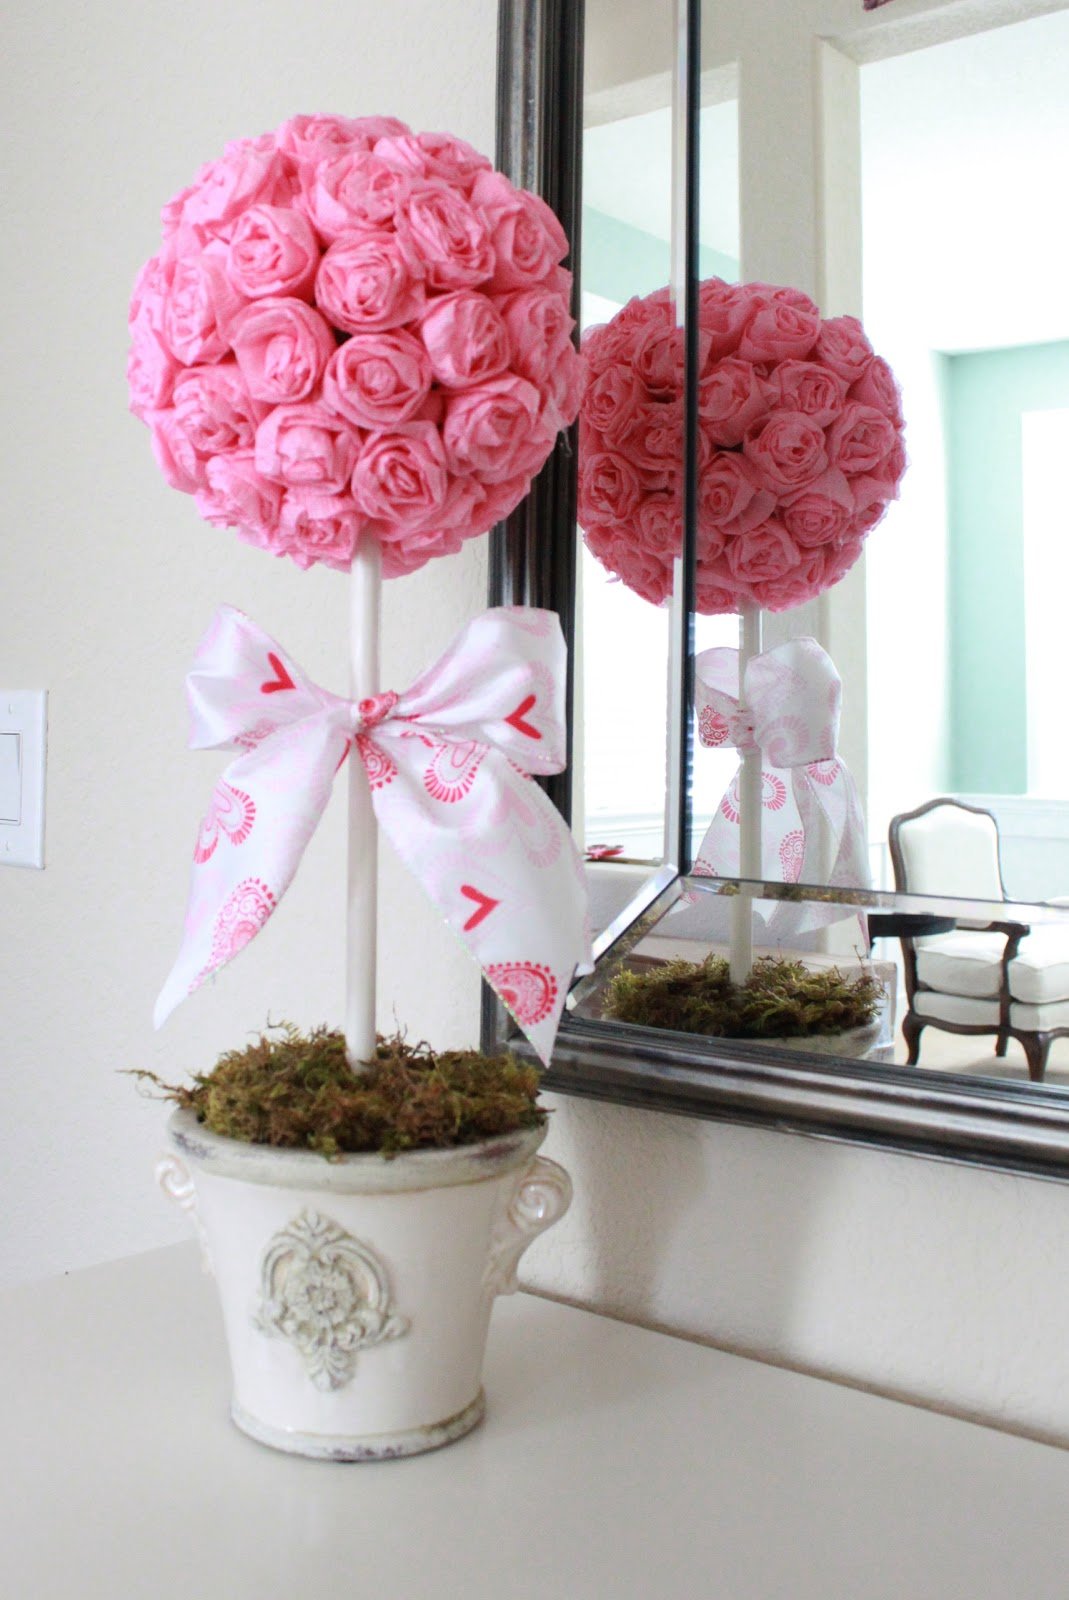
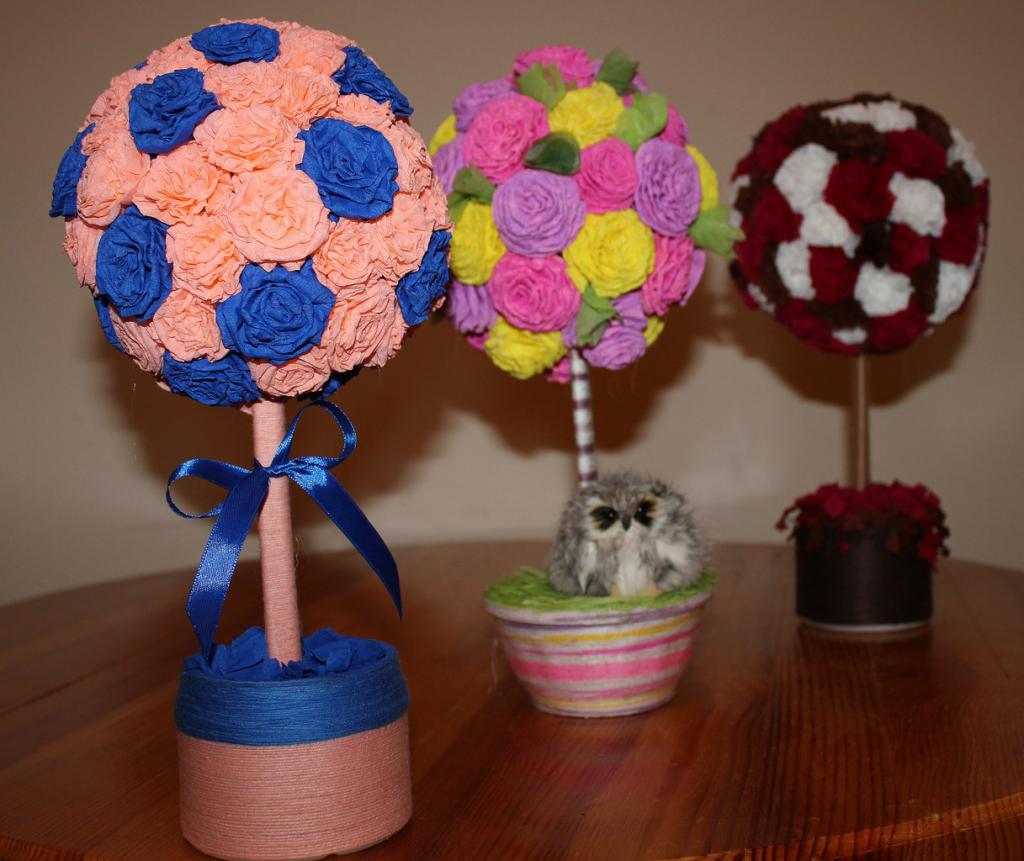
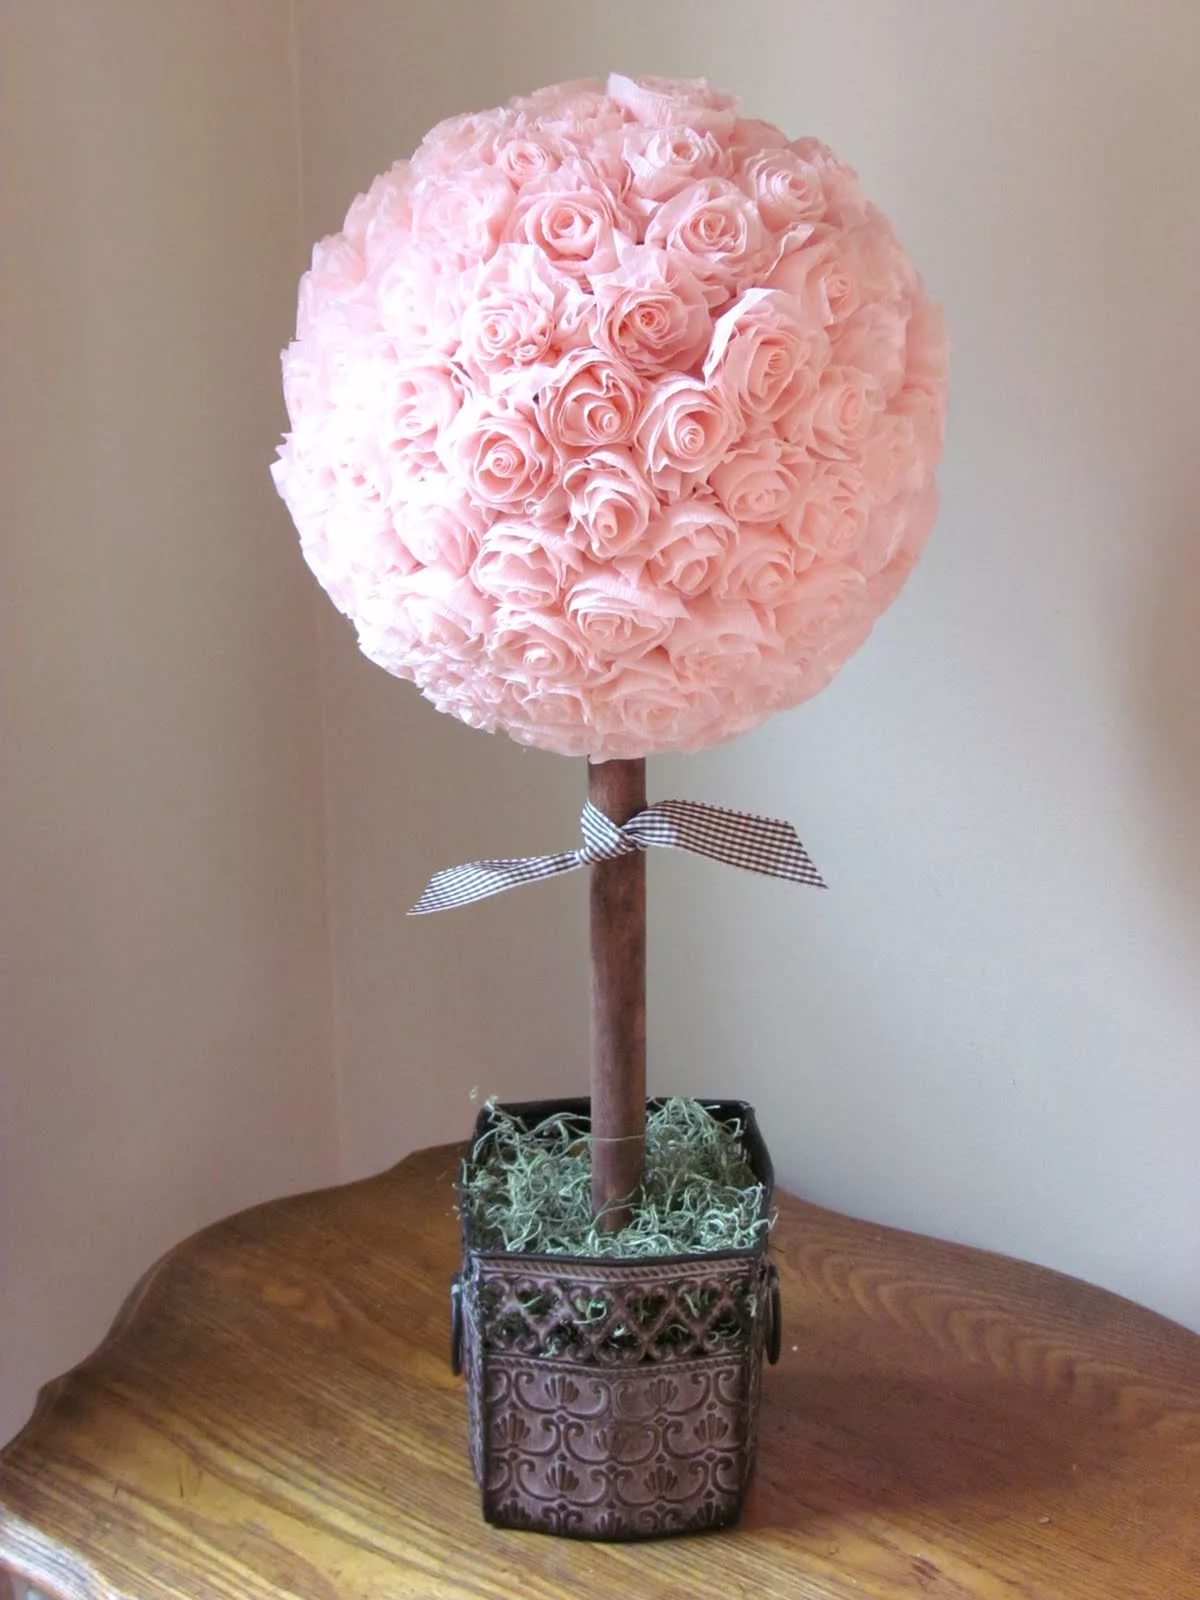
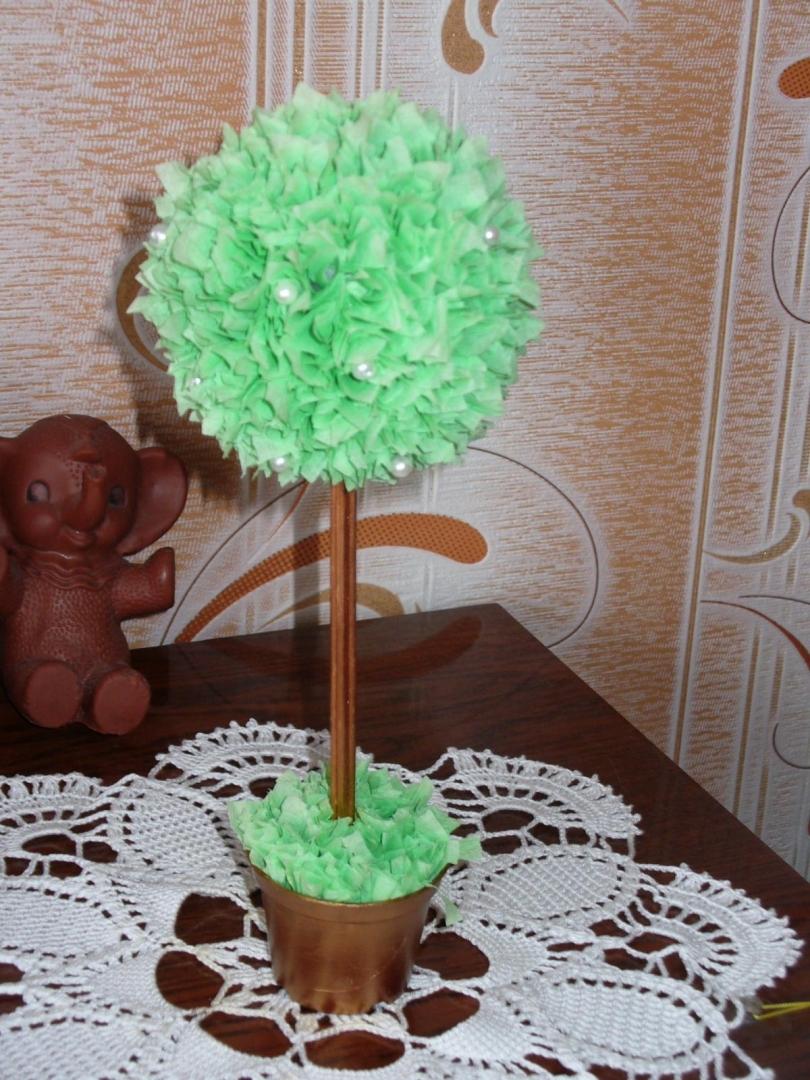
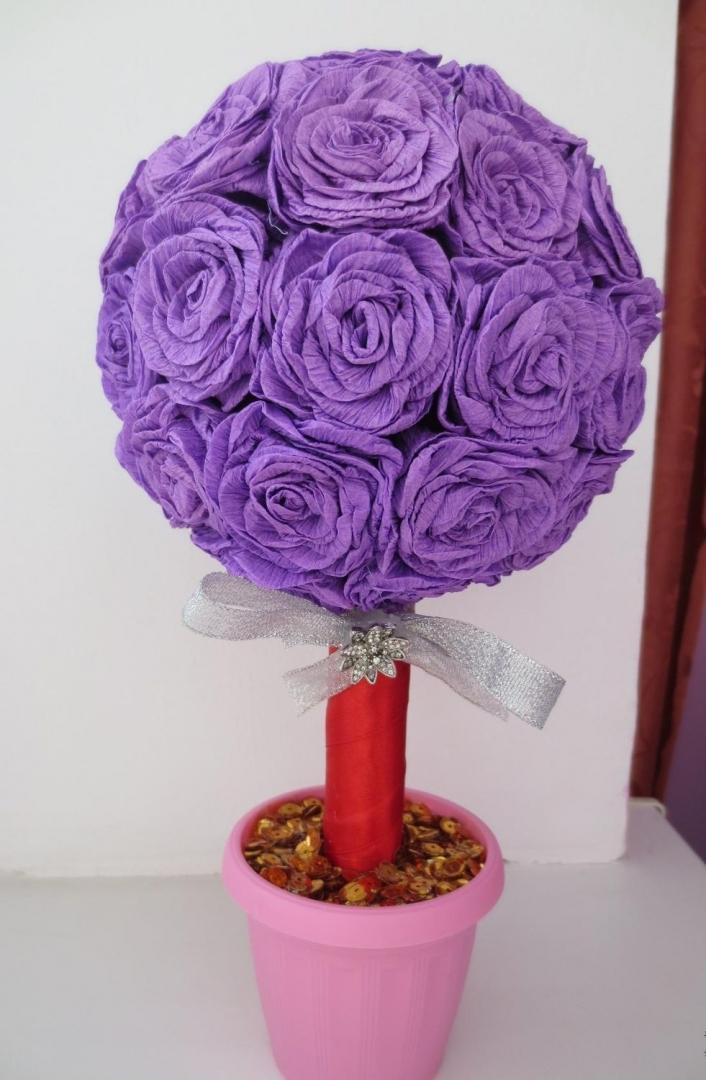
Step 1. We make the trunk. The stick can be dyed green or brown. A tree trunk made of napkins can be wound with satin ribbons (by putting them on glue). You can glue over corrugated paper or wrap twine. On the branches glue beads, shells, colored glitter.

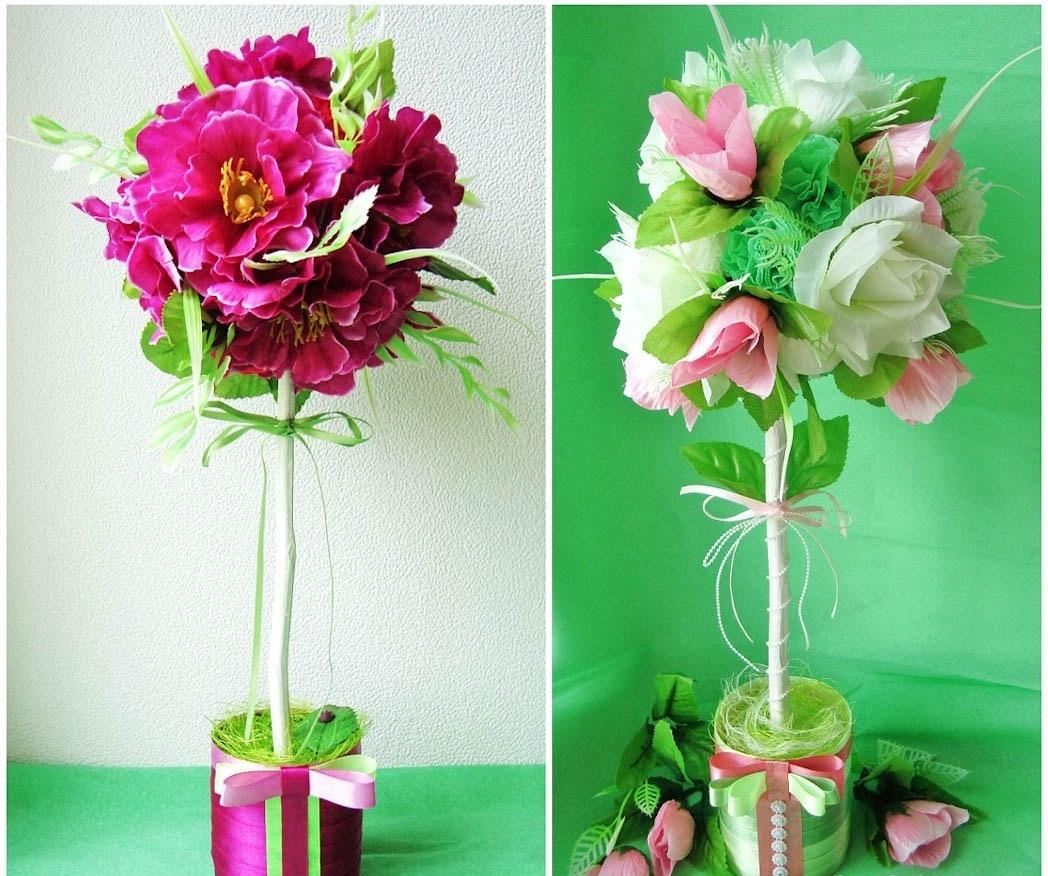
A flower, bought or made independently, will help to make the composition more individual.
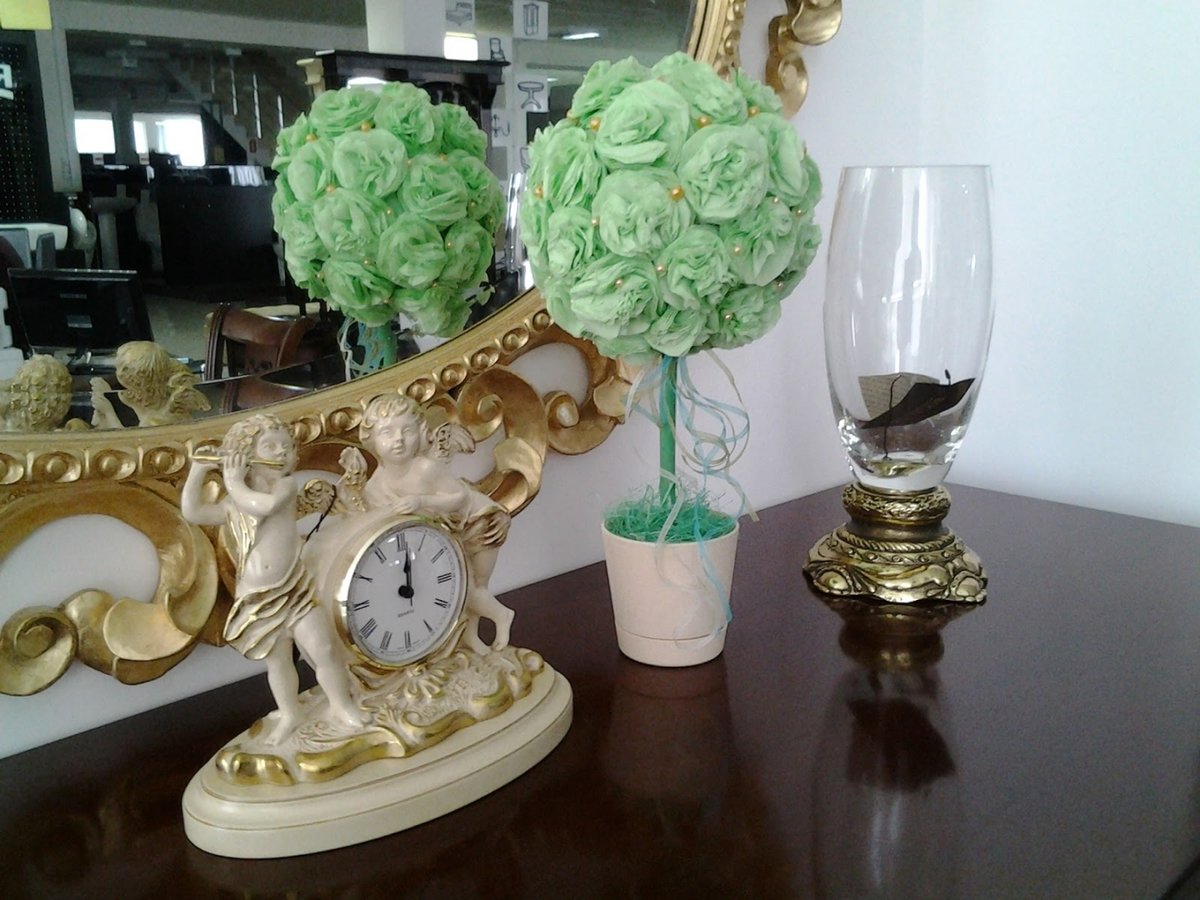
Step 2. Making the "ground". Fall asleep in pots sand-cement mixture or alabaster. Add water, stir. The edges of the pot wipe. We put in the center of the "trunk" of the tree, fix, so that it froze exactly. Sprinkle the top of the "soil" with pebbles or lay decorative moss.
In addition to the ability to get a decorative element of the desired color, the master creates the form himself.
Attention! "Put" the trunk in the pots need to quickly. Alabaster and similar mixtures dry up very quickly.
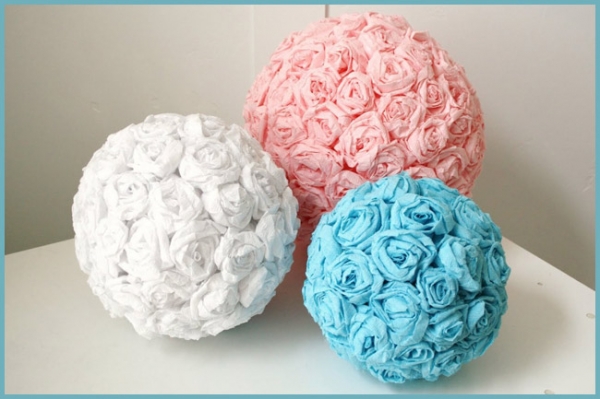
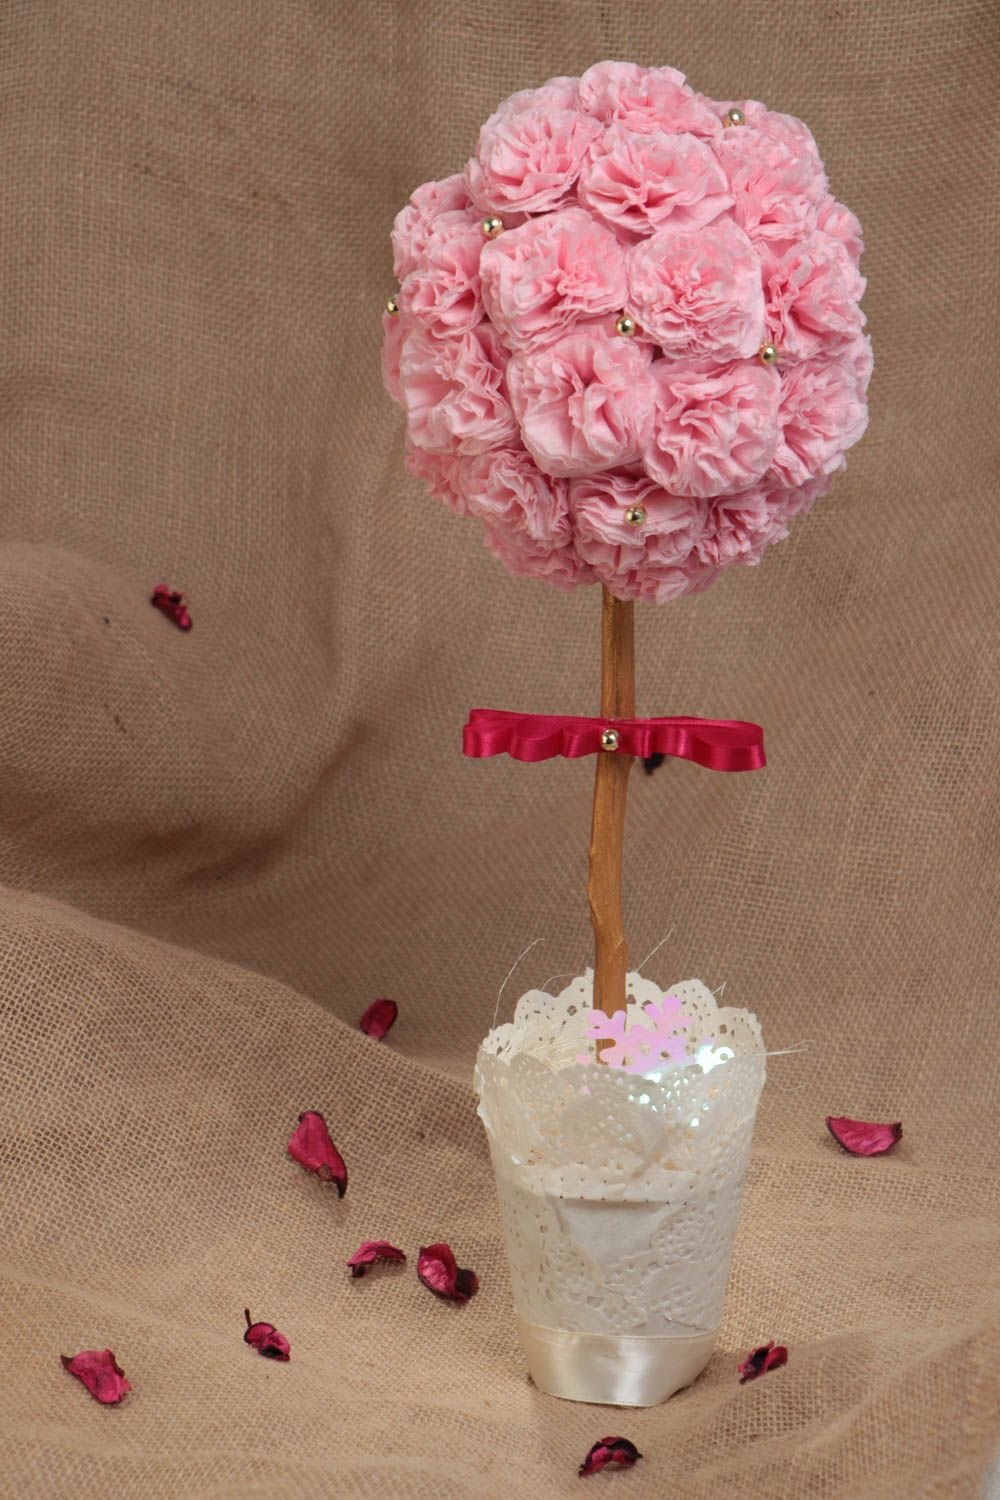
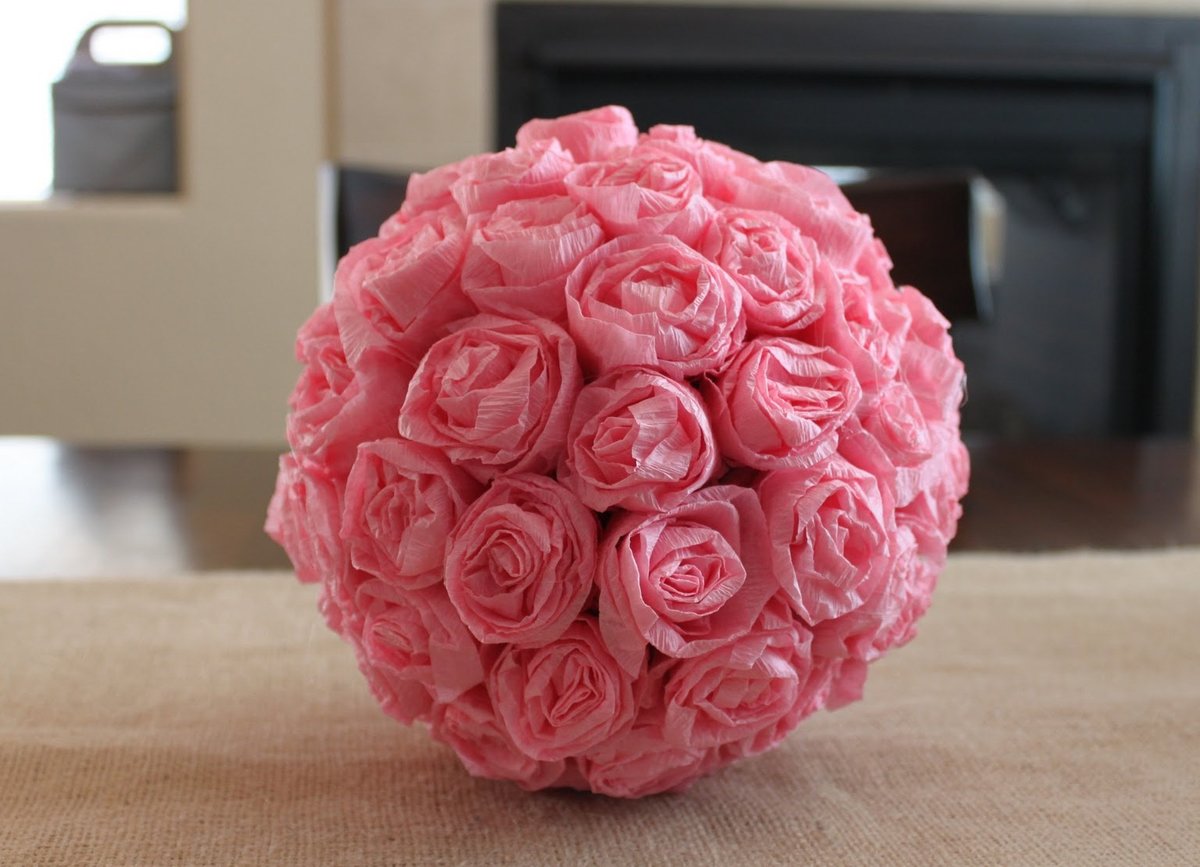
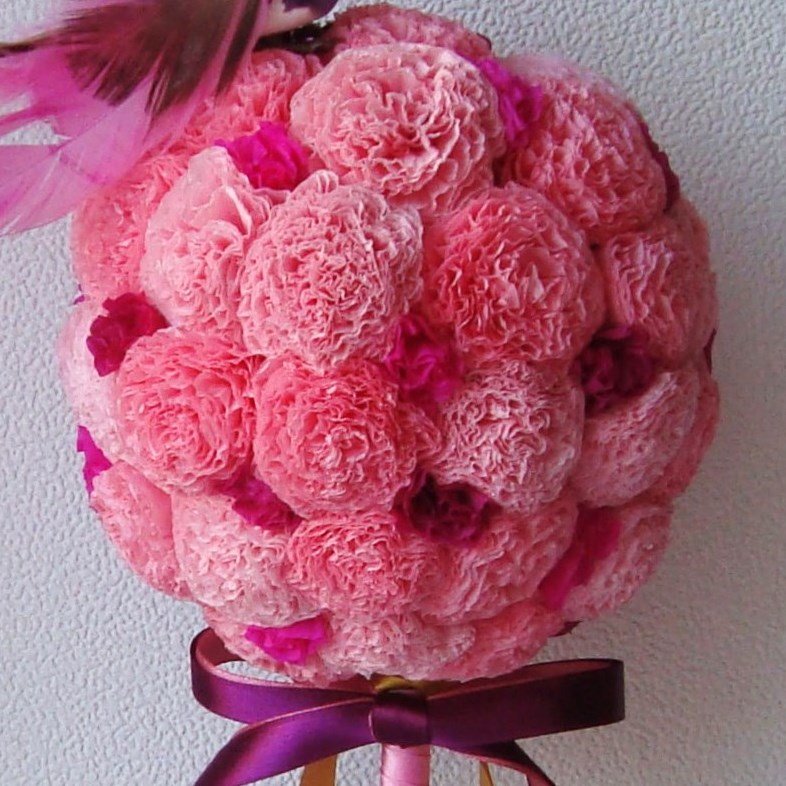
Step 3. Create flowers. For making flowers from napkins on the branches of trees, you need to fold the napkin in half. Then again in half. It turns out a square in 4 additions. In the center it is fixed with a stapler or stitched with a thread. Then it is necessary to cut the edges of the quadrilateral so that an even circle is obtained.After that we form a flower. To do this, raise the edges of the first layer of the circle, compress in the center. Volumetric petals are obtained. Do the same with the other layers of the flower.
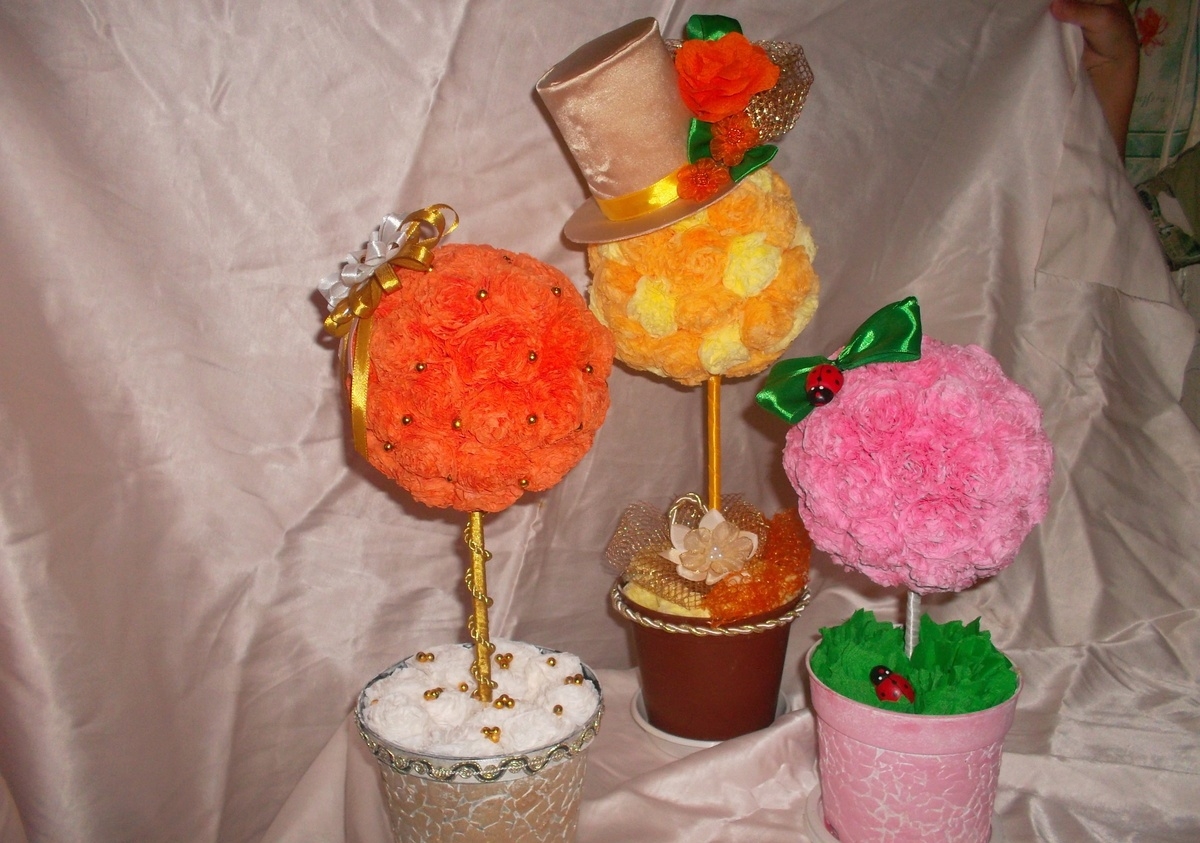
Themed photos of finished works will offer a variety of options.
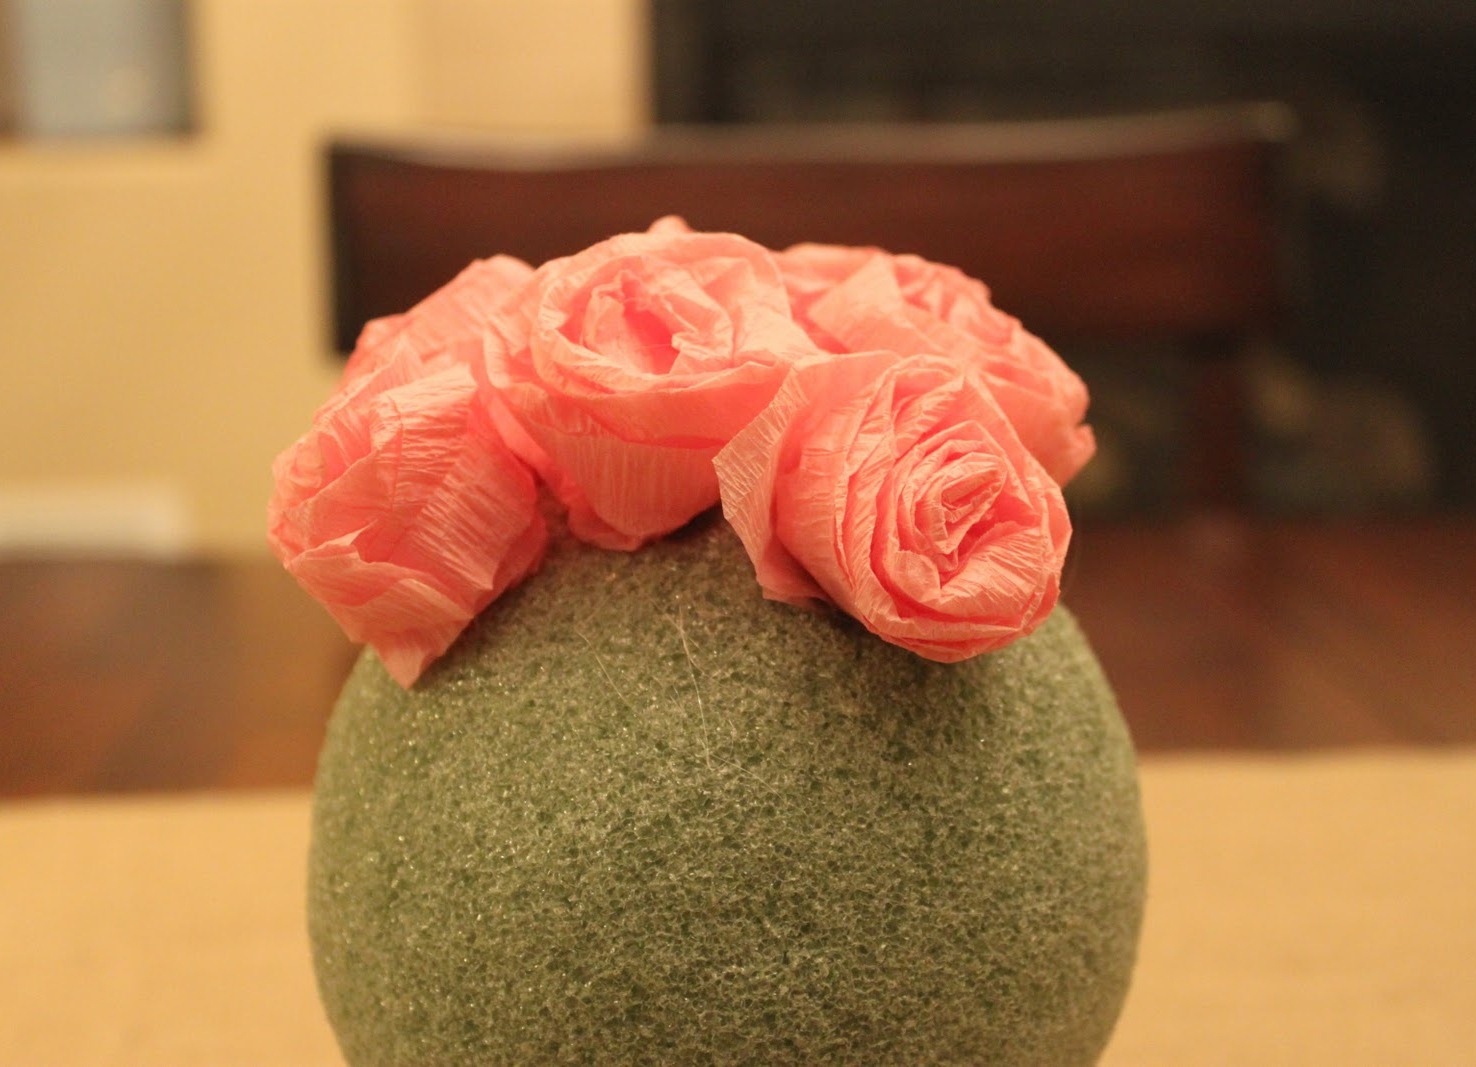
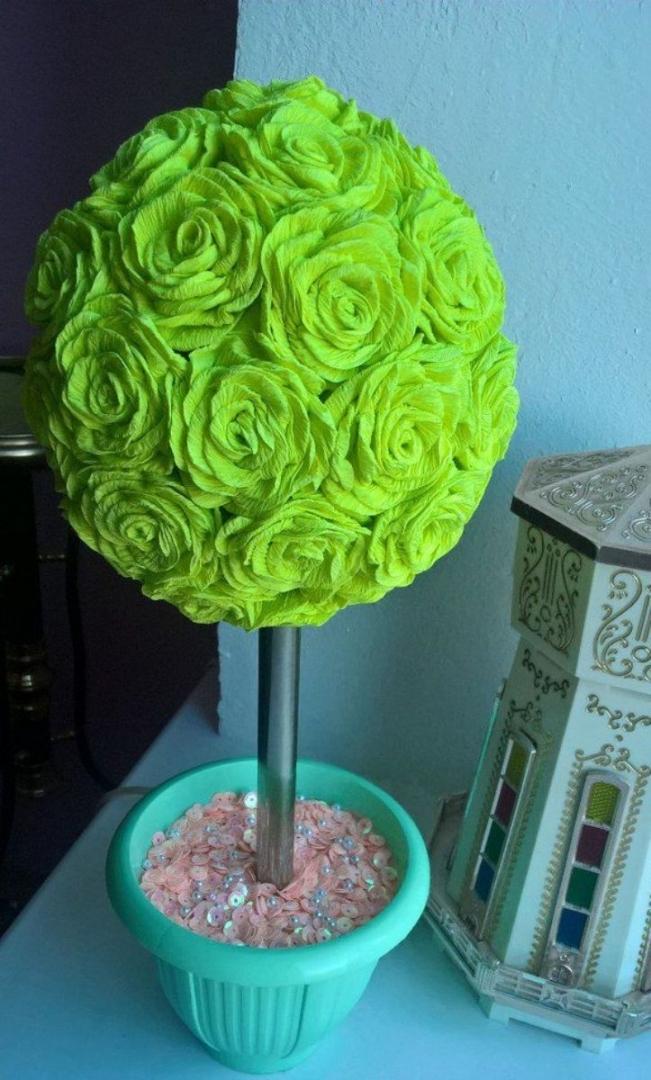
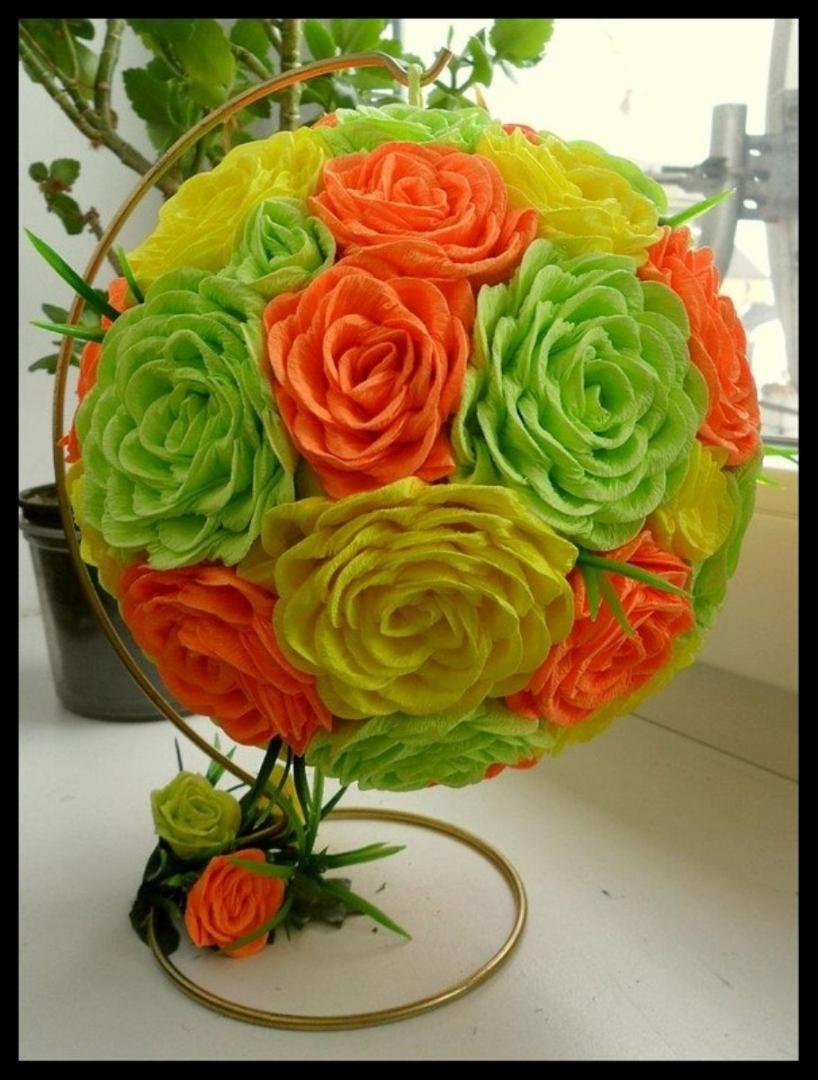
Step 4. Making the basis for the crown. You can buy a ball-basis for a tree from napkins with your own hands ready-made. Such foam blanks are sold in stores for creativity. There are several options to make the ball yourself.
The creative process begins with the selection or manufacture of a ball.
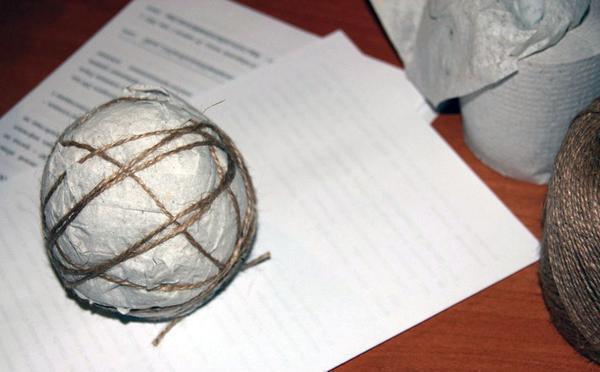
Ball in papier-mache. It is done simply. You need to inflate an ordinary balloon. Paper napkins cut into pieces. Glue each of them with white glue. Glue the ball with the first layer of napkins. The place where the ball is tied, leave free. Give completely dry. Then we paste over the second layer of napkins, let them dry again. There should be 5 layers in total. After the glue is completely dry, we pierce the ball and remove it.
The flowers created from corrugated paper are fixed on a ball-blank with the help of a thermogun.
Important! Before you pierce the ball, make sure that the glued layers of napkins are completely dry. Otherwise the ball is deformed.
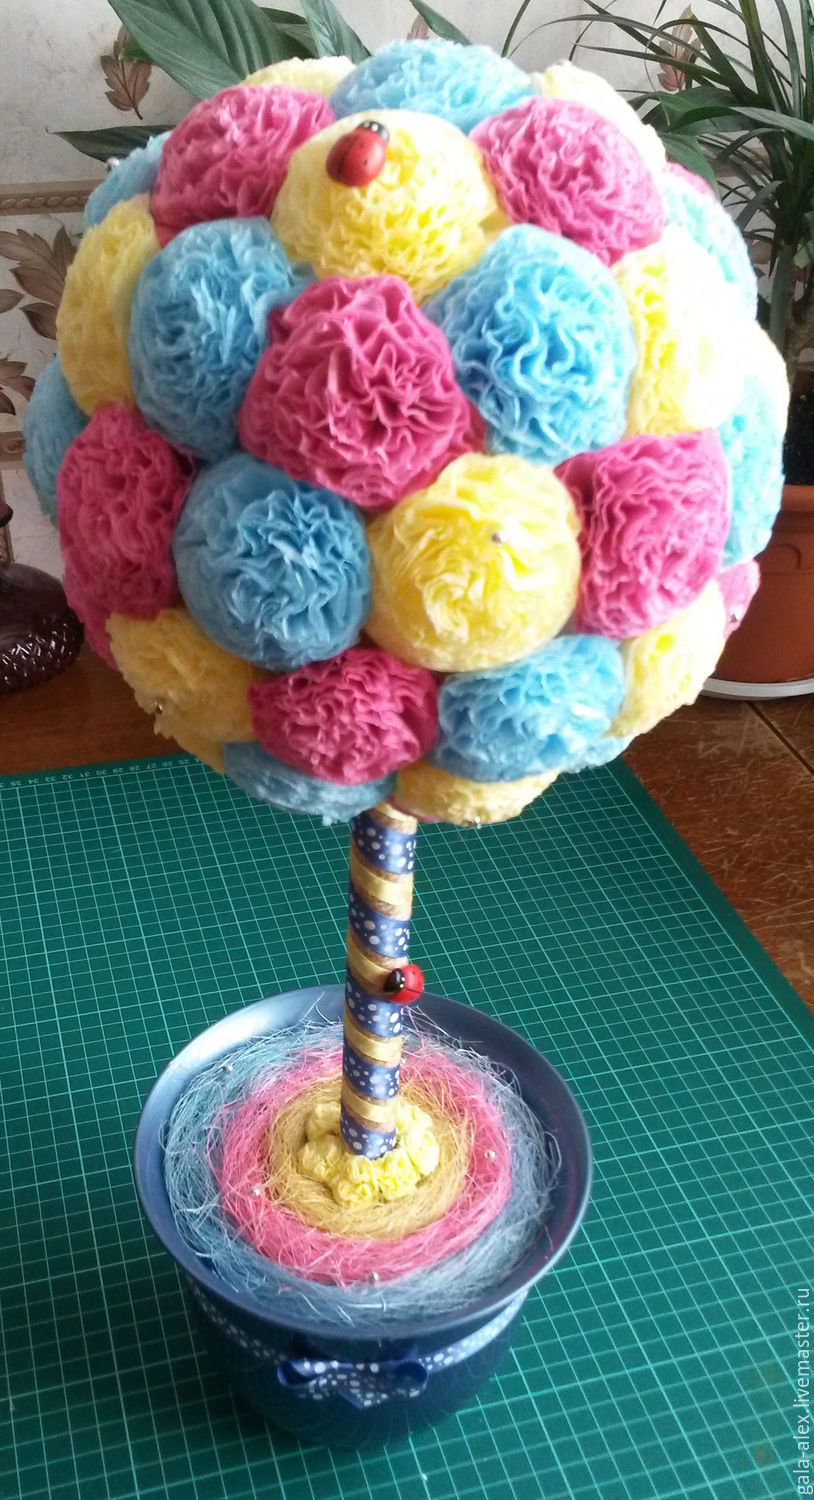
Ball of newspapers. It is easiest to do. For this newspaper, magazine sheets, or any paper must be compressed into a ball. Then we string a paper ball on the trunk and form an even ball. We wrap it on all sides with thread or tape, so that it does not lose shape.
It is recommended not to overload the composition with a large number of paper flowers.
Council Before you make a tree of colored napkins, it is necessary to glue the ball of newspapers with paper napkins or corrugated paper. Otherwise, newspaper prints will be visible through the “crown”.
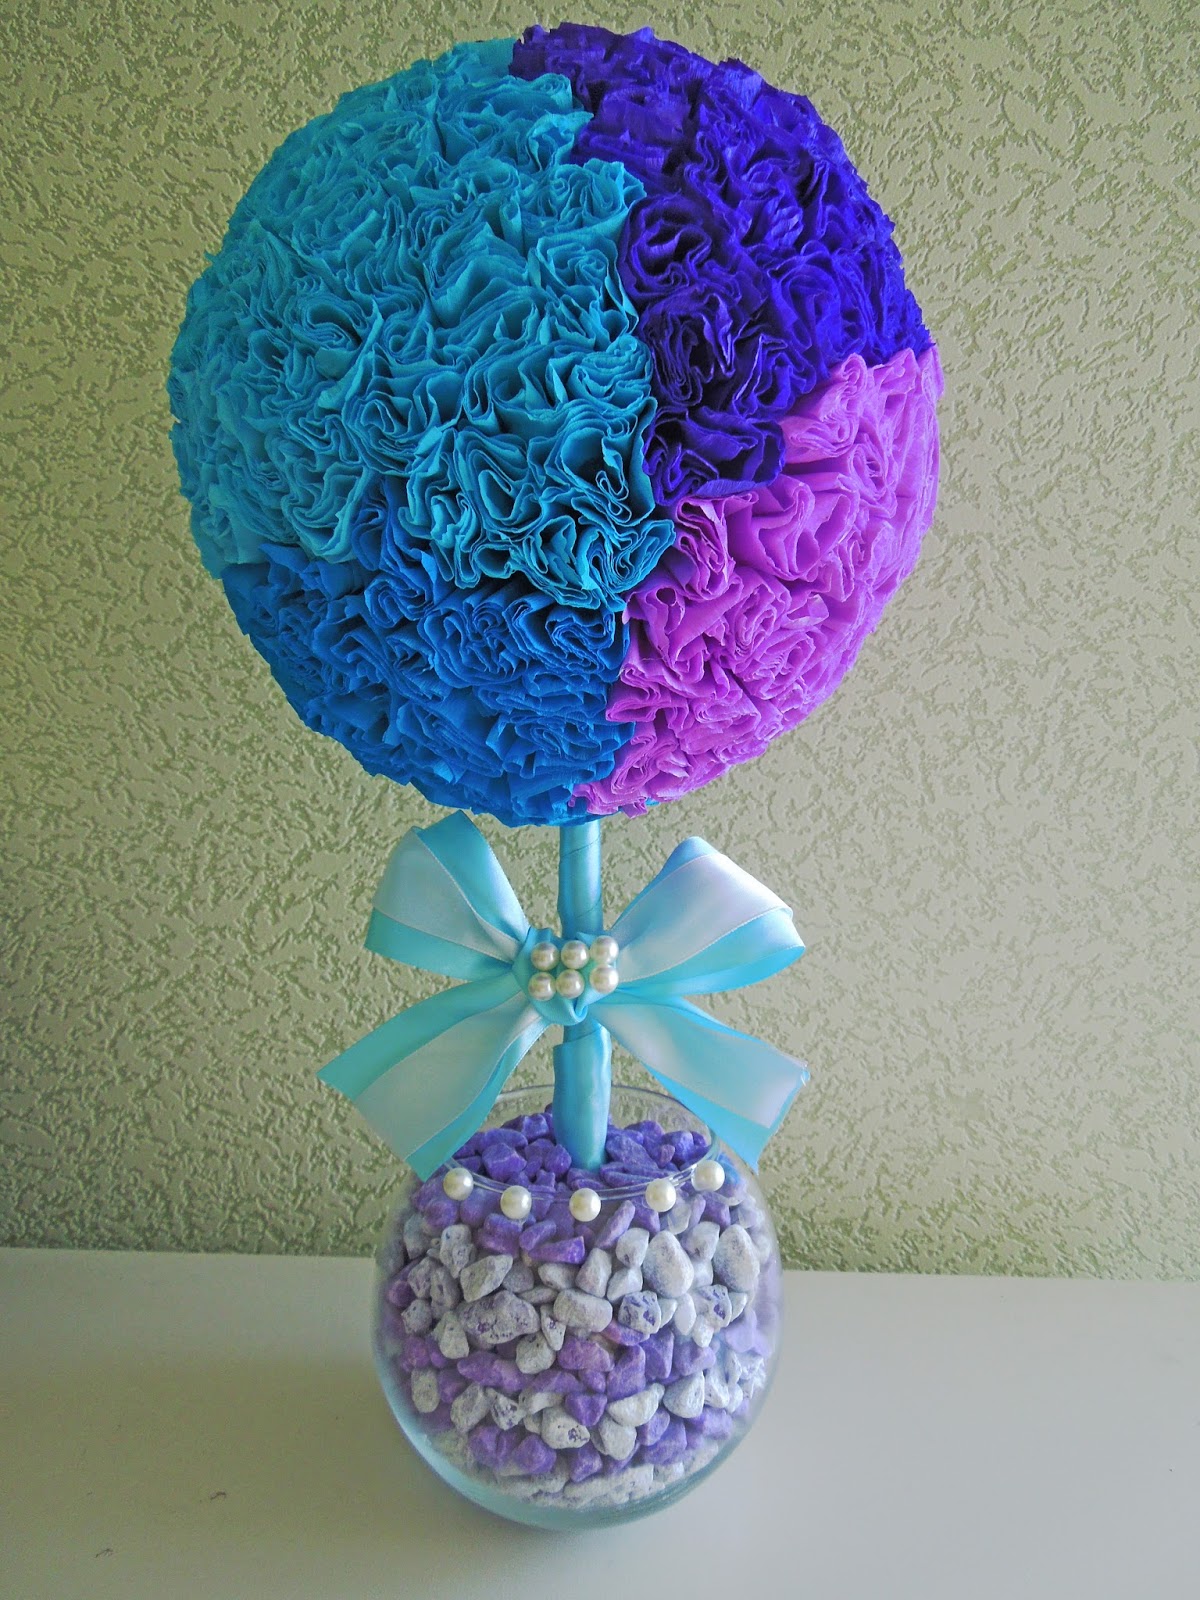
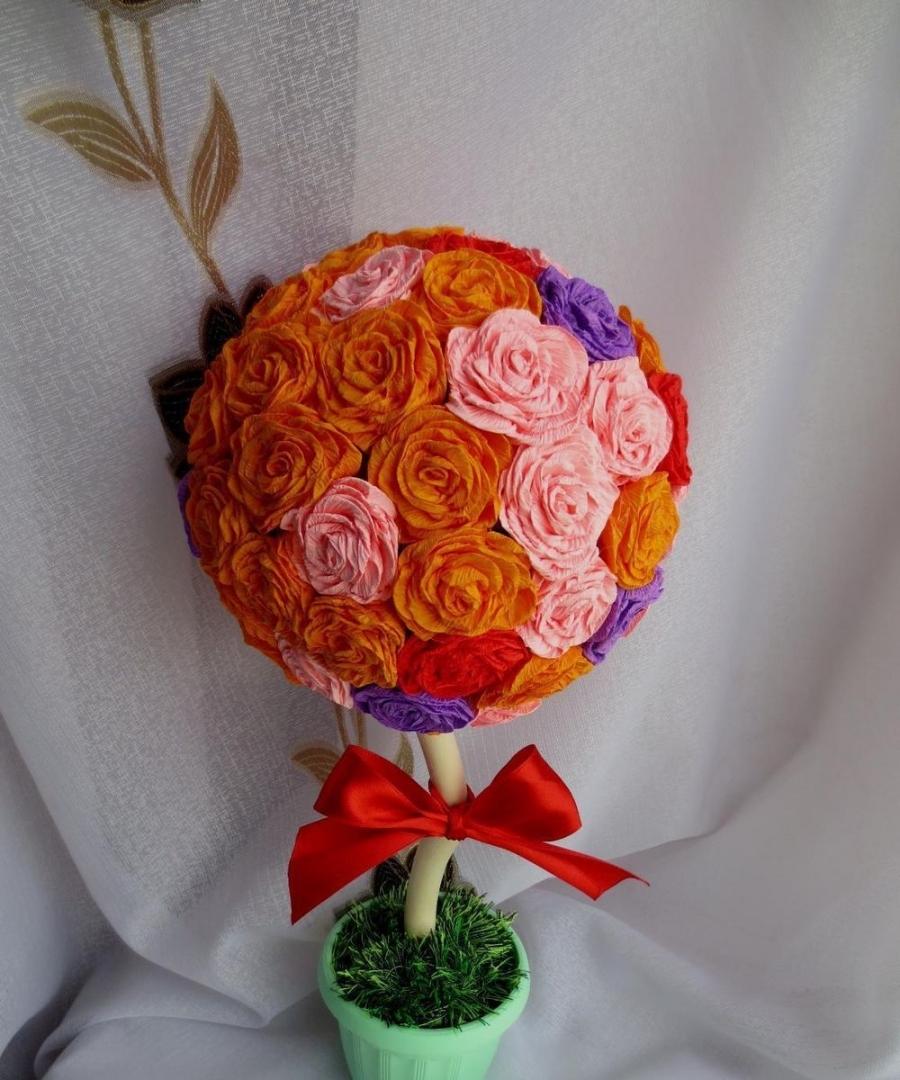
Step 5. We make a crown. Mount the ball on the barrel. Using the glue gun, glue the flowers over the entire surface.
Given the size of the ball, you must cover the entire surface.
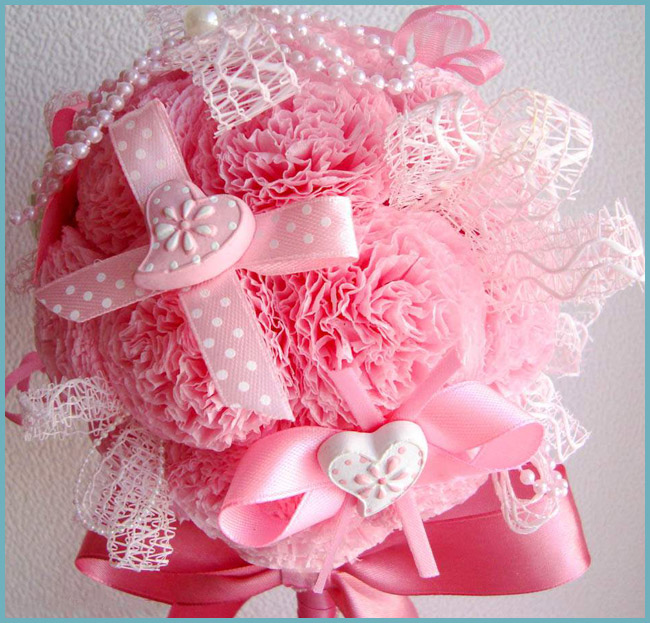
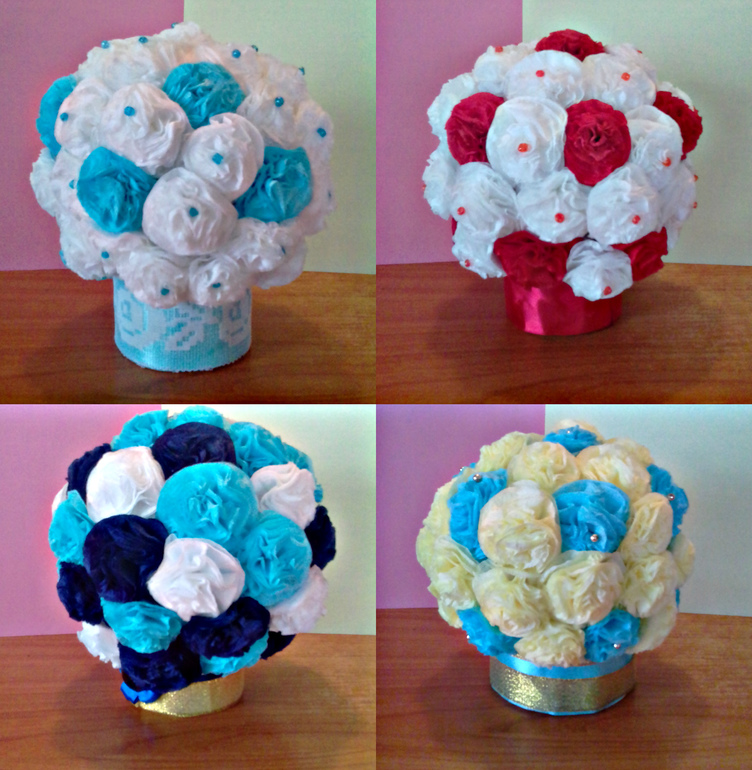
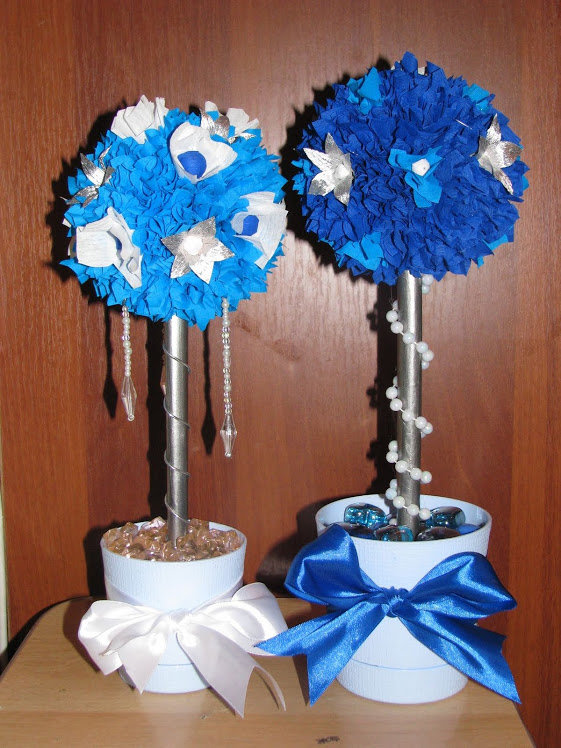
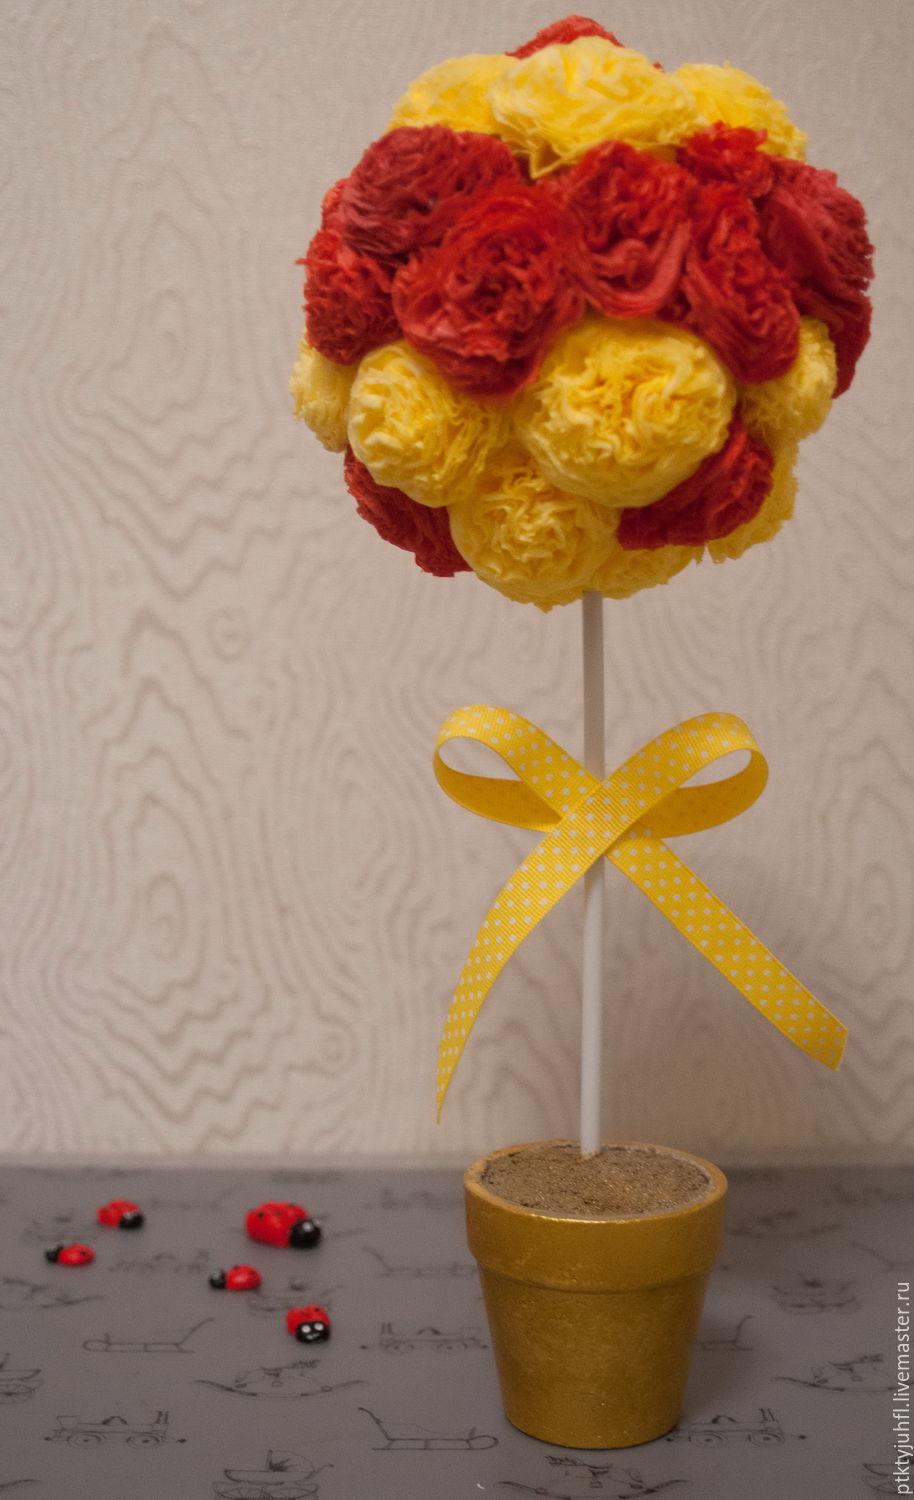
Step 6. We decorate topiary from paper napkins. Glue to the crown beads, butterflies, hearts and other designed decor. From below, under the crown we tie satin ribbons of two colors.
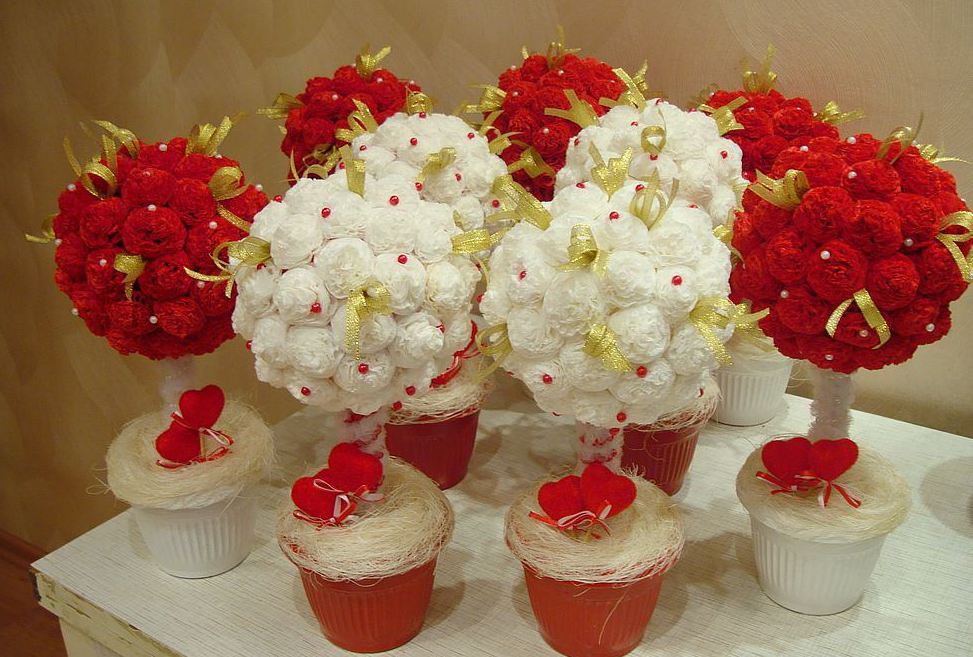
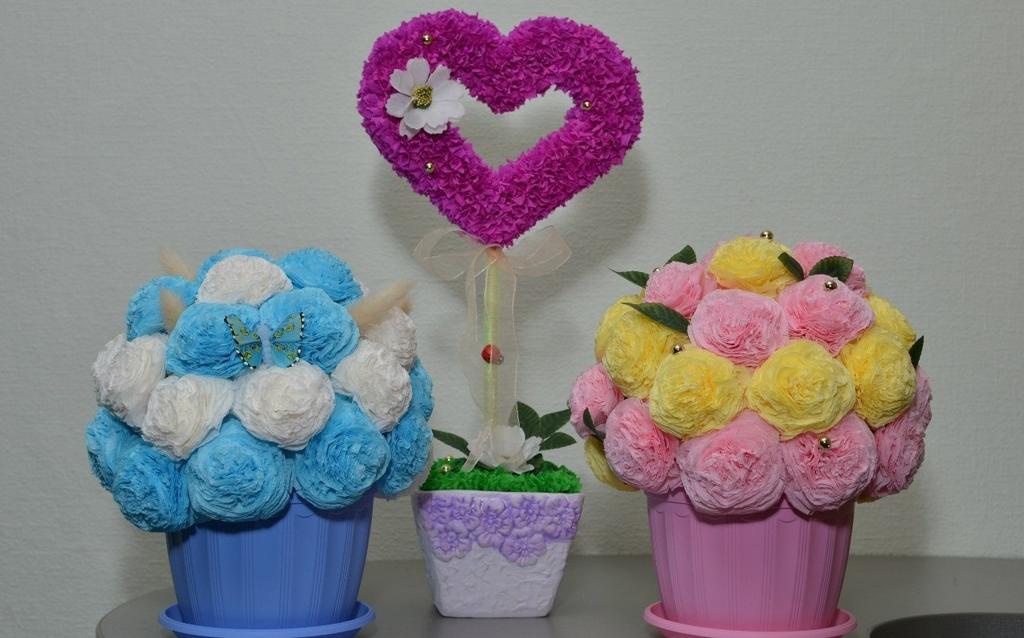
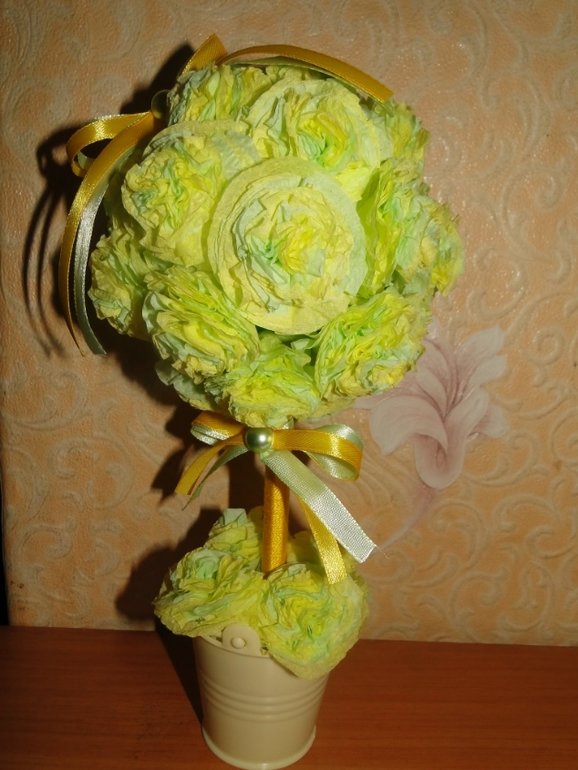
May trees-hearts from hand-made napkins look very impressive. Such a gift will not go unnoticed. Stepwise MK "heart" topiary napkins coincides with the previous one. Only the crown creation step is different. There are 2 options to make the crown heart.
If you need a custom size or shape, then create it easy with your own hands.
We decorate topiary with flowers from corrugated paper.
Further, the May tree is made of paper napkins in the same way as the classic version of the craft.
It is undesirable to use too dark color schemes for crafts.
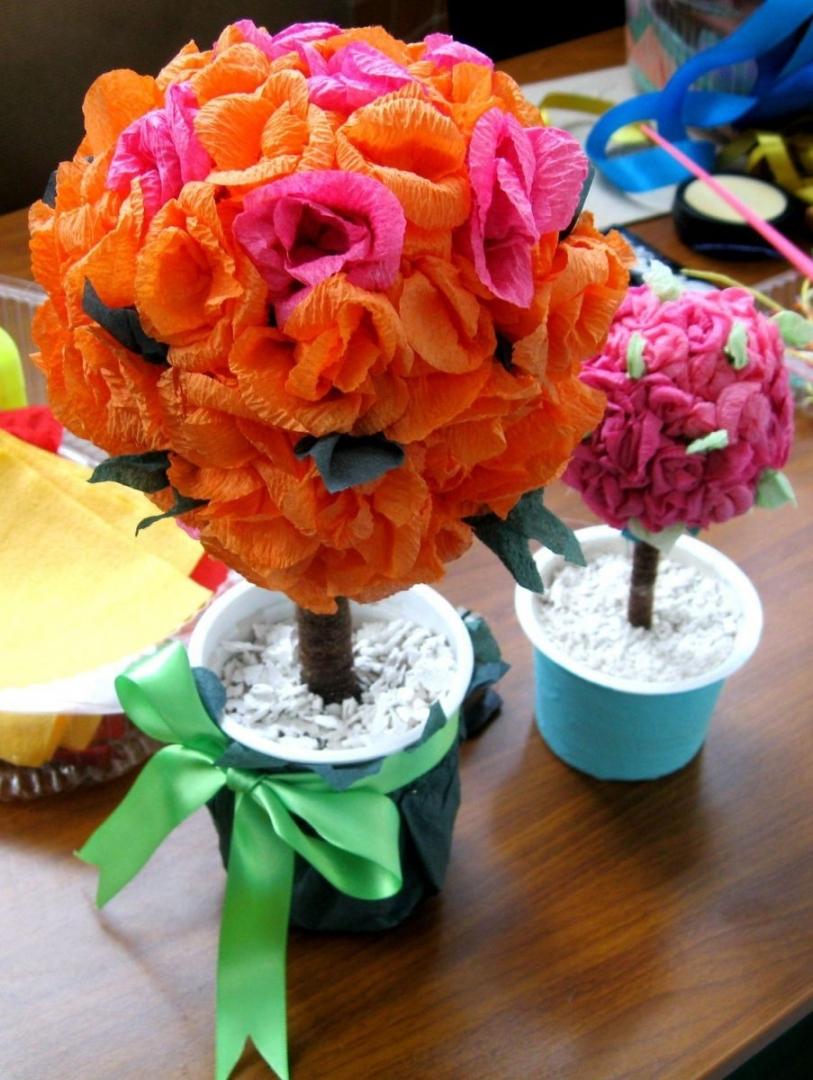
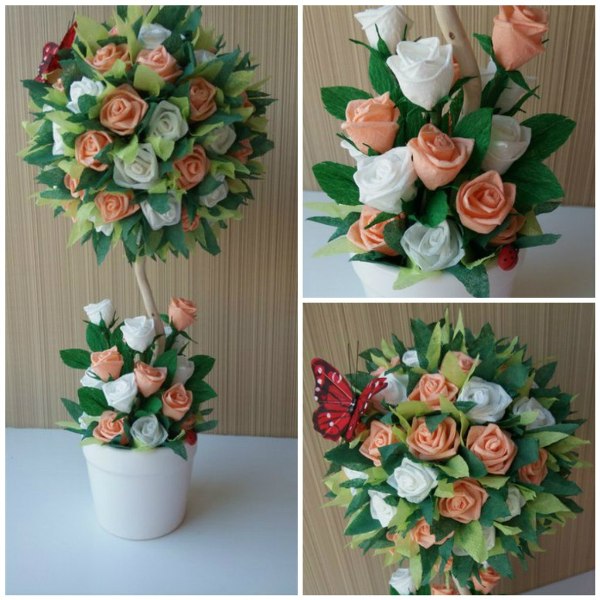
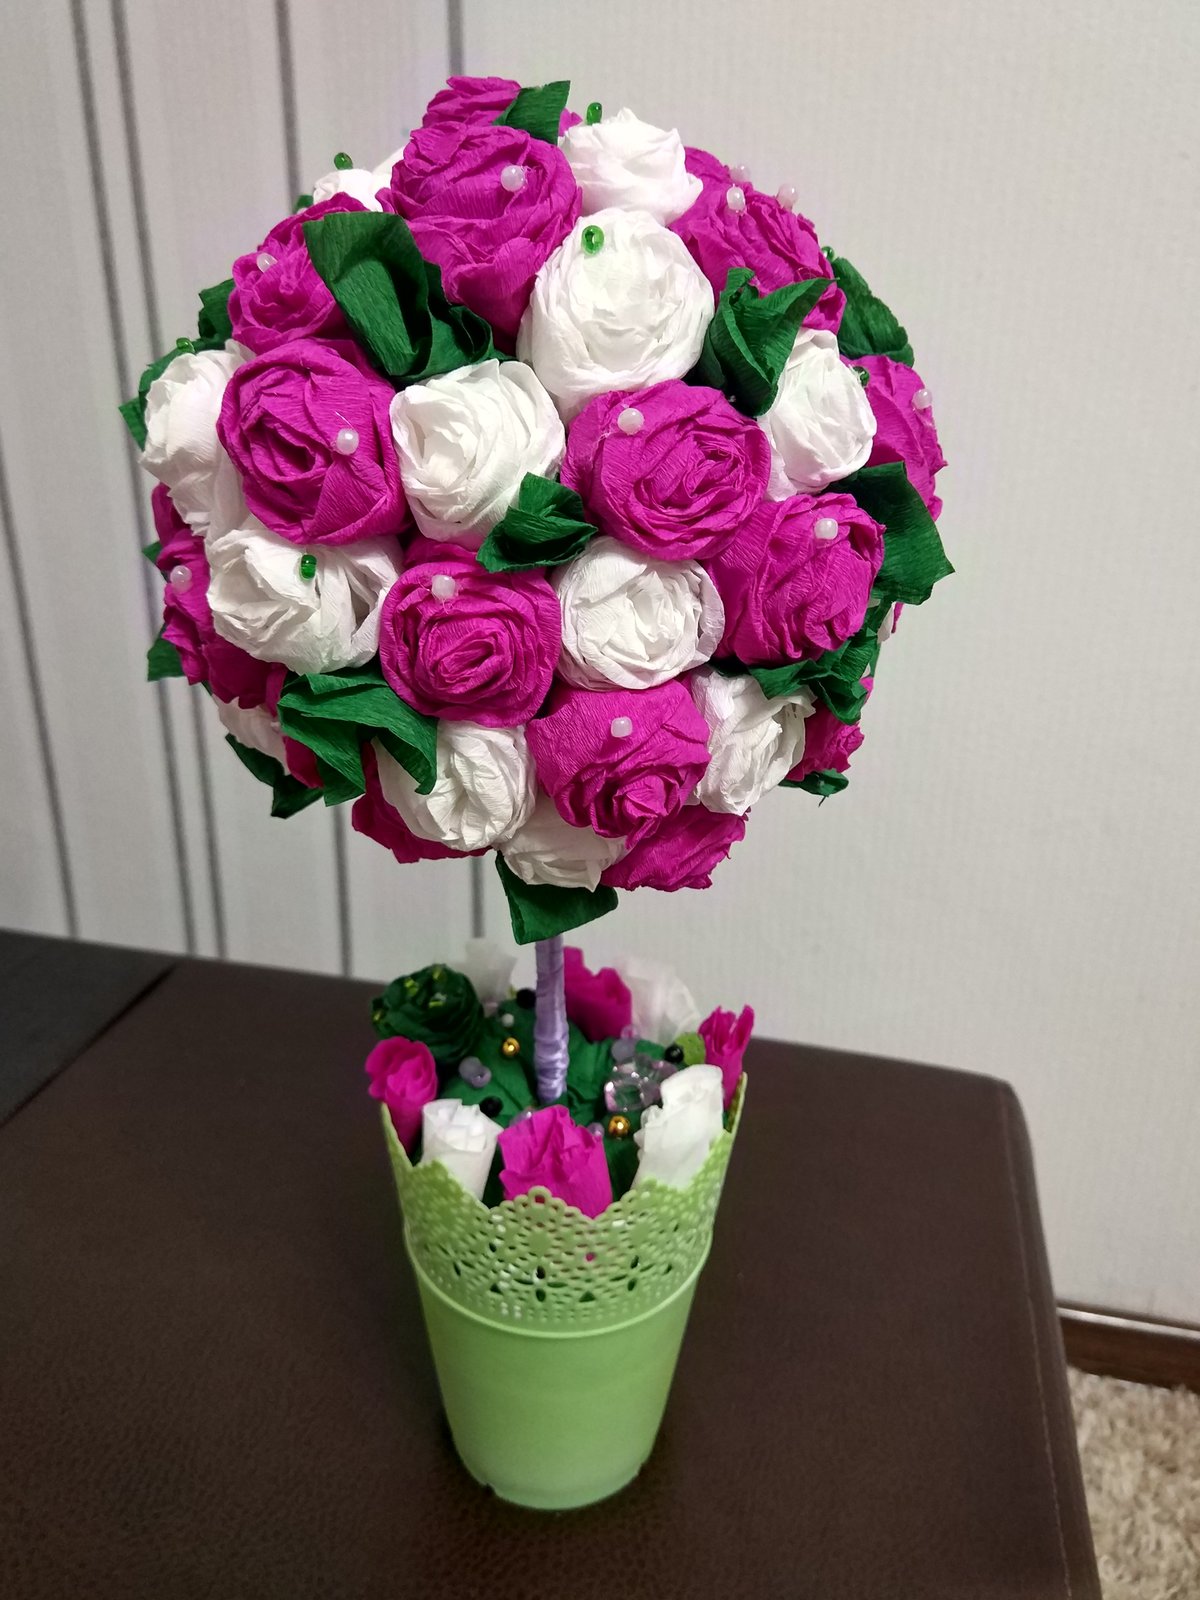
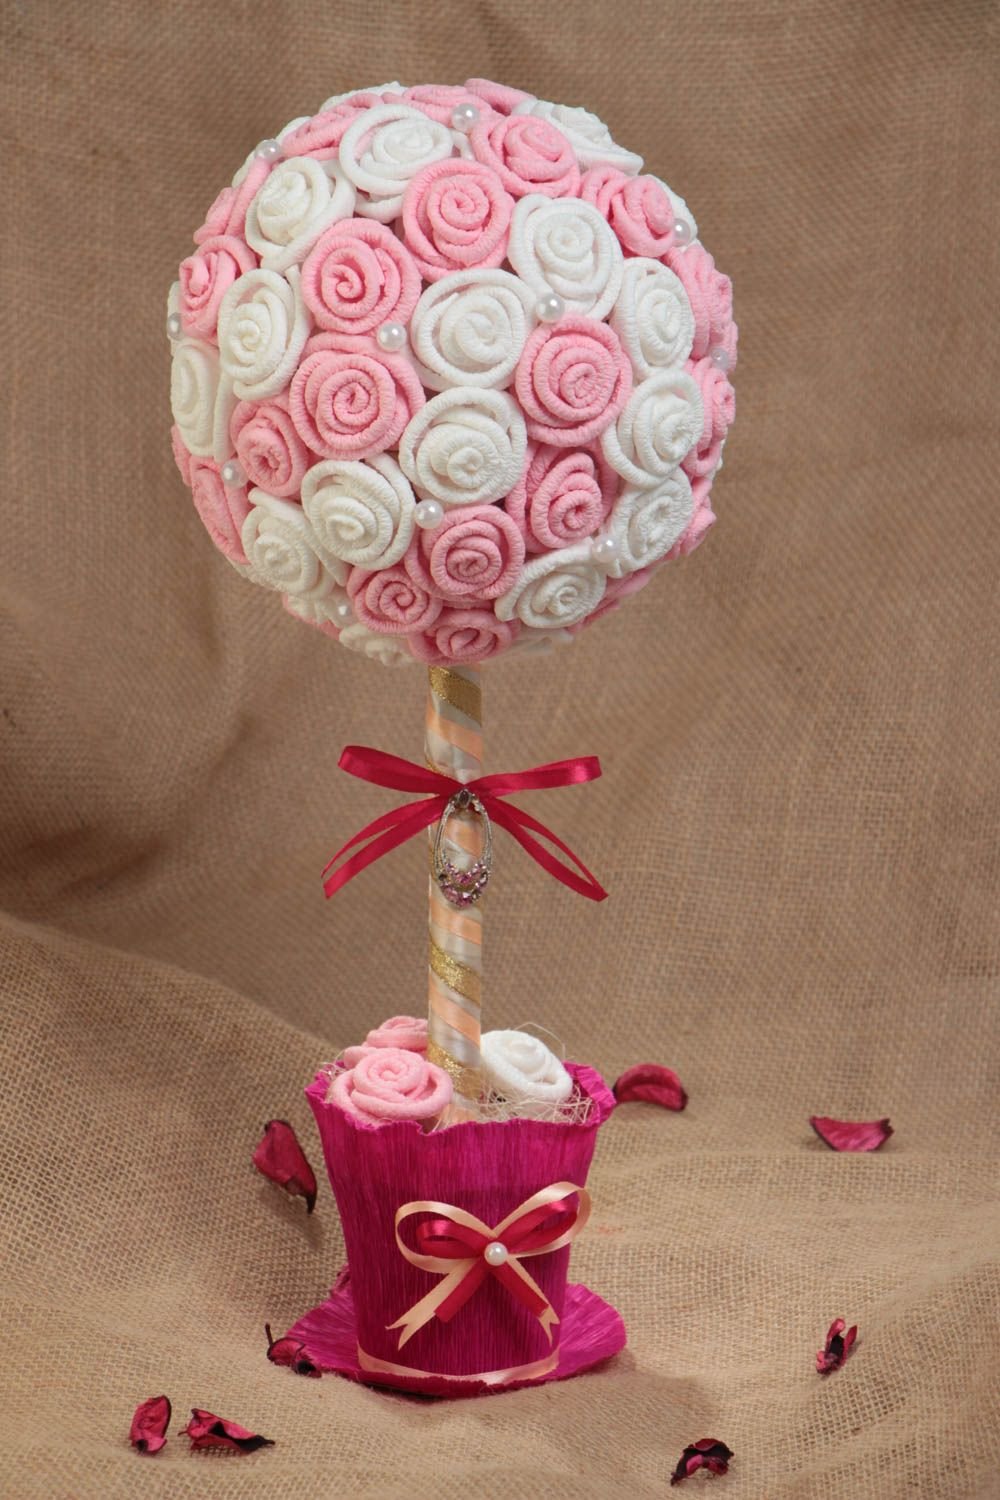
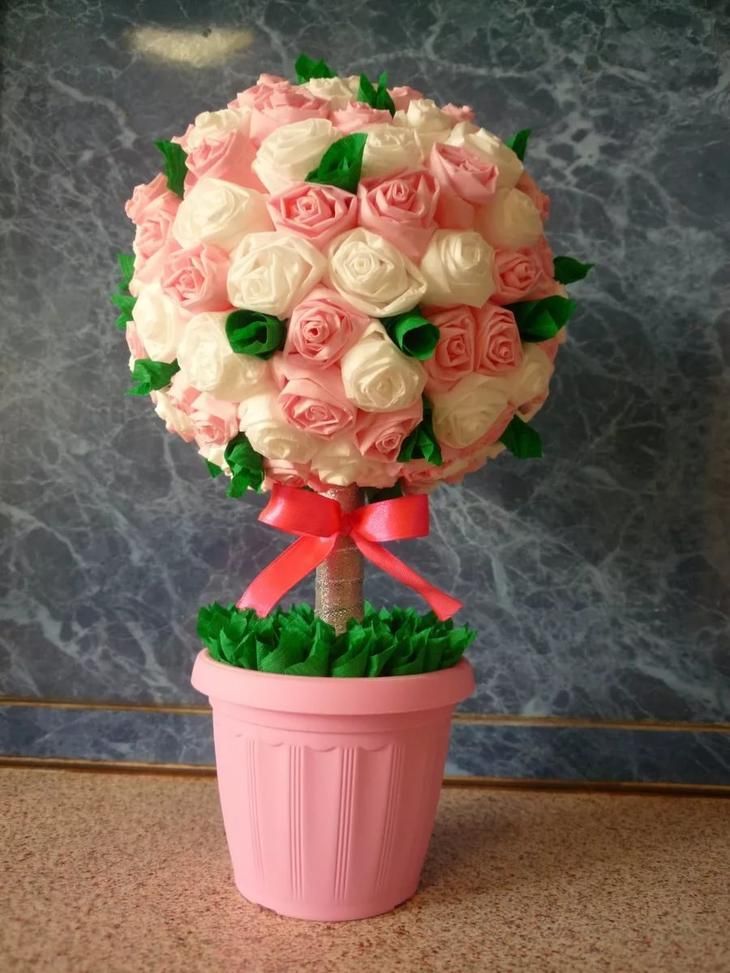
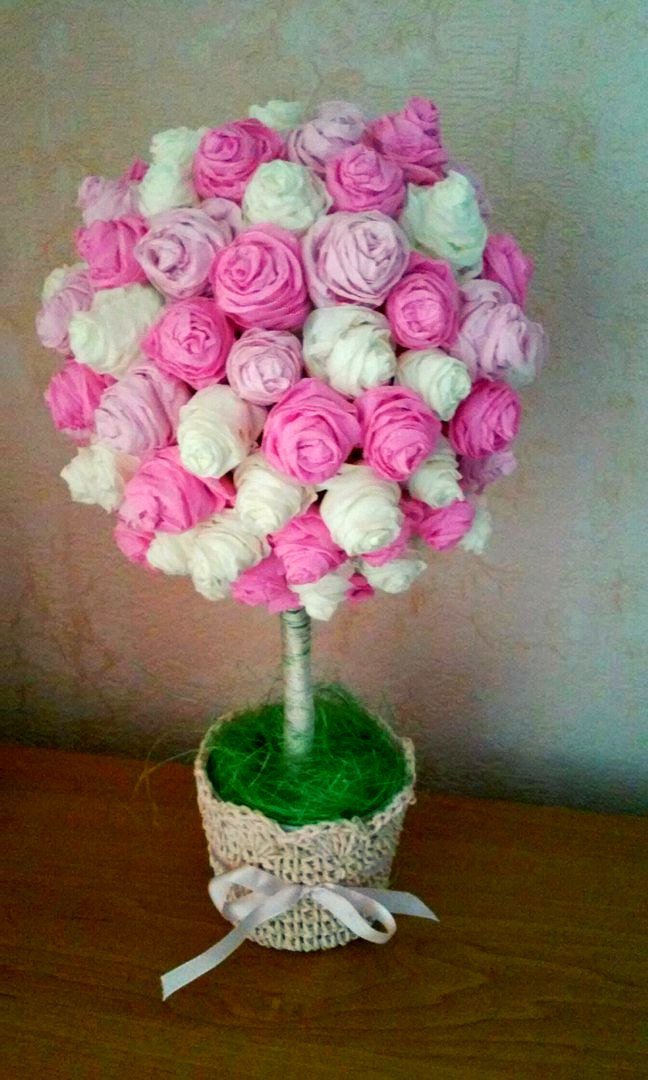
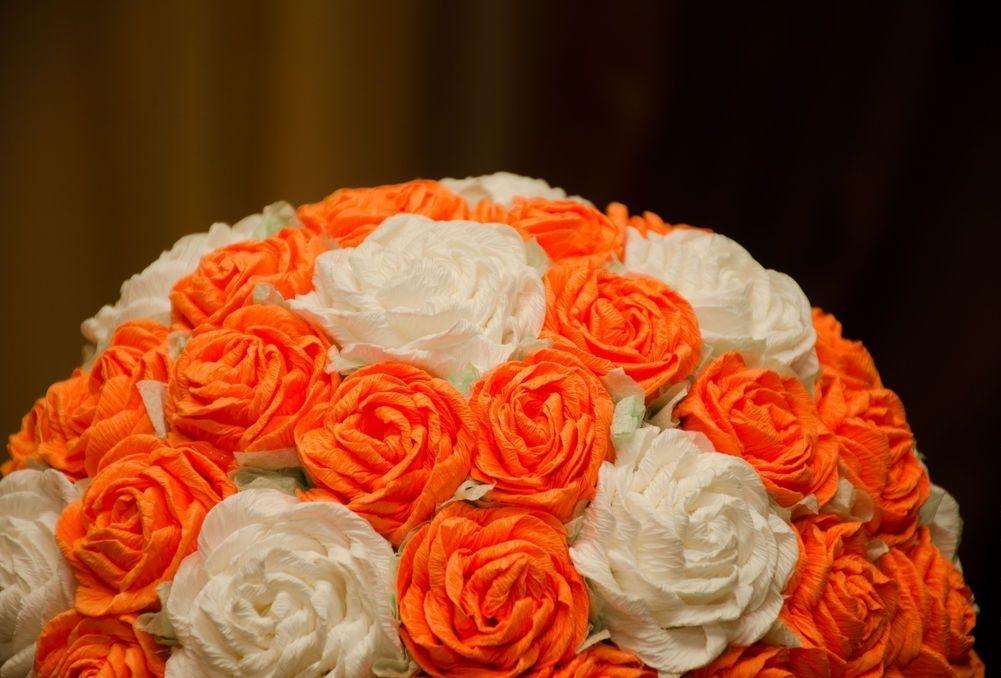
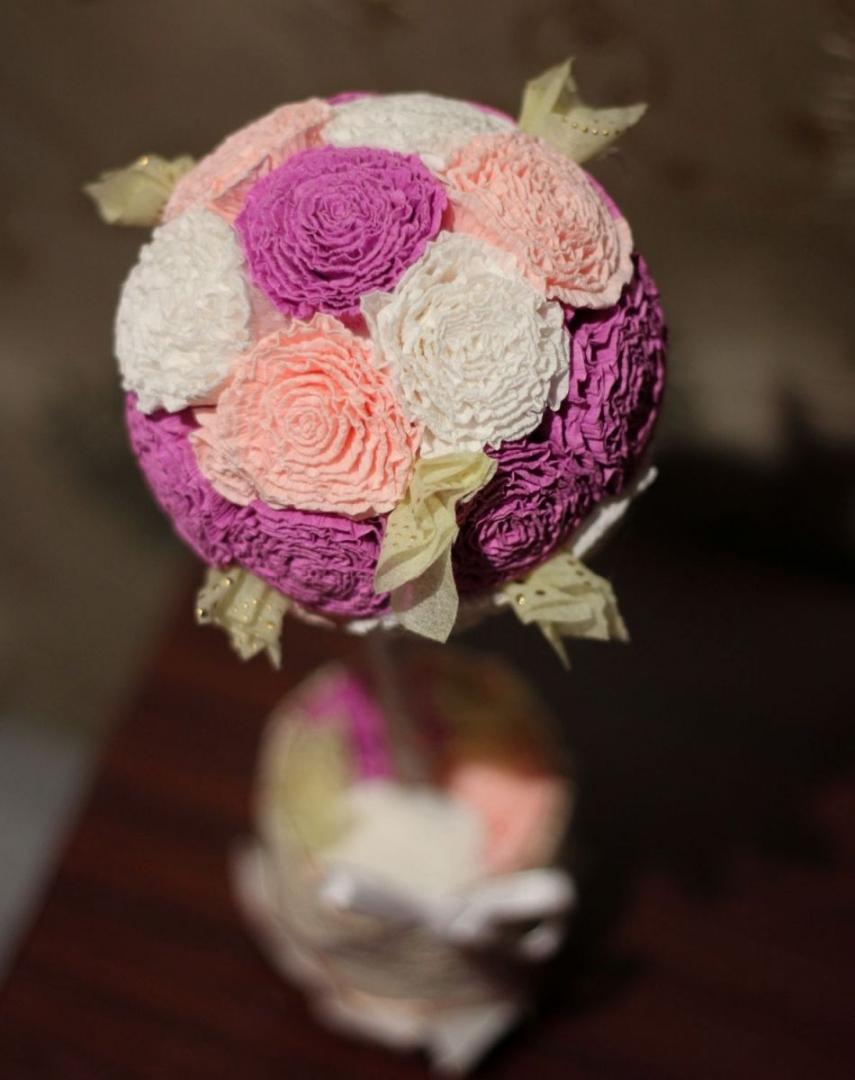
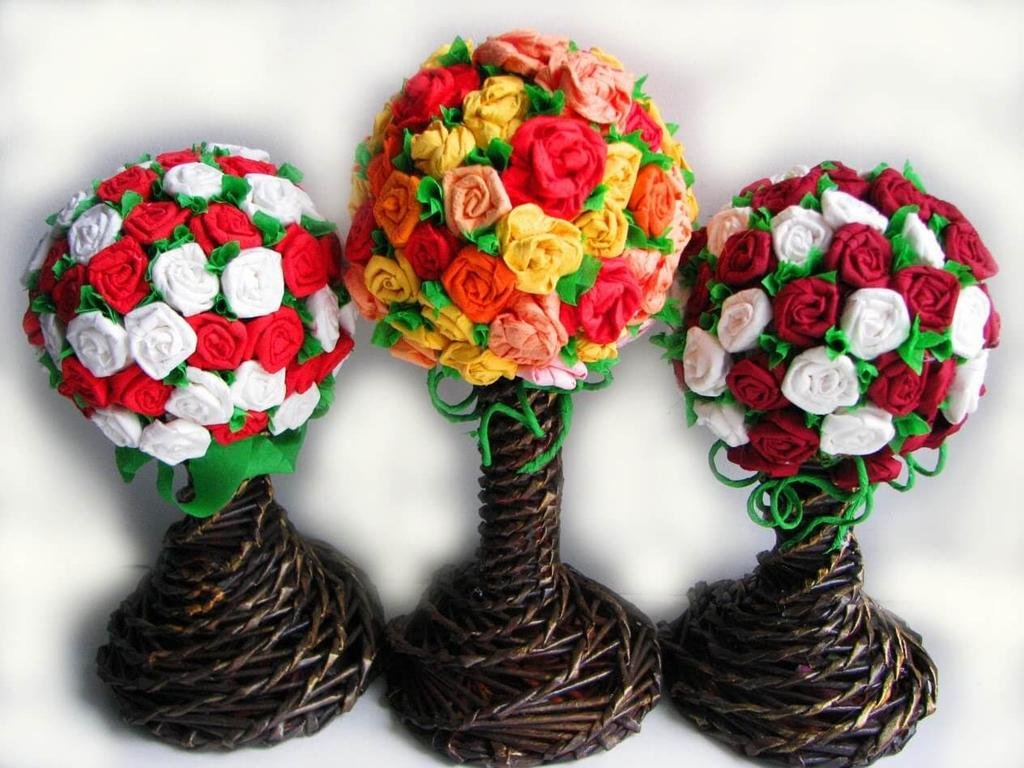
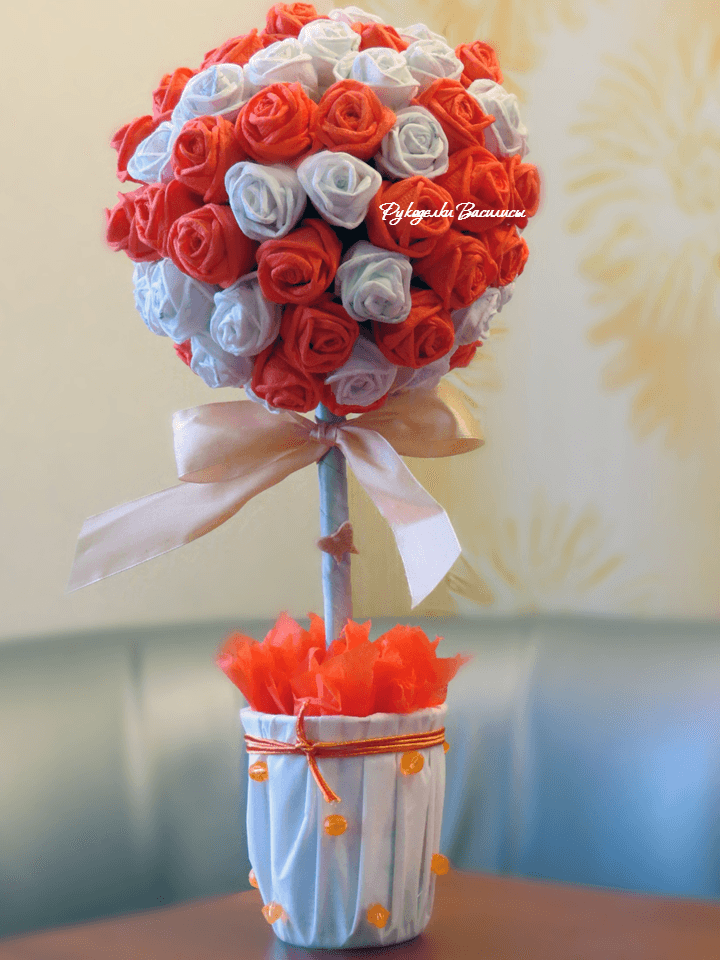
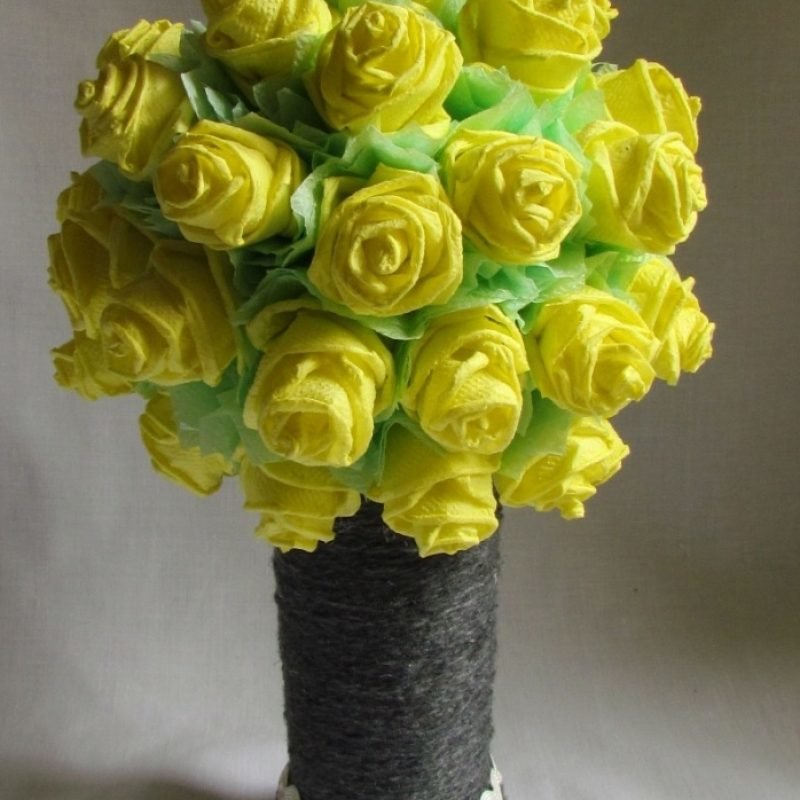
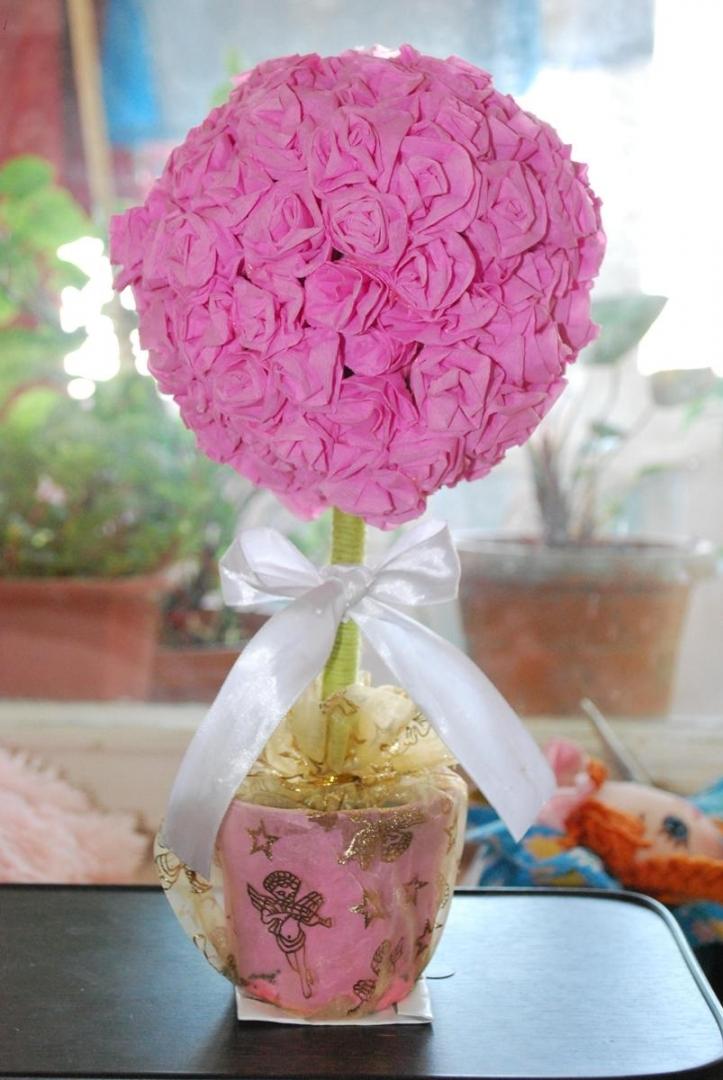
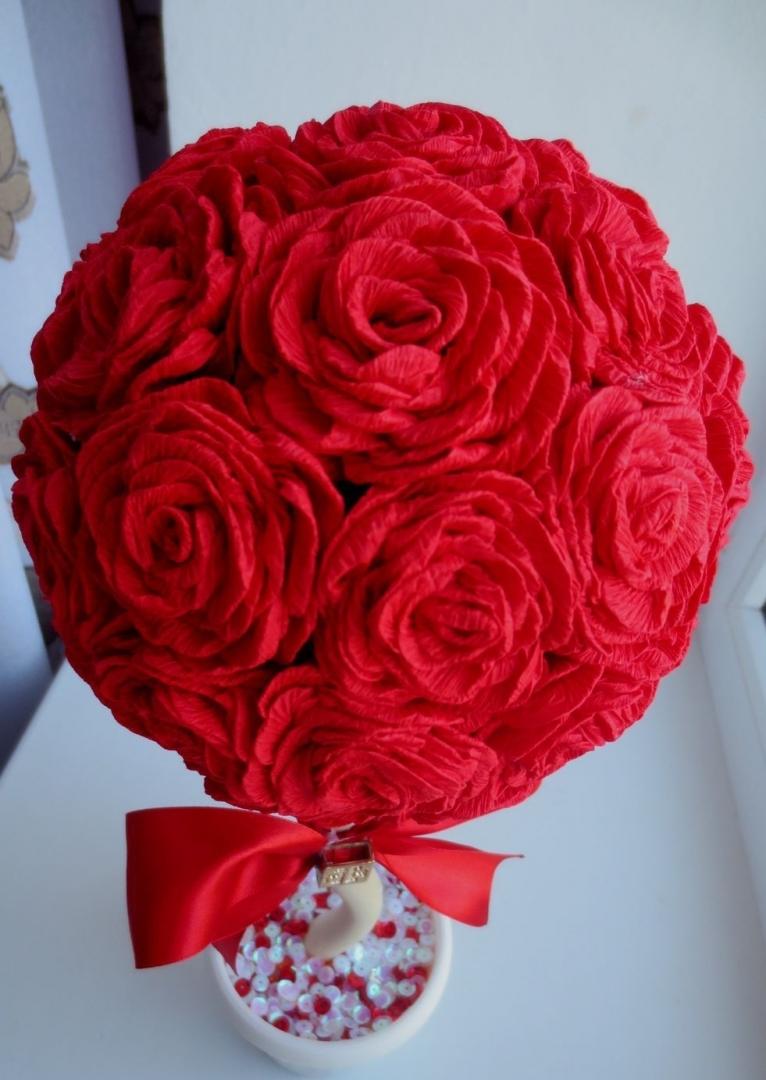
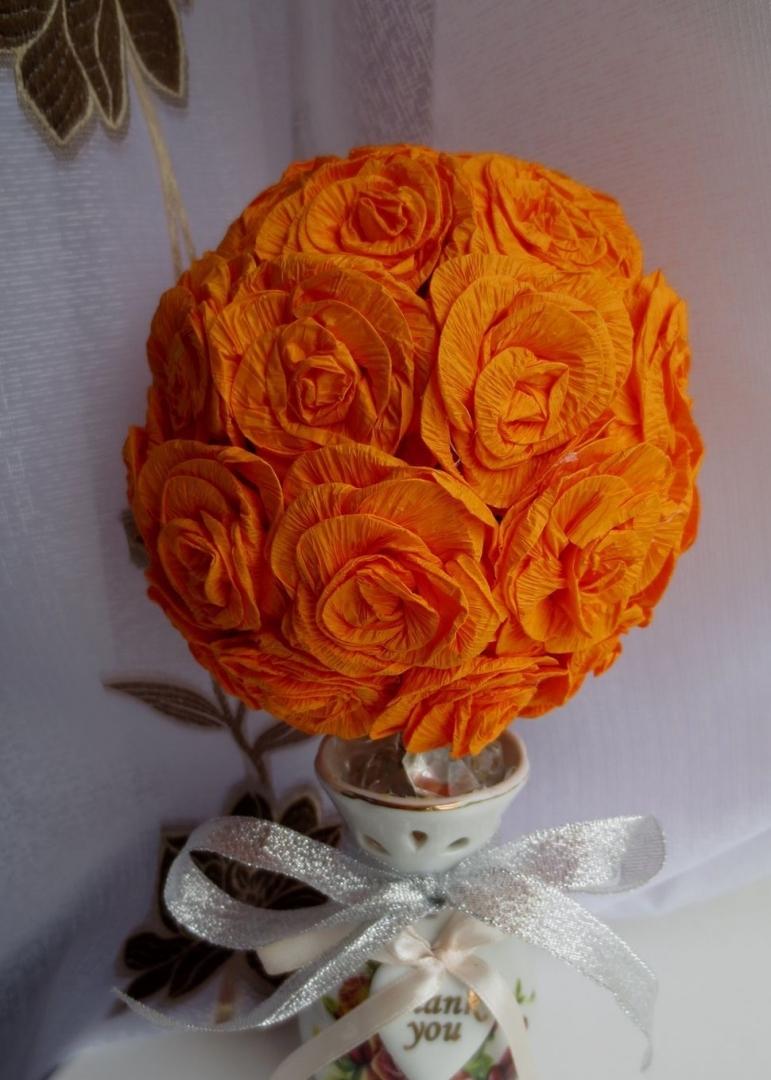
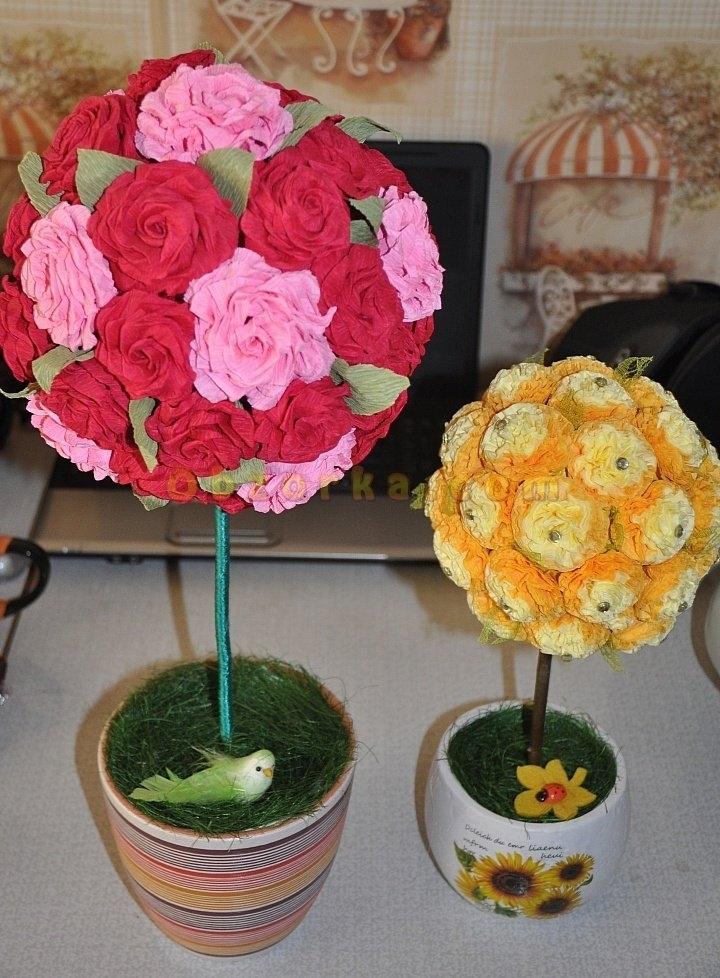
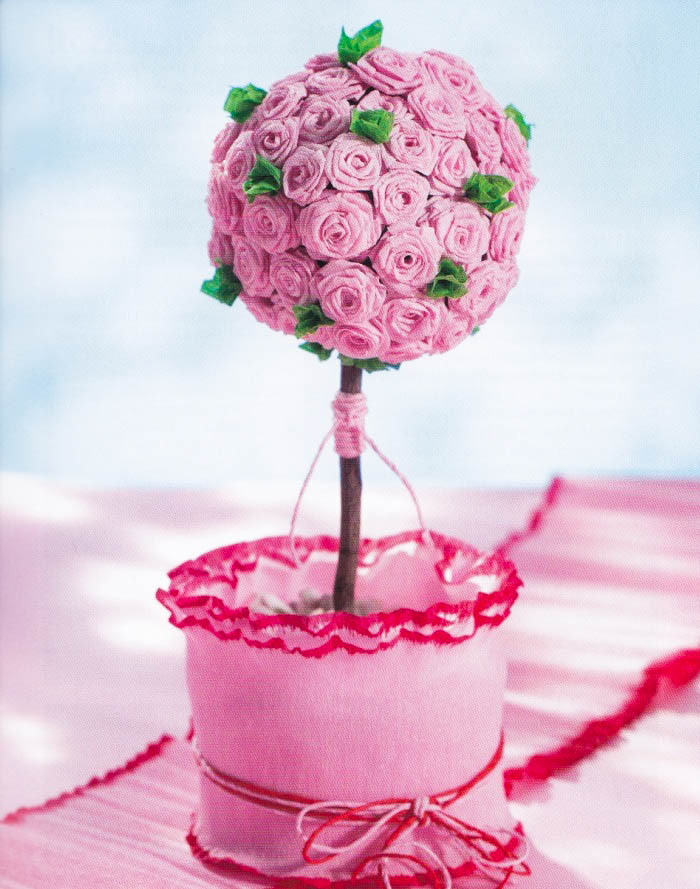
Doing your own topiary for beginners in the form of a lush bouquet of roses will help simple step-by-step MK. The tree is made according to the classical scheme. But instead of the usual colors of paper spinning roses. To make roses from napkins for topiary, you will need napkins of two or three colors: pink, burgundy, green.
Next, create roses.
When using corrugations, you must make sure that your hands are dry, otherwise the material will not retain its shape.
Attention! The size of the triangles should be increased with each new layer of roses.
Petals are made from green napkins. They are cut into 4 parts. Fold crosswise. A hole is made in the middle. The bud is placed on a wire and threaded into a hole in the “petals”. Rose is ready.
During the execution of complex elements of instruction must be in front of your eyes.
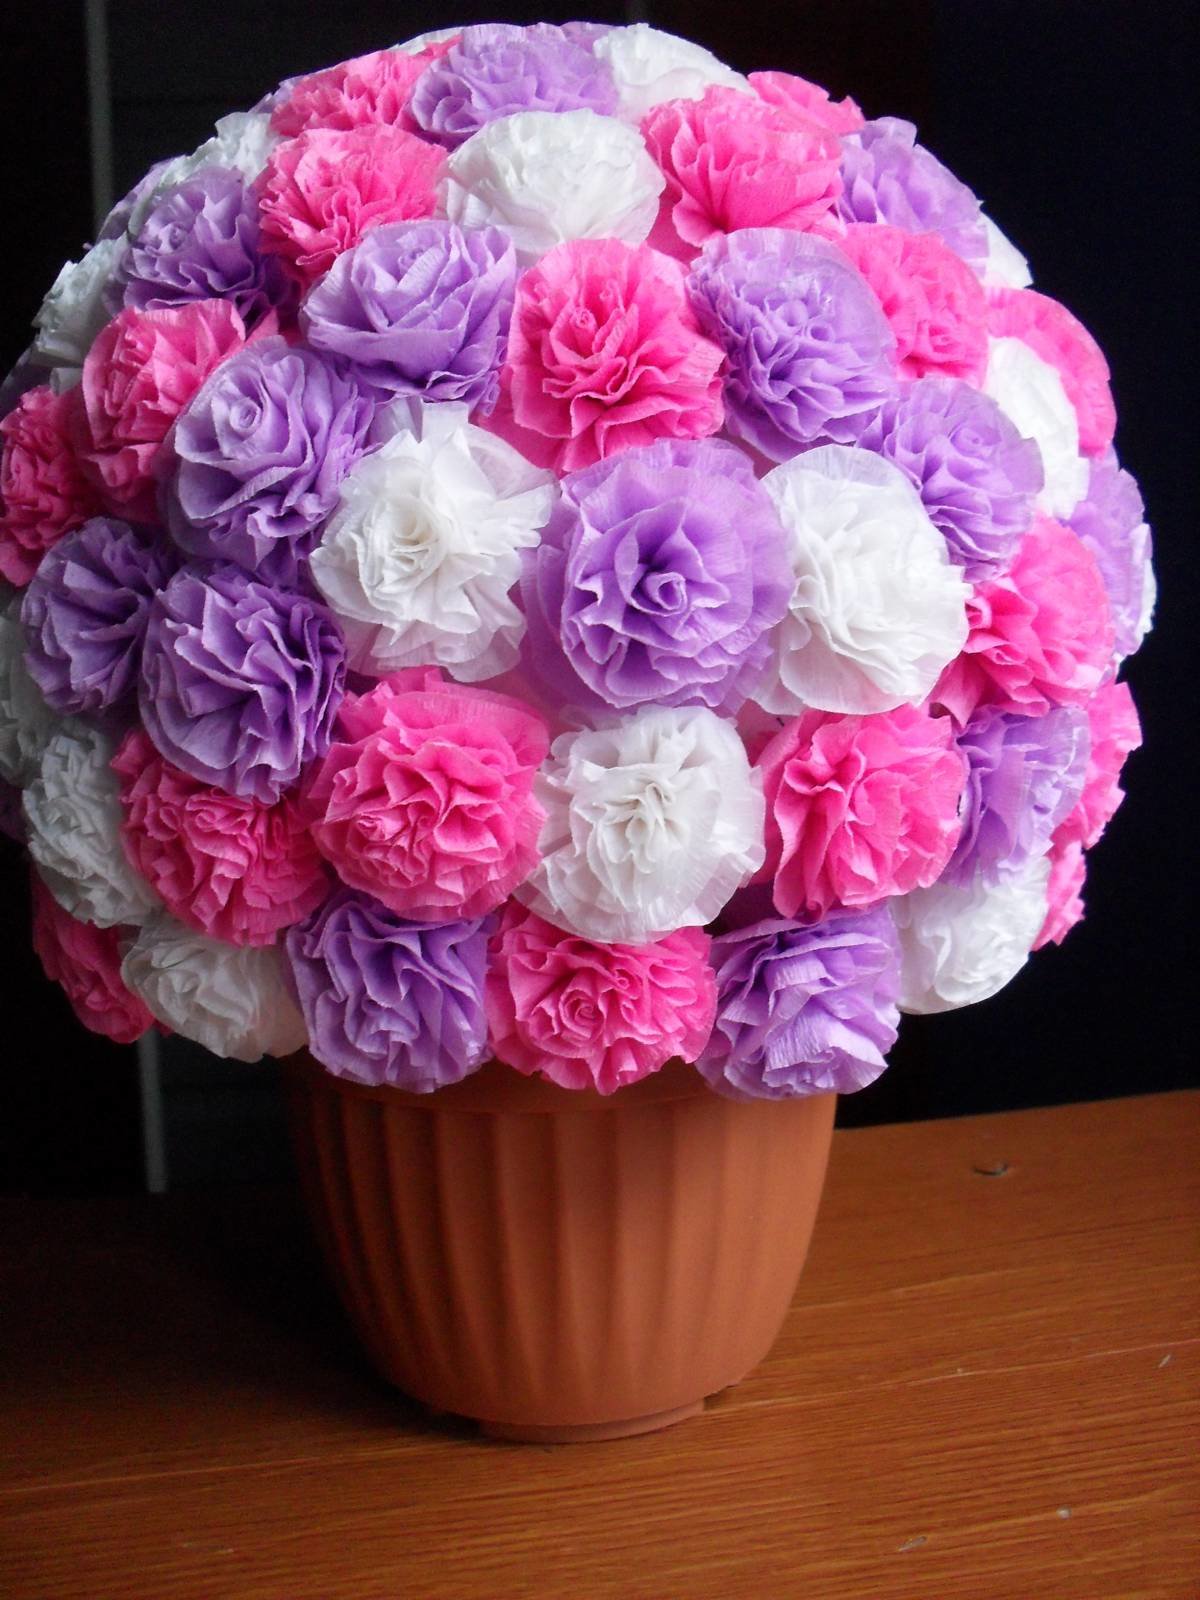
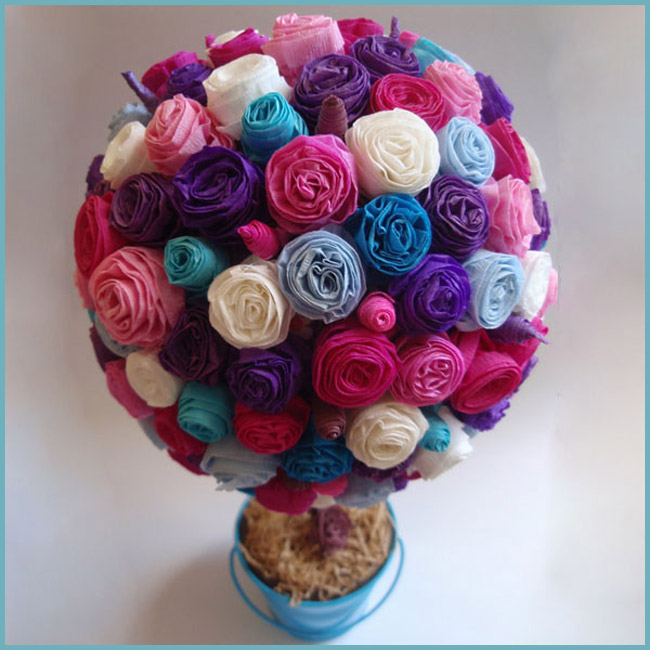
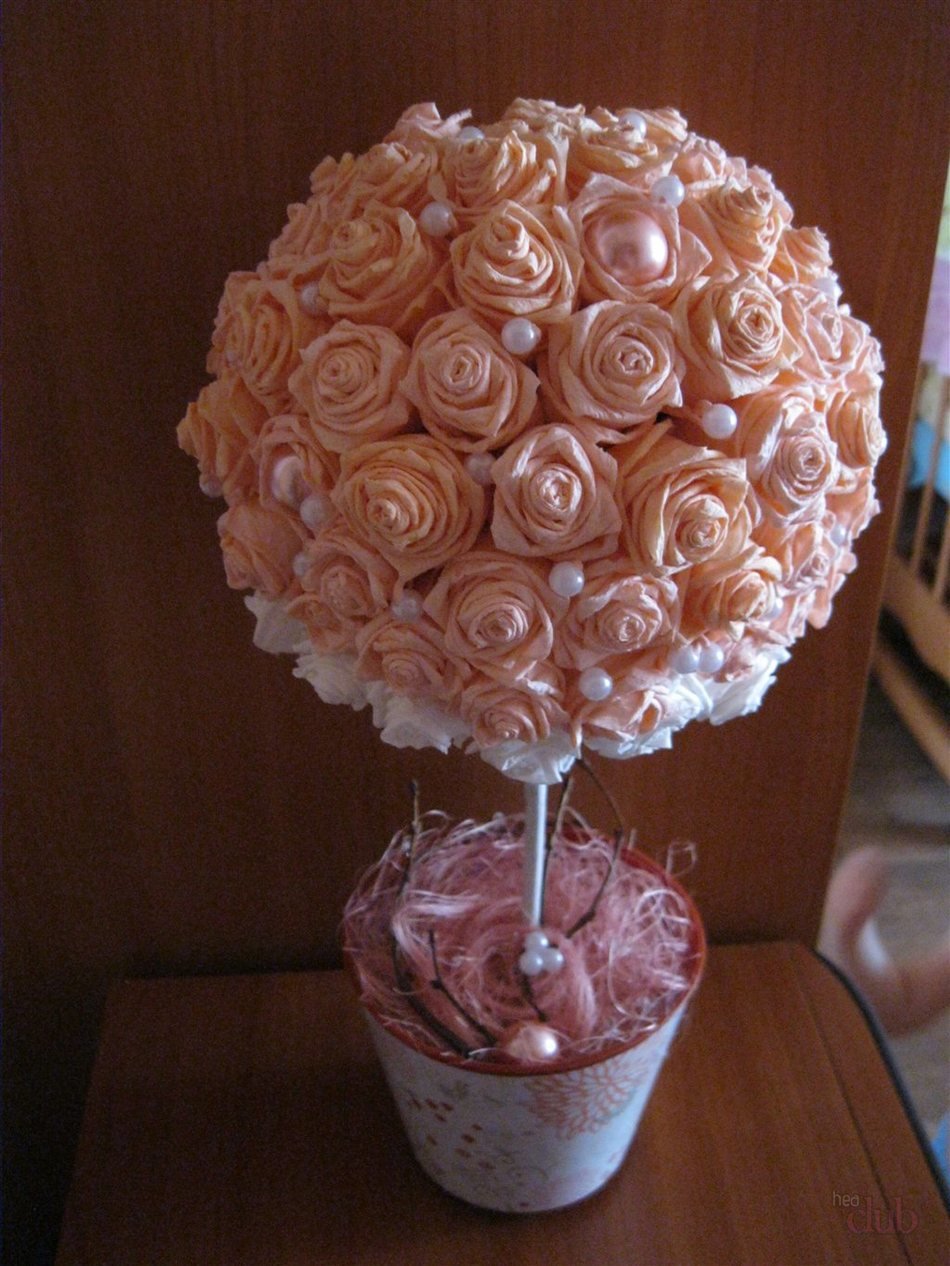
The potty composition can be made more lush, give it a rich texture and large volume. For this, 2-3 napkins are taken at once. Cut into 4 pieces into equal squares. 8-10 pieces are fastened together. Fixed in the center with thread or stapler. Then a circle is cut out from a square blank and, pressing the layer after a layer to the center, they form lush flowers.
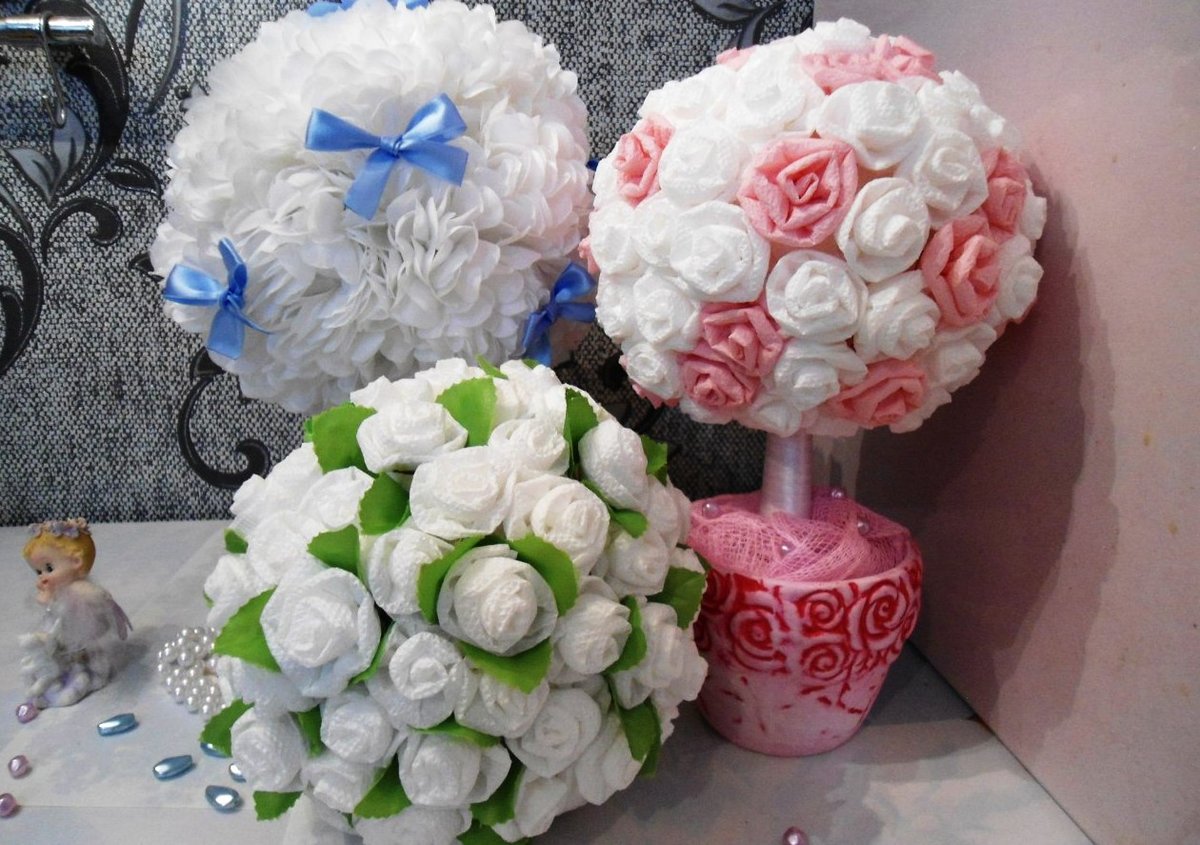
You can use several napkin colors at once to create such volumetric colors.
The topiary created by yourself is the perfect complement to the interior.
A napkin tree will last longer if you follow simple rules for the care of decorative handicrafts.
Today, there are many different techniques to perform topiary, for every taste and color.
This occupation will certainly involve you, and the result will give a lot of pleasure!
So that the dust does not spoil the appearance of the product, it is necessary to “blow through” it from time to time with a hairdryer. But the temperature should not be hot. You can use a vacuum cleaner (at minimum speed) to remove dirt and dust. Or gently walk on the crown with a special brush to remove dust.
Flight of fancy when creating topiary is not worth it.
Topiary is called the "tree of happiness." In the East, it is a symbol of good luck, prosperity and prosperity. Magnificent miniature tree will be a wonderful gift for any occasion.
The craft is easy to do with your own hands, it does not require large investments and time-consuming, but it looks spectacular.


 Clean up the closet
 Sconce over the bed: features and application.
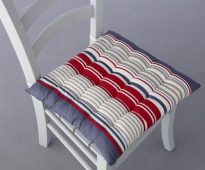 Making pillows on the chairs with your own hands
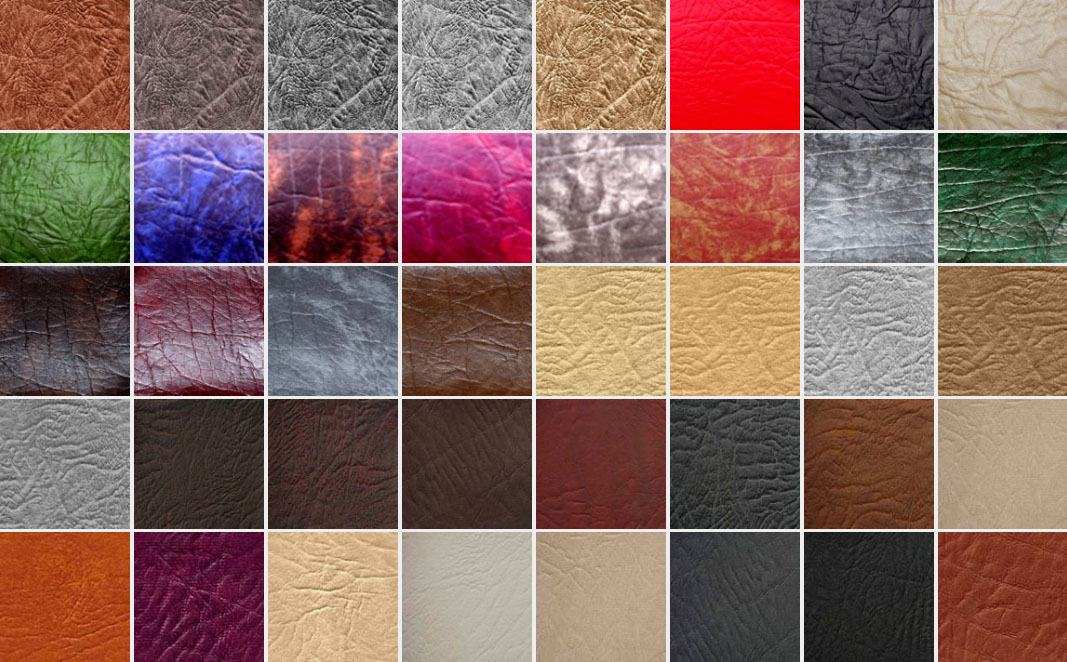 Faux leather for furniture. What it is?
 How to make a stand holder under the hot of wood with your own hands?
 Technique decoupage wood from napkins - instruction for beginners
 To collect the dream apartment


