Step-by-step MK for beginners in decoupage wine bottles with napkins

Undoubtedly, decoupage refers to the most popular and simple methods of beautiful and unusual decoration of interior items. Decoupage does not require special knowledge and materials, any needlewoman can get acquainted with this technique at home and with minimal cost. Craftswomen from all over the World most often choose bottles of various elegant shapes and sizes for decoupage, because each of us has some unusual bottle at home that we can not throw out, and there is no use for it.

Your soul needs a creative act - do-it-yourself bottle decoration.

Types of decoupage

This technique has its roots in ancient China, where artisans decorated with drawings of screens, ceramic vases and even the facades of some buildings! But after the Great Silk Road was laid in the Middle Ages, the decoupage technique migrated to Europe and already the French masters began to decorate with paper ornaments pieces of furniture, dishes, tapestries. Despite the fact that decoupage is a type of arts and crafts of China, it bears exactly the French name, and translated means "cut." This is all about cutting the paper and sticking it onto the surface. But modern craftswomen are not limited to this, they tie unusual scarves and ribbons on decorated bottles, pastes and rhinestones, beads. A layer of paint is also applied over the decorations!

At your service there is always a master class in the society of the master or the Internet version of the process of work.

It is not surprising that the decoupage for all its centuries-old existence has undergone a lot of changes and acquired many types. Of these, there are five main ones.

  • Decopatch This method of decorating the product resembles a patchwork quilting. Indeed, the decor is created from individual pieces of paper or napkins. They can be combined with each other due to the general theme, colors and texture, and can be completely opposite to each other. There are even special sets for decopt on the market, which are combined in style, meaning and colors, they will help the beginning master to make a bottle that will please the eye, but no one will forbid you to make such sets yourself!

Ideas for registration can be seen on the forums where needlewomen share achievements.

  • Direct or classic decoupage. This type of decoupage is suitable for those who are just trying themselves in a new kind of creativity. The technology of making work is very simple and will be clear to every master, even a kid can handle it. The image applied on napkins, photographic paper or rice paper is neatly cut and glued onto a previously prepared surface.It is necessary to work very carefully so that the finished work is not damaged by folds, bubbles and tears. There are many ways of sticking a picture, but there are three main ones: with the help of a file, a brush in the form of a fan, and an iron.

Each of the methods is good in its own way, but not everyone is suitable for applying ornament to the bottle.

  • Reverse decoupage is the opposite of classic decoupage. Suitable for decorating objects from transparent thin glass. In this case, the drawing is applied on the inside of the object and all actions on its application are performed in the reverse order.

It is worth remembering that a bottle made with the help of reverse decoupage will not be suitable for storing liquids.

  • Artistic or, as it is also called, smoky decoupage. This type of decoupage is suitable for needlewomen who want to create the effect of painting or frescoes on the decorated product. Such an effect can be achieved due to the fact that the drawing supposedly dissolves in the general background, it smoothly flows into it, a smooth flow of one part of the picture into another is created, without abrupt transitions that cut the eye.

A simple way to decorate is decoupage with a photo.

  • Bulk decoupage appeared in the creative world relatively recently and quickly gained unprecedented popularity. Many of you have most likely seen bottles adorned with cloth, semolina, shells, glass, dried flowers. This is the bulk decoupage. Advanced masters use to create a volume of special structuring paste, which is purchased in specialized stores for creativity.

After processing, a picture, photo or postcard is stuck on the bottle.

As you could understand from this section in decoupage there are no strict rules. You can use for decoration not only standard paper or napkins, but everything that your heart desires. The main thing is not to be afraid to try something new and connect fantasy to the creative process!

Tools and materials for work

The main thing that needs to be done before starting work is to properly prepare the workspace. Decoupage, although it is a simple technique, but takes quite a lot of time. Work in a well-ventilated and lighted room, the decoupage varnish has a rather pungent odor that can ache and make your head spin. Also take care of a comfortable chair and table, you do not want your back to hurt?

In order to get a taste of decorating, simple manipulations with the object are enough.

For decoupage do-it-yourself napkins, you will need the following materials, most of them are already in your home.

  • Glass or bottle with a smooth surface without cracks and chips.
  • Special cards for decoupage, magazine clippings, three-layer napkins
  • Degreasing agent, such as acetone or alcohol.
  • Acrylic paints, watercolors and pastels for drawing small details or creating additional effects.
  • PVA glue or special for decoupage
  • Brushes of various sizes. If you plan to work with small details, then you will need flat brushes of a small size with a thin artificial nap. For the application of acrylic paint or primer, a regular dishwashing sponge may be useful, but it should be borne in mind that it creates a rough texture, which is not necessary in all work. To create a smooth surface, a large synthetic brush is needed. For drawing small parts on the finished work fit thin brushes made of synthetic pile.

It is worth remembering that for applying glue, paint and varnish need separate brushes.

  • Acrylic or craquelure varnish
  • Additional elements of decor. Ribbons, fabric, beads
  • Manicure scissors for cutting small parts. For the same purpose suitable stationery knife or cutter.
  • Masking tape;
  • A piece of sponge. Need to apply the ground.
  • Sandpaper.For polishing the surface during preparatory work or for correcting minor errors. Pick up paper with fine and medium grains in several gradations.
  • Priming. It serves to improve the adhesion between the layers of glue and napkins.

Color bottle decor adds mood to the interior.

What varnish is needed for decoupage

Varnishing is a very important process in decoupage. But today in stores you can find such a large number of varnishes of different varieties, that it is sometimes difficult for a beginning master to decide on his choice. Due to the fact that the final appearance of the work will depend on the quality of lacquer, it is worth taking a responsible approach to his choice.

The decoupage technique is quite simple in execution, but the effect it gives is amazing.

First you need to figure out what functions the varnish performs in decoupage bottles with napkins.

  • Protective function. Covering the work with varnish, you are guaranteed to protect it from moisture, scratches, dust and dirt.
  • If you apply several layers of finishing varnish, then you will get rid of the step between the background and the ornament, which will help bring the work closer to perfection.
  • If you plan large-scale work with drawing a large number of small parts, then each new layer should be varnished. This will help correct and prevent errors.
  • If you moisten the ornament with varnish, it will be easier to stick to work.

With the help of ordinary drawings you can transform old bottles.

Types of lacquers for decoupage

  • Acrylic varnishes. Most often used for decoupage. Compared to others, it dries quickly, forming a strong film. The brushes are easily washed off of them, it is enough to wash them thoroughly with soap and to dry them with a nap down.
  • Polyurethane. They are often used in baths and saunas, so you can safely cover them with products that will often come into contact with water.
  • Alkyd varnishes. They give a very durable coating, as they are used for its intended purpose for flooring.
  • Decorative varnishes. Can be purchased at specialty stores to create various effects. For example, aging or scuffing.

The easiest way to learn decoupage is to start small.

As you can see in the market many different types of varnish. There are water-based and glue-based, with different effects (antique, with sparkles, cracks) and finishes (matte, glossy, semi-matte, semi-glossy). Choose water-based acrylic lacquer, as it is more versatile, but the effect and finish should be chosen based on the desired result. Both ordinary construction varnish and special decoupage will be suitable for work, but this is already a more expensive option for advanced craftsmen.

For the first experience, you can use empty tare, and perform decoupage on bottles of glass or plastic.

What glue is needed for decoupage

A lot depends on decoupage glue too. Good and high-quality glue will not give detachments, will not cause the paper to turn yellow under the action of sunlight, and even prevent the development of fungus and mold on the finished work.

As a material for decorating the surface, masters use a variety of elements.

Properties that must have glue for decoupage.

  • Colorless after complete drying of the adhesive layer
  • The average consistency of the adhesive composition
  • Average setting time. The glue should set gradually, giving the master time to smooth out folds and correct possible errors.
  • Over time, the glue should not turn yellow or dark.

To transfer a newspaper or magazine clipping to glass, you need to prepare the paper and the drawing itself.

In the shops for creativity jars with a special glue for decoupage are sold, but again, novice masters who just want to try themselves in a new technique need nothing. Suitable PVA glue from the middle price category (do not take the easiest child) diluted with water in equal proportions.

How to make decoupage of napkins on the bottle

Do you have glass bottles left after the holidays? Do not rush to throw them in the trash can, because with the help of available tools you can turn them into a real work of art, such as a vessel for storing alcoholic beverages or cereals, as well as a vase with a unique design. Moreover, the decoupage technique does not require special and expensive materials, even a kid can handle it! The main thing is to have a large supply of inspiration, some free time and a reserve of patience! In this section we will discuss in detail how to make decoupage for beginners on the bottle.

It is best to start mastering the technique of decoupage with table napkins.

Glass surface preparation

Now on each bottle from the store various labels with information about the manufacturer, place of manufacture, composition and shelf life are pasted. But it will interfere with the implementation of high-quality decoupage, so you need to get rid of the stickers. To do this you will have to make a little effort, but the result is worth it. Leave the bottle for a few hours in a solution of water and dishwashing detergent, then easily remove the paper. Use medium abrasive abrasive paper to remove any glue and paper residue. Walk around the entire surface of the glass with a degreaser, sand the glass again.

Do not forget about this action.

Important! The result will depend on how carefully you carry out the preparatory work.

Primer

This stage is needed to make the picture brighter and much easier to stick to the glass base. The bottle is covered with a layer of acrylic primer for paintings or a simple acrylic paint (usually white) with a sponge or a large large brush.

If necessary, layers of paint, soil can be layered.

If you think that the picture looks bright enough and without a primer, then you can skip this step.

Cutting ornament

If you do bottle decoupage with napkins, then only the topmost napkin layer is used for work. Carefully cut out the picture you like and attach it to the bottle, outlining the composition of the work. If you decide to use cuttings from magazines for decoupage, then you need to remove a glossy layer from them. To do this, cover the cut with several layers of varnish, completely dry, and then put soak in warm water for 20-30 minutes.

Remove the bottom layers of sodden paper, and you will have a beautiful translucent glossy picture in your hands!

Pasting pictures on the bottle

The most interesting part of the work is gluing the ornament onto the bottle. The glass must be dry, free of grease and carefully primed. Lubricate the surface on which you plan to glue the picture with a pre-selected glue, then glue a dry napkin, a magazine clipping or a decoupage card. Smear it abundantly with glue with a brush, trying to expel all small bubbles, smooth out irregularities. Work very carefully!

Do not tear the paper, otherwise you have to start all over again.

Note! Dekupazhnye cards before applying to the bottle should be soaked briefly in warm water, and then dried on a soft towel.

Fixing the result with varnish

To protect the result of your hard work from external influences, for example, from dust, water (for a bottle it is very important), scratches, air, you should cover the work with a lacquer layer. Before this, thoroughly dry the product from glue and moisture.

To work looked better, cover it in several layers of varnish.

Bottle decoupage with rice paper

No less interesting is the decoupage, made with the use of rice paper.

Rice paper is a loose, easily wetted paper used in baking and handicrafts.

Prepare rice paper and floral motifs before work.

This is a win-win decoupage duet that will decorate the interior of any kitchen or living room.

Defat thoroughly the entire surface of the bottle.

Rice paper is more advantageous not to cut, but to tear with scraps in order to get uneven edges, which give a beautiful effect.

There are two ways to glue such paper onto a bottle.

The first involves the application of glue and already sticking rice paper to it. In the second method, wet paper is applied to the glass and dried with a hairdryer.

Finished work should be varnished.

Conclusion

What can you think of a better gift made with your own hands? A gift in which you put warmth, affection, love and the most precious resource - time? Having got acquainted closer with such an exciting and simple technique as decoupage, you will no longer have questions about how to surprise your friends, relatives or colleagues with an unusual gift.

Transform a regular bottle of champagne, brandy, wine or a regular plastic bottle into an original work of art!

VIDEO: Do-it-yourself bottle decoupage.

50 options for decoupage wine bottles do it yourself:

We recommend related articles.
Instructions on how to make a box from improvised means with your own hands
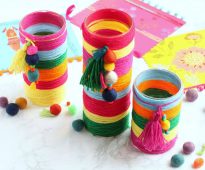
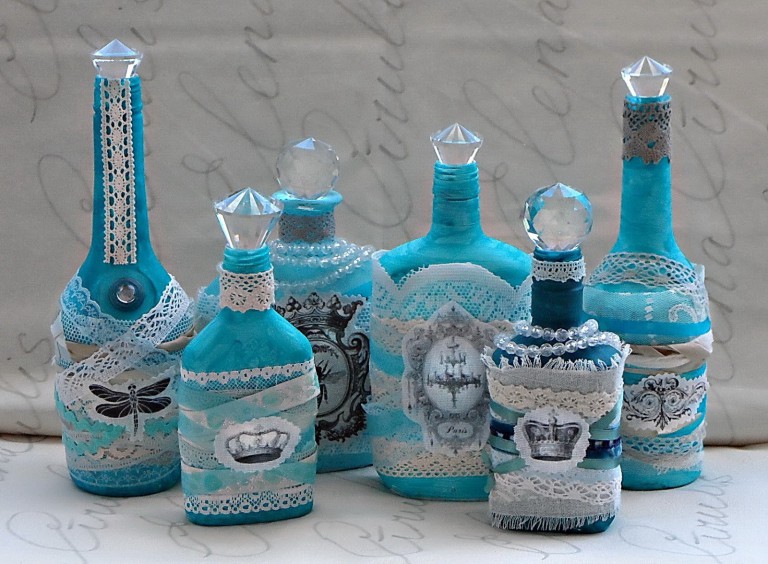
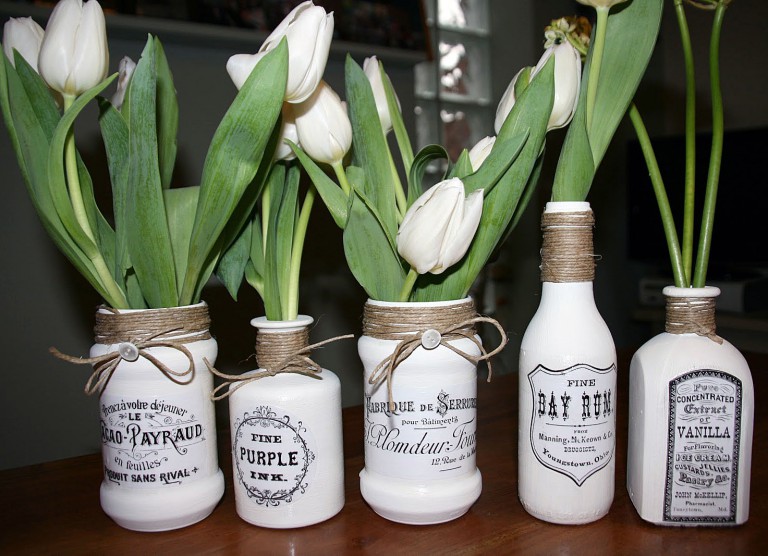
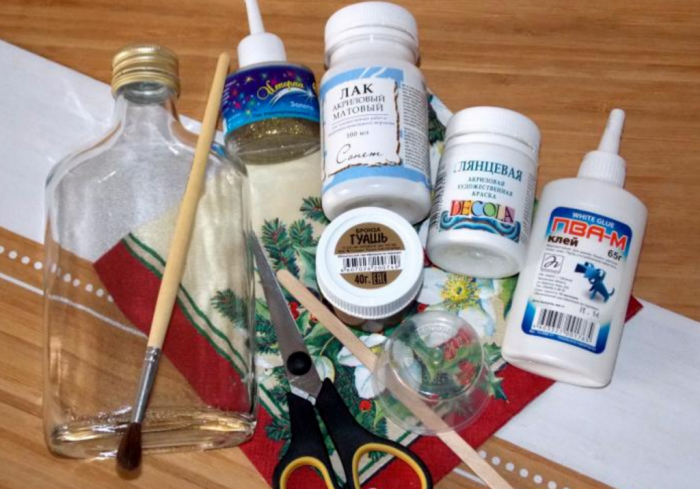
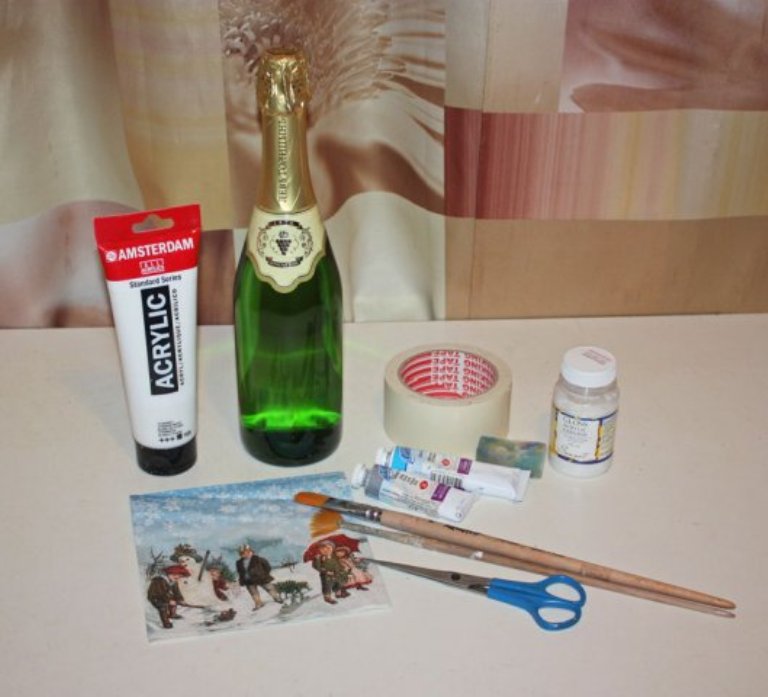
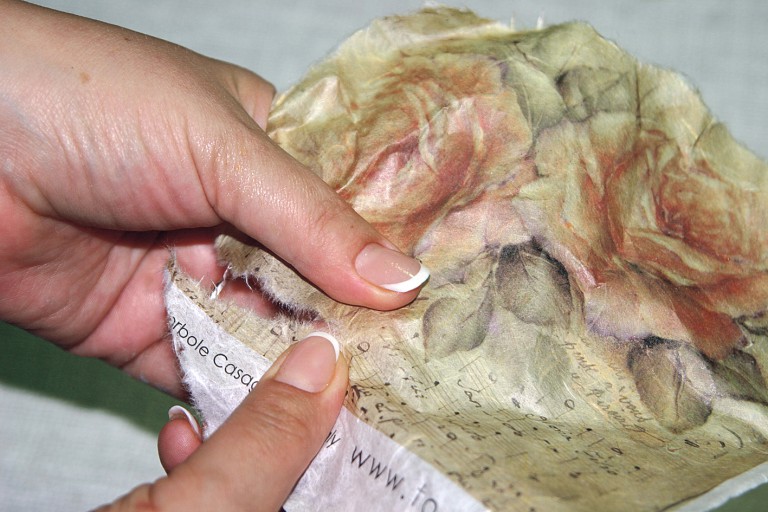
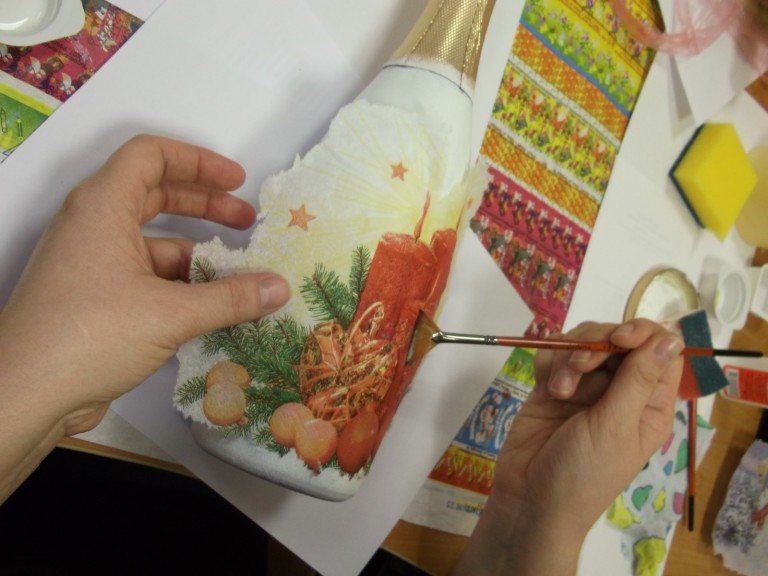
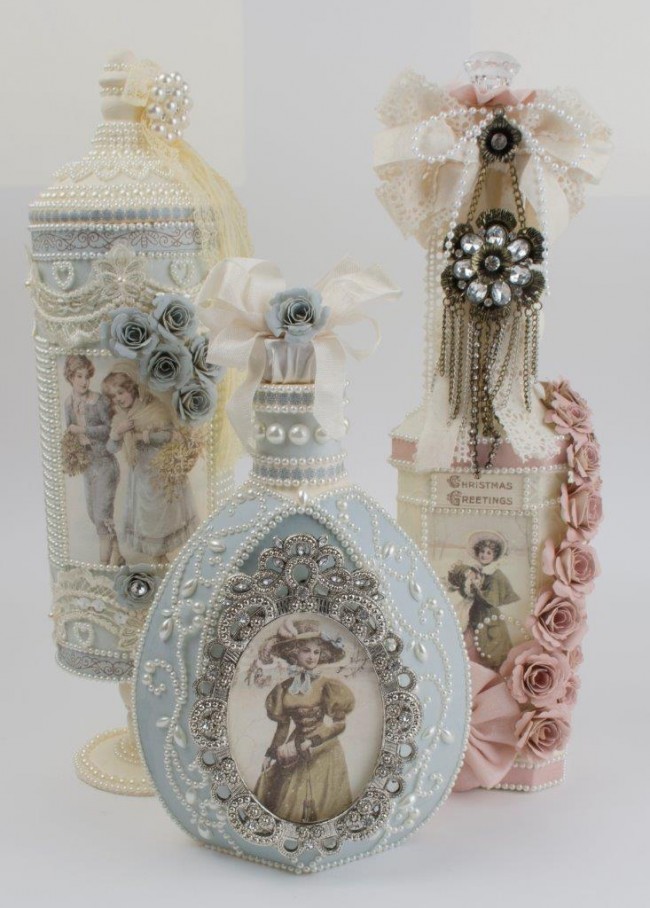
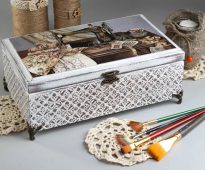
This article will be useful to those who are interested in a master class of making a box with their own hands. How to make a box for jewelry at home from improvised means: cardboard with a lid, paper, cloth ....
Beautiful blue ottoman Making ottoman from plastic bottles with their own hands. Instructions step by step
Designer fantasy knows no limits. Even from such a simple material as plastic bottles, people manage to make practical, useful things. Thanks to unlimited ingenuity, they are very ...
tandembox boxes Guides for drawers. Types and features.
Furniture fittings today are presented in a large assortment, which makes it possible to choose. Not so long ago, the facade of the furniture was the same, and she herself looked like a hinged drawer. Now the process of nomination ...
How to make a stand for your own pencils?
The stationery holder is a simple but very important accessory. Thanks to her, there will be order on the desktop, and you can easily find the right tool. Make it your own hands is a snap ....
shoebox in the hall What is a shoebox with guides, the principle of operation of its mechanism
Hallways are often limited in size, so the question of storing things, and especially shoes, is acute. It is permissible to take seasonal items away in the mezzanine, and used to be kept "at hand" ....
Self-adhesive film with rainbow colors Decorative film for furniture: scope
Do you have an irresistible craving for the renewal of furniture in your home? You want to quickly turn your own, dull room into a bright nursery filled with interesting pictures, then carry out ...
Add a comment
By clicking a button you agree to privacy policy and site rules set forth in user agreement

Sofas

Furniture

Armchairs