Instructions on how to make a box from improvised means with your own hands

This article will be useful to those who are interested in a master class of making a box with their own hands. How to make a box for jewelry at home from improvised means: cardboard with a lid, paper, cloth. Ideas beautiful designs boxes.

Every woman and girl has a personal casket in which she keeps jewelry, cosmetics or other things.

In each house there are a thousand little things that you can give a second life. Such things will not only be functional, but rather attractive if you approach the work process with all seriousness. This is a very convenient box that is useful for storing jewelry, memorabilia, needles and other small things. To make a box with your own hands quickly and simply, for this purpose, you stock up with necessary materials, think about how to decorate the box and follow certain algorithms of actions.

You can buy a box in the store or create a unique item with your own hands.

Choosing the shape of the box

The choice of the form of the casket depends on:

  • from personal preferences;
  • what they plan to store in it;
  • what means at hand have.

You can make a casket for storage:

  • simple rectangular shape;
  • round;
  • in the shape of a heart.

The main thing is to choose the most appropriate way to decorate.

To work on creating a casket from improvised at home, the following materials are prepared:

  • thick cardboard;
  • soft dense fabric;
  • glue;
  • decoration materials;
  • Scotch;
  • scissors;
  • paper;
  • stationery knife;
  • pencil;
  • ruler.

Simple rectangular or square box

The product of this form is made of cardboard, high density.

Additional Information! This is necessary so that the final product keeps the chosen shape well.

As a basis, choose a box from under footwear. Next of the paper form the tube. To do this, take the usual sheet of A4.

You can decorate jewelry boxes with anything.

Once the tubes are twisted, they begin to glue around the perimeter of the base at a distance of 3-4 cm from each other. Make vertical.

The rest of the tubes are glued into the base, bending them. Inside, the places where paper guides are glued are covered with thick cardboard. On the same principle pasted over the lid of the box. This is a clear diagram of how to make a box made of cardboard.

This box casket is not inferior in beauty and elegance bought in the store.

Round box

As the basis for a round casket, use the dense part of a skein of adhesive tape. It can be different in diameter, but in any case it can be beautifully decorated and beaten.

To begin with, take a thick cardboard and enclose on it 3 circles on the outer edge of the skein of adhesive tape and 2 on the outer edge. Those that turned out to be smaller in diameter are glued together. Thus, it turns out the bottom of the box.

A casket is a wonderful thing in which you can store different things.

Those circles that are larger in diameter are also glued together. Cut a strip with a width of 4-5 cm and a length equal to the diameter of a large circle. This strip along the inner edge is glued to the circle, after making a small notch along the perimeter. The lid is ready.

Important! This is necessary so that the strip is not deformed in the process of gluing.

The finished layout is decorated to your liking. This kind of box for girls with their own hands will be a wonderful gift.

Not only is it functional, it also brings a certain charm to the design of your room.

Heart shaped box

Such a handmade box will be a wonderful gift for any occasion.

For a start draw a heart on a dense cardboard, it will be the bottom of the box. Then from the same material cut out a strip on width of 10-15 cm.

You do not need to go to the store and buy a suitable casket.

Additional Information! The width of the strip should be determined by the size of the bottom of the product.

On each side of the strips make cuts or cut equal triangles of 3-5 mm. And stick it on the base. Also come with a different stripe. Since the shape of the product is not even, then before the start of the decoration they wait 10-15 minutes until it dries. Then pick up the decor of the box and get to work.

It can be made independently from improvised means.

Caskets making options

Out of the candy box

To work on the box out of the box with your own hands you will need:

  • candy box;
  • beautiful wrapping paper;
  • monophonic paper;
  • acrylic paint;
  • glue;
  • scissors.

Such a handmade jewelry box will be a great addition to your home.

The first step is to glue the entire perimeter of the base with paper, where the edges leave a small margin. For the bottom and cover using paper without a cut. To create beautiful corners, first of all they glue the sides, the corners are cut and bent inwards.

Special attention is paid to the inside of the cover, making sure that the cut paper is enough with a margin.

Important! The width of the cut blade at the sides must be 3 cm wide by the box.

The inside of the paste over so that the cut strips around the perimeter when pasting, went to the bottom of 2 cm.

You do not need special tools and expensive materials.

After the casket is covered with wrapping paper, rectangles are cut out of solid paper. Their size should overlap the box inside and its joint with wrapping paper. They glue the paper so that from the wrapping paper on the lid there remain fields of 1-2 cm. The bottom is glued with a completely monochromatic canvas.

After they give a cardboard box to dry.

From ordinary matchboxes

To make a box with your own hands you will need:

  • 10 matchboxes;
  • thick cardboard;
  • glue;
  • materials for the decor.

The first thing you need to do is draw the drawings.

First, cut out a square shape from cardboard, then paste the boxes together by 5 pieces or 2 pieces each.

Note! You can take any number of matchboxes, they will eventually serve as small boxes.

The resulting dresser, glued to the base so that it was completely plastered with cardboard.

Then a beautiful paper is pasted over the casket and its sliding elements.

Decorate casket. Beads, rhinestones, decorative hooks are used as handles at the box.

Corrugated cardboard

It is worth noting that this version of the product is made without a cover. To work will require:

  • corrugated cardboard;
  • glue;
  • scissors or knife;
  • pencil.

To begin with, make drawings and schemes for assembling the box.

For this, two rectangles and a square are drawn on the cardboard with a ruler.The size is chosen to fit oneself, but consider that one rectangle should be half the size of another.

Then, using scissors or a knife, carefully cut out the figures. They need to cut in the amount of 20 pieces. In this case, with a large input, 5 pieces are made, in 2 inputs - 5 pieces, with 3 entrances 10 pieces, and without entrances - 5 pieces.

Having on hand all the components, they are easy to combine into one beautiful box.

First, the organizer base is glued together - these are 5 sheets without entrances, then they are glued together with large entries, then with 2 entrances and finally with 3 entrances. Then the parts are glued together, decorated with paper or decorated and left overnight under pressure.

Jewelry box out of shoe box

To work will require:

  • shoe box;
  • paper or cloth;
  • glue;
  • scissors;
  • thick cardboard;
  • decor

To start working on a box from a shoe box, step by step paste over the box with the selected material. Sometimes they make a decoration for a jewelry box with their own hands from under the shoe box outside with paper and inside with a cloth.

Pretty simple and economical option.

Cut out cardboard 3 strips 1 cm long longer than the base, and one strip 1-2 cm wide longer than a box. These will be sections for decorations.

The strips are glued at an equal distance from each other, at the one that will be located in width, make cuts. The incisions are inserted strips that are glued in width.

Then make sections with cloth.

After decorate to your liking.

Cardboard with multiple compartments

Such a variant of the box with your own hands from cardboard with a lid is easy to make together with the child. It will take:

  • thick cardboard;
  • glue;
  • Scotch;
  • paper;
  • decor

At the beginning of the work they carry out the drawing, then cut it out with scissors.

The design is assembled and fixed with adhesive tape or tape.

After assembling the product proceed to its design. Buttons, beads or decorative hooks can be used as handles.

Out of the milk or juice box

This is one of the easiest options for making a box with your own hands from scrap materials.

It will take:

  • empty milk or juice box;
  • paper or cloth;
  • glue;
  • scissors;
  • decor

First you need to cut the cardboard correctly.

The first step is how to make a casket of cardboard on the wide and long side of the package, the cover is cut out.

Important! Cut the cover should be indented to 3 cm at the edges of the smaller sizes (in length).

Then the edges of the lid are glued with either scotch tape or thin material. After that, proceed to the decoration of the package. To do this, use cloth or beautiful paper. Inside the boxes are also pasted material. In order for the lid to be fixed, glue the tape on both edges so that it can be tied to the bow.

Wooden fakes

Many choose wood as the main material for caskets. Decor wooden boxes with their own hands is very simple and there are always lots of options.

To make the products look neat and beautiful, the material is well cleaned and sanded.

Then apply a primer or paint. After that the casket is dried.

Decorated wooden boxes look very rich and dignified. This is a great gift idea.

From postcards

Make boxes with their own hands from the old greeting cards. This requires:

  • 14 cards;
  • scissors;
  • sewing thread.

In order to make a box with your own hands at the first stage of work, 4 cards are sewn together, for the cover they perform the same actions.

To ensure that the lid closes and opens normally, sheathe only one side.

Important! When sewing using loop stitch.

Then, 5 pieces of the same size as the postcards are made of thick cardboard. They are sheathed with fabric and sewn together in such a way that the box is obtained.

Sheathed postcards are folded and sewn around the edges of the box. After sew the cover to the finished casket.

Soft box

Making a soft fabric box does not take much time, and the result will please for a long time. For work take ready preparation of any form. Soft material is glued on the outside.

Then the whole base is wrapped in an elegant material.

Note! The amount of tissue is doubly taken.

For the bottom, a lighter shade fabric is cut out and also soft material is glued first, and then the fabric.

For the decor of this box with their own hands use ribbons, beads, beads, rhinestones. Fabric boxes look festive and elegant.

Boxes of thread

Another option, as do the boxes with their own hands at home, are the thread. These are light boxes that are suitable for a girl.

To work will require:

  • threads;
  • cardboard;
  • toothpicks;
  • decorations.

From a dense cardboard cut out any form. Then around the perimeter of the figure stick toothpicks.

Bottom paste over with paper or cloth.

Then on the toothpicks begin to impose a weaving of thread, bending around every second toothpick. So a row for a number reaches the end and fix the thread. On the tips of toothpicks wear beads or beads. Sometimes decorated with rhinestone ribbon. Such a beautiful box with your own hands can be used to store gum or jewelry.

Use vinyl wallpaper

It is very simple and quick to make a jewelry box with your own hands. To decorate the box using vinyl wallpaper. Work will also require:

  • glue;
  • scissors;
  • towel.

From the wallpaper, cut out the necessary parts or a whole canvas equal in size to the base.

Then they glue wallpaper with glue and press it well to the surface. After the product dries, it is covered with a transparent varnish or paint with glitter.

Bamboo Napkin Caskets

Jewelry box with their own hands make of bamboo napkin. To do this, around the perimeter sewn thick fabric.

For the sides of the box, cut cardboard and fabric, then the fabric is attached to the cardboard with glue.

Important! Pay special attention to the place of fastening napkins and fabrics.

Then the base and sides are connected in such a way that the lid remains on top. The edge of the cover is decorated with a beautiful stitch or ribbon. For fasteners use ready-made fastener or thread and loop.

The finished product is treated with varnish.

Making different boxes with your own hands is a very exciting process. Caskets are sewn from fabric, made from paper and from any improvised means. Made decorative box with your own hands will be a great gift, a sign of attention for friends and relatives.

VIDEO: Soft decorative box with your own hands.

50 original versions of improvised caskets:

We recommend related articles.
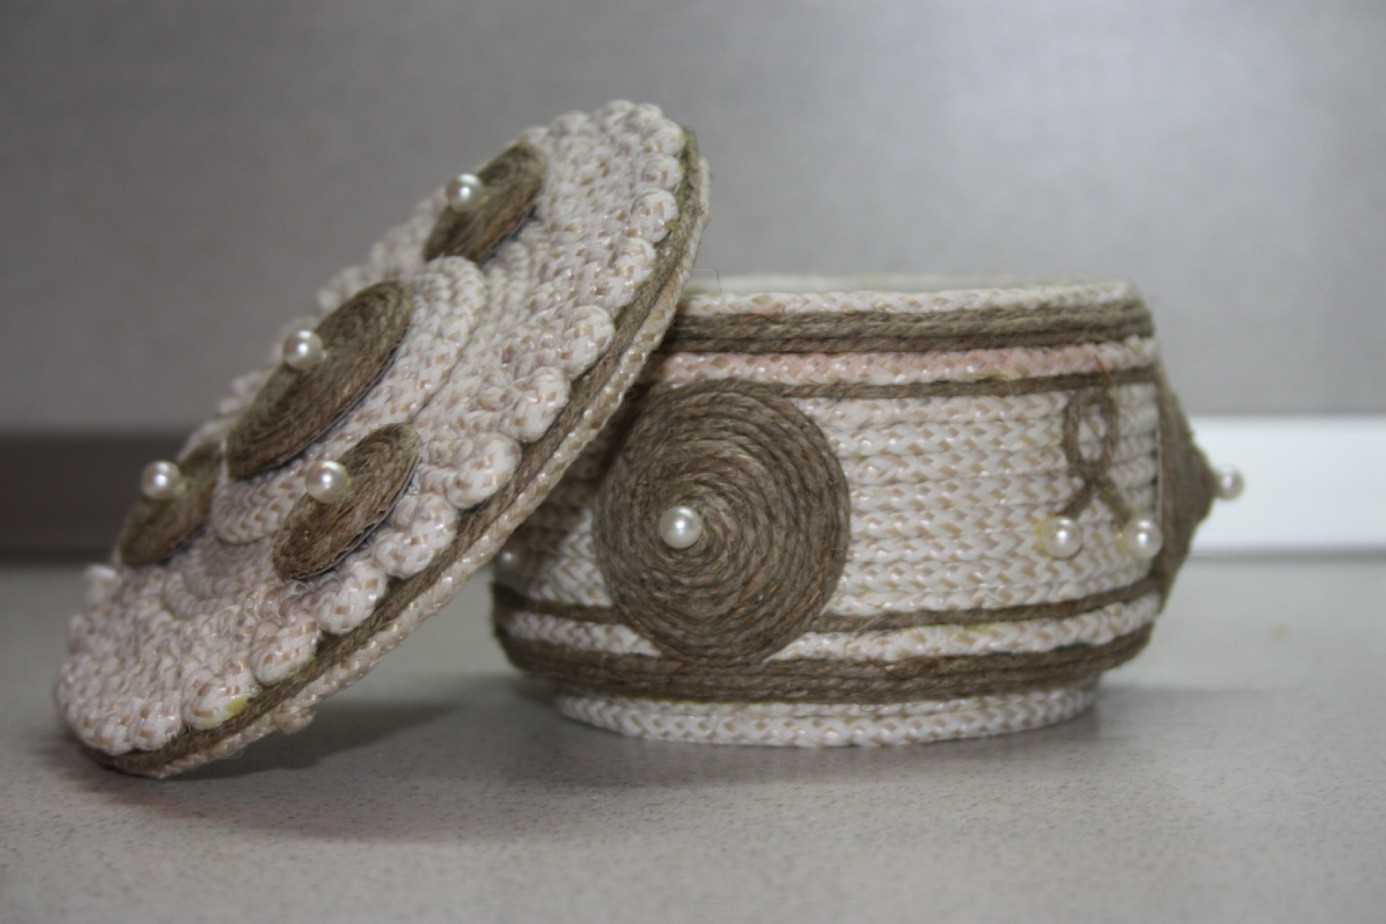
Step by step instructions for making a box of keys from newspaper tubes
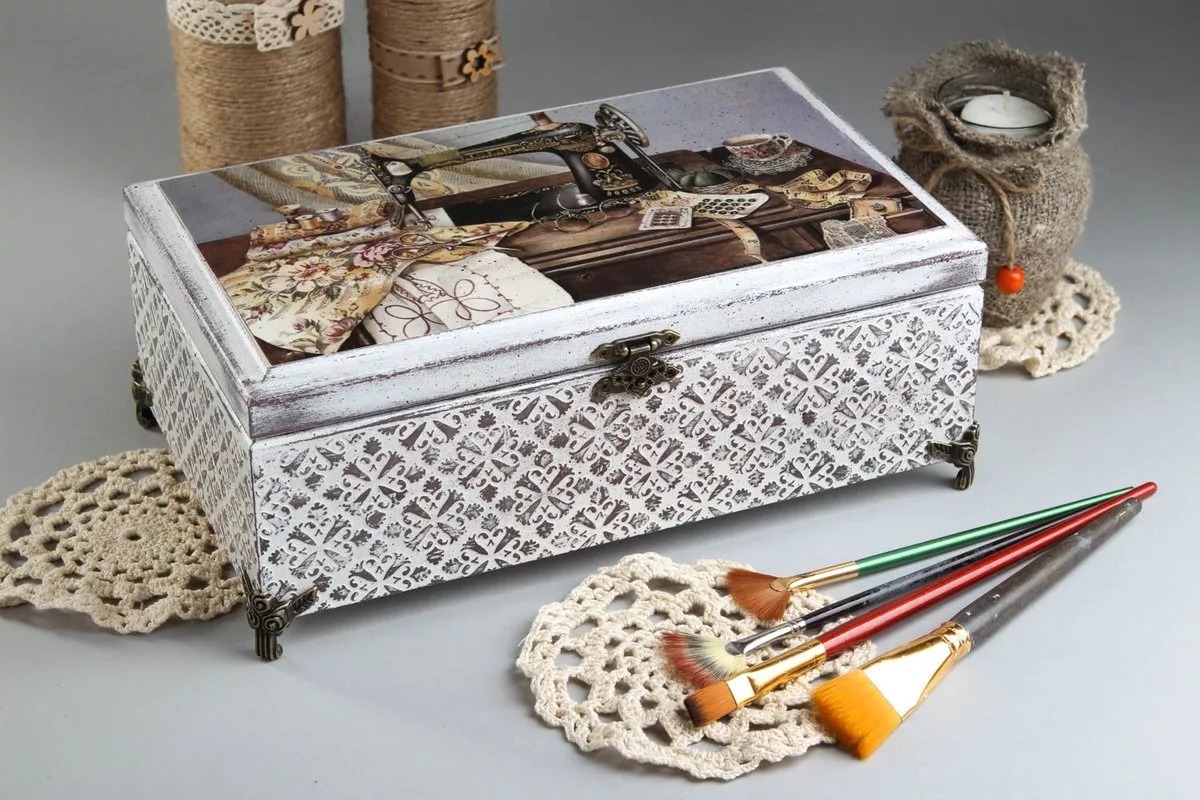
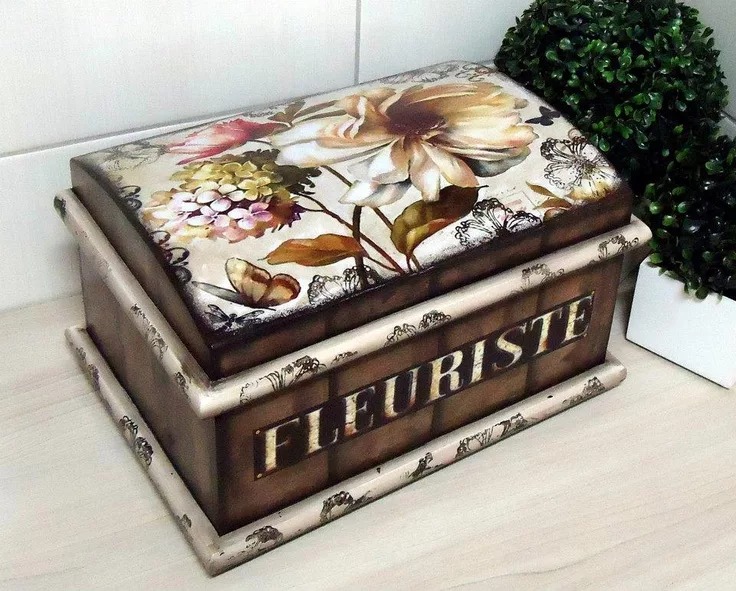
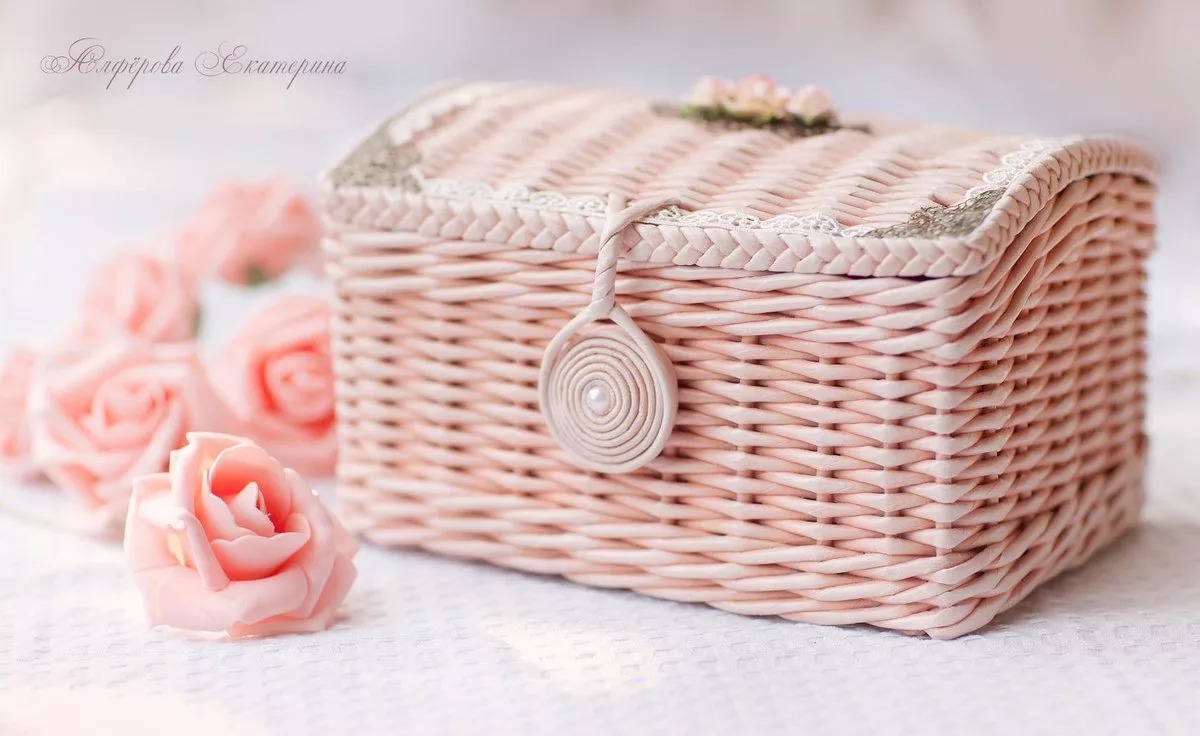
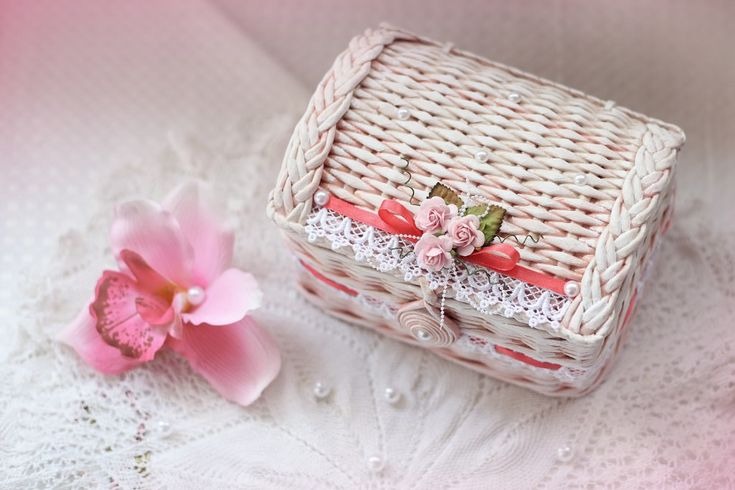
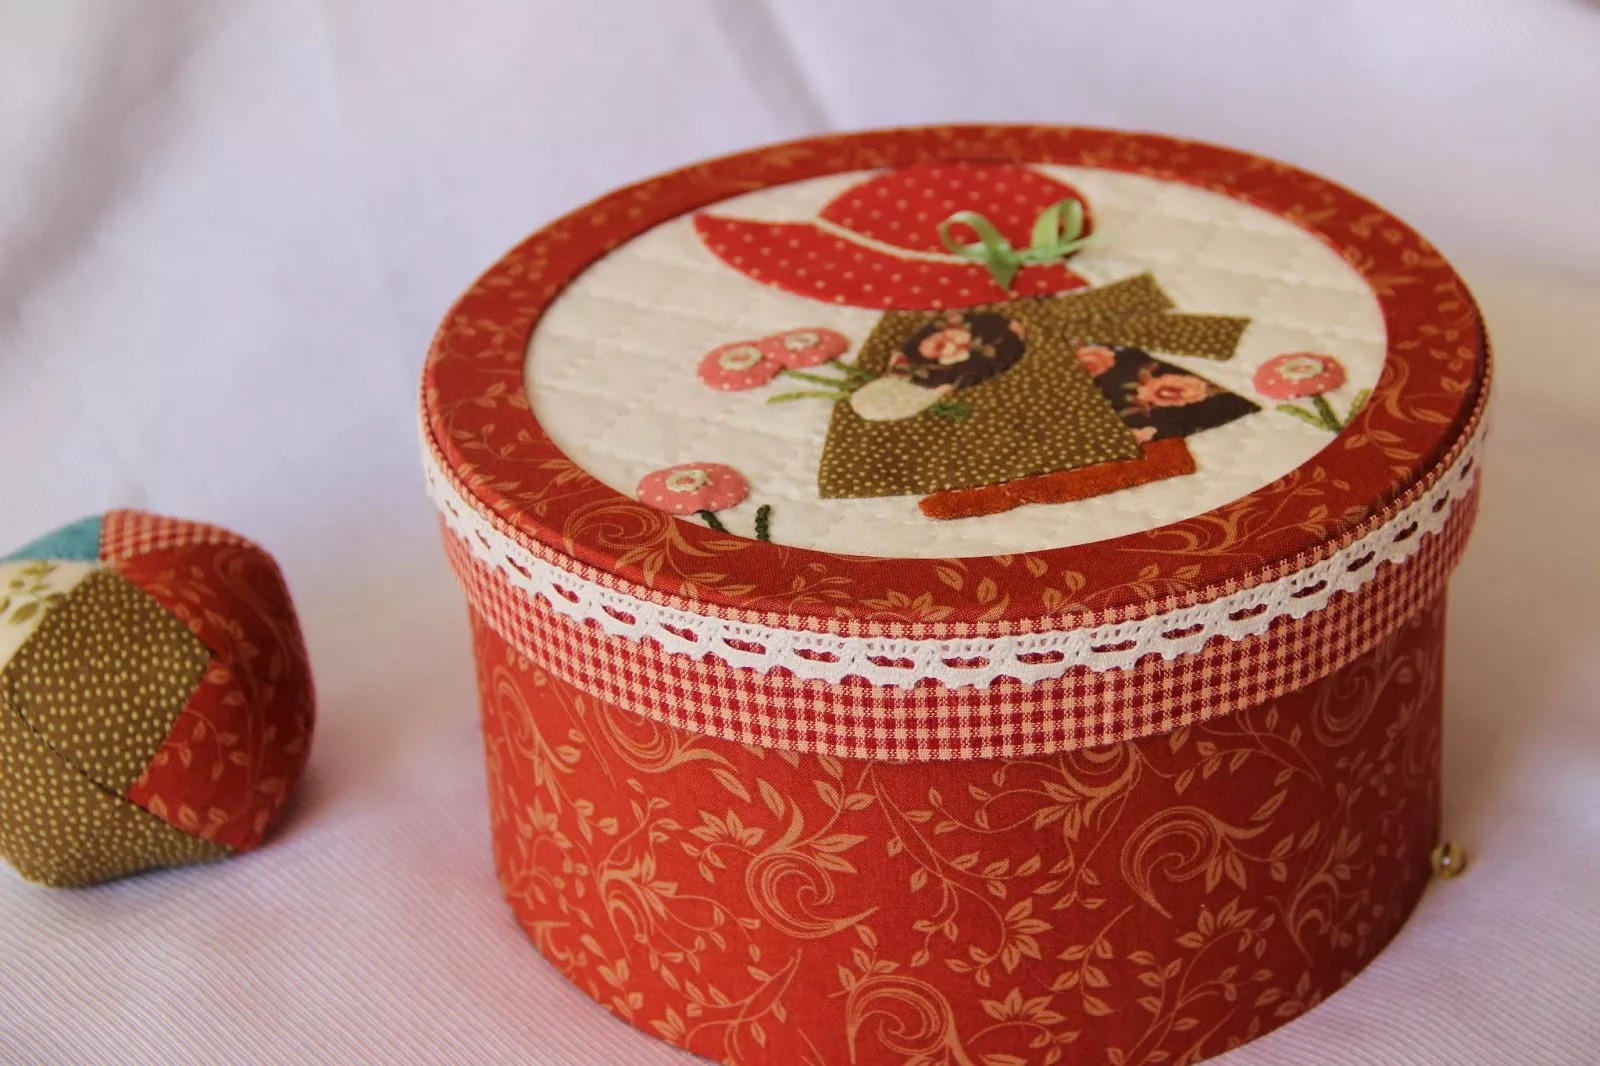
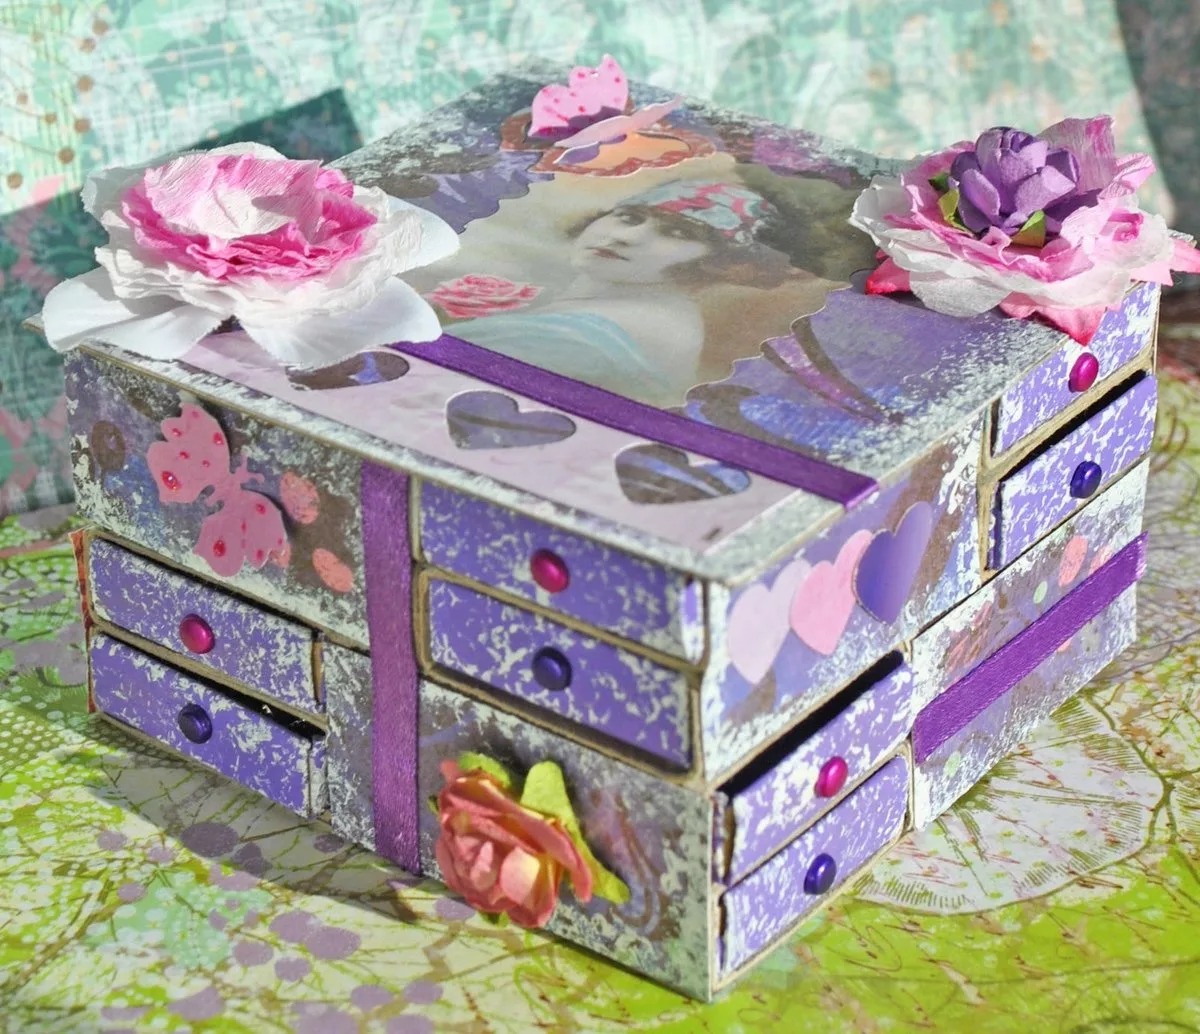
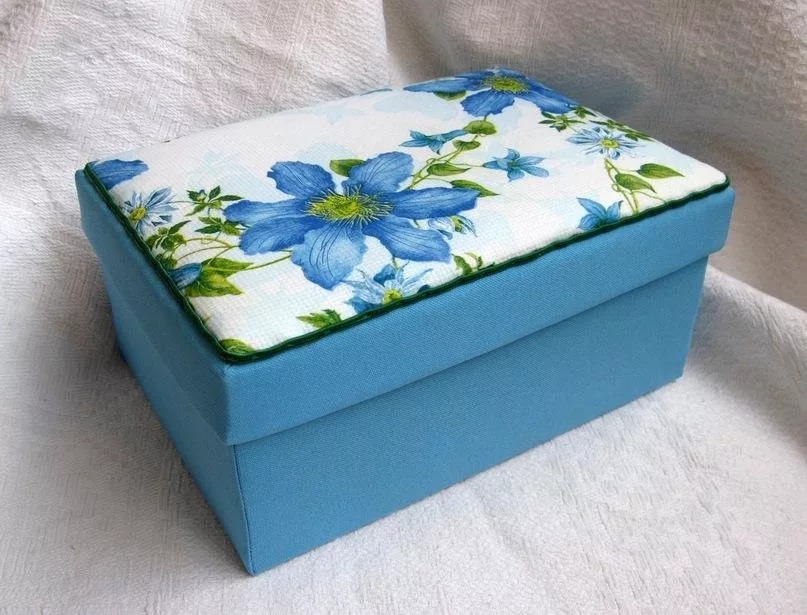
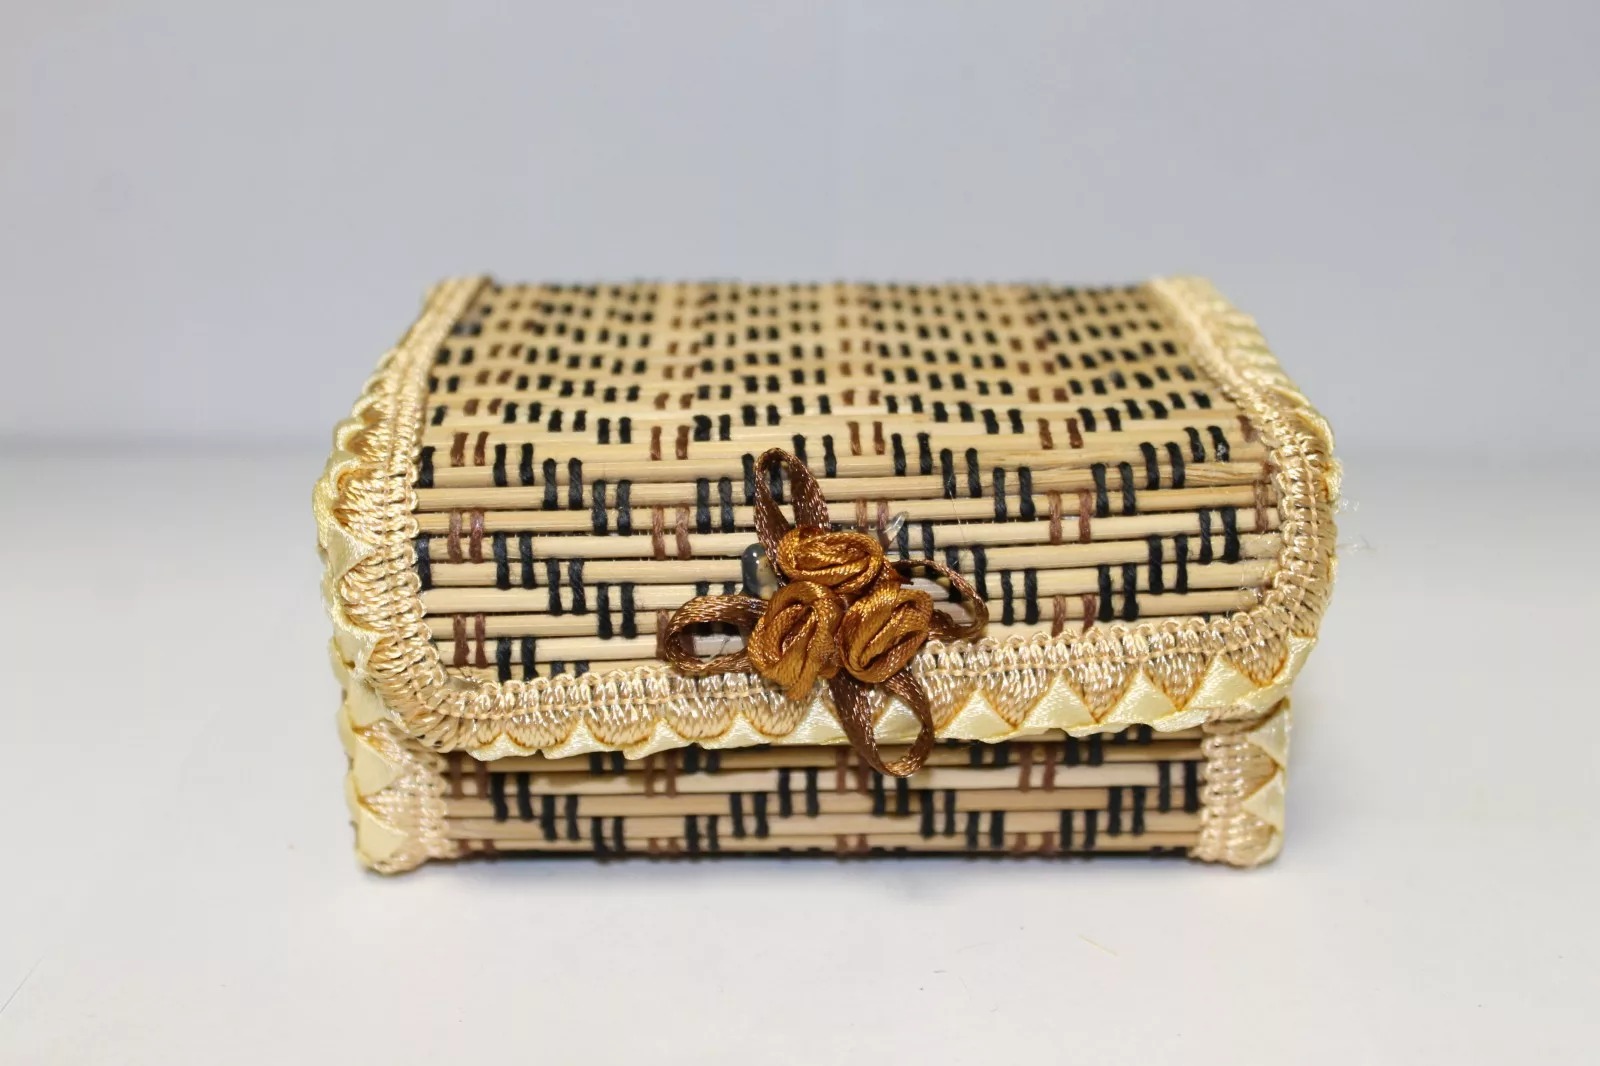
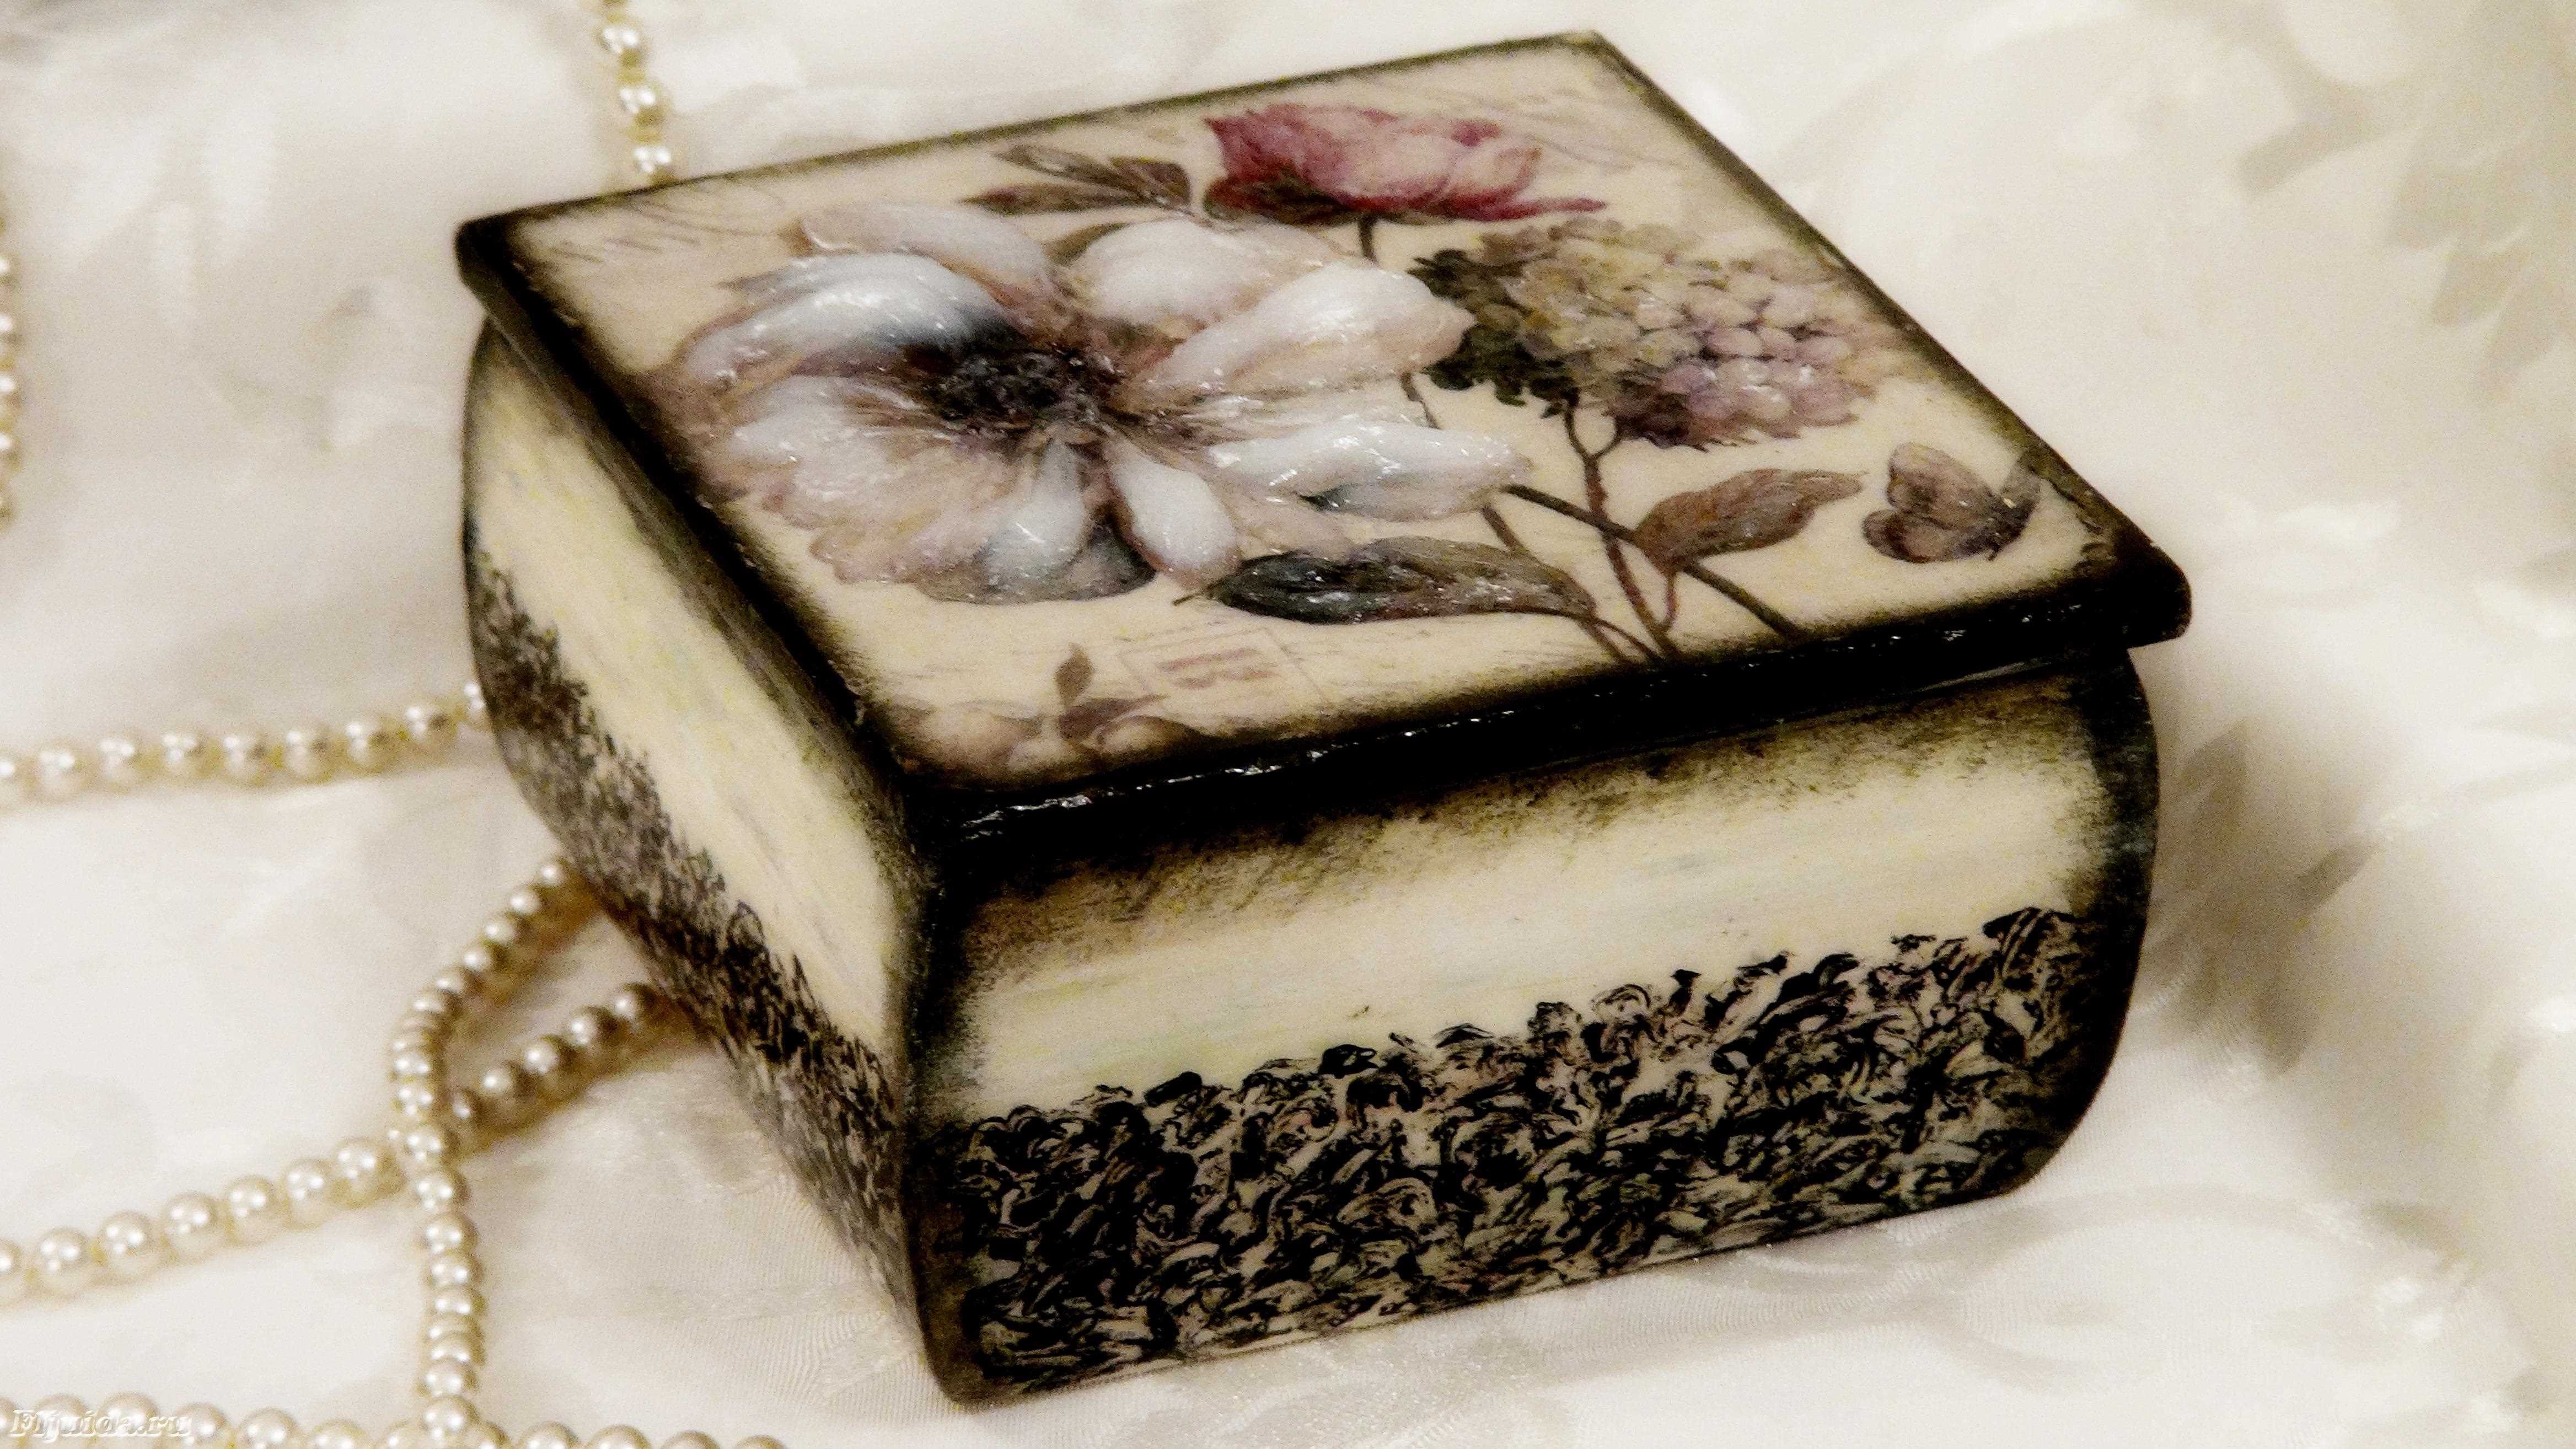
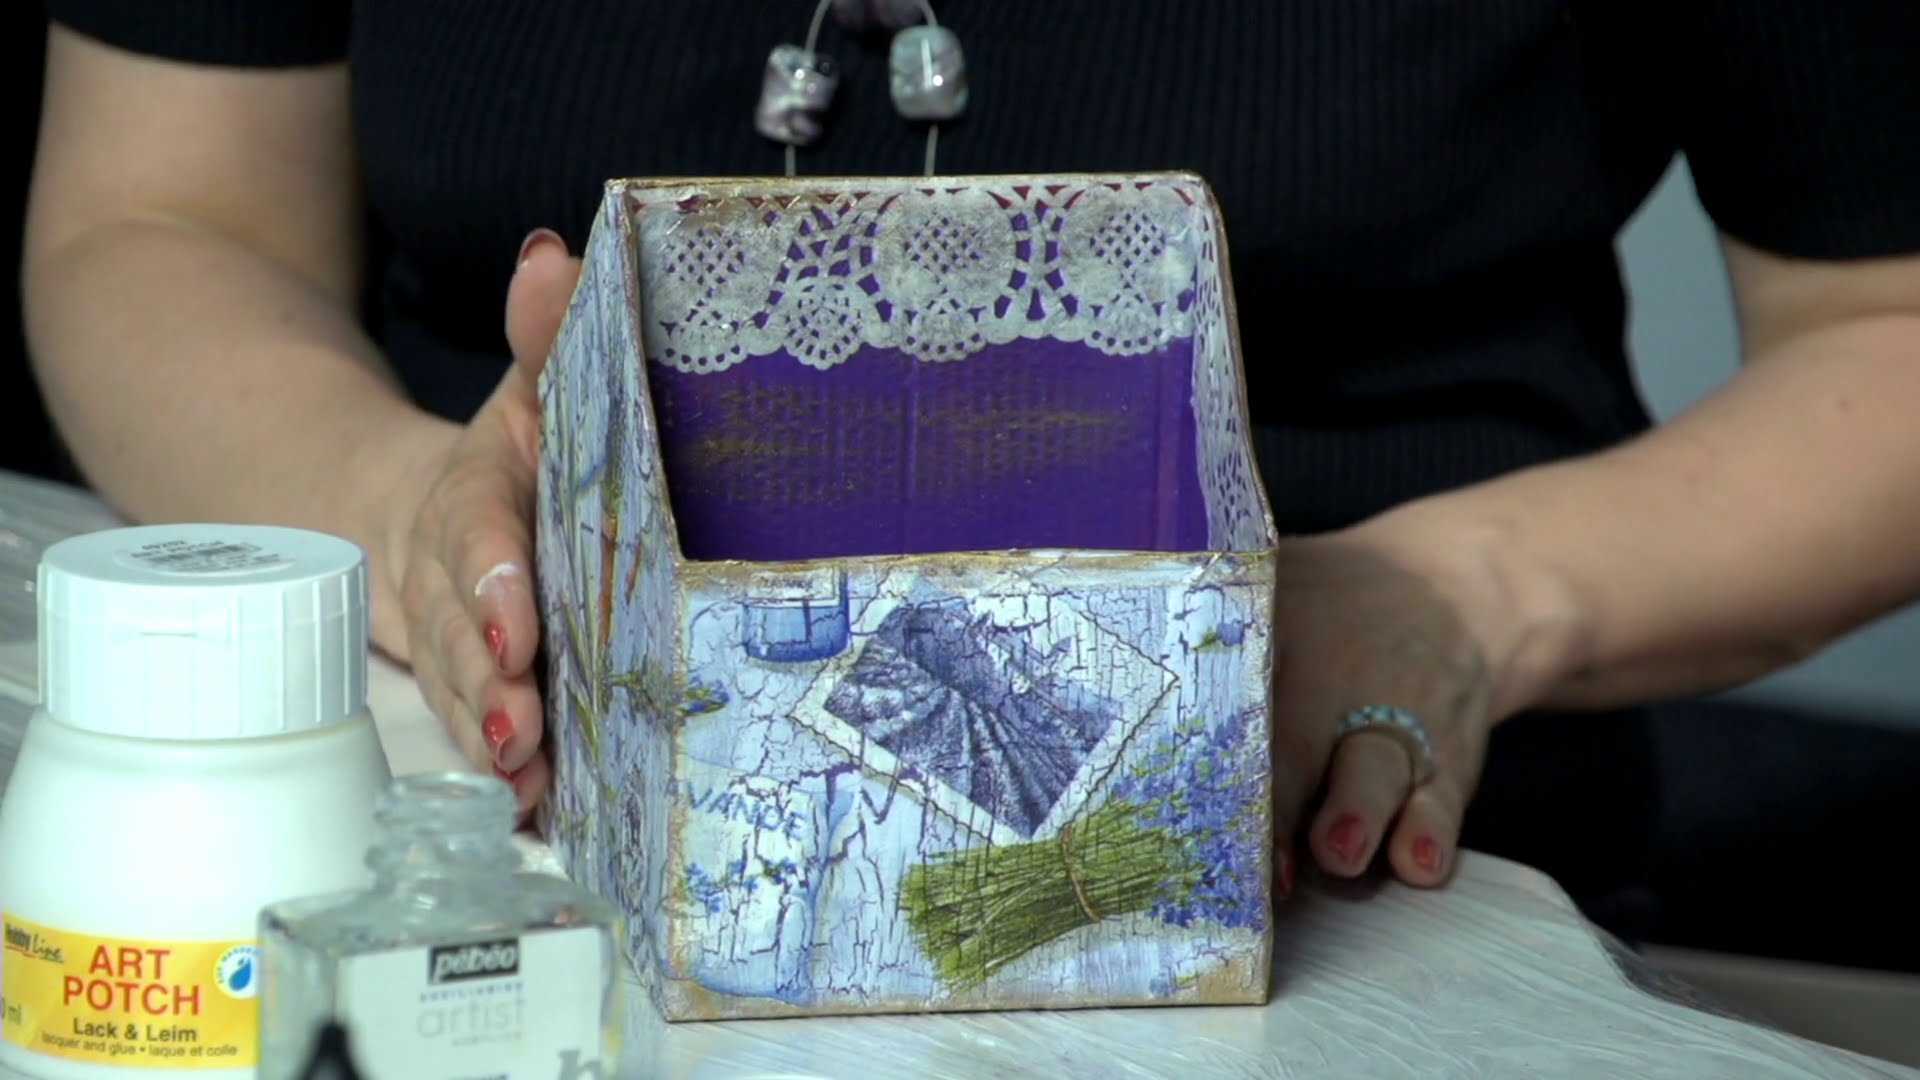
Weaving is one of the most popular types of handicraft art, which can turn them into beautiful and durable masterpieces from a variety of unnecessary newspapers. This occupation does not require a large investment ....
Original origami or how to make a rose out of paper napkin?
Nowadays, to buy ready-made decorative elements for the holiday table is not difficult. However, purchased products are distinguished by their uniformity and simplicity, while hand-made jewelery ...
Patchwork cover How to make a bedspread in modern style
Bedspread on the bed in the bedroom in a modern style with their own hands - a great solution! Emphasize the individuality of housing, without harming the family budget. The advantage of creation is the original ...
How to make numbers or letters from napkins do it yourself?
Thanks to bright and unusual accessories, the children's birthday or photo session turns into a real holiday. One of the most popular decoration options is volumetric numbers and letters from napkins that are used ...
Restoration of a wooden chair How to make a professional restoration of the chairs with your own hands with the help of available tools? It is quite easy!
The appearance of the furniture over time can become unpresentable. In addition, it sometimes breaks and requires repair. To restore the chair, which can serve for many years, is not at all difficult. Sometimes it is necessary ...
How to make decoupage a simple jewelry box with his own hands in different styles?
Additional decor elements significantly transform the design of each room in the house. Various caskets or boxes are used not only as an accessory, but also perform a practical function. Particularly bright ...
Add a comment
By clicking a button you agree to privacy policy and site rules set forth in user agreement

Sofas

Furniture

Armchairs