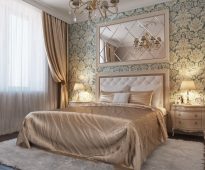
 Mirror reflection of our desires in the bedroom
Making a mirror with lights do it yourself
After the repair of the apartment there is a question about decorating with various interesting design details that can fully show the capabilities and imagination of the owner.
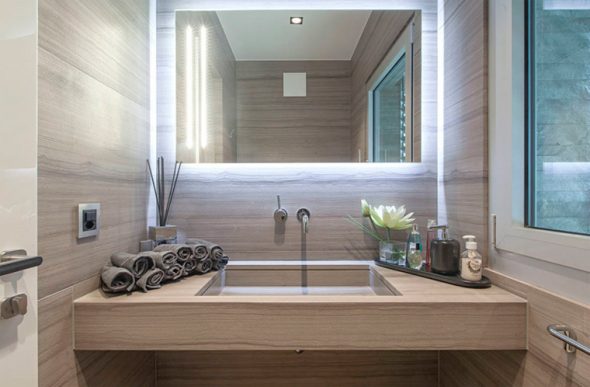
In most cases, the lighting for the mirror in the bathroom is done exclusively for decorative purposes.
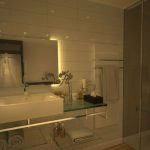
One of these interesting solutions is the illuminated mirror, which can not only decorate and add a special charm to the bathroom, but is also a very convenient element of the interior.
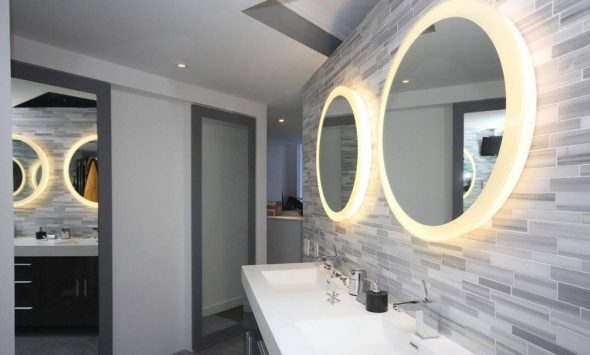
Any bathroom today cannot do without a mirror.
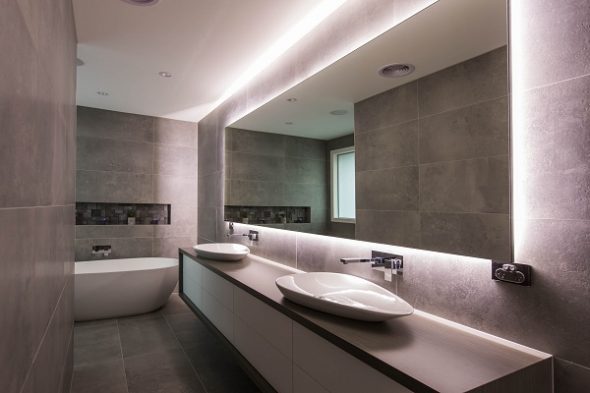
Mirror should be selected based on the size of the room.
Content
Buy or make?
Of course, the shops and markets are full of mirrors for every taste and pocket, but a thing done on its own is safer and cheaper in any case. Important is the manifestation of their own taste and the embodiment in the product of his vision.
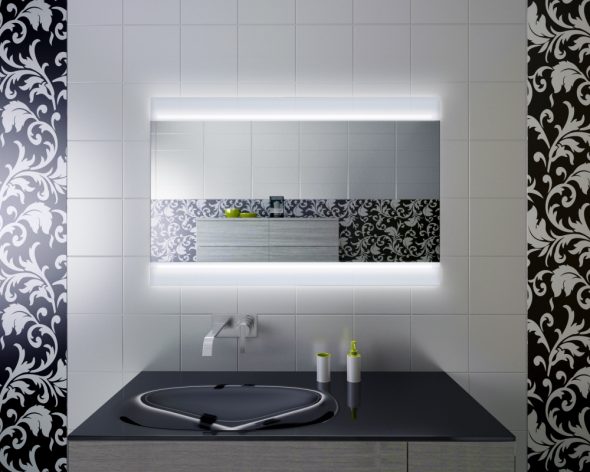
Mirrors miraculously can make a room more visually larger if it is placed correctly and the size is selected.
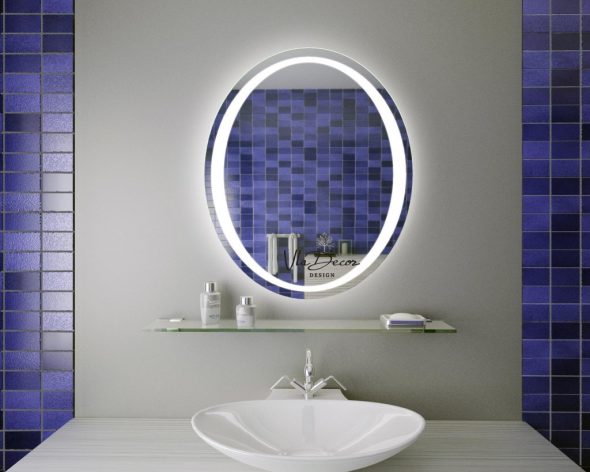
The shape of the mirror is better to choose, given the presence of geometric shapes and lines of the bathroom.
Making a backlit mirror with your own hands is a snap. In this process, no special professional skills or tools will be needed; it is enough to determine the appearance and design of the mirror.
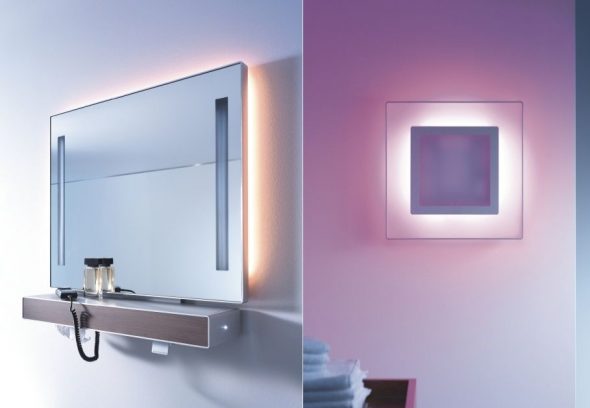
The color of the mirror should be combined with a touch of the bathroom, namely the ceiling, the floor and the walls.
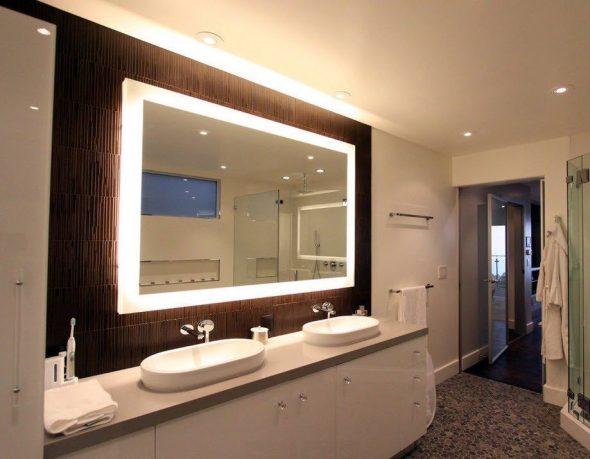
Or on the contrary, you can focus on the area of the mirror, choosing a brighter shade.
Design selection and design features
First you need to choose the size, shape and appearance of the mirror. These parameters should be chosen, being guided by size of a bathroom and own imagination. Lighting can be provided with light bulbs, but the LED strip version looks more compact and modern.
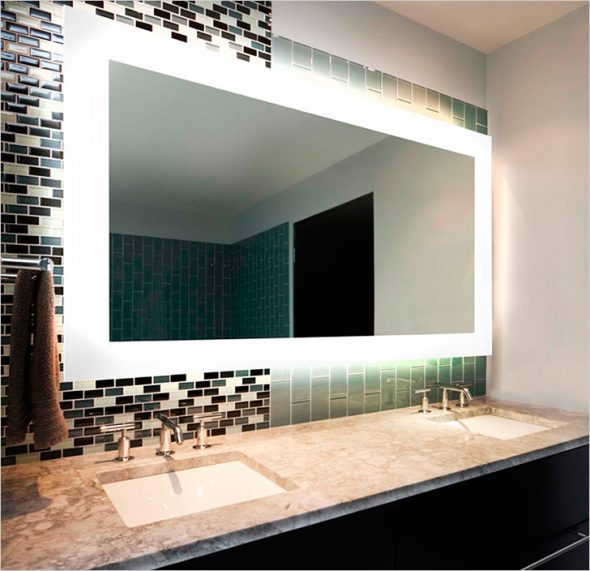
The illuminated mirror not only expands the space by reflecting objects, but also reflects the light emitted by it.
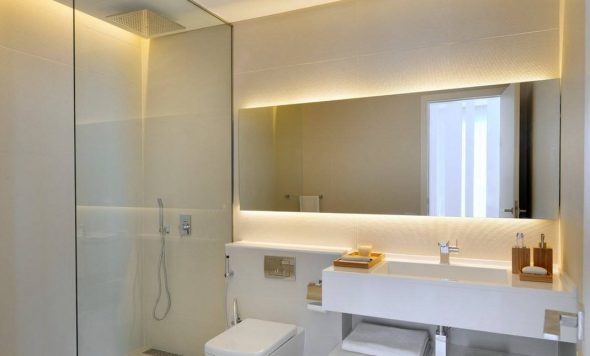
It is appropriate in a chic and modest interior.
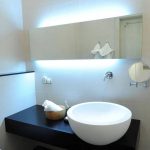
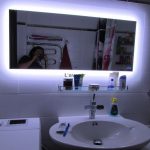
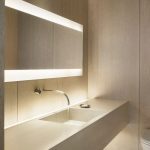
The backlight will be applied along the contour of the mirror either in a special box or simply on an adhesive tape. If the mirror has a complex geometric shape with bends and curvatures, the installation of the box will be difficult, so it is easier to restrict the tape, which is better to glue behind the mirror, providing a pleasant hidden glow.
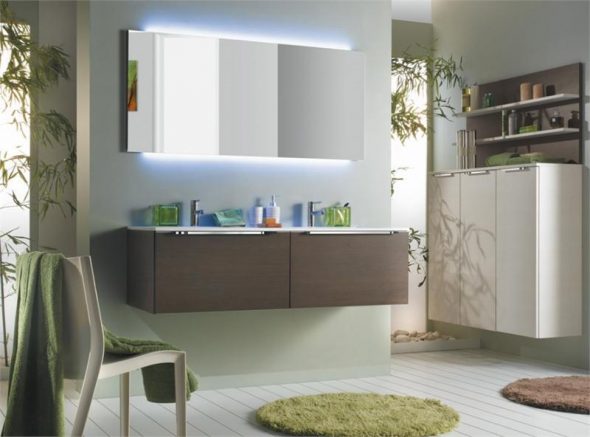
An illuminated mirror can also have additional heating, which helps to avoid fogging of the glass while someone is taking a shower.
If desired, the design can be equipped with a sensitive IR sensor, with which you can adjust the brightness and backlight modes (such work requires some knowledge in electrical and electronics).
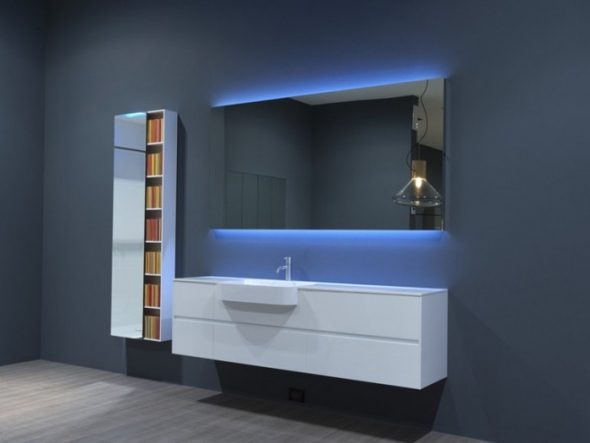
Illuminated mirrors create the most successful lighting for cosmetic procedures, since the light emanating from it is directed to the reflected object without creating distortions and shadows.
Materials and tools
From the materials you will need:
- Mirror;
- Material for the frame (can be made of metal, plastic or wood);
- Wall mounts;
- Glue and degreaser surfaces;
- LED strip with connecting elements and power supply.
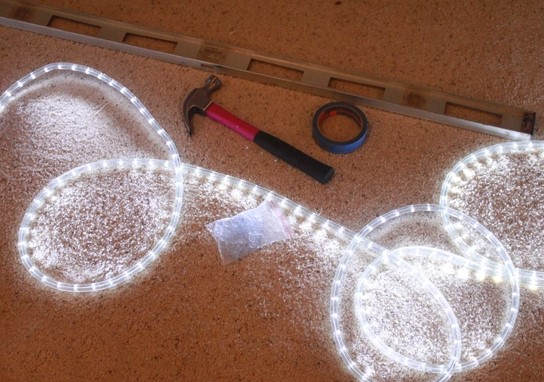
The set of tools is quite simple and consists of a screwdriver or screwdriver, a ruler and level for marking, a hacksaw for making a skeleton, scissors for a tape, self-tapping screws for fastening.
Manufacturing process
- To begin with, mirror glass is mounted on a frame. The simplest option is a plastic base, which is attached to the glass with glue. At this stage it is necessary to provide hooks or loops with which the finished mirror will be hung on the wall.
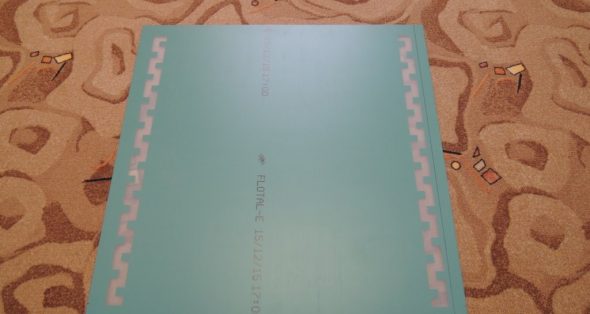
The mirror on which the backlight will be installed.
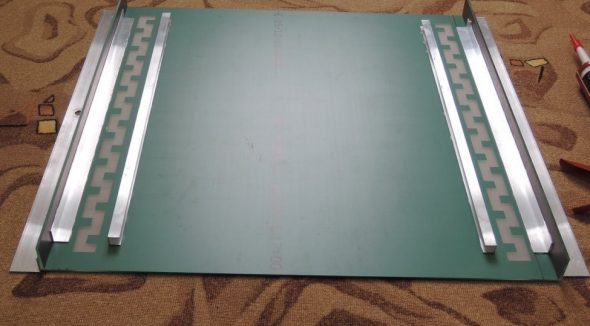
The size of the rear frame is determined based on the size of your mirror.
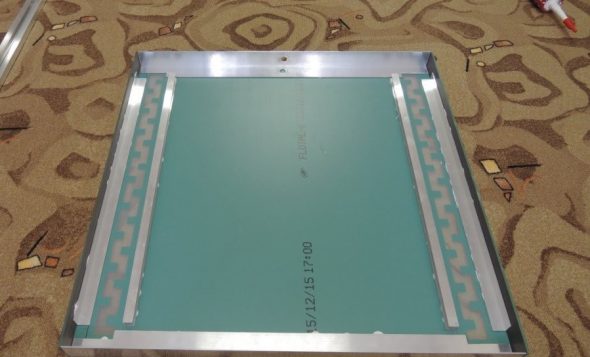
As a glue it is necessary to use a neutral glass sealant so as not to damage the amalgam of the mirror.
Before gluing all the elements, the surfaces to be glued must be thoroughly degreased, otherwise the construction will lose reliability very quickly in conditions of high humidity in the bathroom. Glue is best to choose waterproof and neutral in chemical composition, it will serve for a long time in terms of the humidity of the room and did not damage the structure of the glass. Best of all for these purposes sealants approach.
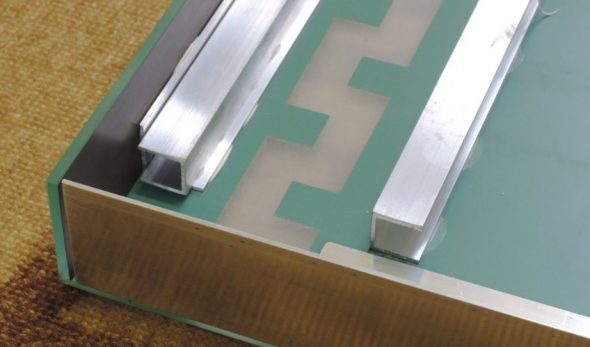
The channel has a double function: a tape is glued on them, and plastic covers are attached.
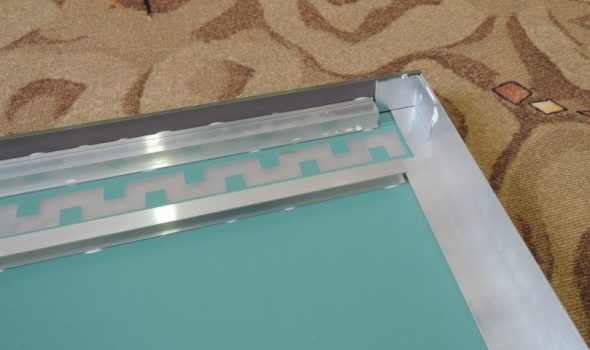
Covers are necessary, they play the role of a reflector and do not allow the mirror to shine at the junction with the wall.
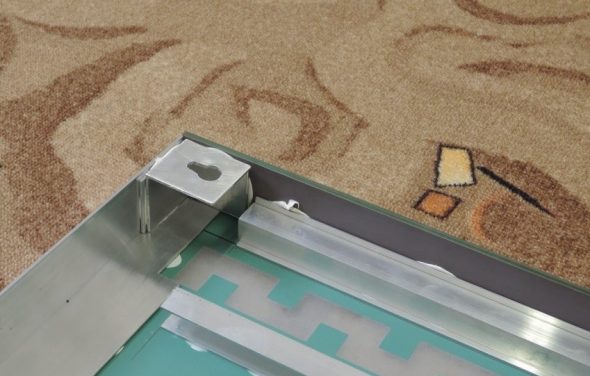
Perform the work carefully to avoid damage to the mirror surface.
- Next, measuring the required length of the LED strip, you need to fix it in the designated places.
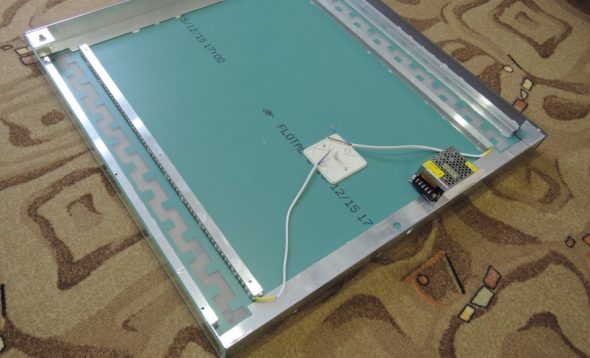
If desired, you can use a special metal profile when gluing on the outside of the structure.
- After the glue dries, the tape is assembled into a single electrical network with the power supply unit using connectors.
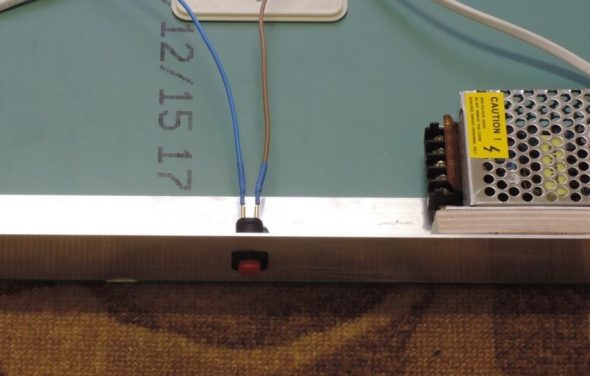
It is important that the power of the PSU is no more than 50% higher than that of the LEDs, otherwise the LEDs will quickly fail due to network overload.
Given the high humidity of the bathroom, all work related to electricity should be carried out in full compliance with safety regulations.
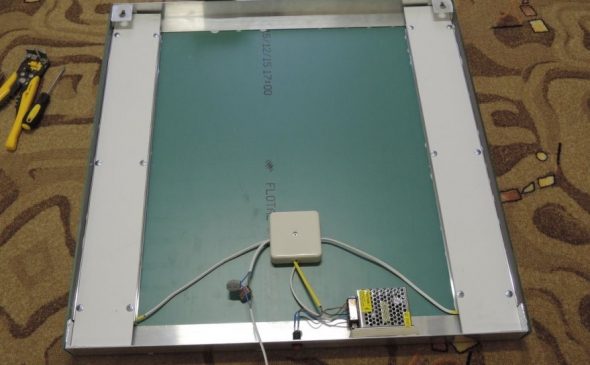
In this way, you can create your own unique mirror that no one else will have.
- After all the work has been done, the mirror is hung on the wall on the prepared fixtures.
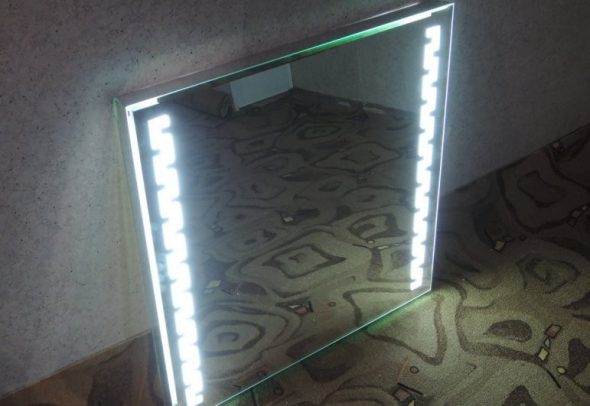
As you can see, there are no special problems to set the backlight on the mirror.
Decoration and decorating options
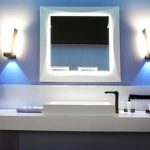
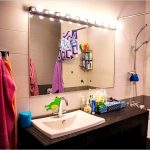
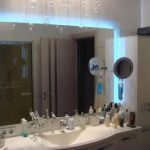
Depending on the flight of creative thought, a ready-made mirror can be decorated with a drawing or a sticker, as well as lamps can be placed in some fancy form.
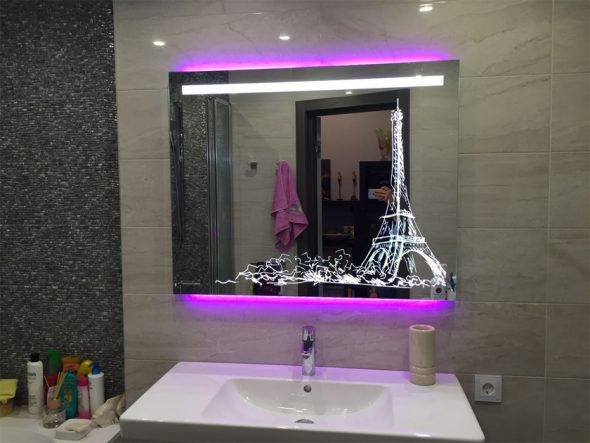
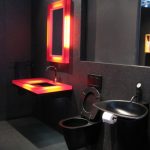
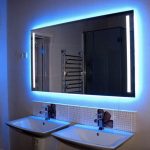
If desired, you can collect multi-colored lights, but in this case, you will need additional equipment.
An interesting option is a mirror equipped with touch panels that react to touch, but this option is expensive and at home without the help of a professional to make it quite problematic.
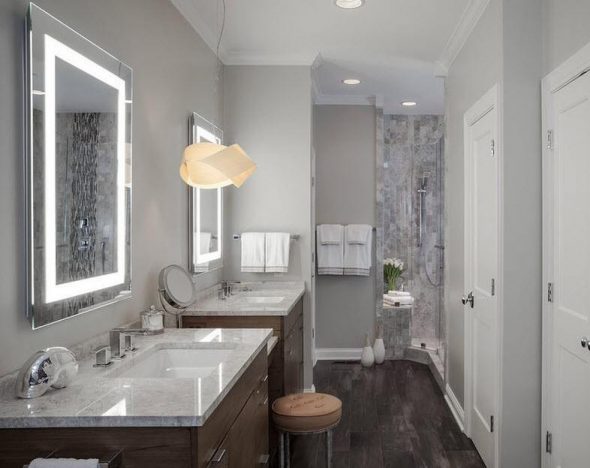
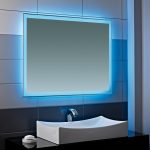
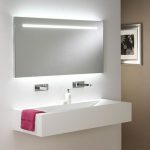
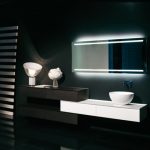
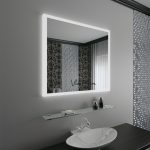
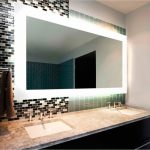
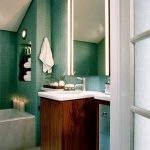
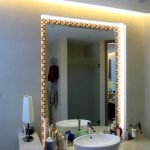
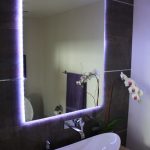
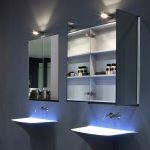
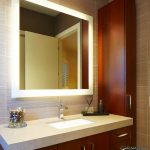
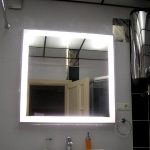
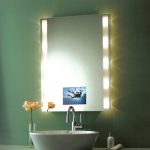
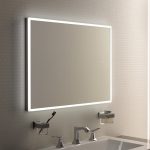
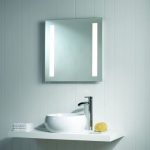
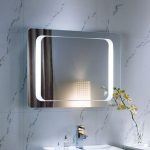
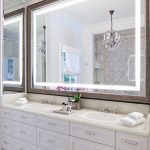
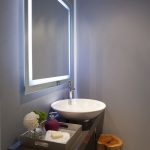
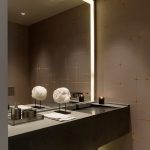
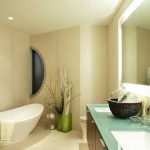
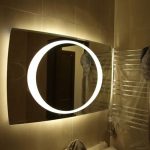
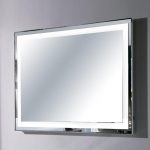
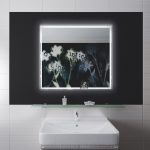
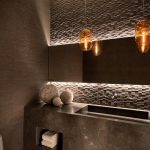
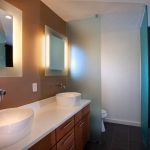
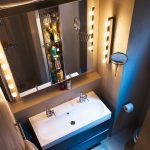
The backlight can be made in different ways, for example on the edge of the mirror canvas in the form of a frame.
As you can see, there are no particular difficulties in this process, so making an illuminated mirror yourself can give you a wonderful interior element that will perform not only a decorative function, visually very beneficial in expanding the bathroom, but also illuminate the room with a pleasant light of diode lamps.
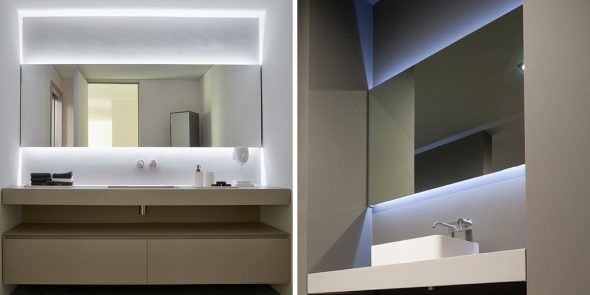
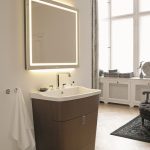
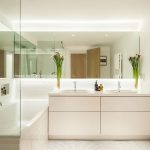
An illuminated mirror is an ideal choice for creating diffused lighting in a bathroom.
VIDEO: Mirror with lights with your own hands.
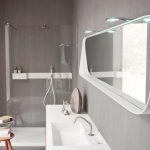
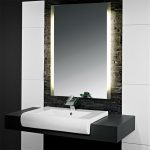
Mirrors with lighting in the bathroom - 50 photo ideas:
 Mirror reflection of our desires in the bedroom
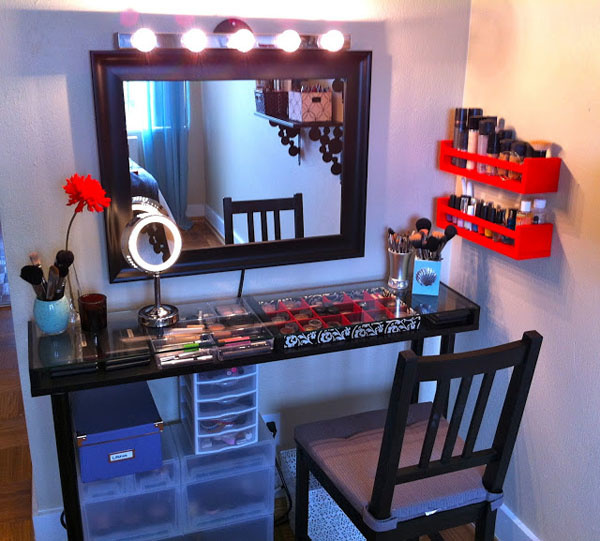 Makeup table with lighting in a beautiful interior
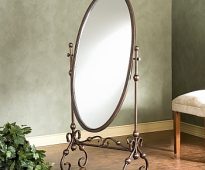 Rules for using the mirror on Feng Shui
 How to make a mirror with your own hands?
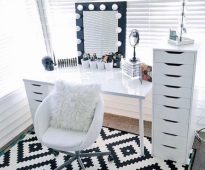 Makeup mirror - a stylish element of decor
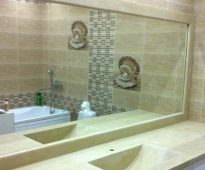 How to hang a bathroom mirror on the tile
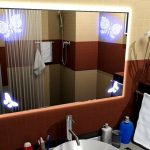
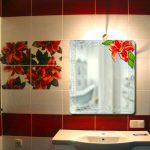
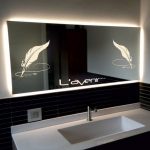


The amalgam pattern can be etched with zenfi zf-105 gel by itself, rather than ordering an expensive sandblasting service in a glass workshop.