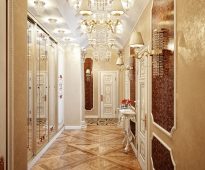
 How to hang a mirror in the hallway on feng shui
Front Mirror Decor
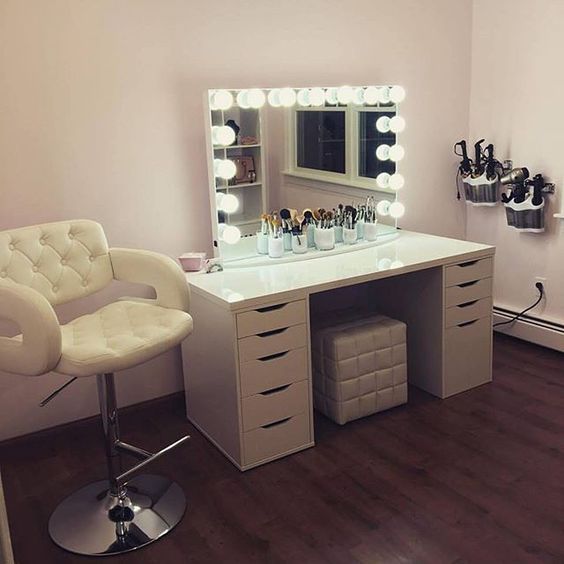
Dressing table with make-up mirror for professional make-up
You, for sure, saw on TV the dressing rooms of actors or models with a professional make-up table and noticed the lighting of the pier glass.
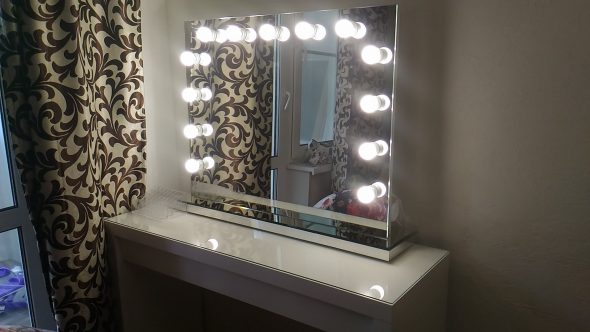
Beautiful mirror with frontal lighting for the bedroom
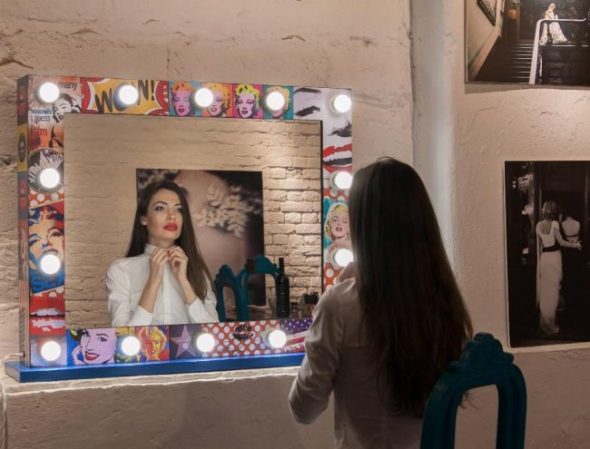
Mirror with frontal lighting with an unusual homemade frame
Bright lamps are located around the perimeter of the mirror frame and shine on a person. Studio photographers use this lighting method to avoid unwanted shadows on their faces. It is easy to make such a decor mirror with your own hands at home.
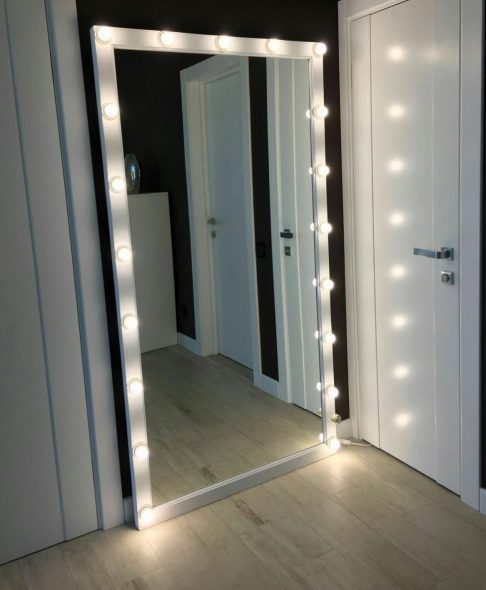
Large make-up mirror for anteroom
The design with a frame of spots will look stylish and in the hallway, and in the bathroom, and in the bedroom above the dressing table. Let's get to work.
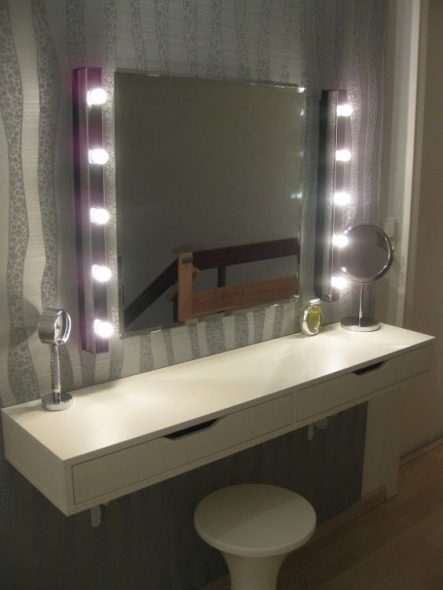
Make-up mirror with front lighting

Using front-facing mirrors in various rooms
Content
Choosing the right tool makes it easy.
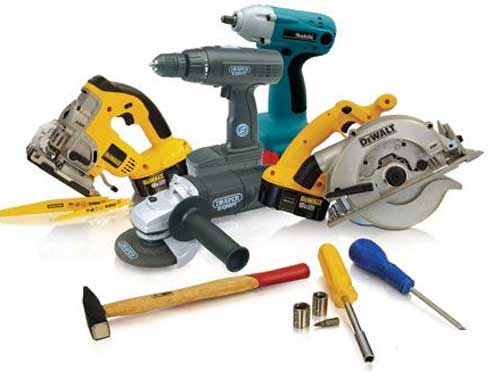
A set of do-it-yourself tools
The quality of any business is 50% dependent on the availability and professionalism of the tool. In everyday life home craftsman hardly find factory equipment, but it is possible to do without expensive materials. Making a frame for a mirror is not as difficult as it seems at first glance, and there is a set of tools in every home. For this we need:
- PH2 electric drill,
- wood and concrete drills,
- hexagon for euro screws with a diameter of 3 mm.,
- tape measure, pencil, ruler, square,
- flat and flat screwdriver
- hack with a small-toothed hacksaw,
- crown with wood cutters
- passatizhi and nippers,
- sandpaper bar
- bath for paints and varnishes,
- a large, clean sponge for varnishing.
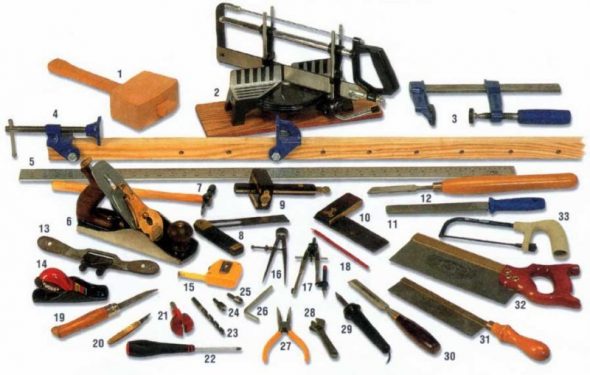
A variety of tools for working with wood
When choosing a drill you should not focus on expensive models, they are designed for high loads and continuous use for several hours. At home, an inexpensive tool will do. You can buy a quality used drill, it will last longer with a new cheap one. In no case do not take a power tool from a neighbor or friend, if it burns, you have to buy and return a new one, and you yourself have to stay at the broken trough.

Choosing an electric drill for homework
Stuslo will help make the end cuts of the elements at an angle of 900 and 450 for the subsequent assembly of the frame. A hacksaw for trimming should be chosen with a fine tooth, this will make the cut clean, without chipping. The canvas should be wide and perfectly smooth. As a rule, the sale of the block is complete with a hacksaw.
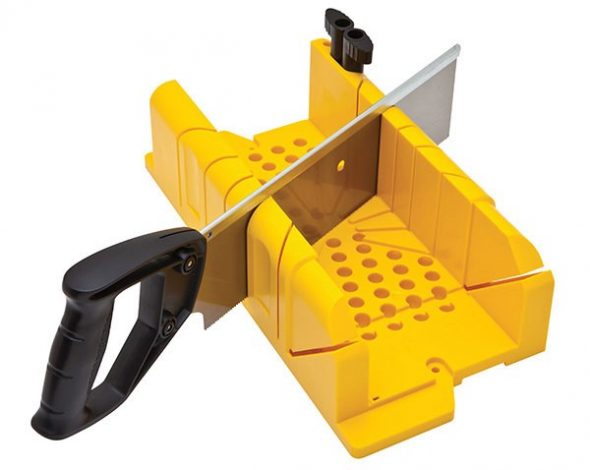
Plastic box with a hacksaw for cutting a wooden frame
For quality work, you need to monitor the suitability of hand tools. It is very difficult to evenly tighten the screw with a screwdriver with knocked slots or not to damage the material to drill a hole with a blunt drill. The beauty of the product is lost on such trifles.
Preparation of components for the mirror frame
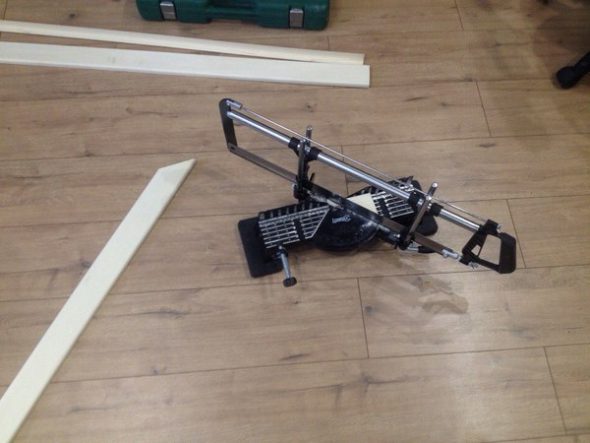
Linden platbands for facade
The first will need wood panels and bars.The elements should be cut and ground, have a minimum of knots on the texture (it is better to do without them), the tree should be chosen dry and smooth. For the front part, an even massive platband will be suitable, but its thickness must be at least 15 mm., A width of 100 mm. Metric board can be calculated by the formula: the length of the side of the mirror + width of the frame, multiplied by two + margin on trimming 10 - 15 mm.
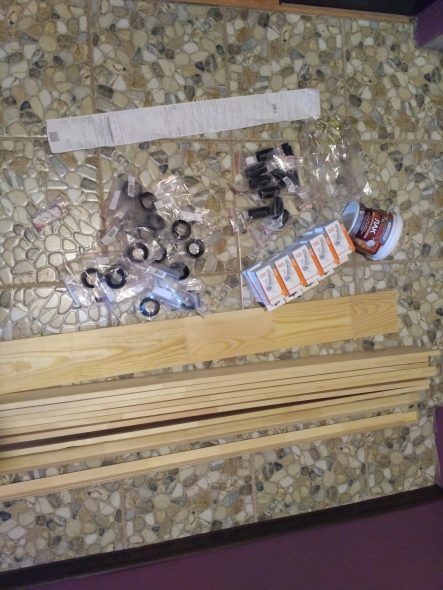
Required materials and components
Before you start, you should make a list of materials for our decor:
- wooden bar 20 x 25 and 20 x 40 around the perimeter of the mirror,
- wooden plank 120 x 15 for the inner frame around the perimeter of the mirror,
- metal assembly corner 20 x 20,
- Furniture corner 60 x 60 x 10 for connecting the corners of the facade: 8 pcs.,
- wall hangers: 2 pcs.,
- euro screw (confirmator) 5 x 50 with decorative plugs,
- self-tapping screws 13 mm long. and 51mm.,
- double-sided tape for gluing the mirror into the frame,
- azure and varnish on wood,
- Halogen spot fittings with lights,
- PVA wire 2 x 1.5 with electric plug,
- furniture mortise switch.
The length of the plank 120 x 15 corresponds to the length of the facade decor, wooden bars should be 10 cm more. Particular attention should be paid to the humidity of products, raw wood will eventually lead and your frame will become unusable. Dry items are lightweight and produce a dull ring when tapped.
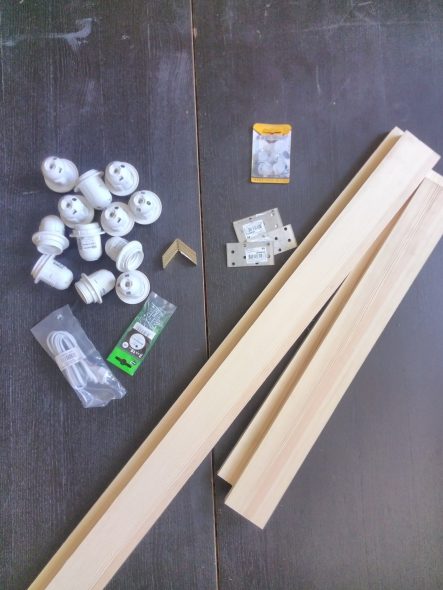
Alternative materials for the manufacture of frame makeup mirrors
Azure is designed to tint and highlight the texture of wood. You can choose the color to your taste on the display cases in the store. Lacquer is better to take nitrocellulose NC. It smells quite pungent, but the drying time of materials: 1-2 hours. In addition, it well raises the ungreased villi of the surface, after applying the first layer, they must be cleaned with fine-grained emery paper.
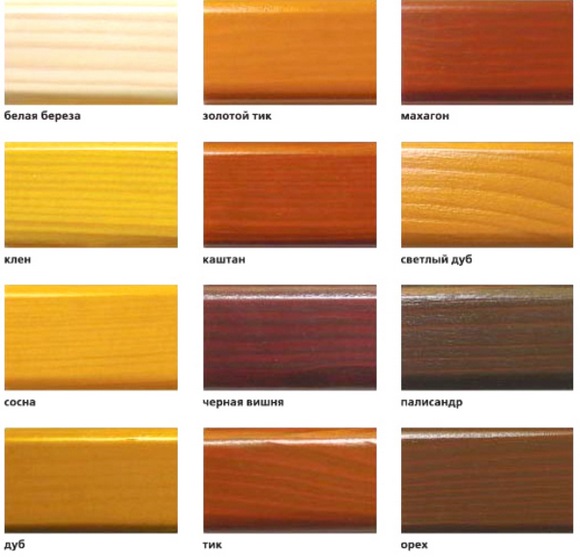
The color palette of furniture lacquer
The number of lamps is calculated taking into account the distance of 30 - 40 cm on the four sides of the frame. Mortise fitting diameter 50 mm. It is desirable to insert a halogen lamp protection unit into the lighting circuit, it will prevent frequent burnout of the luminaires.
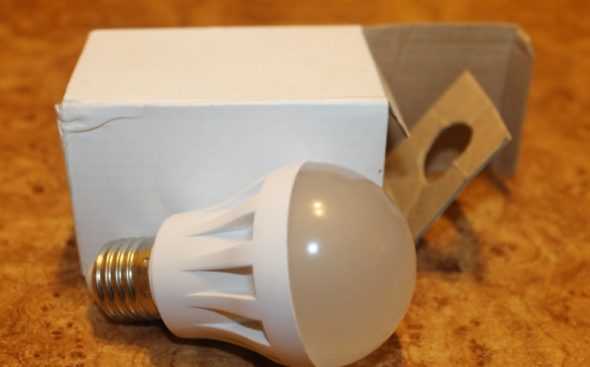
Lamps for the front-facing mirror
So let's get down to doing it!
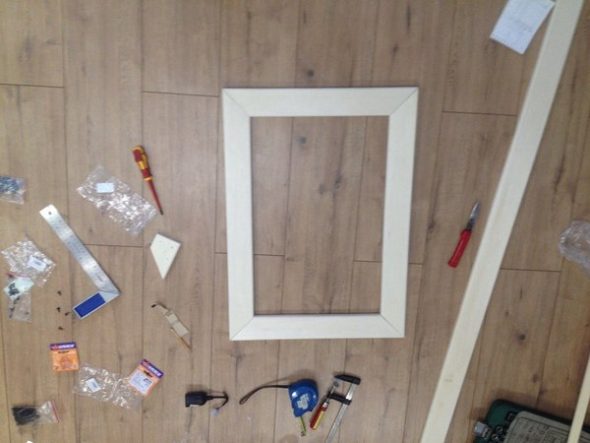
Cut out the frame for the mirror
Skilful work performance is achieved by performing a large number of additional actions, increased attention and patience. Do not rush, it is better to spend time on the exact execution of the instructions than on reworking poor performance. Therefore, our mirror frame will be assembled and disassembled several times.
Let's start with cutting the front of the frame. First you need to make marks of the end cut under 450 on each of the four parts, the distance between them corresponds to the side of the rectangular figure of the mirror with a margin of 1 mm. At the ends there should be equal sections of 15-20 cm. angle of Now with the layout should get a frame almost closely framing glass.
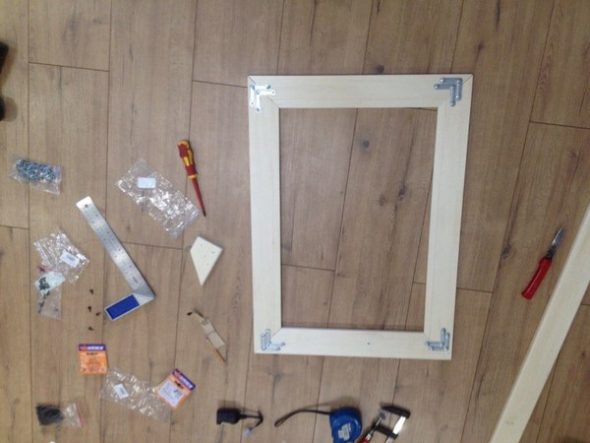
We fasten all the pairs of corners
Next, distribute the lamps at a distance of 30 - 40 mm. defining the middle of the casing width. We drill the holes with a cutter in a tree with a diameter that fits the size of the spot fittings. In this case, the part must be well secured.
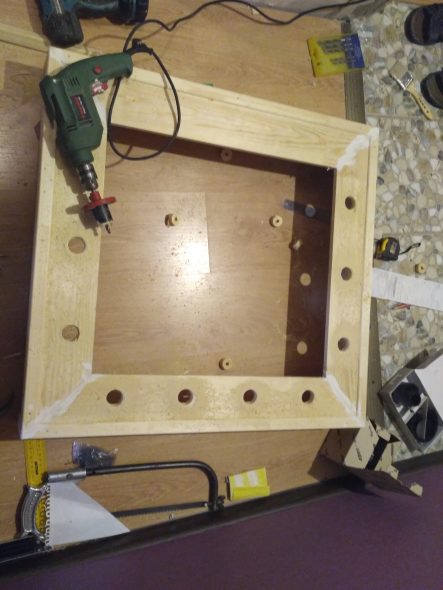
We drill holes for lamp holders with a crown on the wood around the perimeter.
We assemble the frame with the help of furniture flat corners on the inner edge and the euro screws from below and on the outer edge. The holes for the euro screw are drilled with a diameter of 4.5 mm. and countersink under the head 6 mm. There should be a neat frame for a mirror without crevices and teeth at the corners of the elements, with round slots along the contour.
Using blanks of 120 x 15 in size, we make the second frame in the same way, the inner perimeter of which should be 10 cm less than the height and width of the glass. These fields are intended for pasting the mirror.A 20 x 40 bar is attached to the outer butt end of confirmatories so that the sides are 25 mm high. Now we connect the two parts with self-tapping screws 3.9 x 51 from the back. To fill the inner slit, apply a bar of 20 x 25, having previously attached it to the facade on the corners. The product after assembly should have the form of a box with wings of 10 mm. on the outer perimeter of the casing and 50 mm. the inner part.
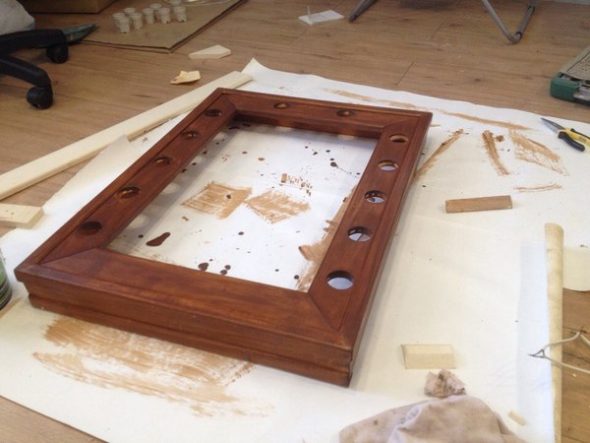
We varnish on wood
We disassemble the frame for painting. First, we apply an azure dipping sponge (you can take a foam sponge) and rubbing it with continuous movement of the surface of parts, including washed edges of the slats and bars. After soaking up the azure we lacquer in 2 - 3 layers. The first layer should be sanded with emery sandpaper with P600 grit to remove small fibers.
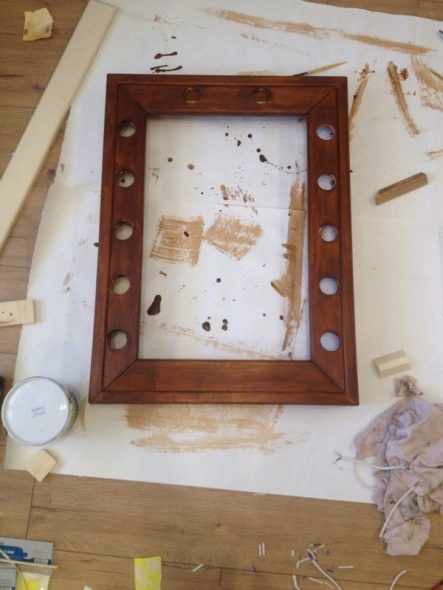
Top can be coated with acrylic varnish
We give the necessary time to dry the coating and collect the mirror decor, adding wall hangers to the structure. We stick double sided tape on the inner surface and insert a mirror. If the product is large, it is better to do it together.
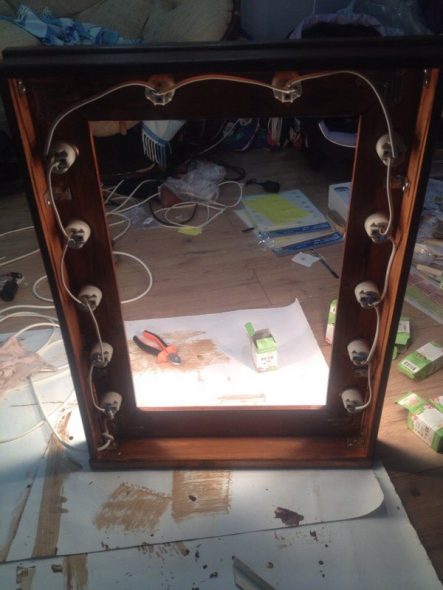
Insert cartridges and collect parallel incandescent bulbs with wires
Through a drilled hole on any side of the frame we get a wire for lighting. Near it is appropriate to place the furniture switch, cutting and passing through it one of the two cores.
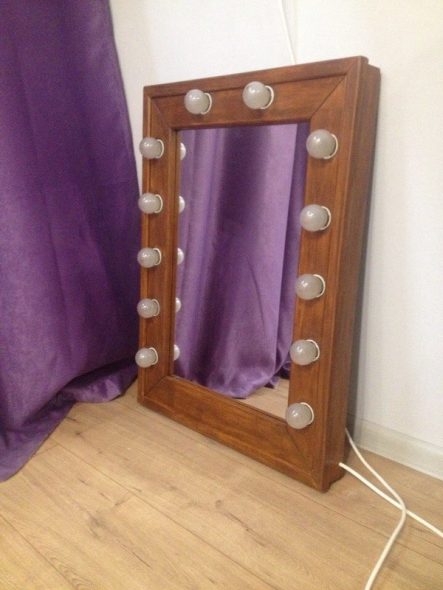
We fix the mirror in the frame
Next, in series we connect lamps and insert spots into the holes of the decor, hang up a mirror made with our own hands in place, insert the plug into the outlet and call the household to accept work.
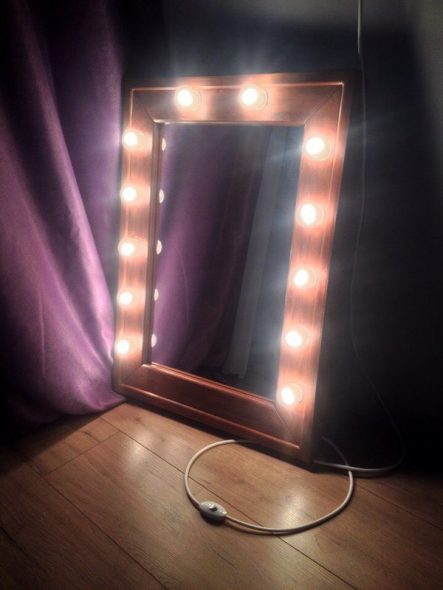
Ready-made backlit mirror
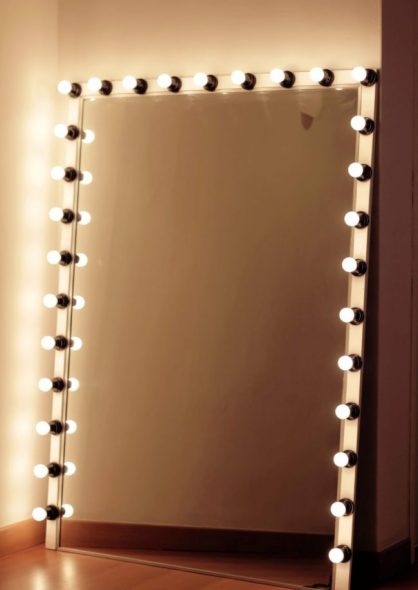
Another option is a large homemade make-up mirror.
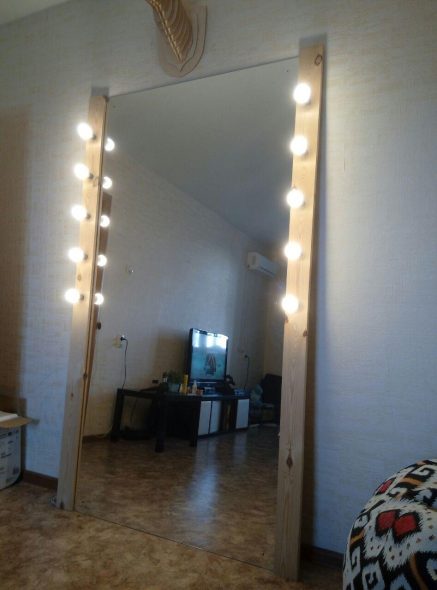
High make-up mirror installed in the hall
Video: DIY DIY make-up mirror
 How to hang a mirror in the hallway on feng shui
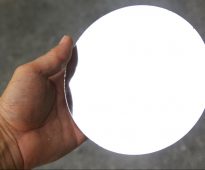 How to make a mirror with your own hands?
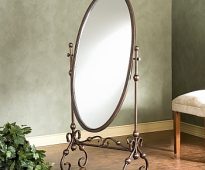 Rules for using the mirror on Feng Shui
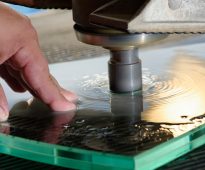 How to drill a mirror at home
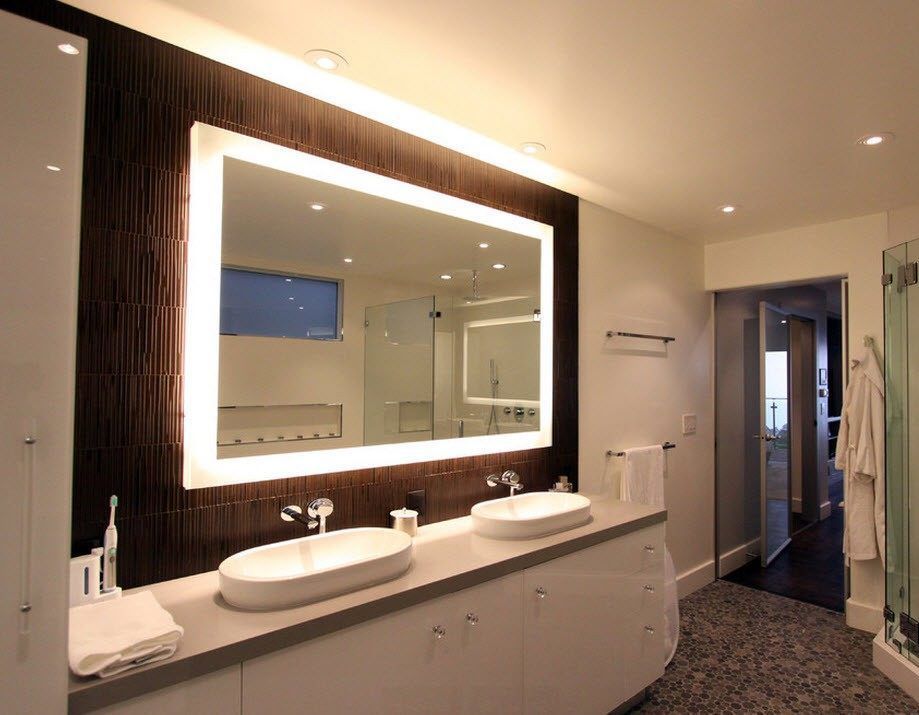 Making a mirror with lights do it yourself
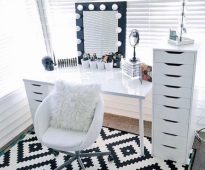 Makeup mirror - a stylish element of decor


