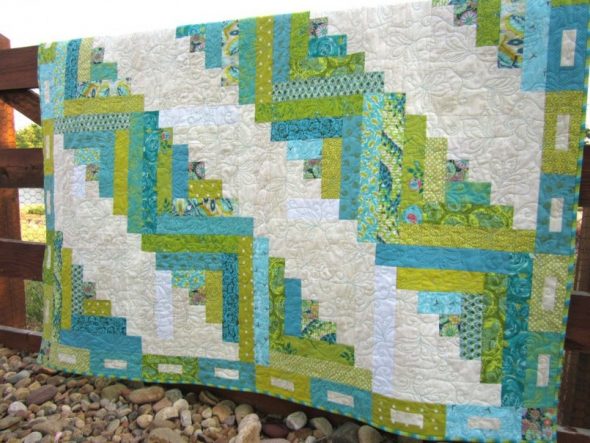
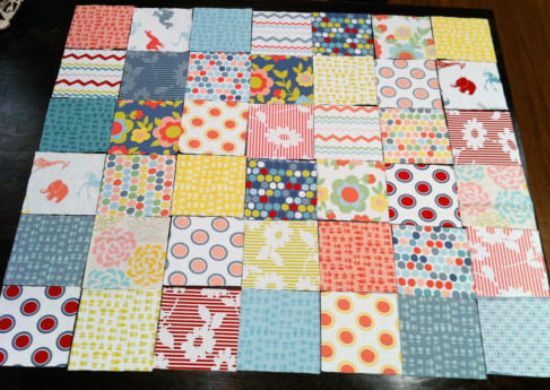
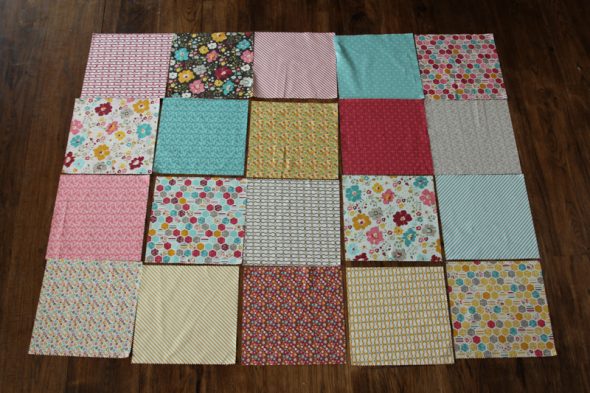
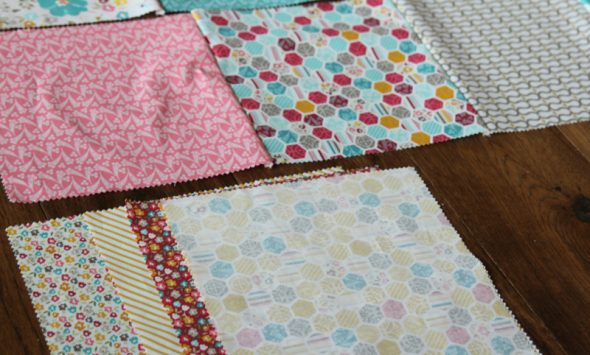
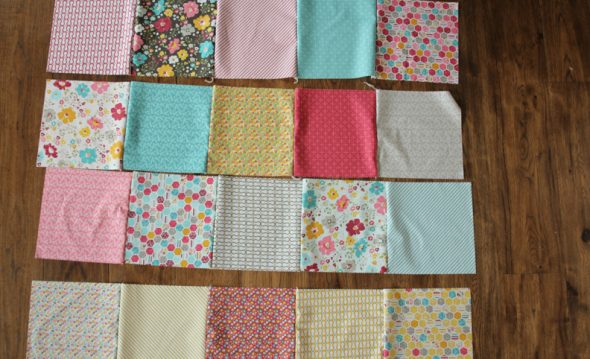
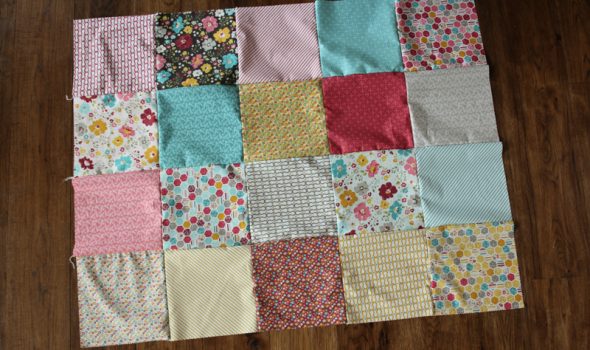
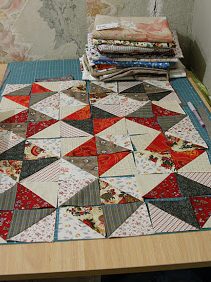
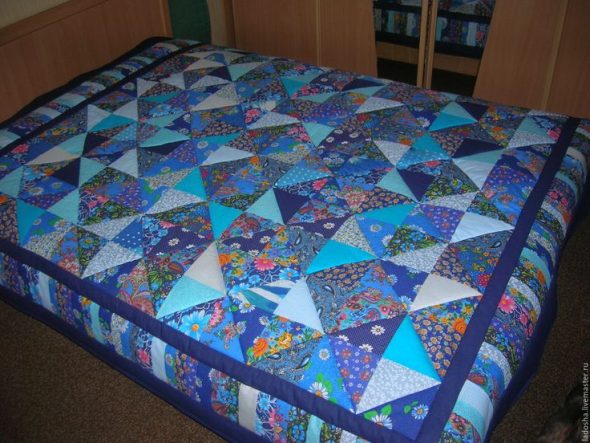
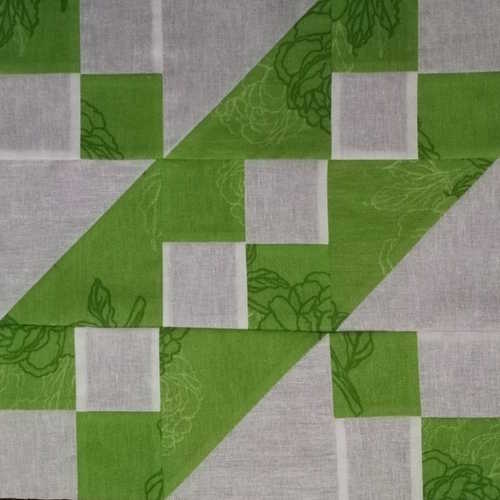
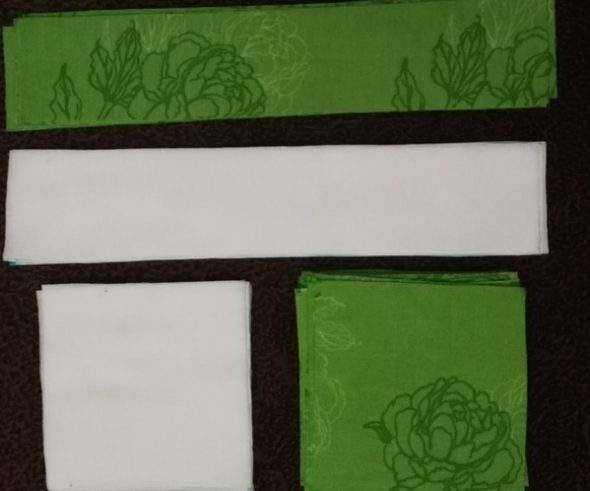


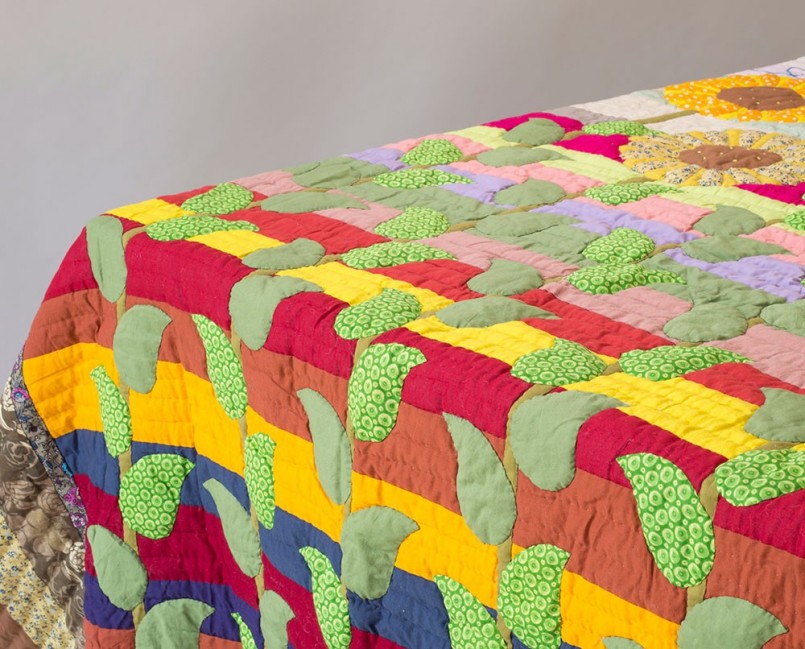
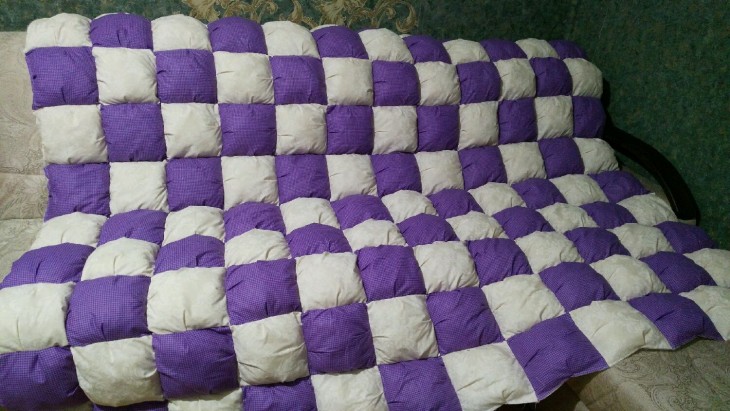
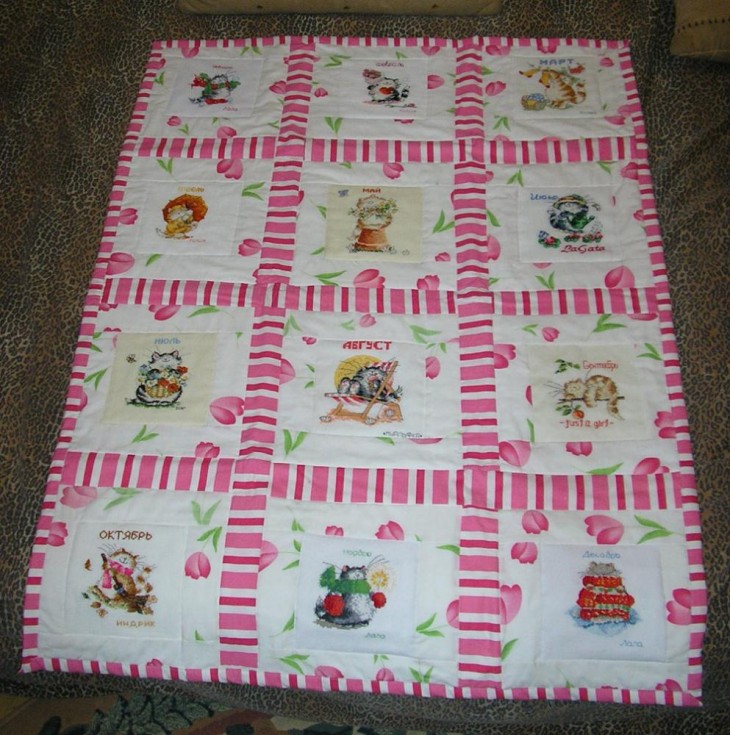
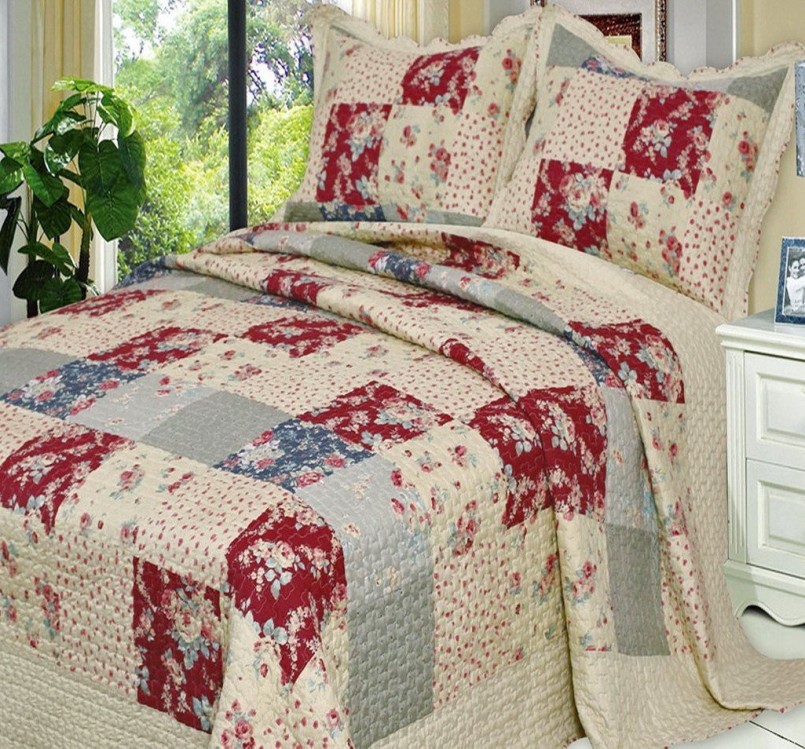
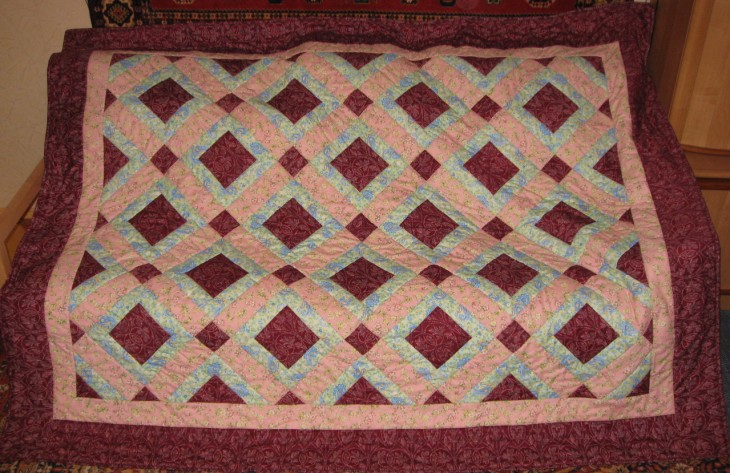
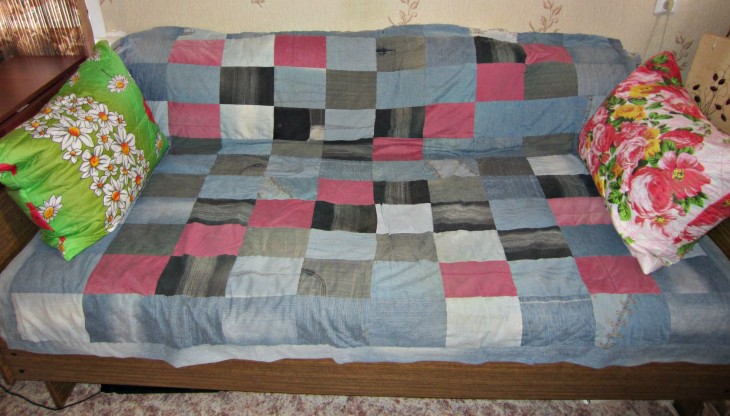
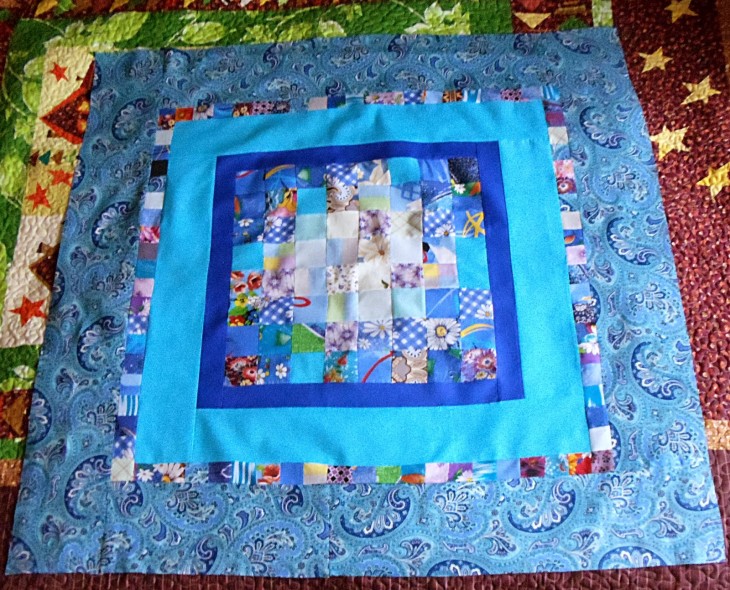
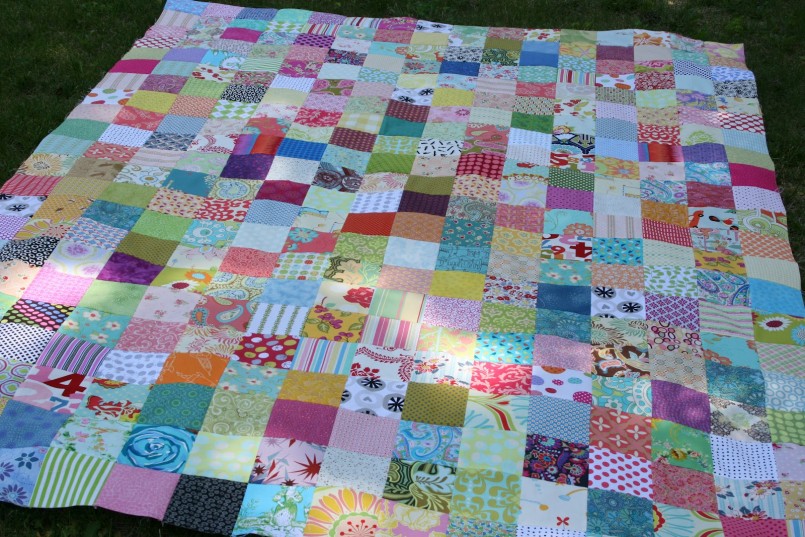


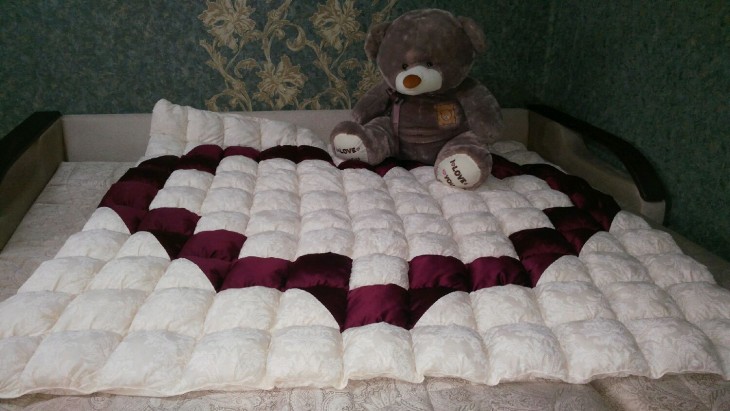


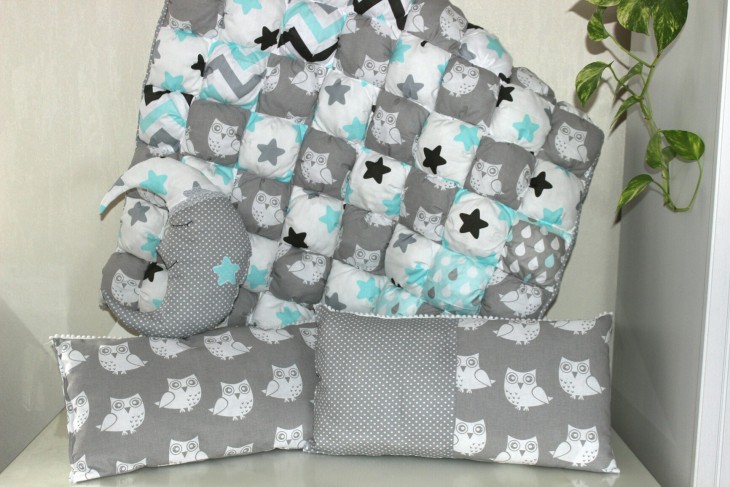
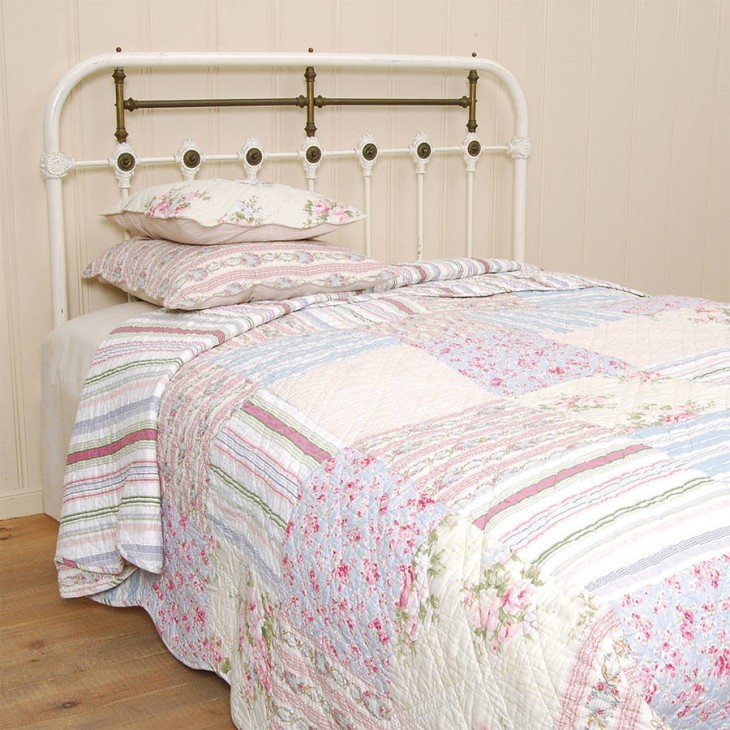
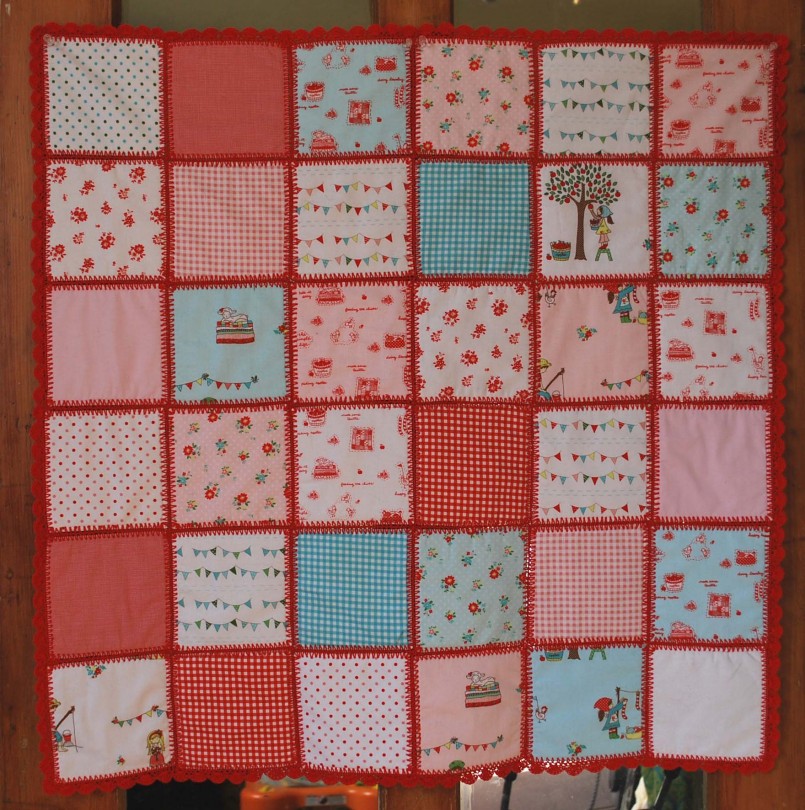
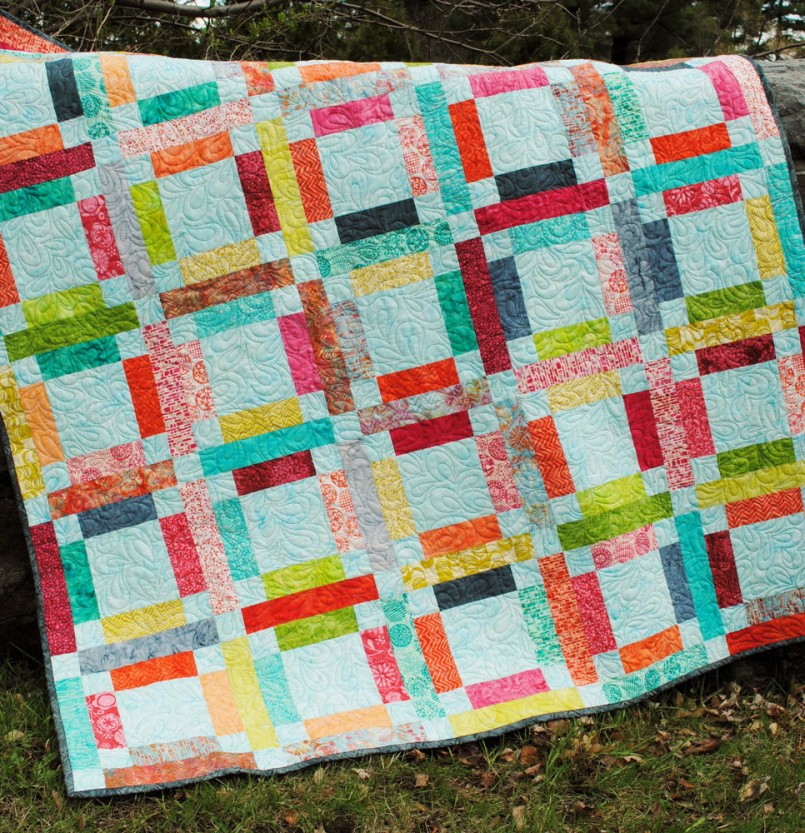
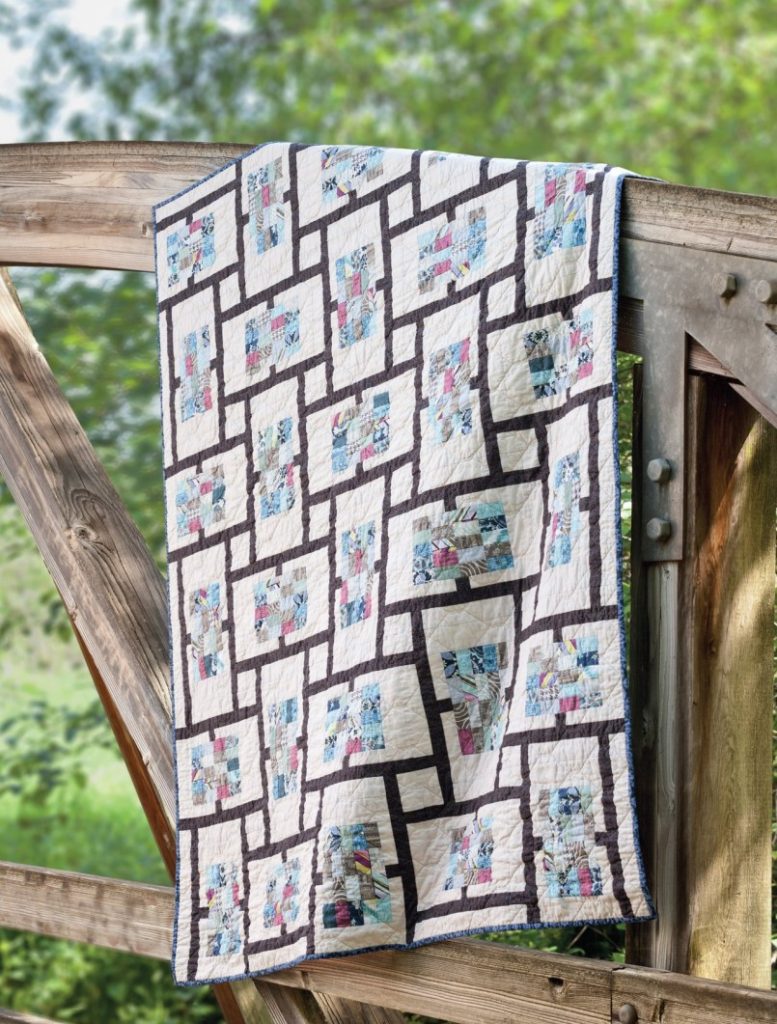
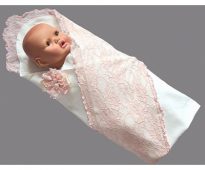
 Blanket on the statement with their own hands
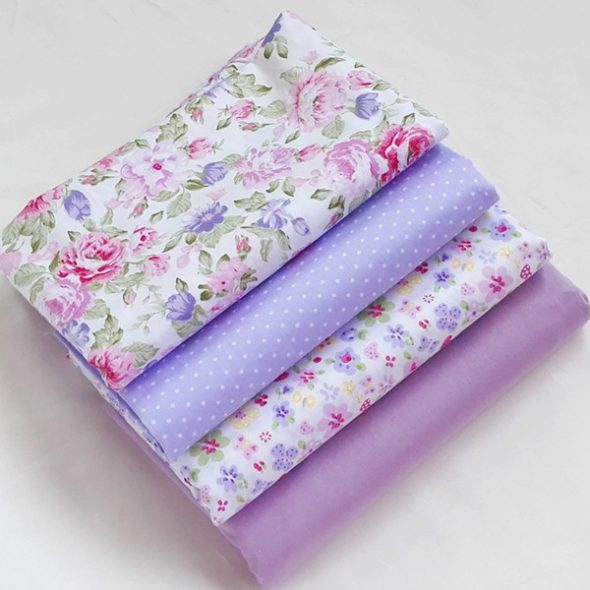
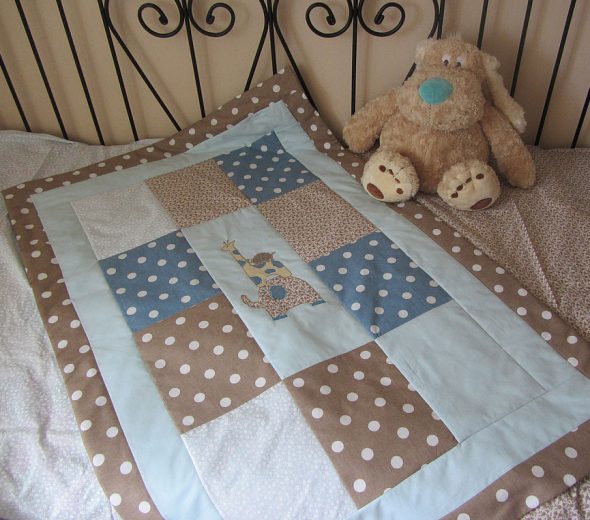
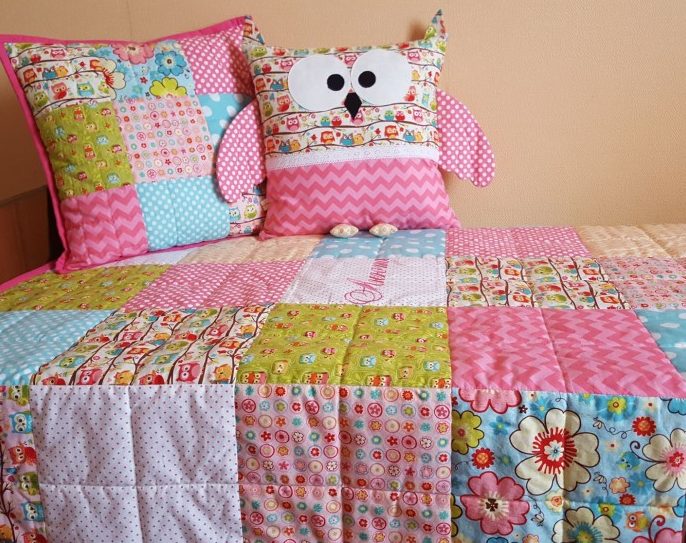
An extract from a maternity hospital is a festive event, which you need to prepare with great care. Attention requires the appearance and comfort of the baby. Body, socks, vests, shirts ... All this is necessary ...