


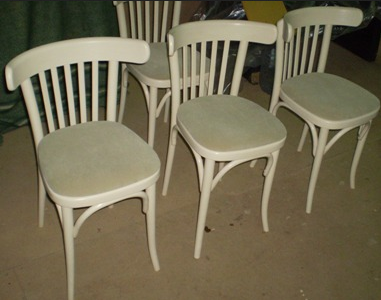
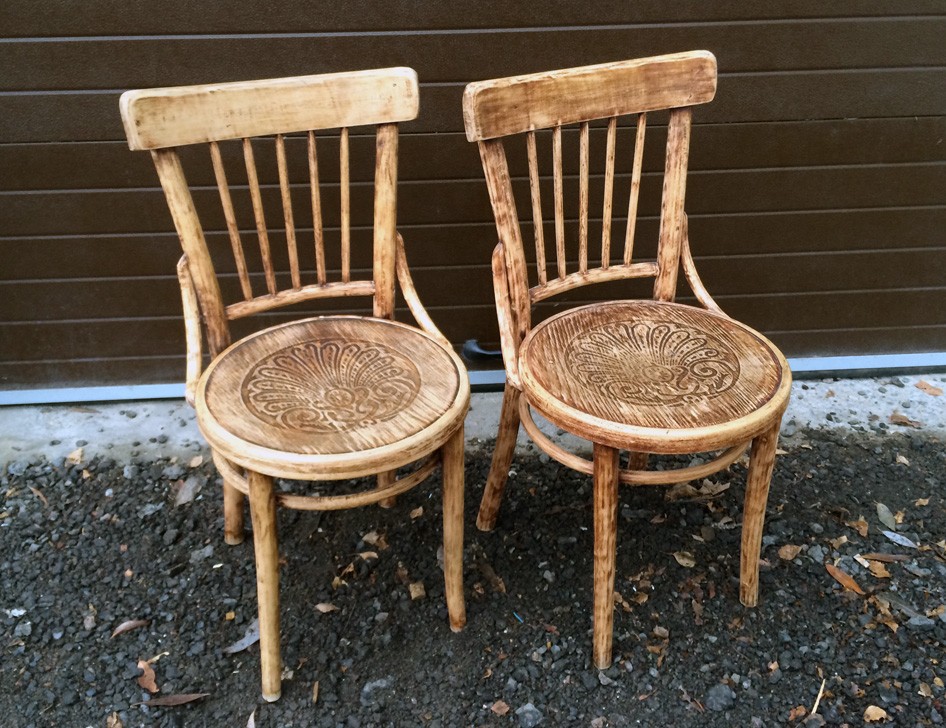
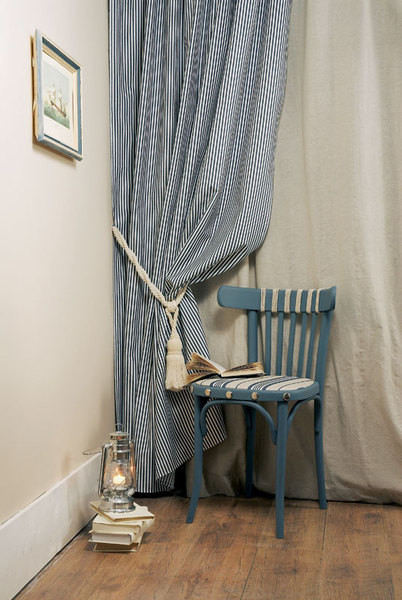
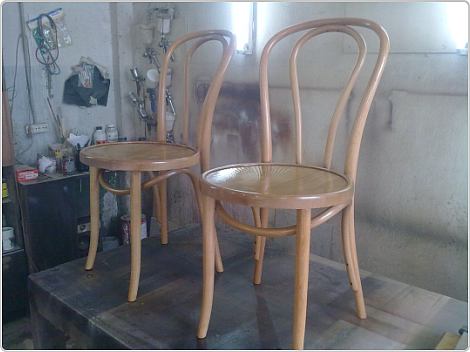


 From the stool to the transformer chair - learn to make chairs with your own hands
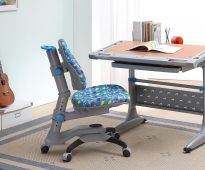
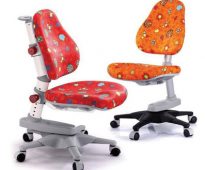
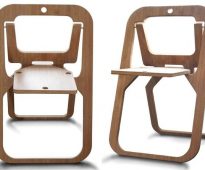
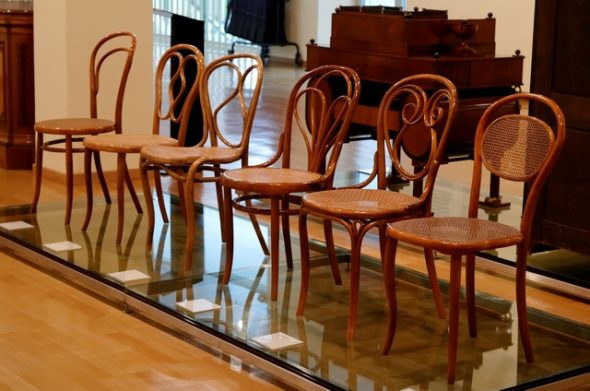
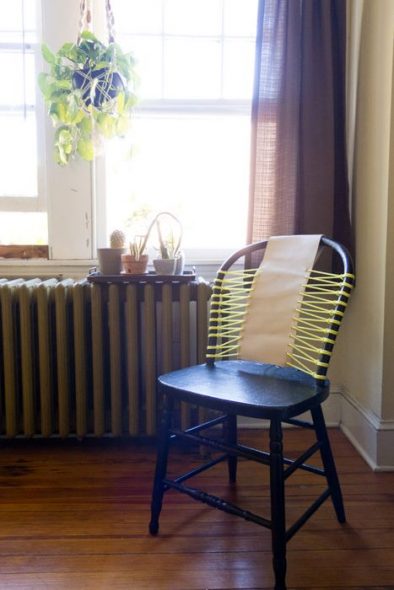
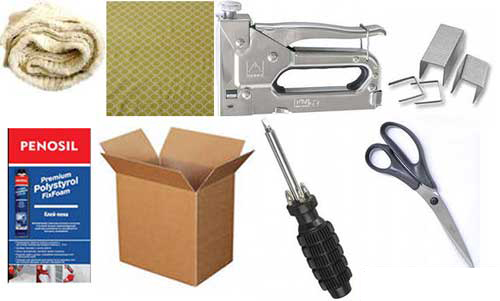
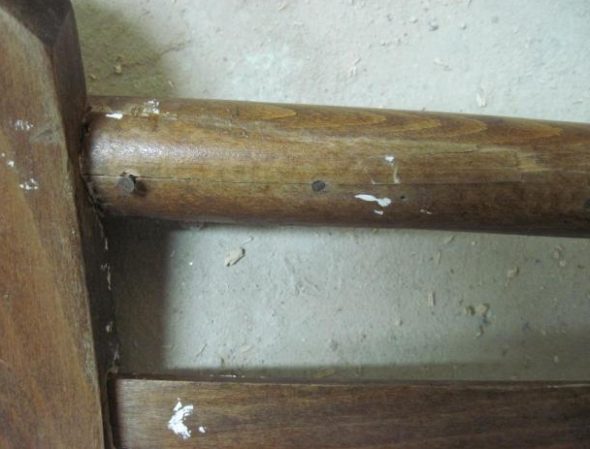
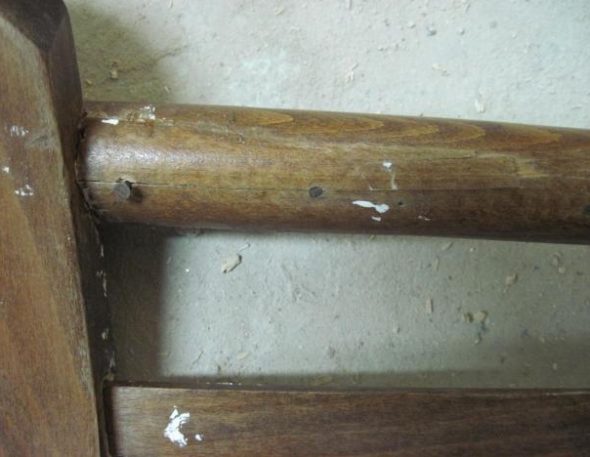
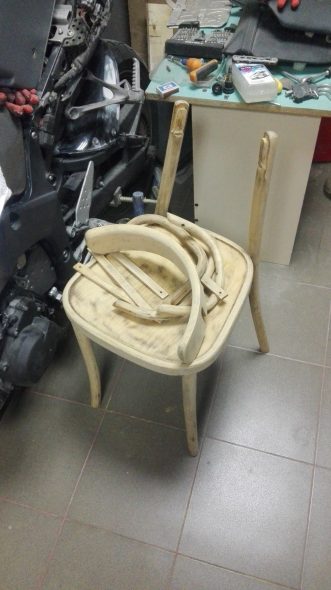
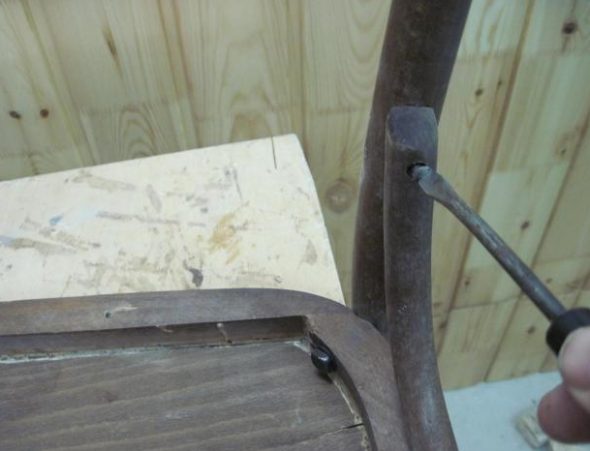
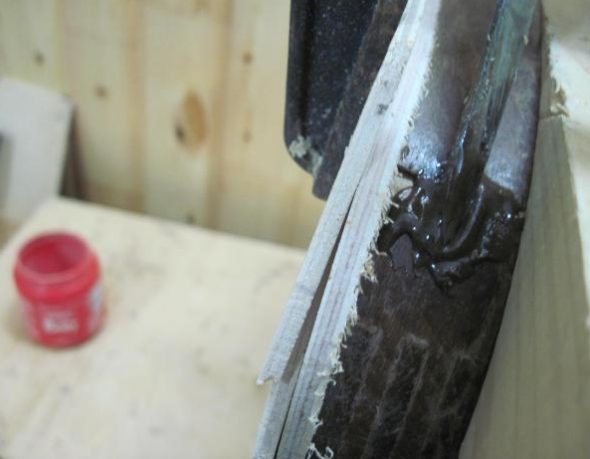
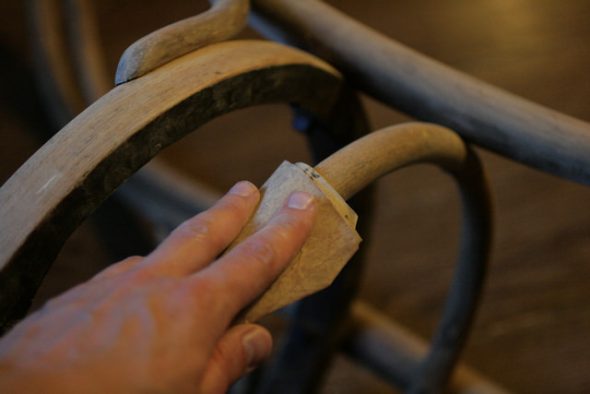
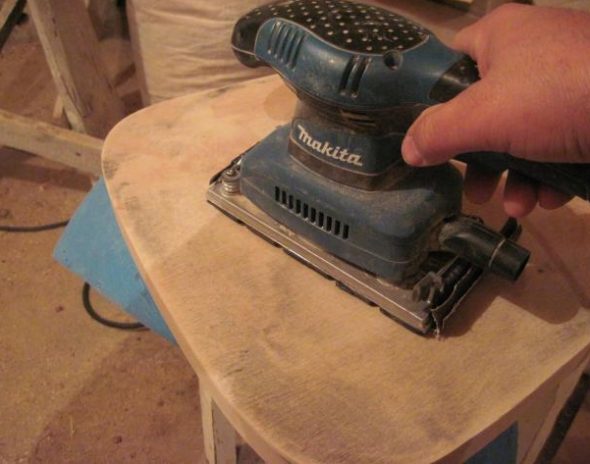
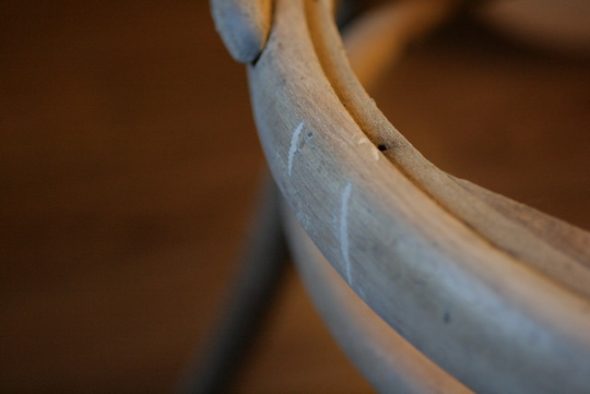
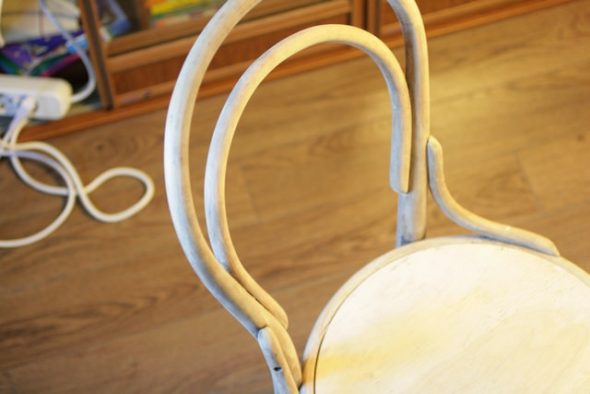
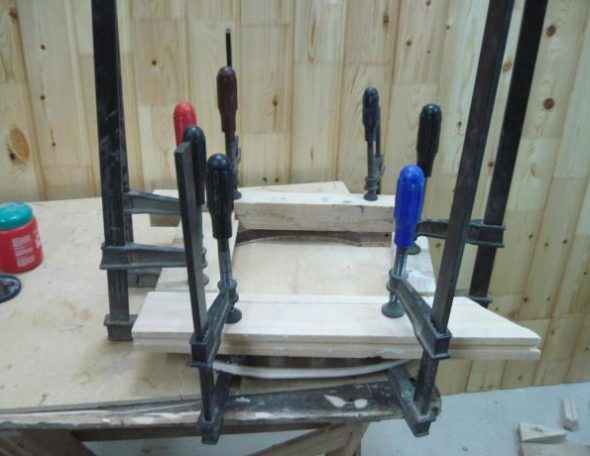
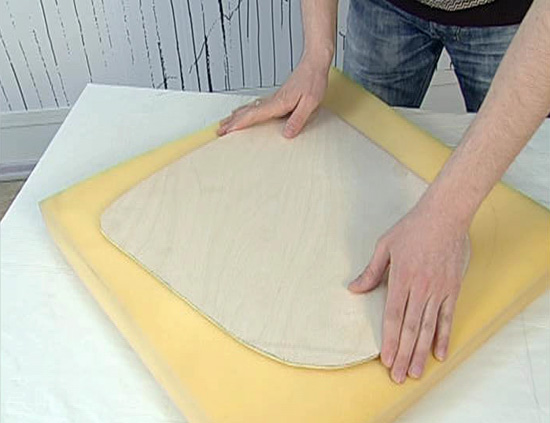
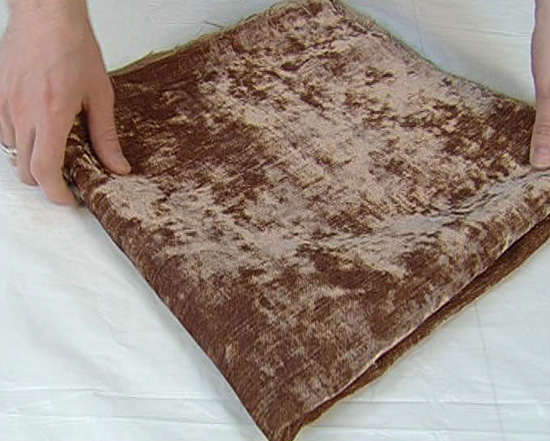
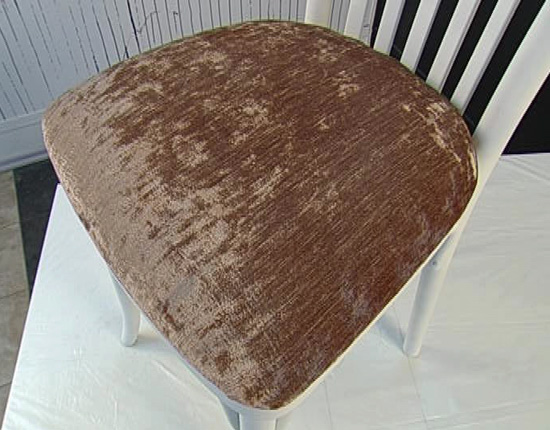
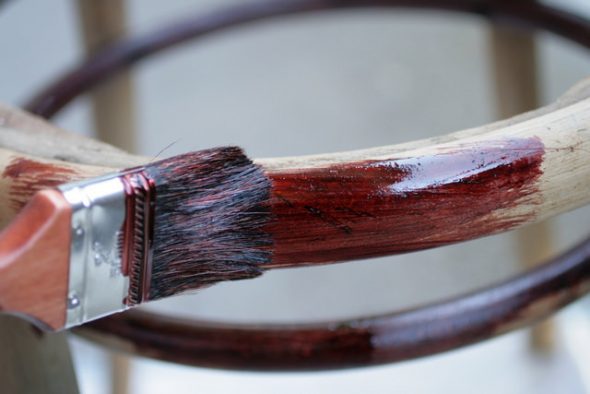
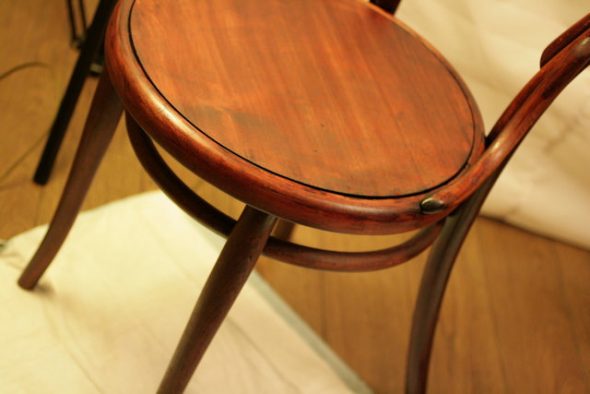
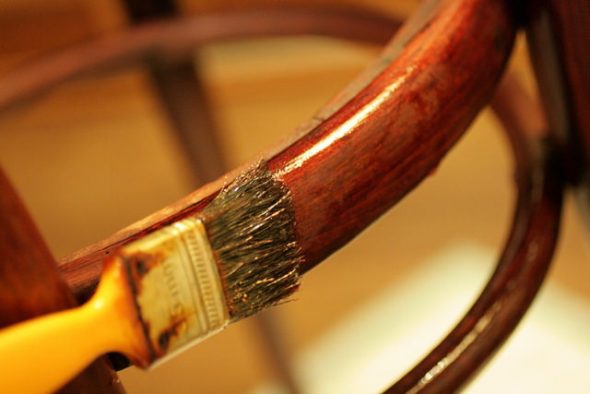
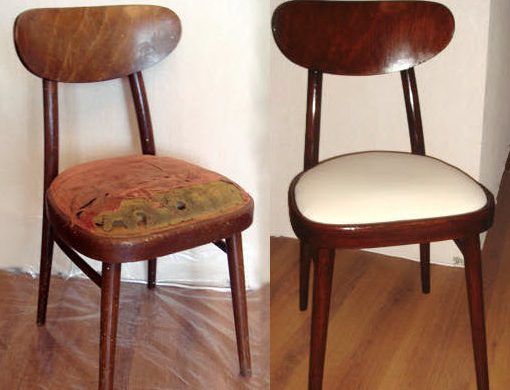
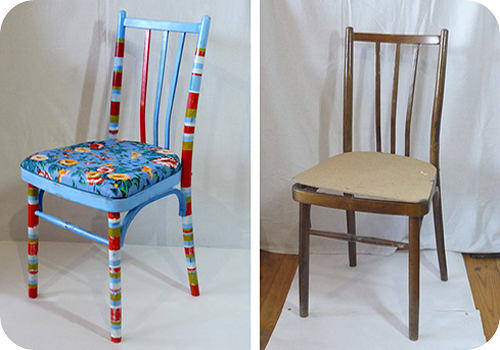
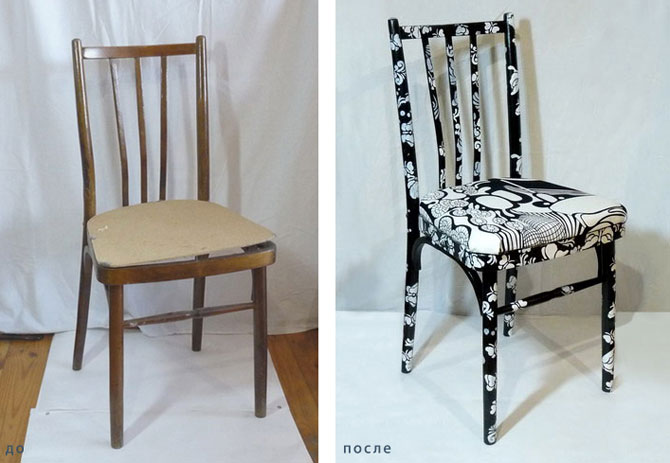
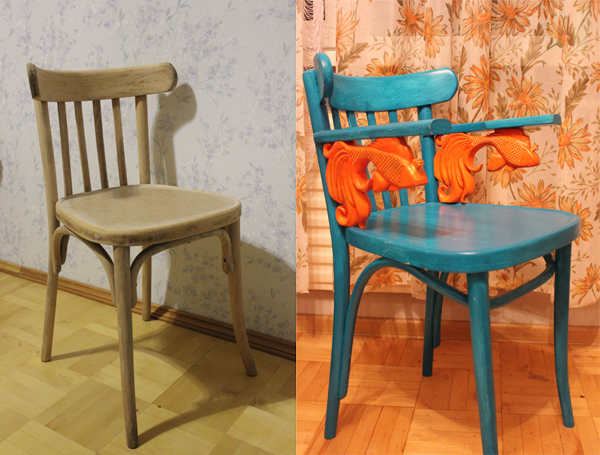
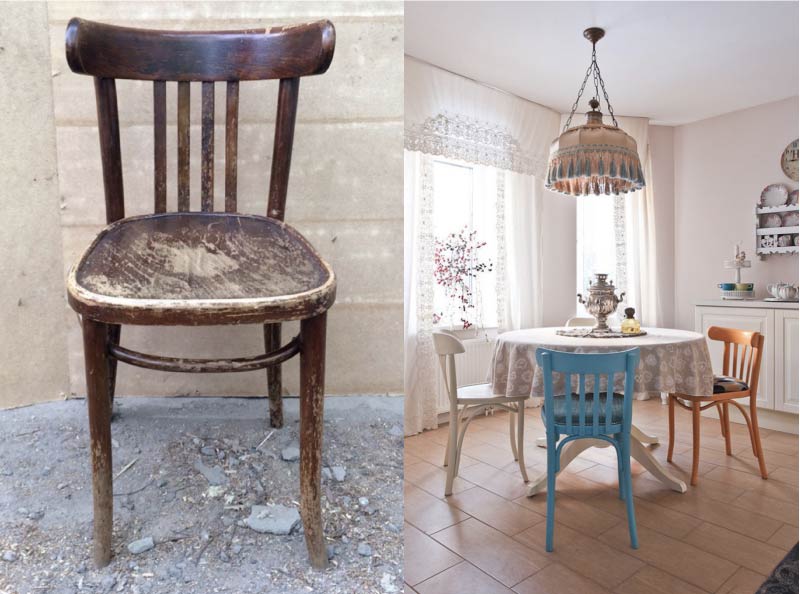
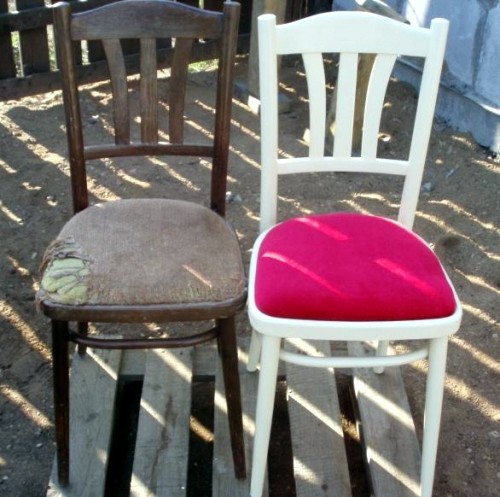
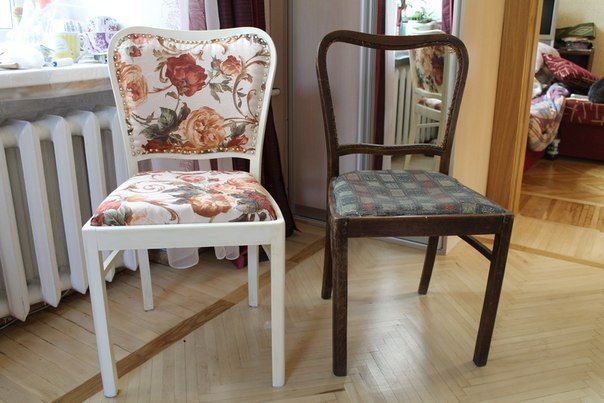
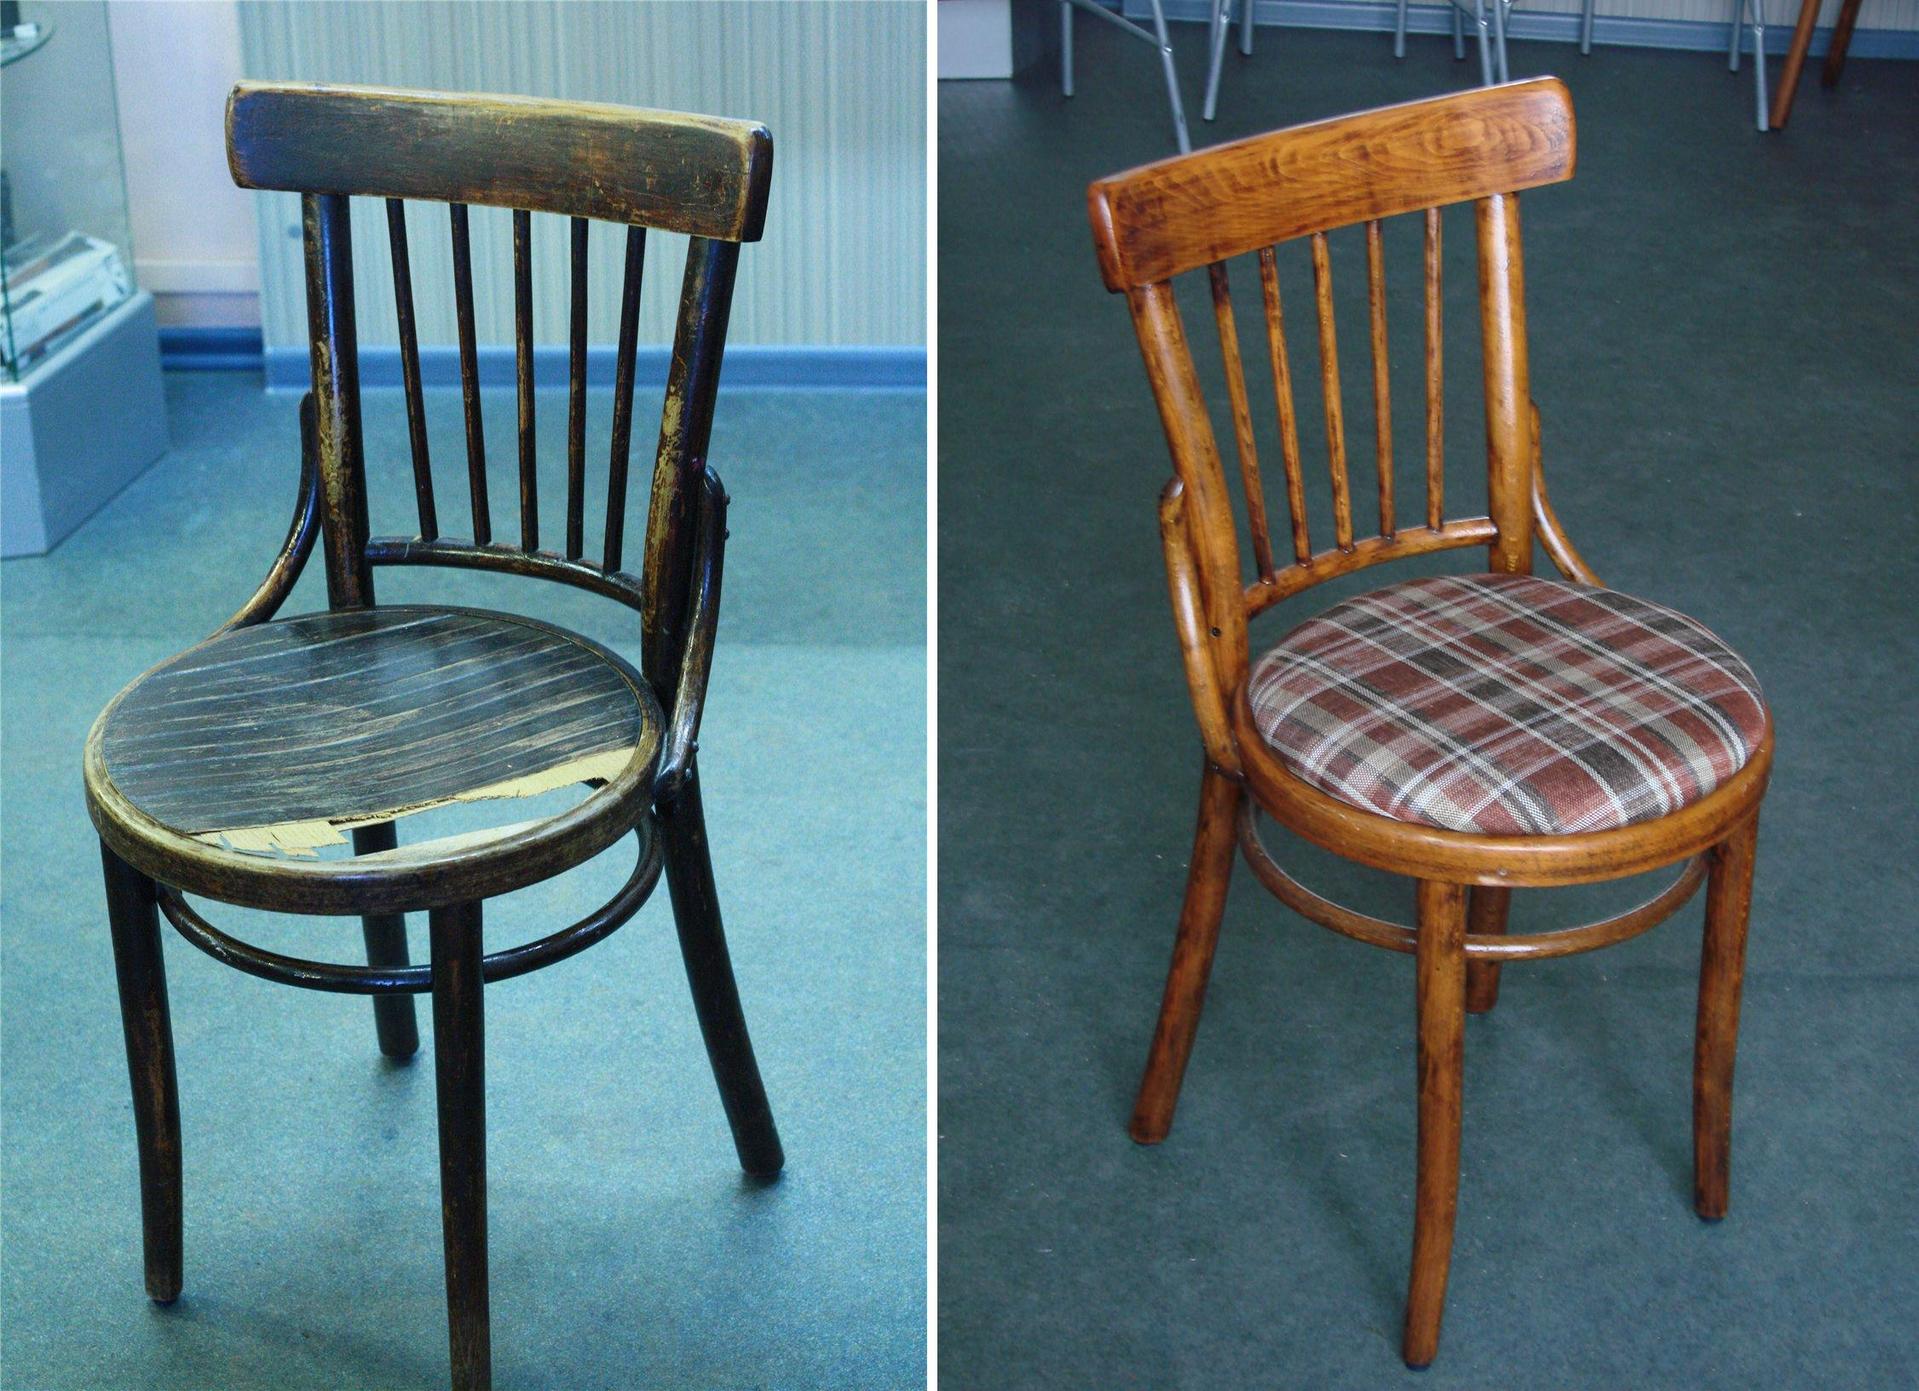
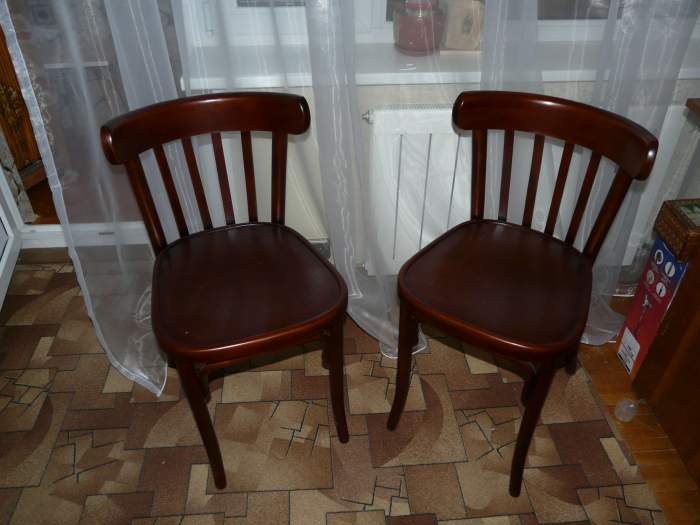
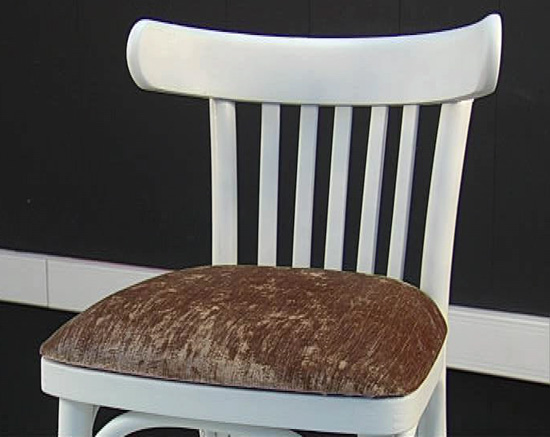
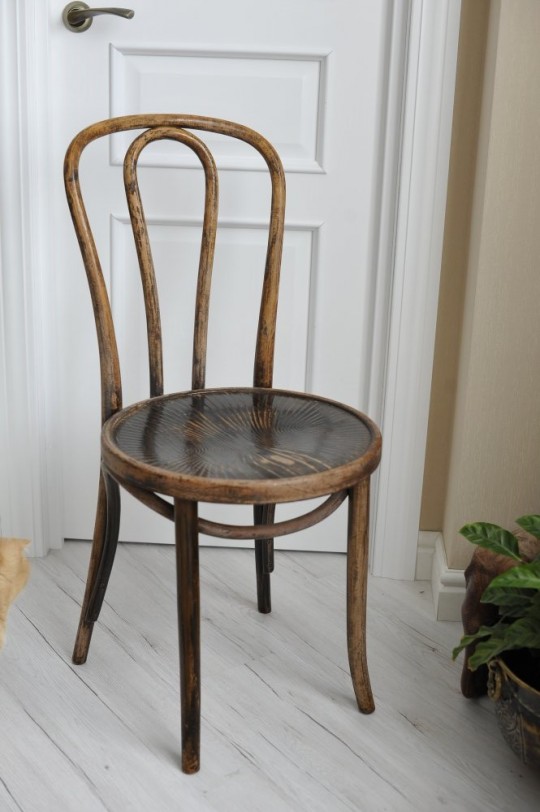
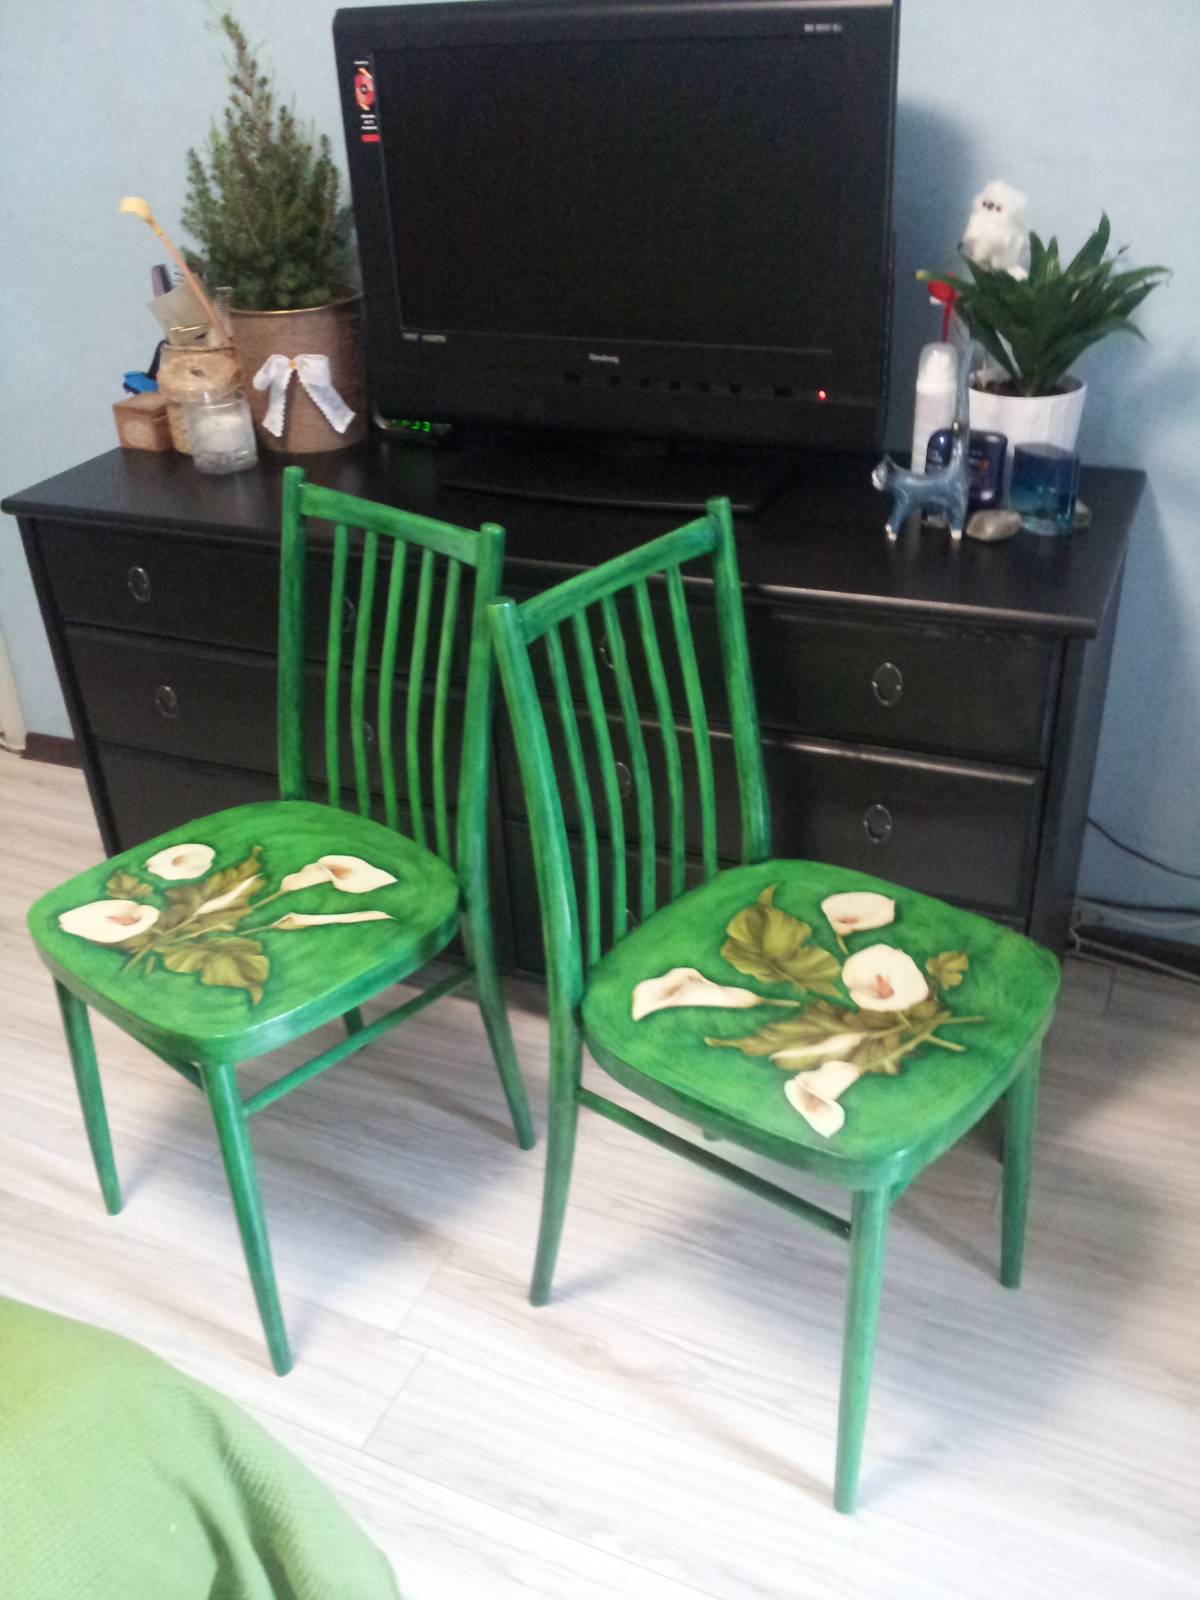
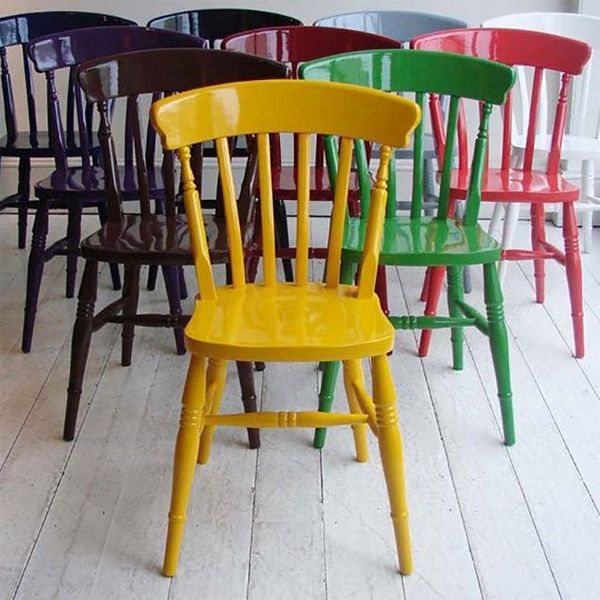
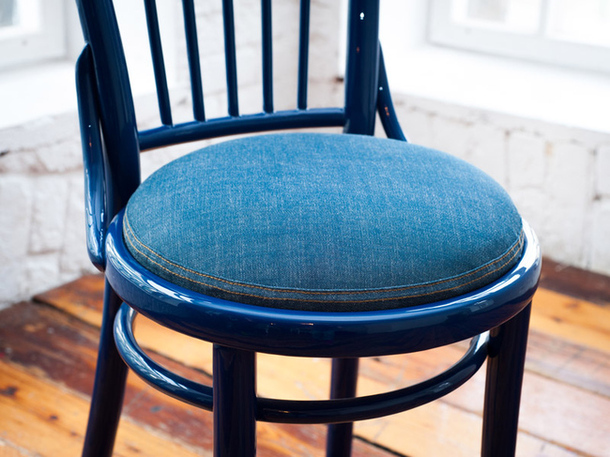
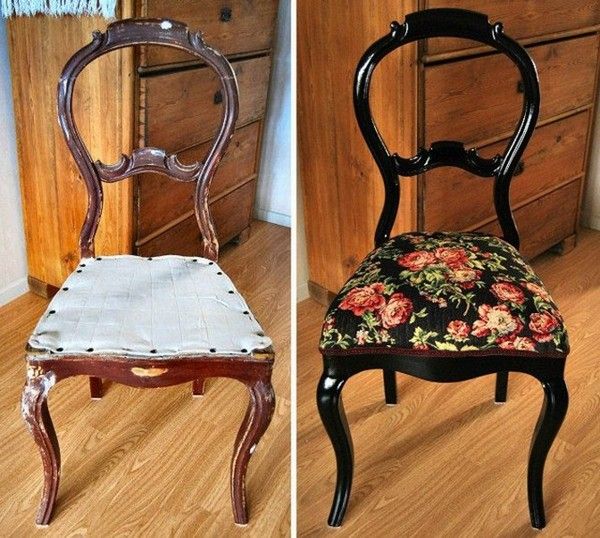
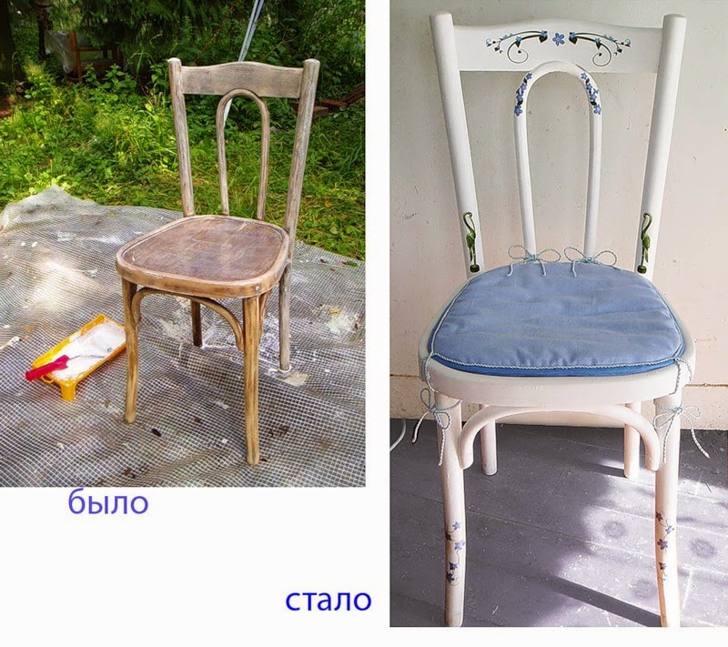
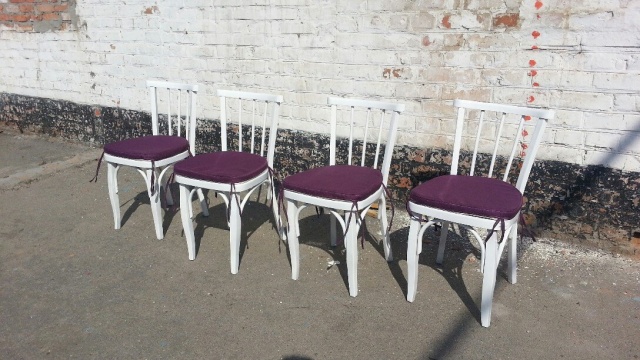
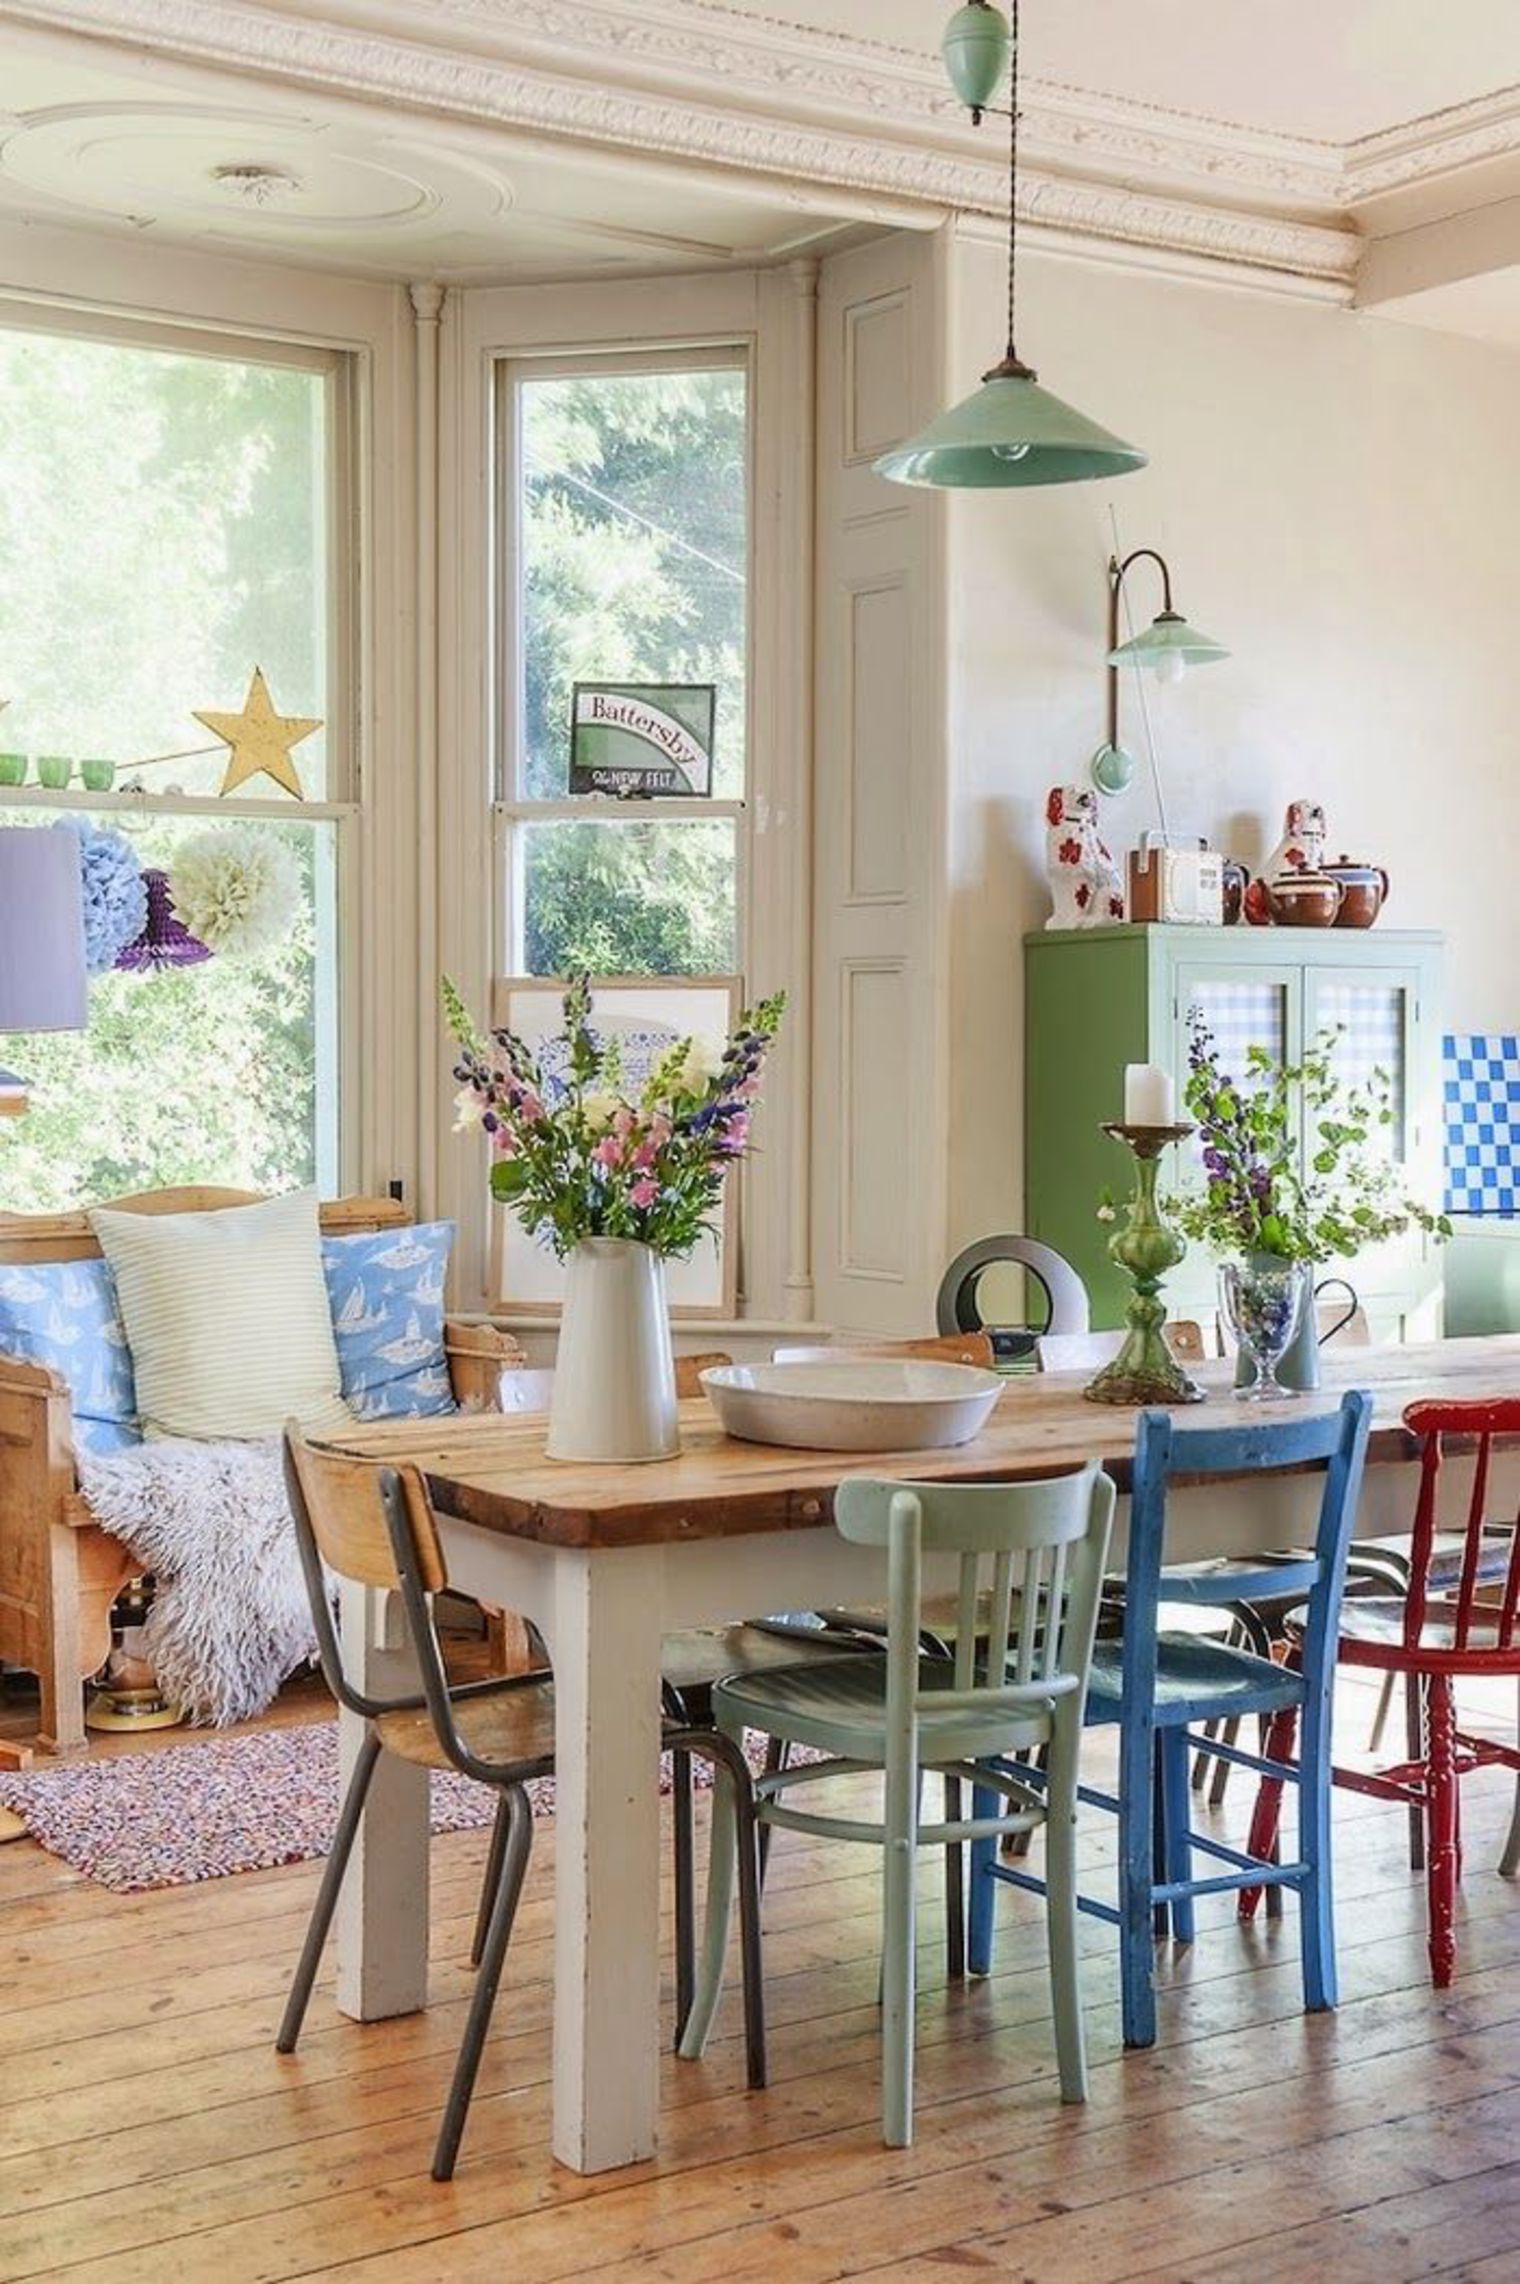
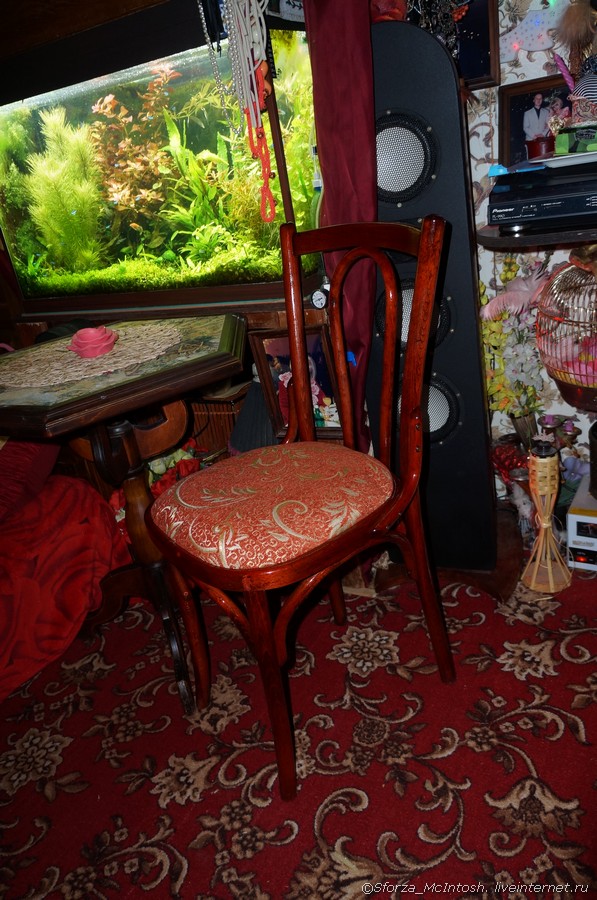
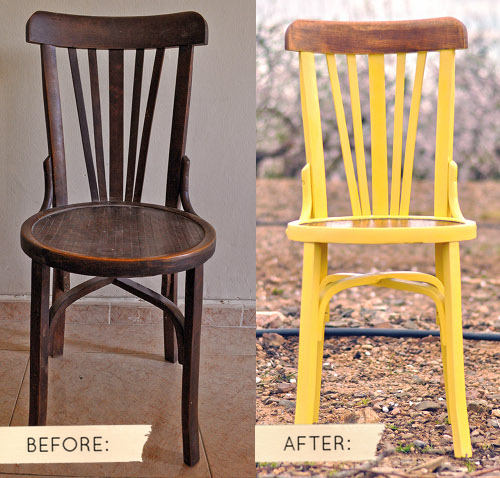
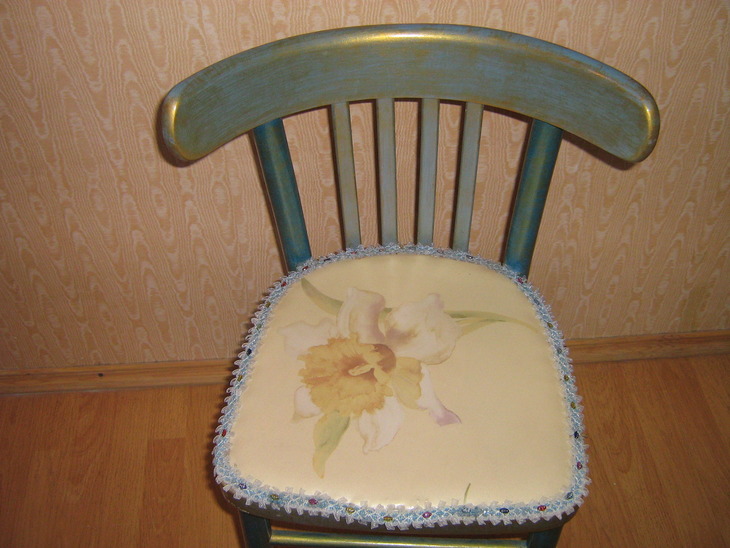
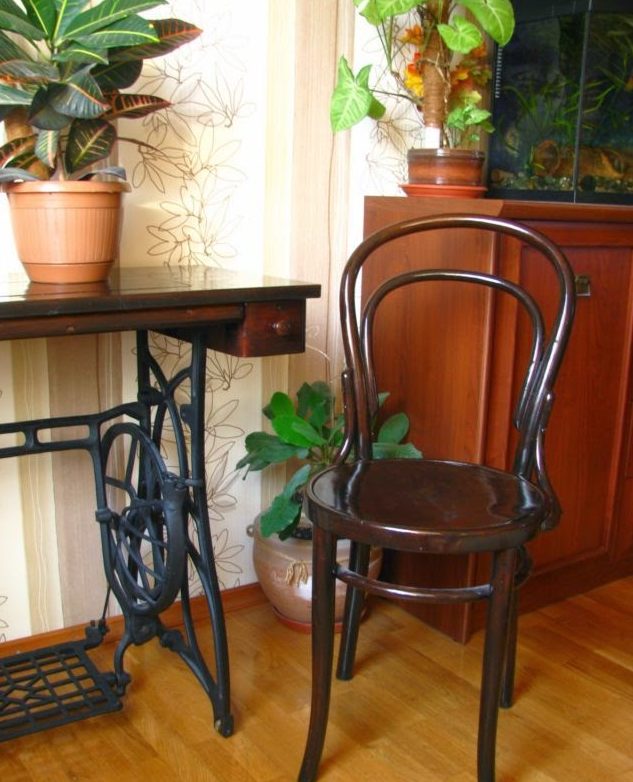
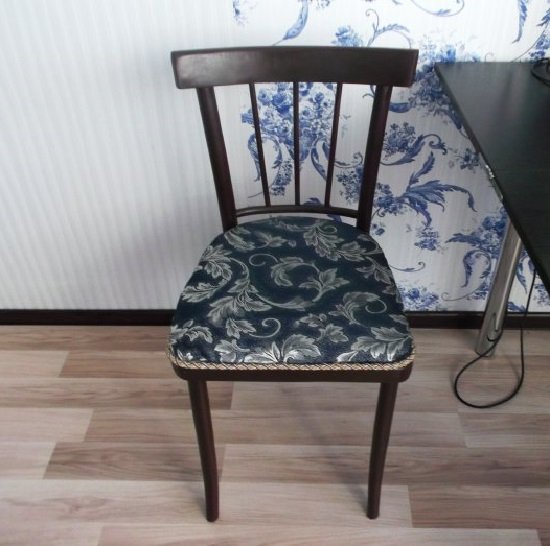
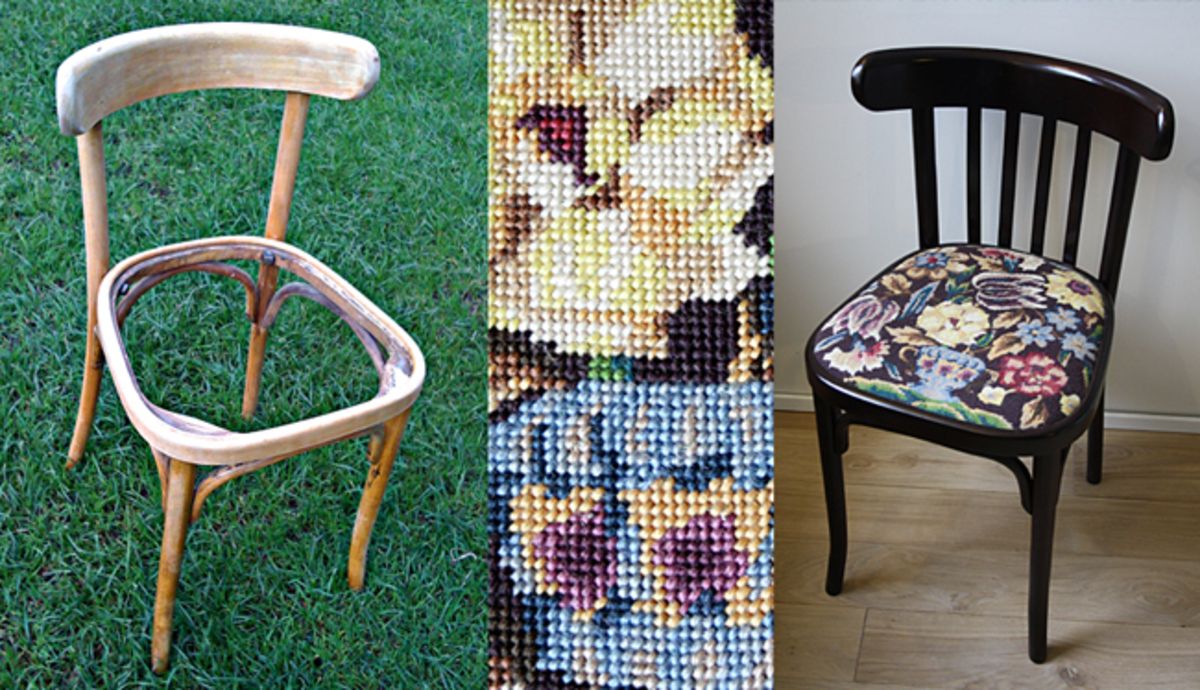
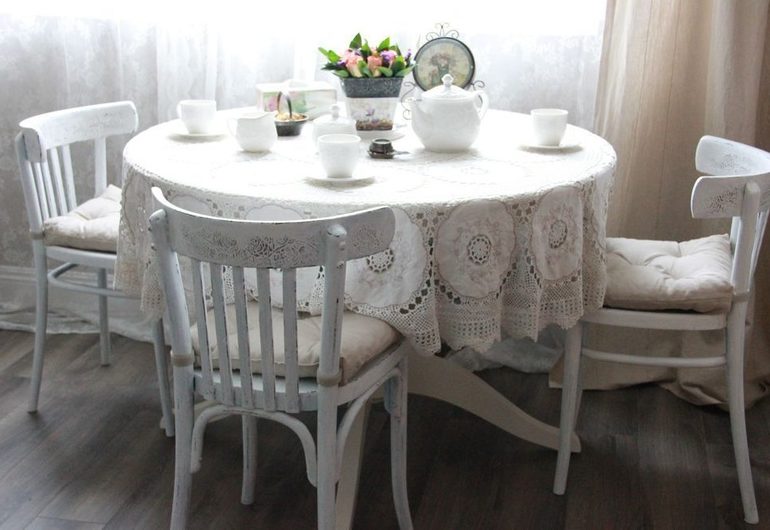
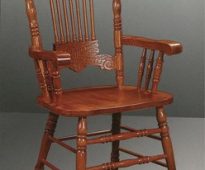
Making your own furniture is not only a great way to save your family budget. With the help of various parts and improvised tools any person can make various designs ...