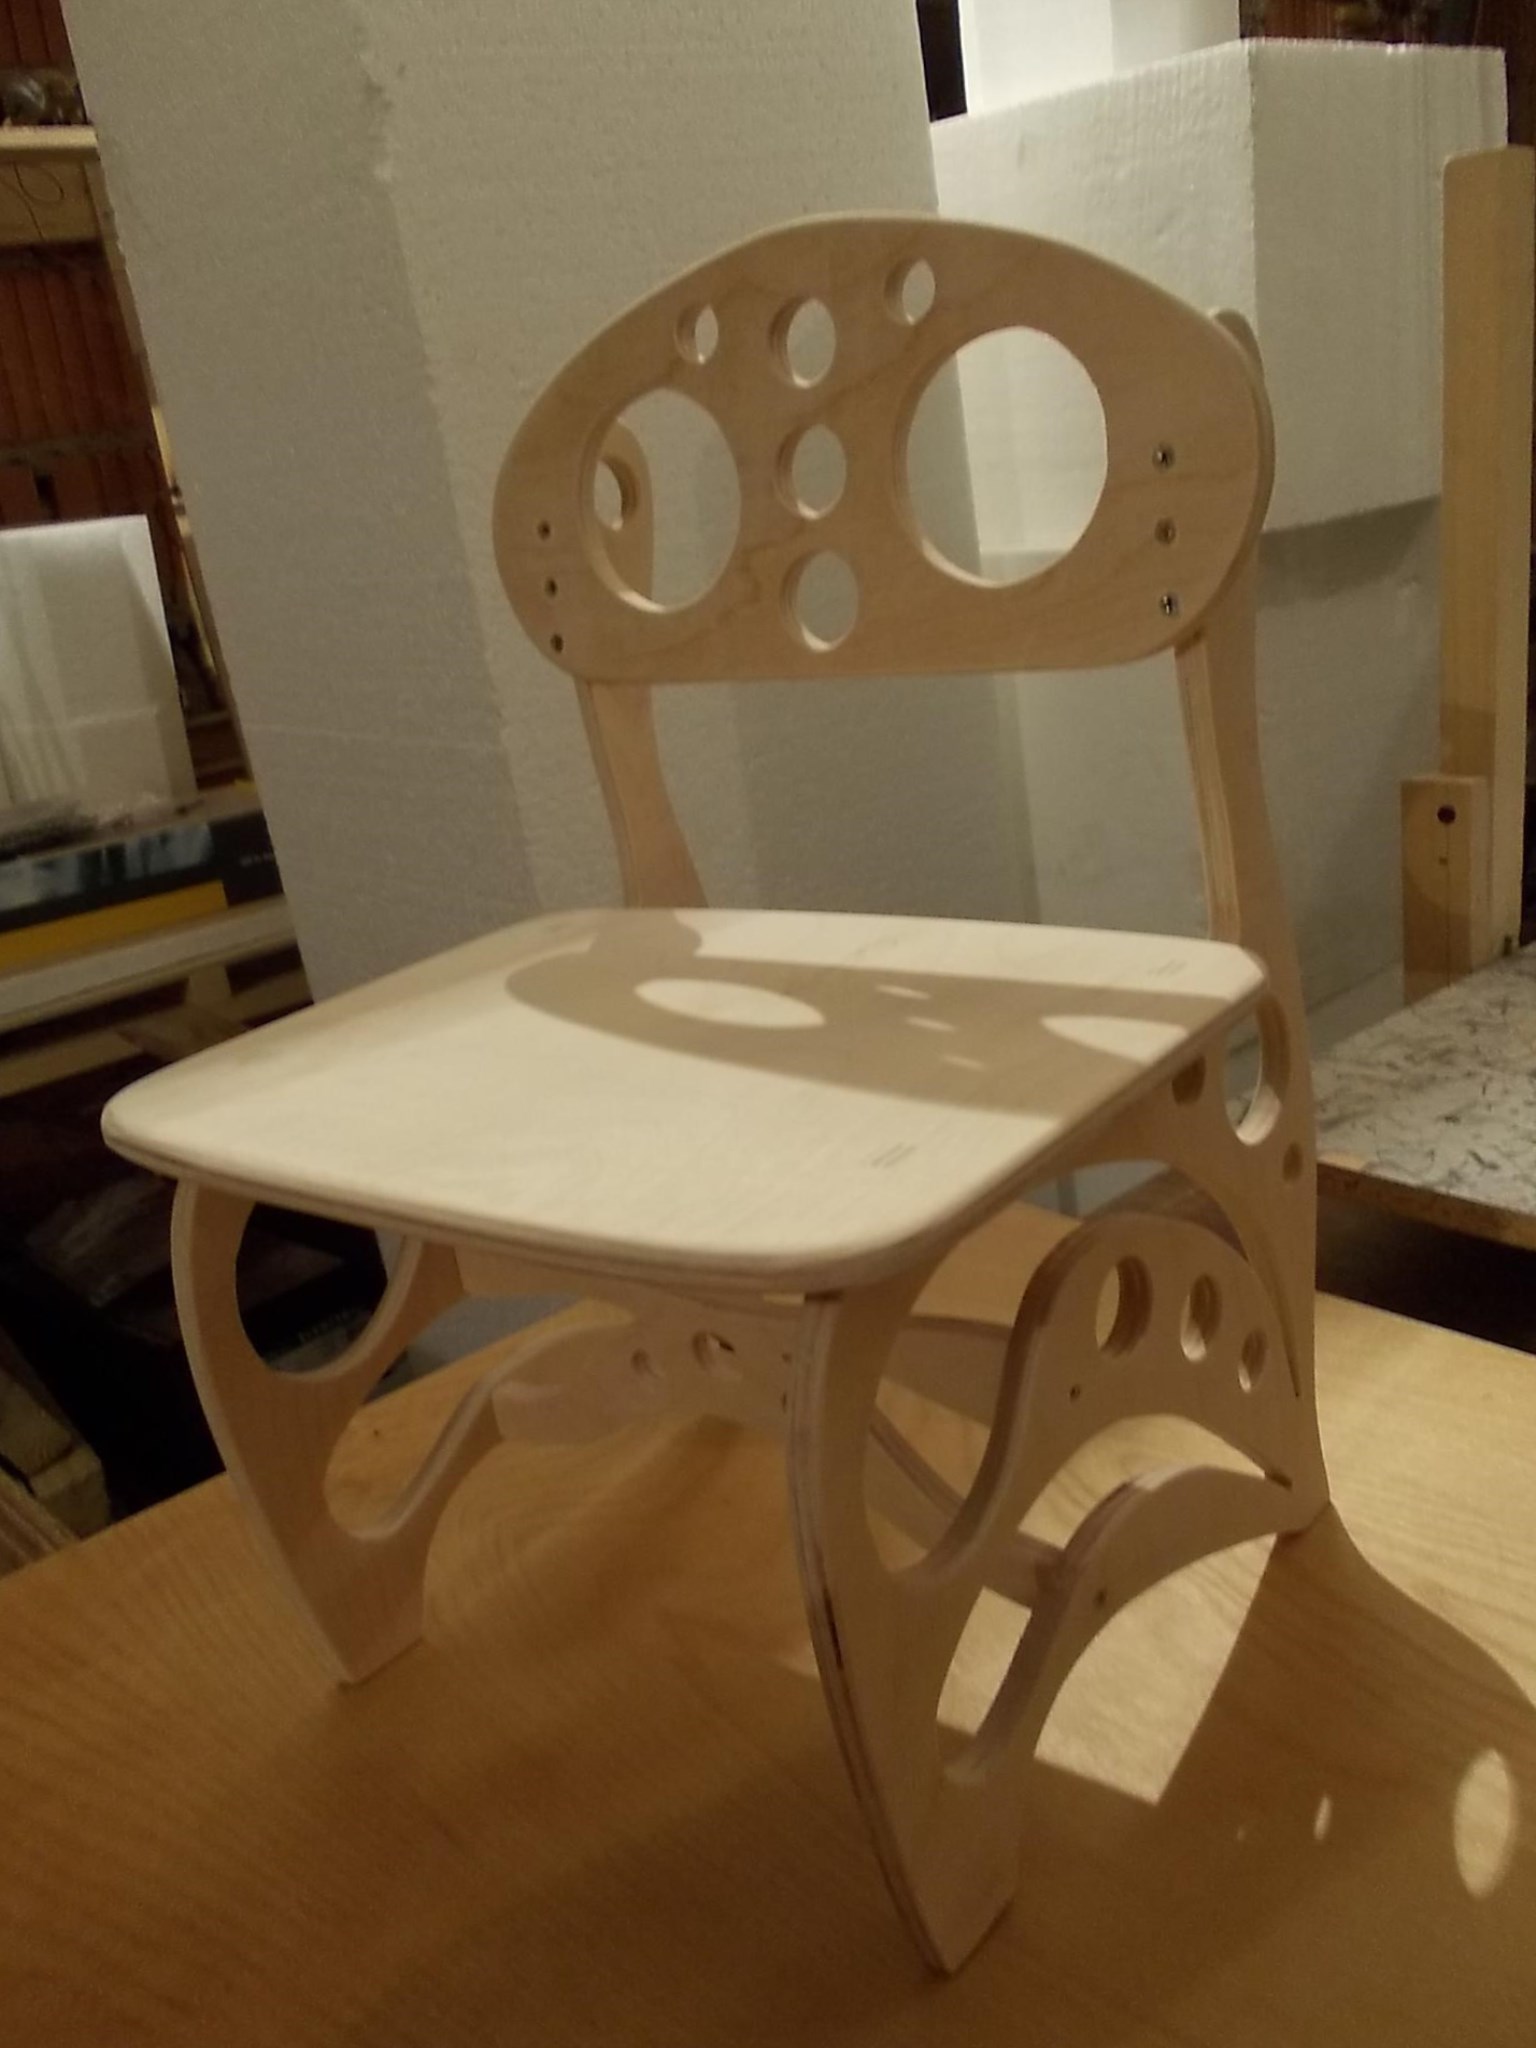
 Making a highchair with your own hands: drawings, sizes, diagrams
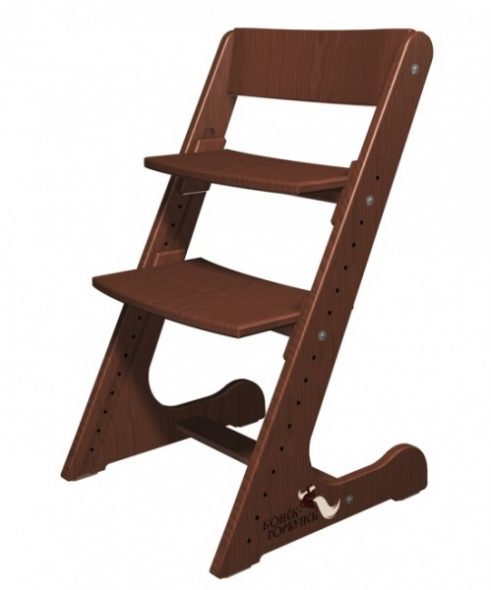
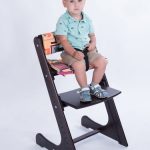
How to make a growing chair "Humpbacked Horse" with your own hands
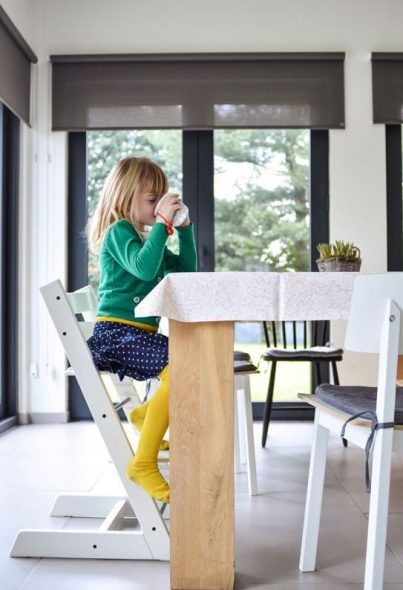
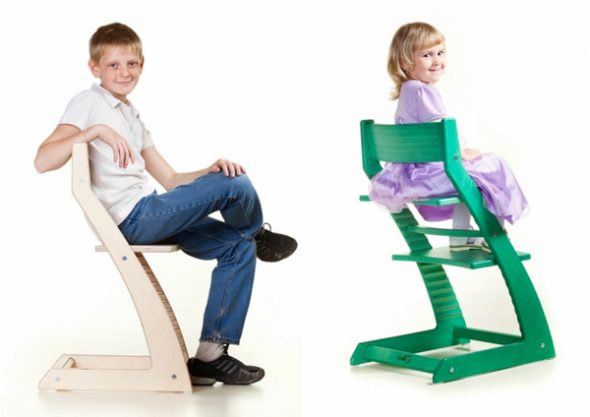
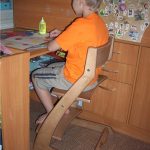
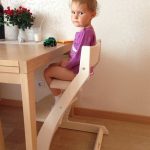
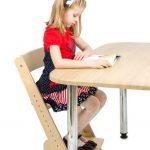
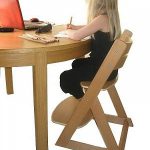
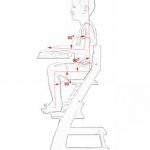
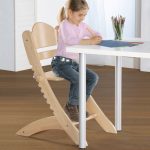
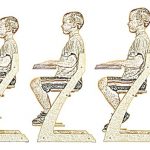
Children's health depends on many different moments. For the younger generation it is important to have not only proper nutrition, exercise and develop thinking. An important factor is the correct posture when sitting at the table. Proper posture forms the skeleton of a child and gives a balanced development to the whole body.
Decorating elements are chosen at the discretion of the master.
For very young children it is better to upholster with leatherette or oilcloth to be able to clean the surface.
In independent work it is also necessary to focus on this figure.
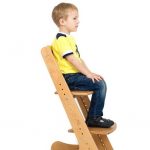
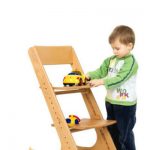
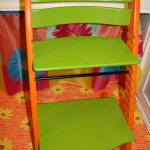
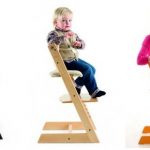
A growing chair can handle multiple tasks at the same time.
- Is orthopedic furniture.
- Allows you to use it from 6 months.
- Saves family budget.
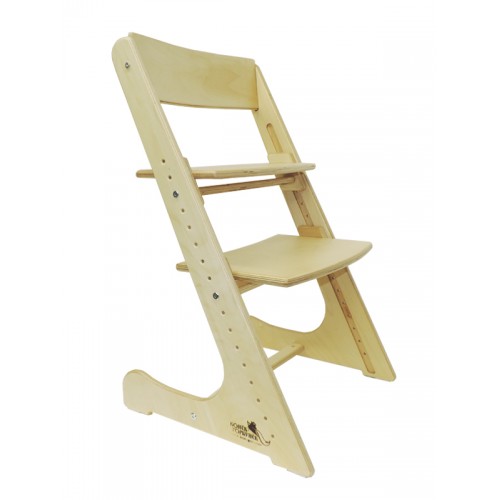
The hornbacked back chair has only one major defect - high cost when buying a finished product.
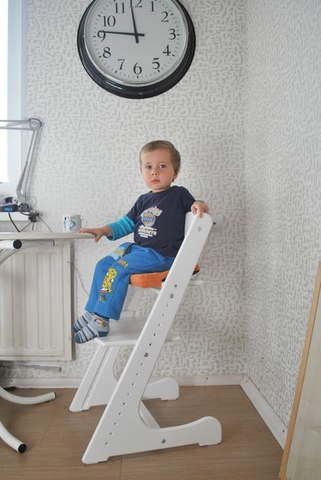
For the decoration of the finished product will need - putty, primer, varnish or stain, paint the desired color.
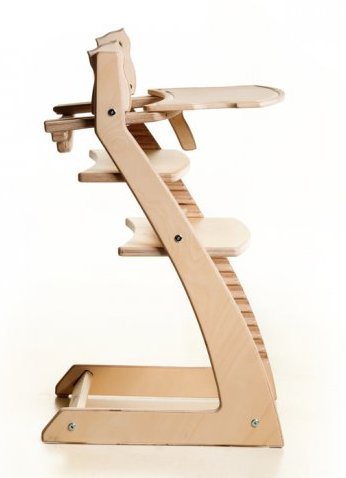
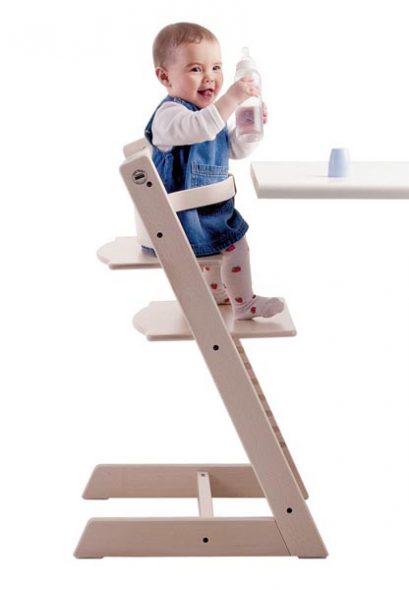
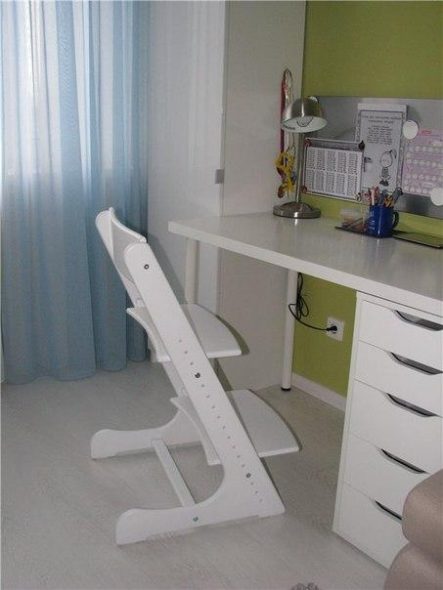
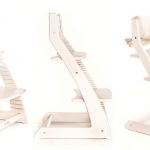
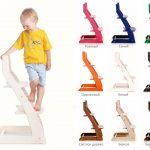
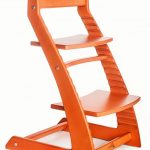
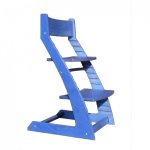
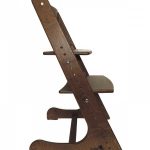
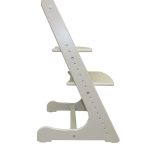
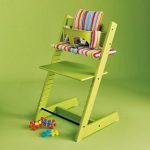
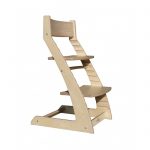
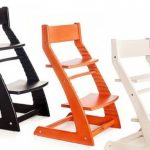
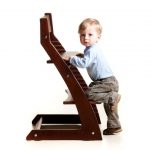
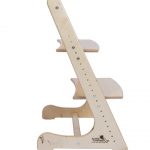
Properly made chair allows you to adjust the stand, seat and back in various combinations.
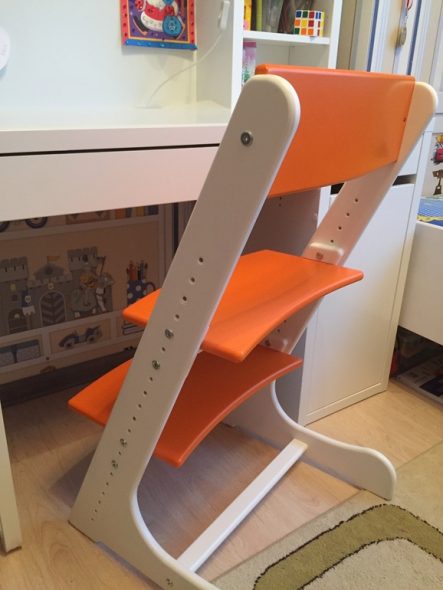
Preparation for work begins with the creation of a drawing chair.
Experienced craftsmen who have some experience in assembling furniture with their own hands will have no difficulty in doing this model on their own. For those for whom the growing chair will be the first independent product, we advise you to carefully read the instructions. It is also necessary to pre-evaluate not only your capabilities, but also the availability of tools, without which you can not do in the process.
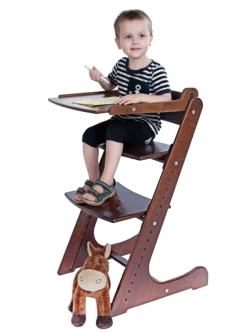
For the younger generation it is important to have not only proper nutrition, exercise and develop thinking.
Regardless of the source of the drawing, the pattern should be made only in full size.
Content
Materials and tools
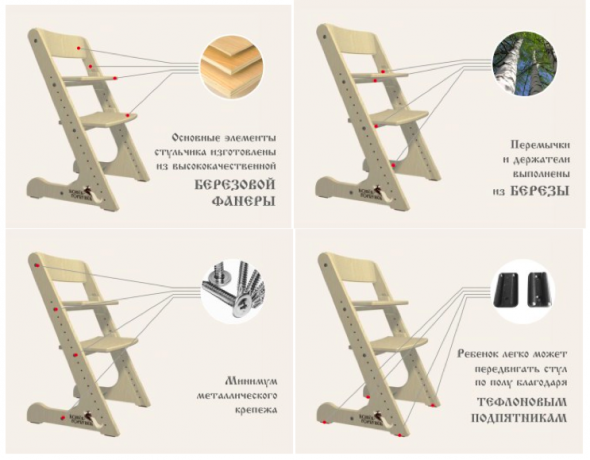
For the manufacture of folding chair, growing with the child, not all materials are suitable. The product can be made either from plywood or from treated wood. It is also possible to make a chair from an array, but it will be very bulky and heavy, which is inconvenient for the child itself. Therefore, the best material is still considered plywood.
For the racks you will need plywood of at least 22 millimeters, on the basis that two racks will be used for each rack, which will subsequently be glued together. The seats, footrest and backrest can be made of 22 or 16 millimeter plywood.
Fastening parts of the chair for a child are made using hex bolts and furniture hidden nuts.
The hornbacked back chair has only one major defect - high cost when buying a finished product.
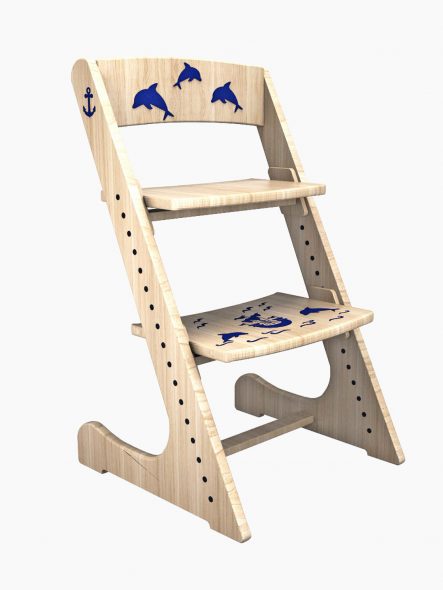
Produced pre-pattern all the elements on paper or cardboard.
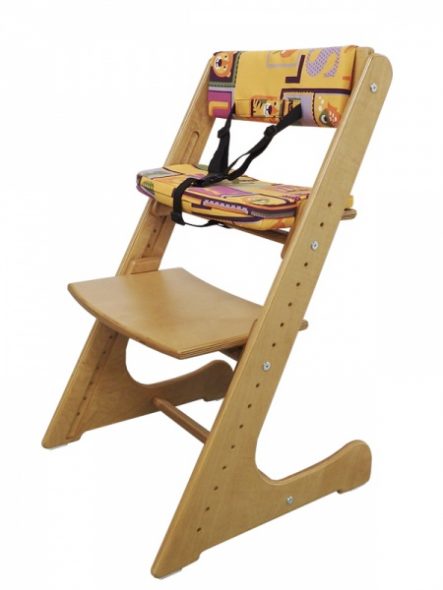
It is important to bear in mind that some elements of the chair for a child must be right and left, that is, “mirror” each other.
Tools, hardware and materials
- Hex bolts;
- 2 pcs. sizes 6x70 mm
- 2 pcs. size 6x50 mm.
- Secret nuts;
- 2 pcs. 10x20 mm
- 2 pcs. 10x12 mm.
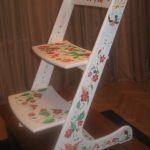
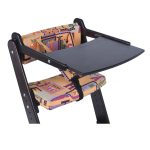
For the decoration of the finished product will need - putty, primer, varnish or stain, paint the desired color. Decorating elements are chosen at the discretion of the master. You can make the seat soft, having upholstered it with foam rubber and decorating it with upholstery from above. For very young children it is better to upholster with leatherette or oilcloth to be able to clean the surface.
To make a growing chair for children, we need the following tools.
- Paper or cardboard for drawings.
- Pencil.
- Centimeter or tape measure.
- Glue for wood.
- Electric jigsaw with files.
- Copy cutter
- Fraser.
- Sandpaper.
- Paint brushes.
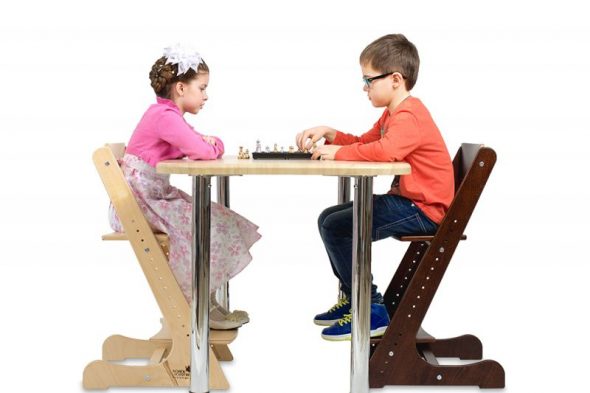
It is also necessary to pre-evaluate not only your capabilities, but also the availability of tools, without which you can not do in the process.
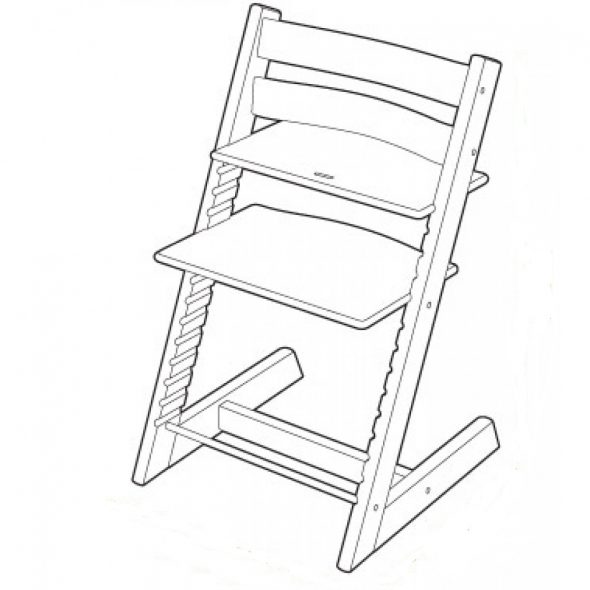
Having prepared the mold, materials and tools you can safely get to work.
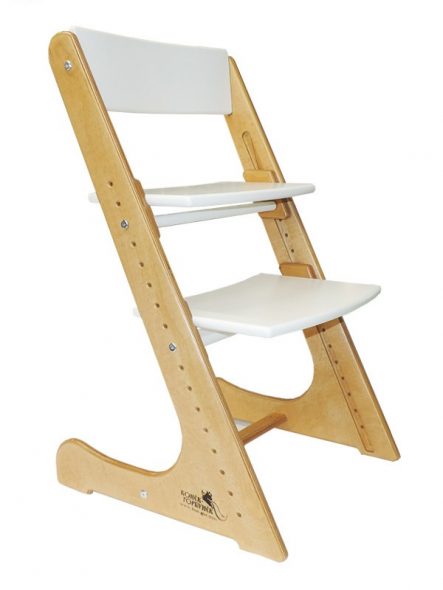
Remember - work does not tolerate haste and fuss.
Properly made chair allows you to adjust the stand, seat and back in various combinations. Furniture manufacturers lay in a growing chair at least 10-15 positions. In independent work it is also necessary to focus on this figure.
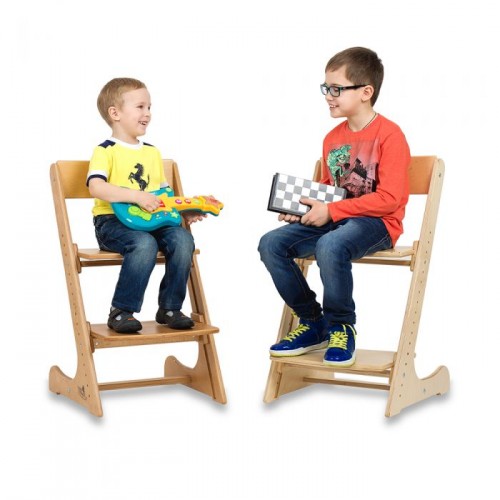
For the manufacture of folding chair, growing with the child, not all materials are suitable.
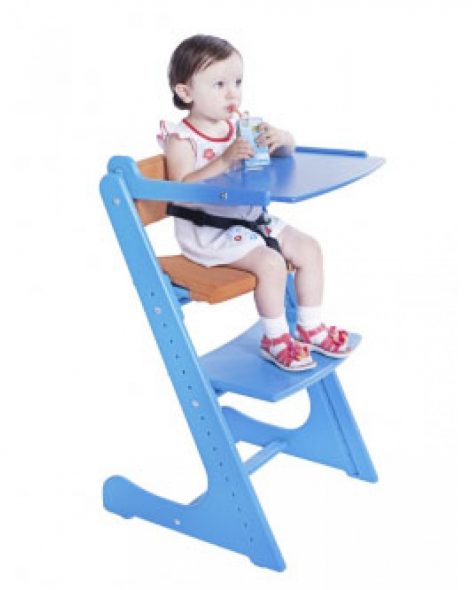
An experienced master knows that it is necessary to measure several times, weigh everything and then cut it off.
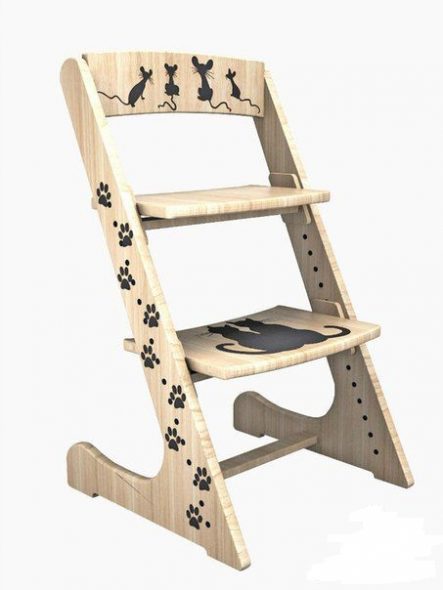
The dimensions of the seat for the child are chosen independently and depend on his age and the calculated stock.
Preparing a product design
Preparation for work begins with the creation of a drawing chair. You can make a handmade product for a child only by correctly calculating not only the dimensions, but also the angles of inclination of the parts.
On the Internet, you can easily download the finished project or focusing on GOST 19301.2-94, which describes what parameters should be at the tables and chairs for children, you can make the template yourself.
Regardless of the source of the drawing, the pattern should be made only in full size. Produced pre-pattern all the elements on paper or cardboard. It is important to bear in mind that some elements of the chair for a child must be right and left, that is, “mirror” each other.
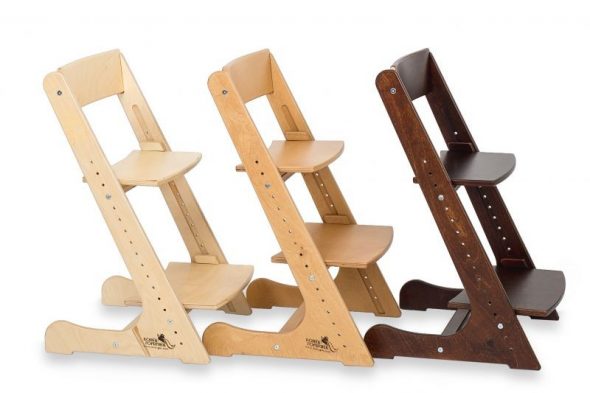
It is also possible to make a chair from an array, but it will be very bulky and heavy, which is inconvenient for the child itself.
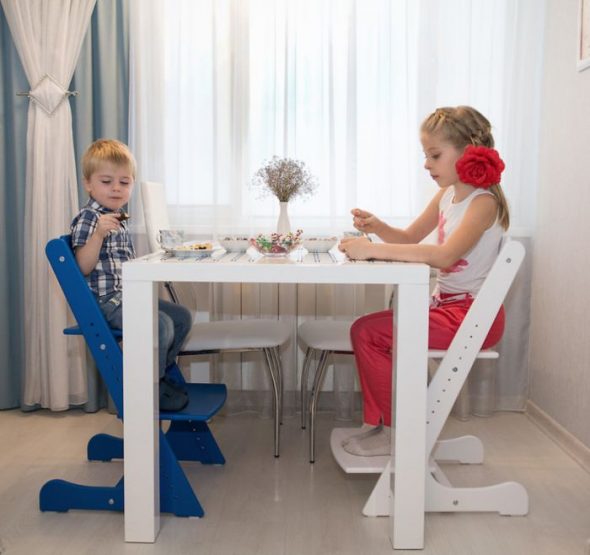
The shape of the parts can also be arbitrary - square, semicircular or oval.
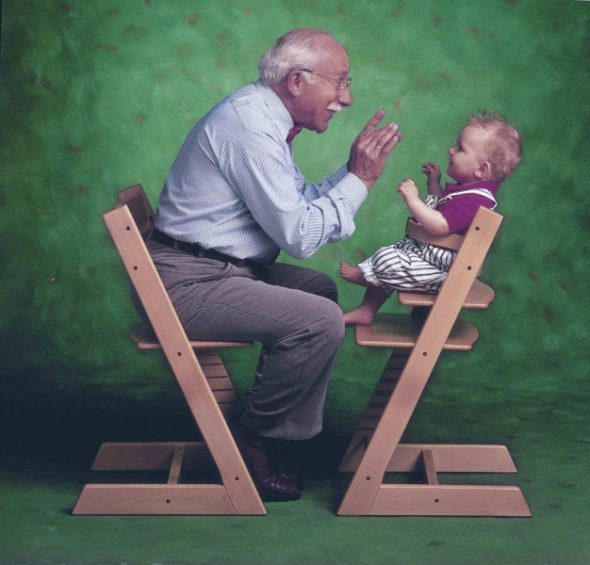
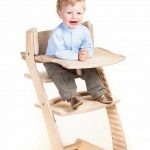
A growing chair for small children can be additionally equipped with armrests and a safety front crossbar so that the child cannot fall down from it.
Step by step assembly instructions
Having prepared the mold, materials and tools you can safely get to work. Remember - work does not tolerate haste and fuss. An experienced master knows that it is necessary to measure several times, weigh everything and then cut it off.
Stages of work.
- We apply the mold, made according to the drawing, to plywood and cut the first part of the side legs. It is necessary to make the workpiece with a small margin of a few millimeters. This stock will prevent flaws when cutting.
- Using a copy milling cutter, we bring the workpiece to the ideal size.
- Cut three more legs with a margin.
- Fold all four legs in a pile.
- On the first perfect detail we grind the remaining three legs. This approach will save time for grinding.
- We glue between each of the two blanks and give them to dry.
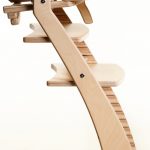
- Milling cutter perform grooves on the inside of the legs. The dimensions of the groove should be in a depth of 10 mm. And 24 mm in width. This groove plays a key role in further adjusting the positions of all elements.
- Exactly in the middle of the groove, it is necessary to make through holes in which the seat and footrest will be fixed. It is necessary to make holes at equal distances from each other. It is important to place a bar under the leg when drilling to avoid chipping and deformations on the outside.
- Cooking runners.Slider allows you to lock the seat or footrest in the desired position. They need 4 pieces - two on each side. Runners should correspond to the size of the legs and not look out of its limits - height is 20 mm. And width is 24 mm.
- In the slider, all corners and edges are rounded, and a chute is made in the center. The chute is intended for further pasting into it of the rail, which will be inserted into the groove of the leg.
- The rail must be made on the basis of the width of the chute into which it will be inserted on one side and the groove on the other side.
- The runner and rake are glued and dried.
- In the slider a hole is made for the bolt that will fix the selected position.
- Next, cut back and footrest. The dimensions of the seat for the child are chosen independently and depend on his age and the calculated stock. The shape of the parts can also be arbitrary - square, semicircular or oval.
- The next step is made back for a chair. The back can have a wide continuous surface or be made of several slats of various sizes.
- Do not forget about the cross bar, fixing the legs in the bottom.
- Finished parts are not assembled by the final method, but rather by baiting. This will help assess the final result and identify flaws that need to be fixed.
- If the chair for the child corresponds to the initial plan and drawing, it is necessary to disassemble it and to do the final processing using sandpaper. We clean the surface, preparing them for painting.
- Paint color is chosen independently. Some craftsmen prefer to make a primer, and then varnish, thereby emphasizing the existing pattern of the tree. Plywood, however, is better to paint, because it does not have a uniform external pattern.
- Dried parts are assembled and ready for use.
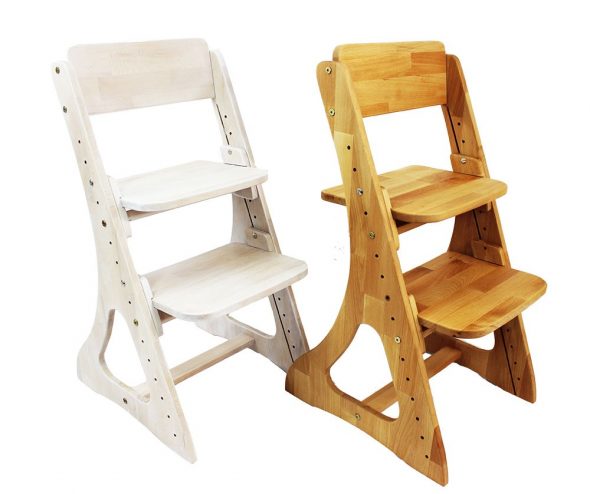
The seats, footrest and backrest can be made of 22 or 16 millimeter plywood.
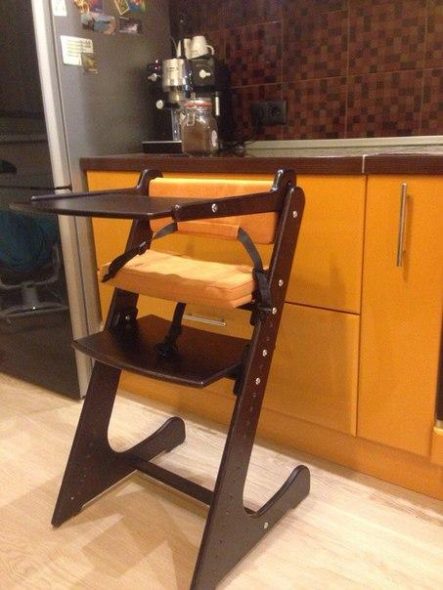
These parts can be mounted with bolts, and subsequently removed from the chair.
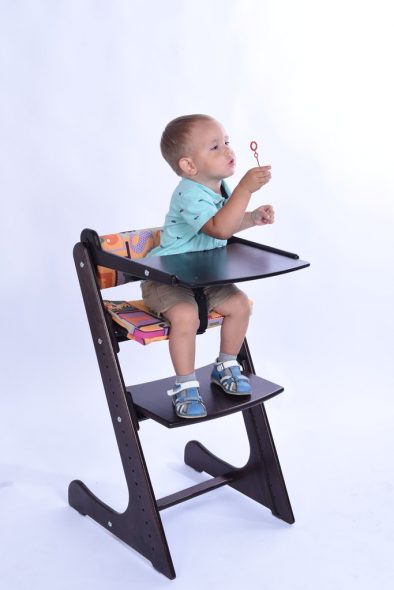
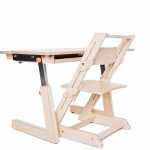
Armrests are not needed for classes at the school table, as the hands are always on the table.
A growing chair for small children can be additionally equipped with armrests and a safety front crossbar so that the child cannot fall down from it. These parts can be mounted with bolts, and subsequently removed from the chair. Armrests are not needed for classes at the school table, as the hands are always on the table.
Fastening parts of the chair for a child are made using hex bolts and furniture hidden nuts.
Plywood, however, is better to paint, because it does not have a uniform external pattern.
VIDEO: Growing up chair Humpbacked Horse
50 photo ideas how to make a growing chair Fad Gorbunek do it yourself
 Making a highchair with your own hands: drawings, sizes, diagrams
 What should be a chair for a first grader
 How to make the restoration of a Viennese chair with your own hands. Tips and workshop
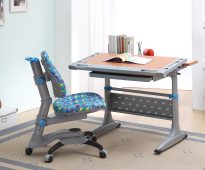 Choosing a comfortable orthopedic chair for the student
 Padding of chairs: from intention to result
 How to make a folding chair with your own hands
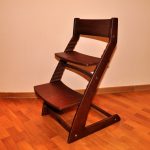



 An overview of bed accessories: types, materials and functionality29
 The current trend of IKEA - wardrobe-bed transformer21
 Safe sleep with a side for a children's bed from Ikea16
 What to choose: the orthopedic basis for a bed or flat continuous?13
 Lifting bed with sofa: advantages and disadvantages8

