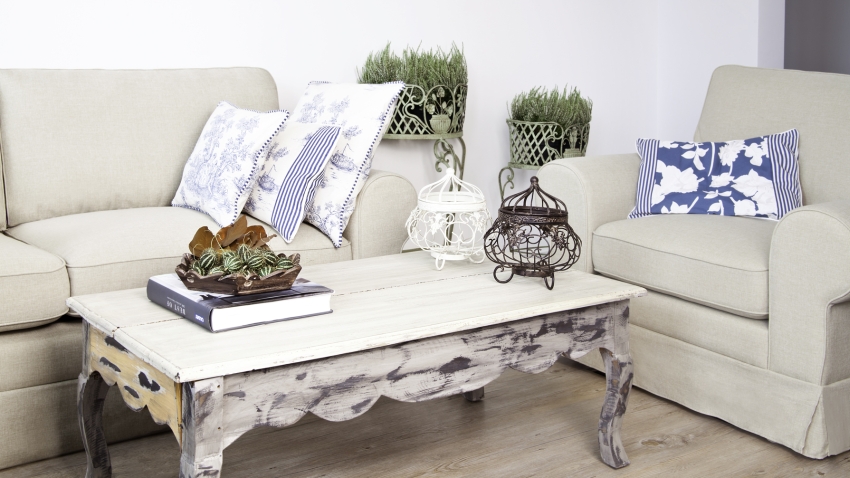
 How to paint the table yourself?
Attaching the table legs to the tabletop
The table is a necessary attribute of kitchen furniture. Today, manufacturers of tables for the production of used a lot of materials. There is a great variety of leg shapes for the table, there are more than twenty of them. In the traditional version has four legs. In most cases, for standard models, the shape of the tabletop is square or rectangular.
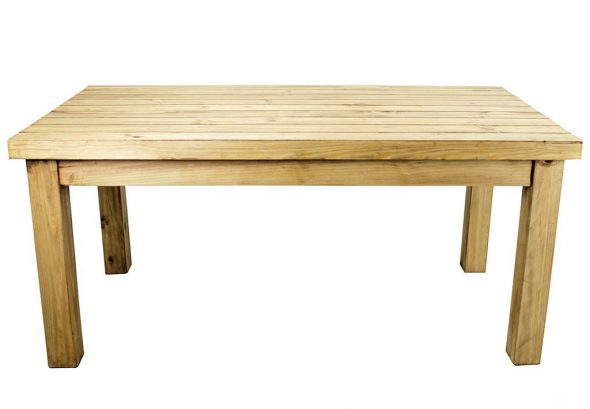
Rectangular wooden dining table with four legs
A table with three legs is usually round. It can be used as a small coffee table or as a dining area.
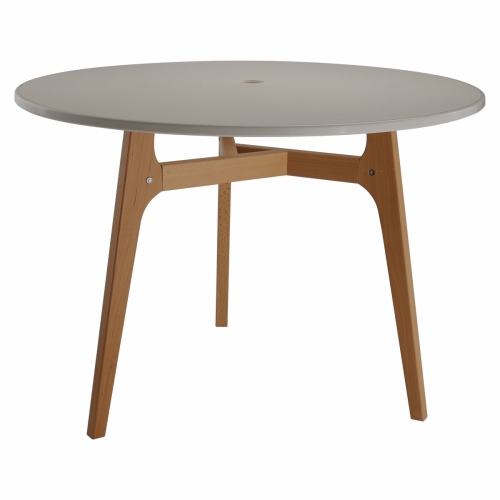
Round wooden table with three legs
They produce tables with two legs, they can be of different types, but models with two X-shaped legs or durable, made of solid wood are mostly common.
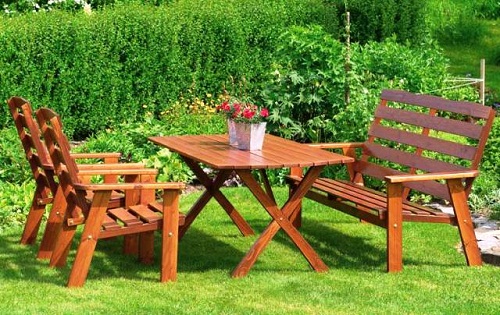
Wooden table with X-shaped legs complete with chairs for the suburban area
Content
Mounting methods
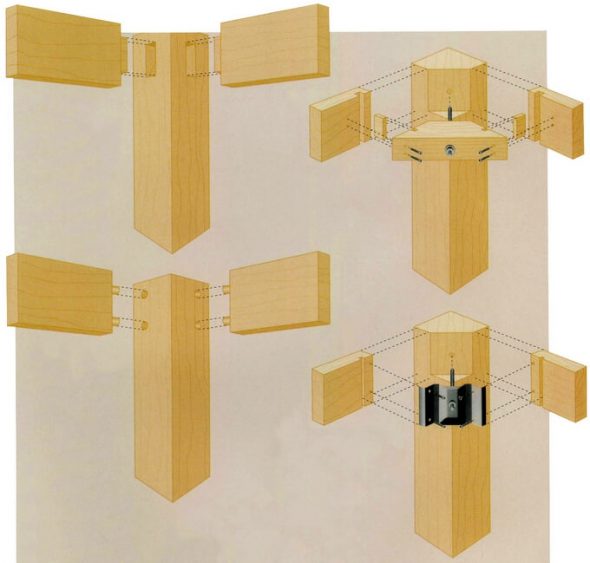
The legs of the table are fastened to the support side bar, and they are in turn secured to the tabletop.
Many craftsmen know that improperly fixed legs are the root cause of the fact that the table will swing and stand tilted. There are regulatory supports that can correct a large percentage of the slope, but still, high-quality assembly is of paramount importance.
There are several options for attaching legs to the tabletop:
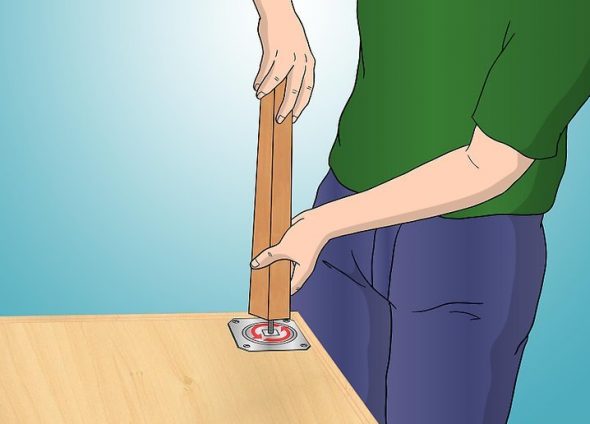
Attaching legs with surface plates
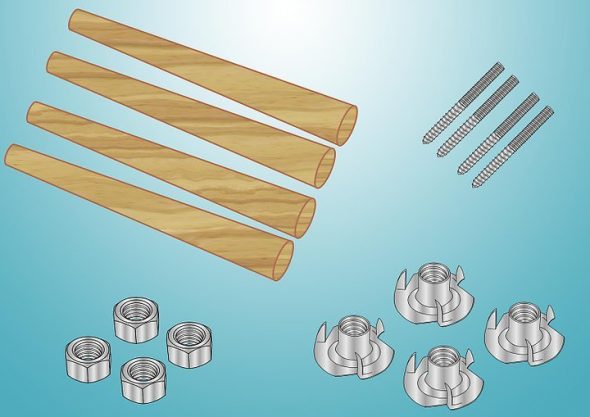
Attaching legs with T-nuts
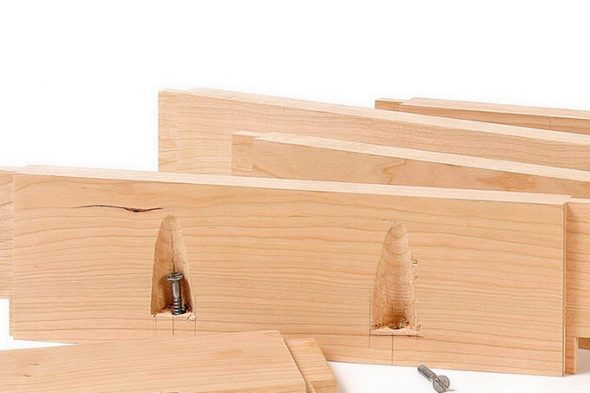
The option of attaching the table top to the table flanks without using additional fittings with screws
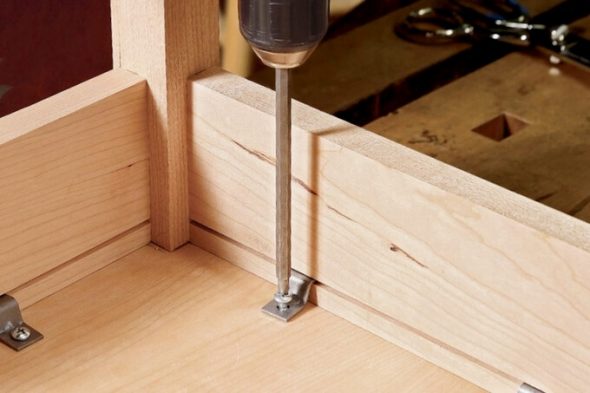
Using small metal Z-brackets is another popular way to mount a tabletop.
| Fixing surface plates | Suppose you bought the legs without the corresponding fittings. To install them, you will need bolts with eyelets and eyelets for larger tables and bolted for smaller ones. |
| T-Nut Fixing | This mounting option is suitable if you intend to restore the front plane of the table and thus give the interior an updated look. You must have T-nuts, eye-bolts and eyelets. |
| Screw mounting | This is a common and time-tested method of attaching the table surface to the bars without the use of auxiliary fittings. Suitable for furniture classic option. |
| Application of Z-shaped holders | Using small iron Z-bindings is another popular method of fixation. The main advantages of this method are low cost, simple and reliable installation. |
| The use of wooden clamps | Easy and durable method of attaching worktops without the use of purchased fittings. They are similar to Z-shaped holders. They are made of any scrap, it is enough to observe the orientation of the fibers. |
| Use of Eight Holders | These metal fasteners are widely used when attaching the table top. They are of two types - with washers of the same and different size. |
| Using grooved struts | In this case, 2 or 3 auxiliary struts with rectangular slots, which are 10–15 mm long, are attached to the sets' arches. |
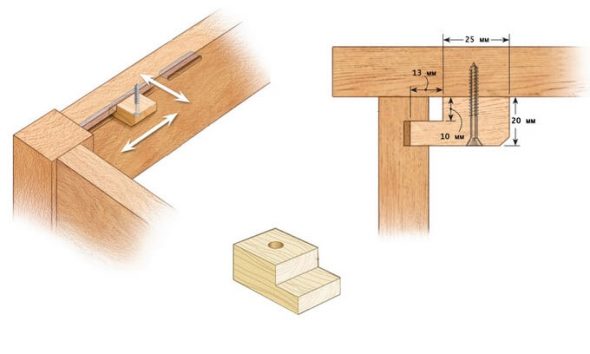
Using homemade wooden clips is a simple and reliable way of attaching the table top to the base without the purchase of accessories.
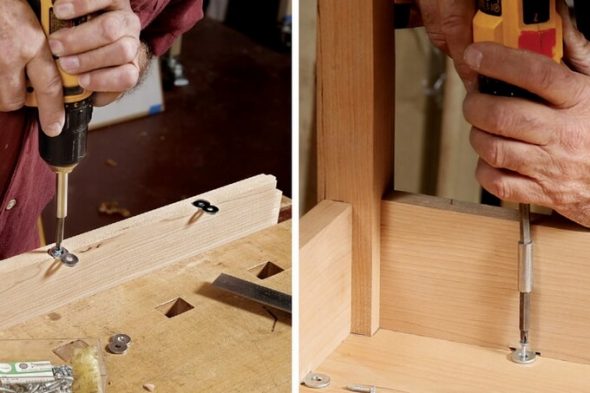
Steel eight fasteners - option using inexpensive hardware
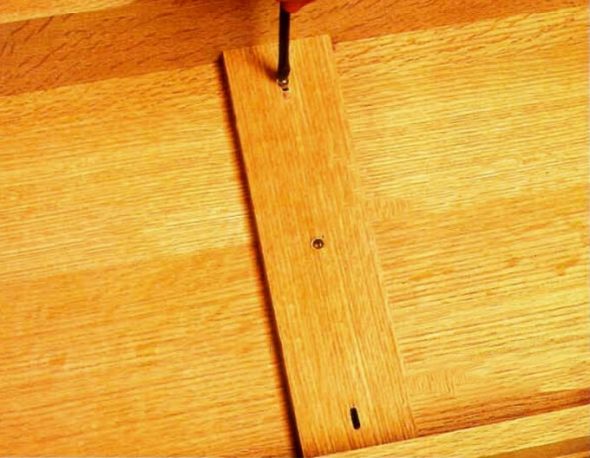
In this case, two or three additional struts with rectangular grooves 10-15 mm long are attached to the headsets of the headset.
Necessary materials
The materials used for the manufacture of tables, the most different, tell you about some of them.
- Arrays of different wood species are suitable for this, for example, conifers, oak, etc. If you are a novice master, it is better to use pine, as it is easy to process. It should be remembered that such furniture burns out, absorbs odors, liquid, does not tolerate temperature changes. Of the benefits - the material is environmentally friendly, strong, looks elegant.
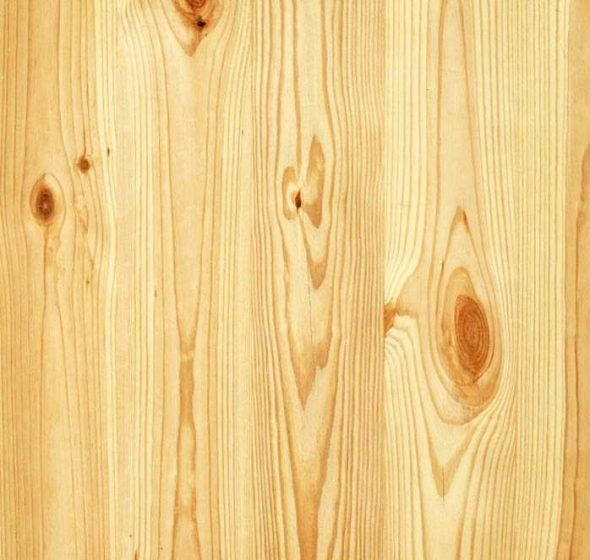
Solid pine for making the table do it yourself
- Chipboard - quite popular material for the production of furniture. At production dry chips and pitch are used. Among the shortcomings can be noted environmental risks. The advantage is a relatively cheap price.
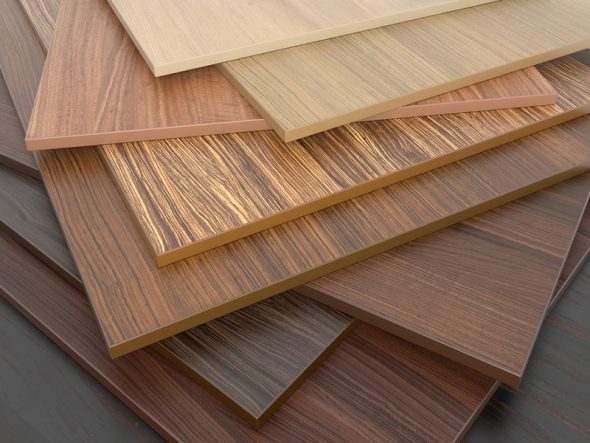
Chipboard - an inexpensive version of the material for the manufacture of the dining table
- MDF - more environmentally friendly than chipboard, but also more expensive. In the manufacture of wood chips, carbide resins, modified melamine. The disadvantage is that it ignites freely; there is a risk of fire even from rapidly heating objects.
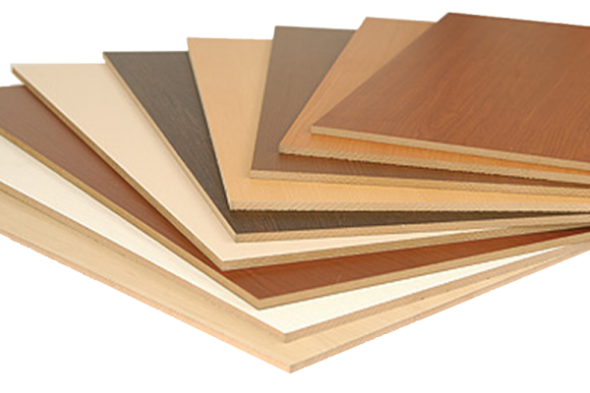
MDF is suitable for making the table, it is better and more environmentally friendly.
- Furniture board - the exact opposite of MDF and chipboard. Reasonable price equivalent, the material is durable and environmentally friendly. Make of the stuck together bars tightened by a press.
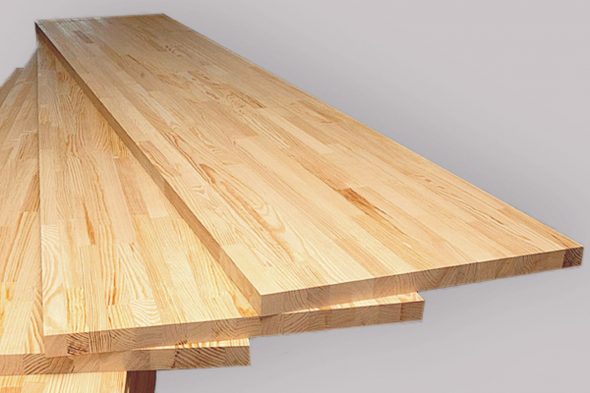
Furniture shield - square or rectangular sheets of wood, which are made according to the method of gluing together wooden blocks in width or length
- Metal - in most cases, used stainless steel. Such a cost would be expensive, but such a table would attract attention.
Stainless steel products are unpretentious in care, durable, practical, versatile in use.
These materials are suitable for both tabletops and legs. Do also plastic legs, chrome, forged. When choosing, rely on your preferences.
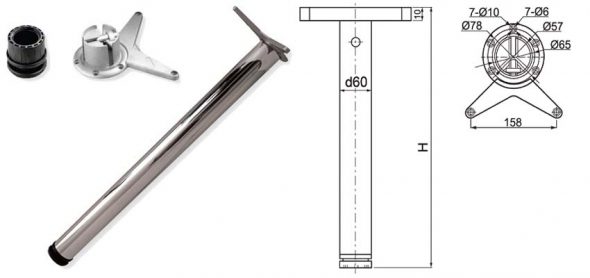
Chrome furniture support for side-mounted tables
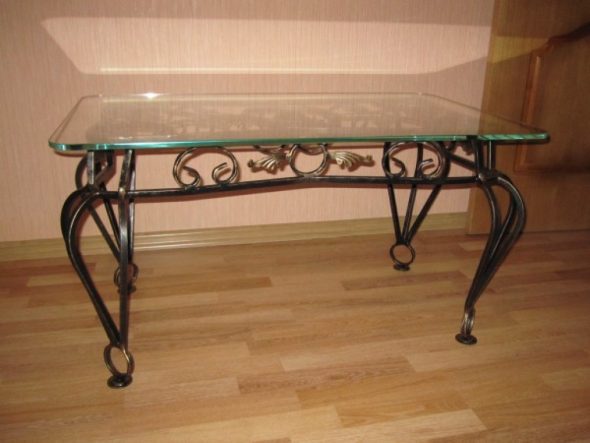
Coffee table with wrought iron legs
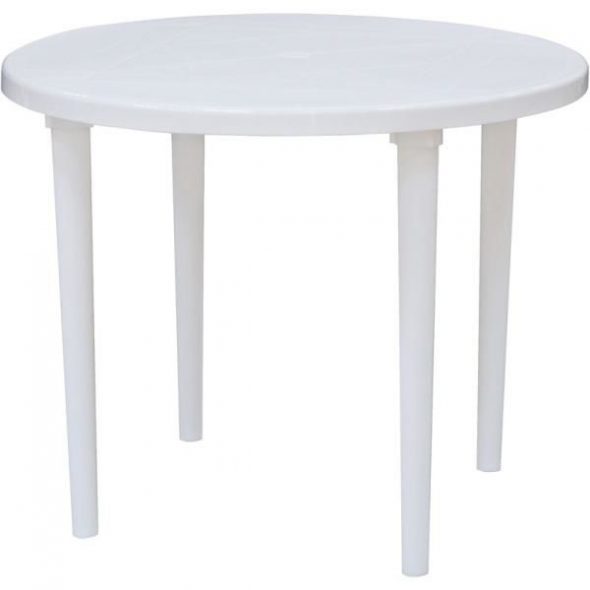
White plastic round table for the street
Required Tools
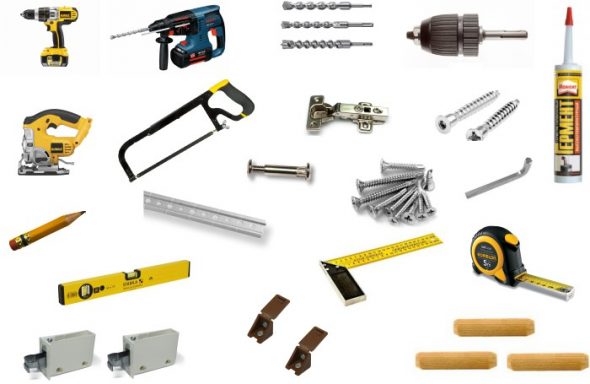
The necessary set of tools for the manufacture and assembly of the table
Such tools are necessary for manufacturing: plane, grinding machine, jigsaw, saw, drill, drills, sandpaper, screwdriver, self-tapping screws, glue, dowels, clamps, tape measure, pencil, protective equipment - glasses, gloves.
Manufacturing process: step by step instructions
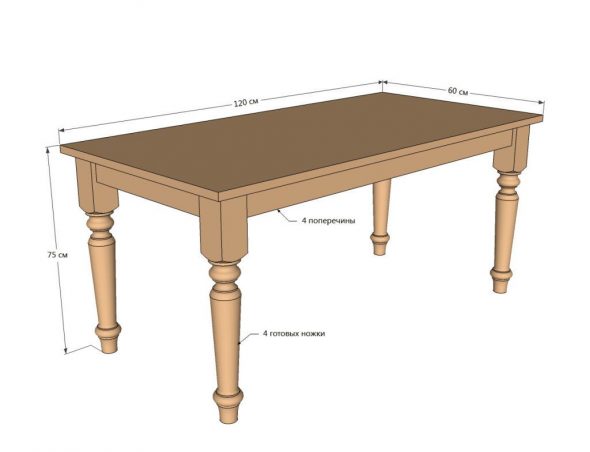
Drawing of a wooden table with four legs
First, without fail, you need to make a drawing. Decide what legs you will mount - purchased or make yourself. The form can be any.
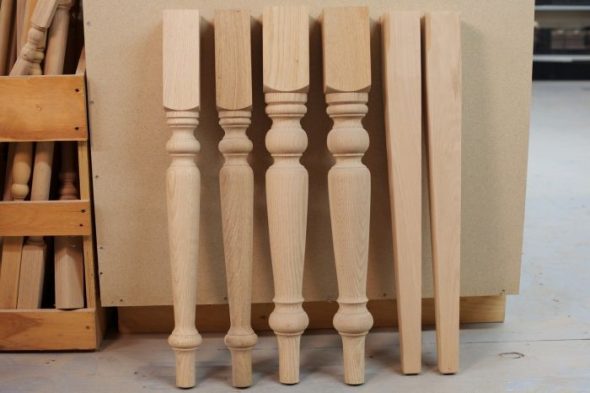
Figured balusters or legs for homemade table
If the table top is 0.8 m wide, then the legs should be 1.2 m long. In order for the table top to be smooth, process it with a grinder. There should be no gaps between the joints. To the tabletop is not deformed by high humidity, the board must be laid counter texture.
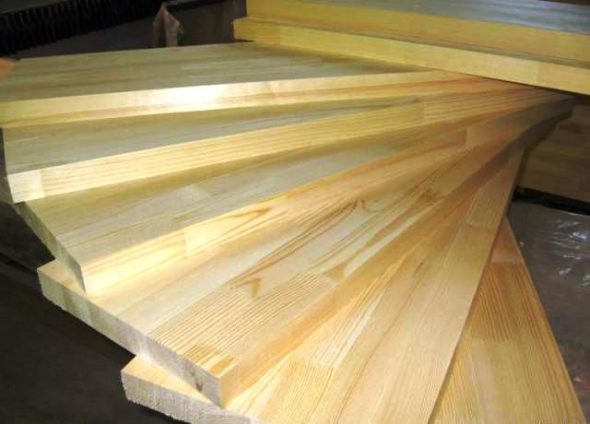
Boards for worktops not less than 30cm thick
At the ends of the boards to be joined, you need to drill holes 8 cm deep, the gap between which is kept in the range of 10-15 cm. We prepare the prepared places with sandpaper and grease the edges, the dowels and the holes. We put the dowels in the holes, so we connect the tabletop. Remove excess glue.
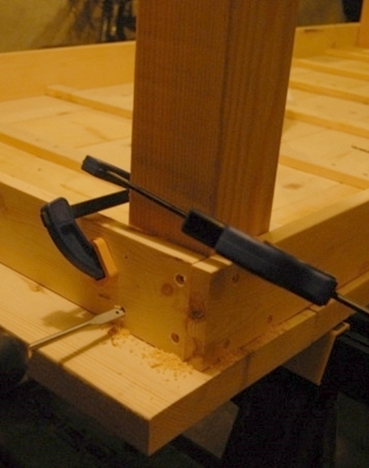
Option of attaching legs to a wooden table
Using glue and screws, we connect transverse and fractional boards with legs. On top of the last we make two grooves to attach the countertop. We are waiting for twelve hours and mount it.The structure is covered with varnish, stain or paint.
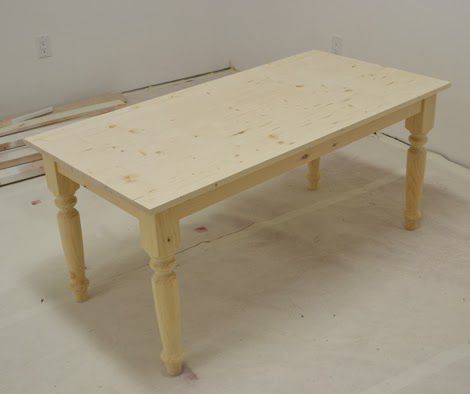
Table with fixed table top, frame and legs
Important! When applying the stain, consider the following: correctly choose a thinner, the surface before the coating should be carefully treated with sandpaper, the main thing is to properly adjust the pistol (the shape of the torch should be oval, and the layer that you apply should block the existing one by half).
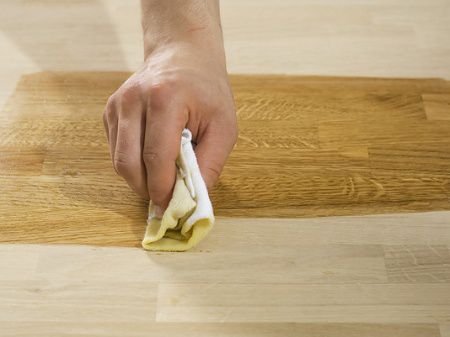
We varnish or wax to protect the top layer
After reviewing the mounting options legs to the tabletop, you will not be difficult to make a table with your own hands, thereby updating the interior of such an original thing.
Video: Tabletop from an array. My mounting option
 How to paint the table yourself?
 Why do I need a table with height adjustment
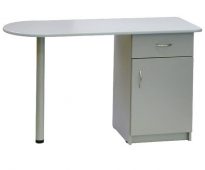 We make a manicure table with your own hands
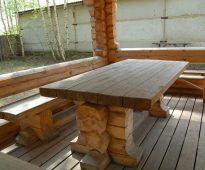 We make a table in the gazebo with their own hands
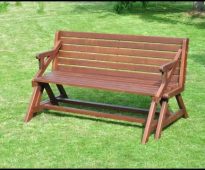 We create a table-bench transformer with your own hands
 We make a table from solid wood with our own hands: from the choice of material to the final assembly


