 A table can be a console: do it yourself
The concept of a console table appeared during the reign of Louis the fourteenth. In those days, these interior items were very popular, they are no less in demand in our time. Console ...
Dining table transformer milky color for guests
For a small apartment, furniture such as a transforming table is indispensable. It is easy to turn it from a compact coffee table into a full-fledged dining table for several people.
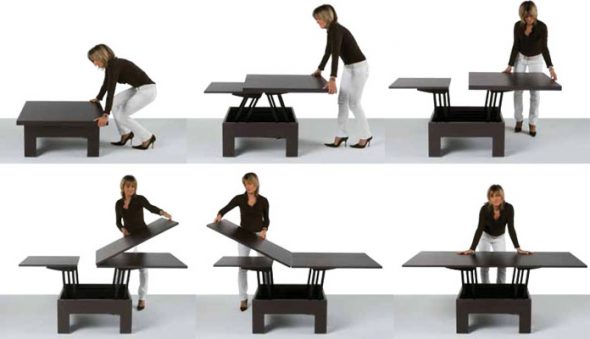
Coffee table easily turns into a full table for receiving guests
Read our instructions and make sure that the assembly of the transformer table is very simple.
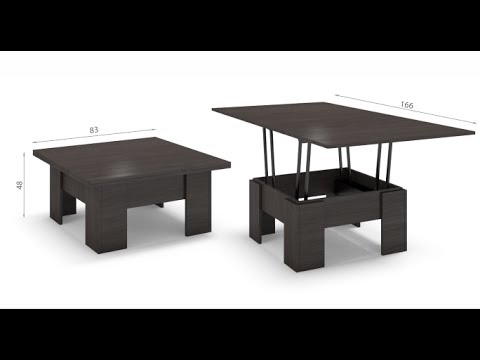
Dining and coffee table options with transformer size
Content
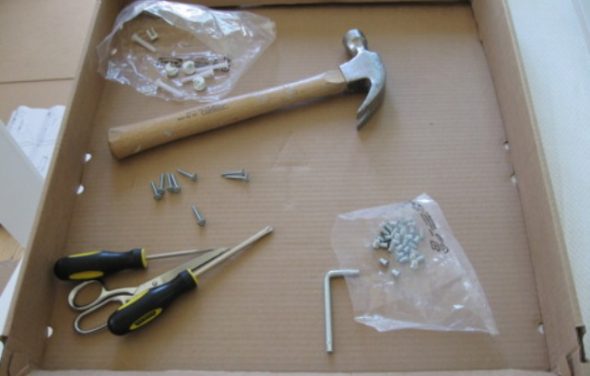
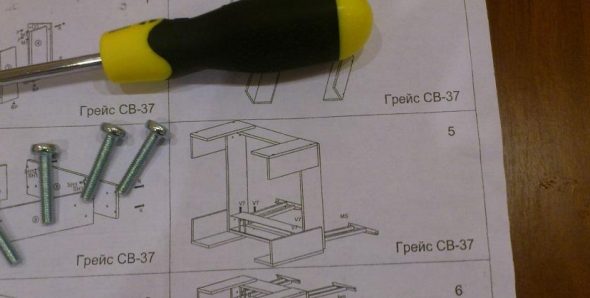
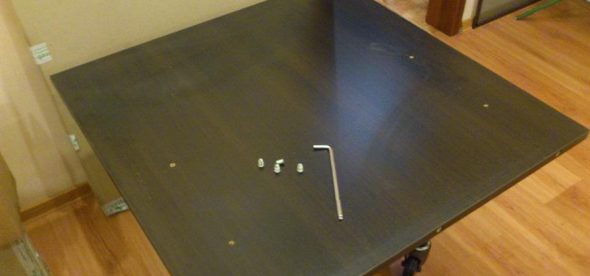
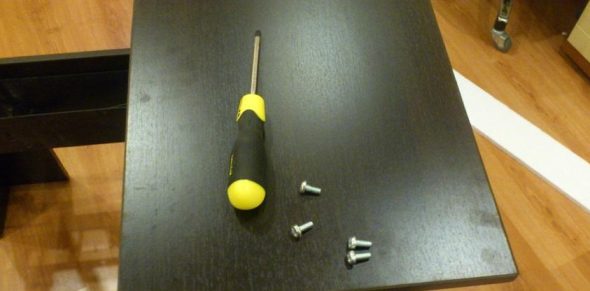
Necessary tools for furniture assembly
To successfully build a transformer, you will need:
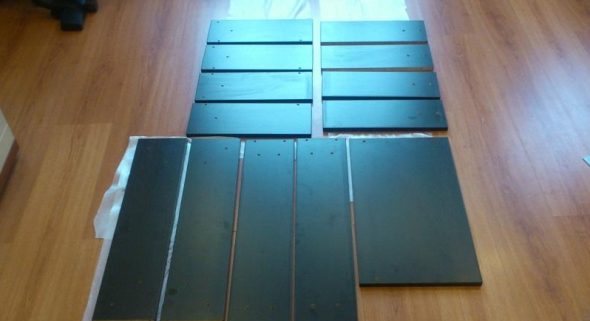
Detail of the frame of the table and its legs
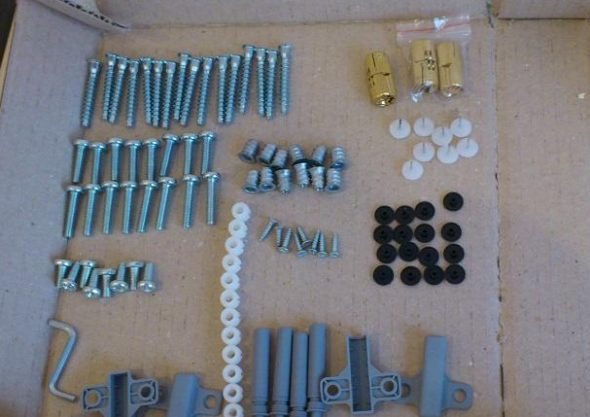
Box with fittings and fasteners
Despite the many offers on the furniture market for most manufacturers, the process consists of the following steps:
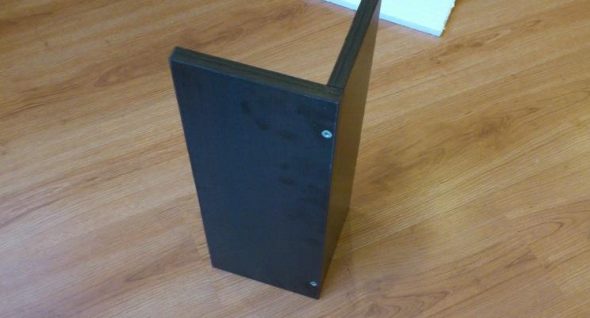
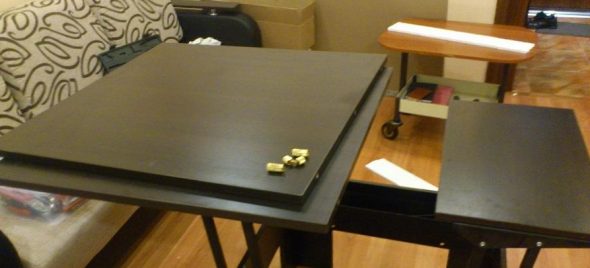
We collect the corner legs of our table
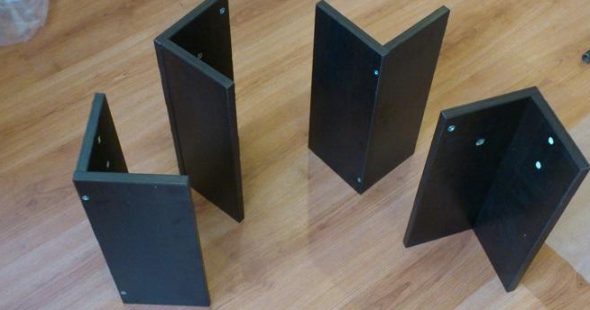
All legs for a table transormer assembly
The angular legs of the two halves are connected with screws or eccentrics. In the same way collected from the long and short corpus corpus.
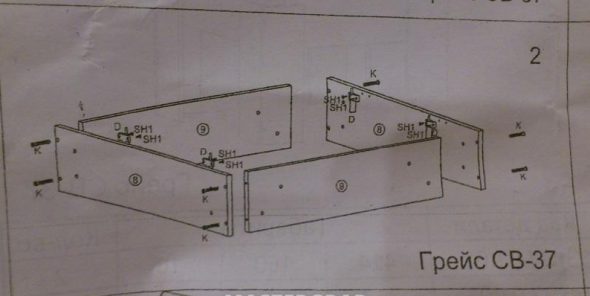
Enclosure assembly scheme

Detailed housing assembly process
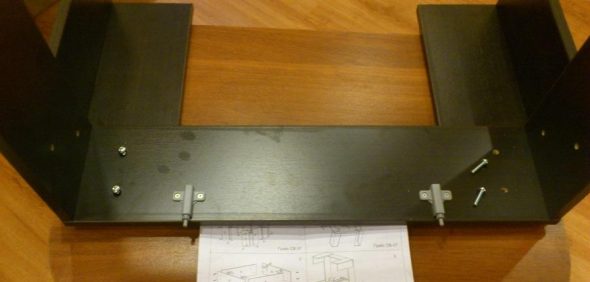
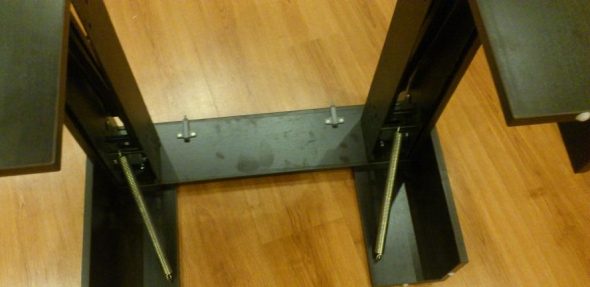
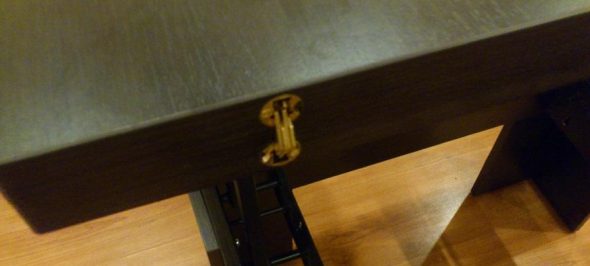
We fasten the legs to the body according to the instructions
IMPORTANT! On the legs and tsarg made special holes designed for the simultaneous installation of the lift and screed the entire structure. Check after assembly if they match.
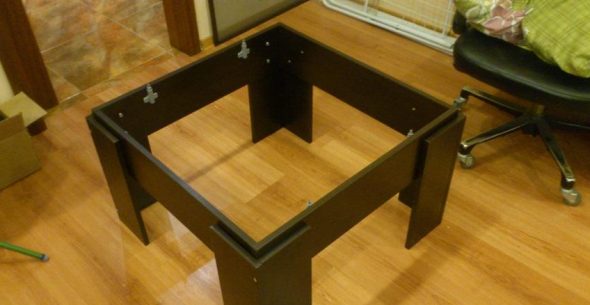
Base with feet
Nail the plastic heel to the lower ends of the legs. At the upper ends of the tsar install shock absorbers, softening the impact of the tabletop when it is folded.

We nail the heel pads
Installation scheme of the lifting mechanism
Bring the lift into position. For this:
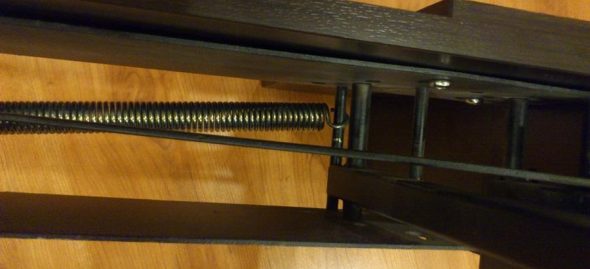
Spring in working condition, attached to the mechanism
Fixed springs for the operation of the transforming table mechanism
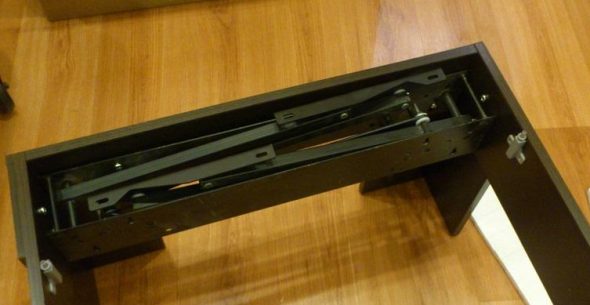
The mechanism is in a quiet, undecomposed state.
IMPORTANT! The legs of the holders designed for the folding tabletop are higher than those made for the underframe.
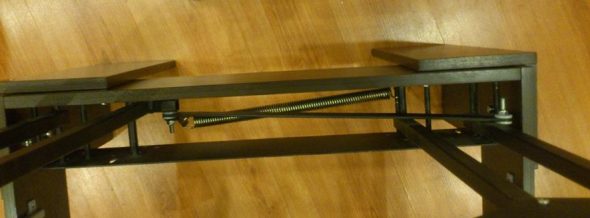
The mechanism of bringing the table to the top position
Mounting a smaller part of the tabletop
We install the base for a large part of the tabletop
Screw the bottom flap of the worktop book and the base to the holder platforms. From the outside of the underframe, install shock absorbers to dampen the impact when unfolding the table top. Move the legs of the lift into the box with a movement from inside to inside. It closes the bottom of the tabletop.
Fix the upper movable part of the tabletop
Place the second half on top so that the end holes for the hidden hinges are on one side and their center distance is minimal (about 14 mm). Carefully insert the hinges and secure with screws.
Hidden hinges for fixing the table in the assembled state
The table you have assembled will last a long time.Do not forget once a year to tighten its fasteners, clean the surface with a dry soft cloth or a special polish for furniture.
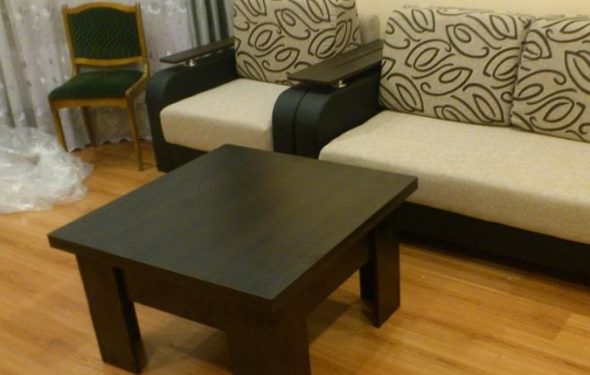
Coffee option or table folded
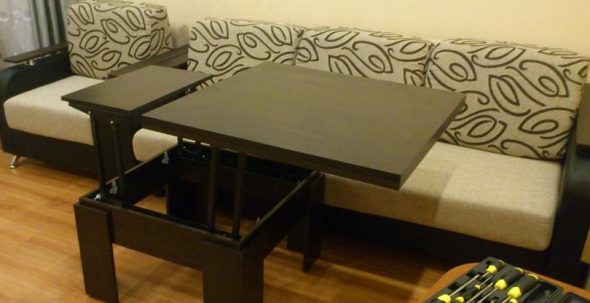
The process of transforming a table from a coffee table to a table for receiving guests
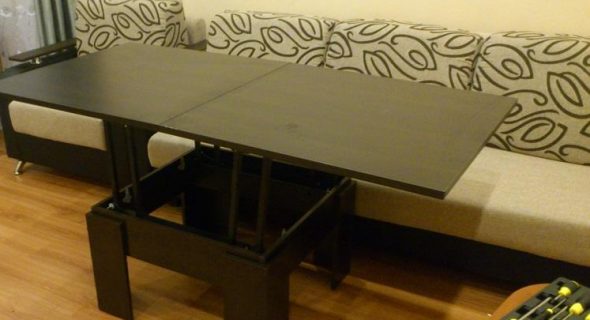
Dining option or table unfolded
A table can be a console: do it yourself
 Round table do it yourself
 Table windowsill - the perfect solution for any room
 What should be the height of the table for the child
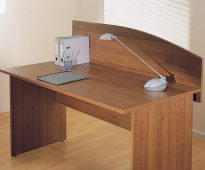 How to make a computer desk with your own hands
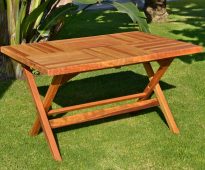 Making a folding table with your own hands
 To collect the dream apartment


Is there a slack on the edges of the tabletop ??
No, it does not sag, there are supports