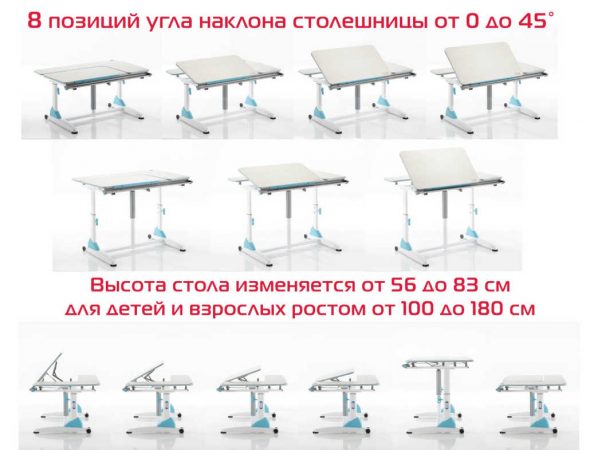


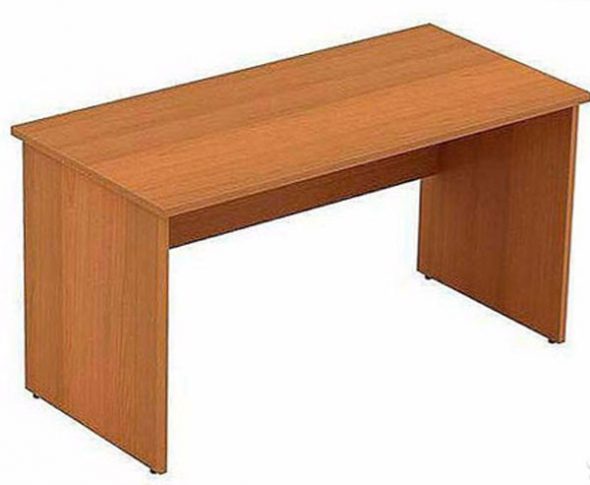
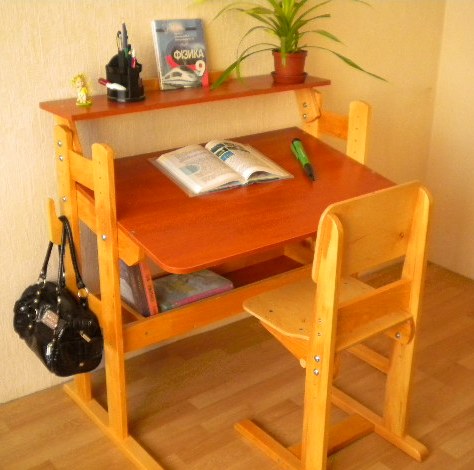
 Making a desk with your own hands: the manufacturing process
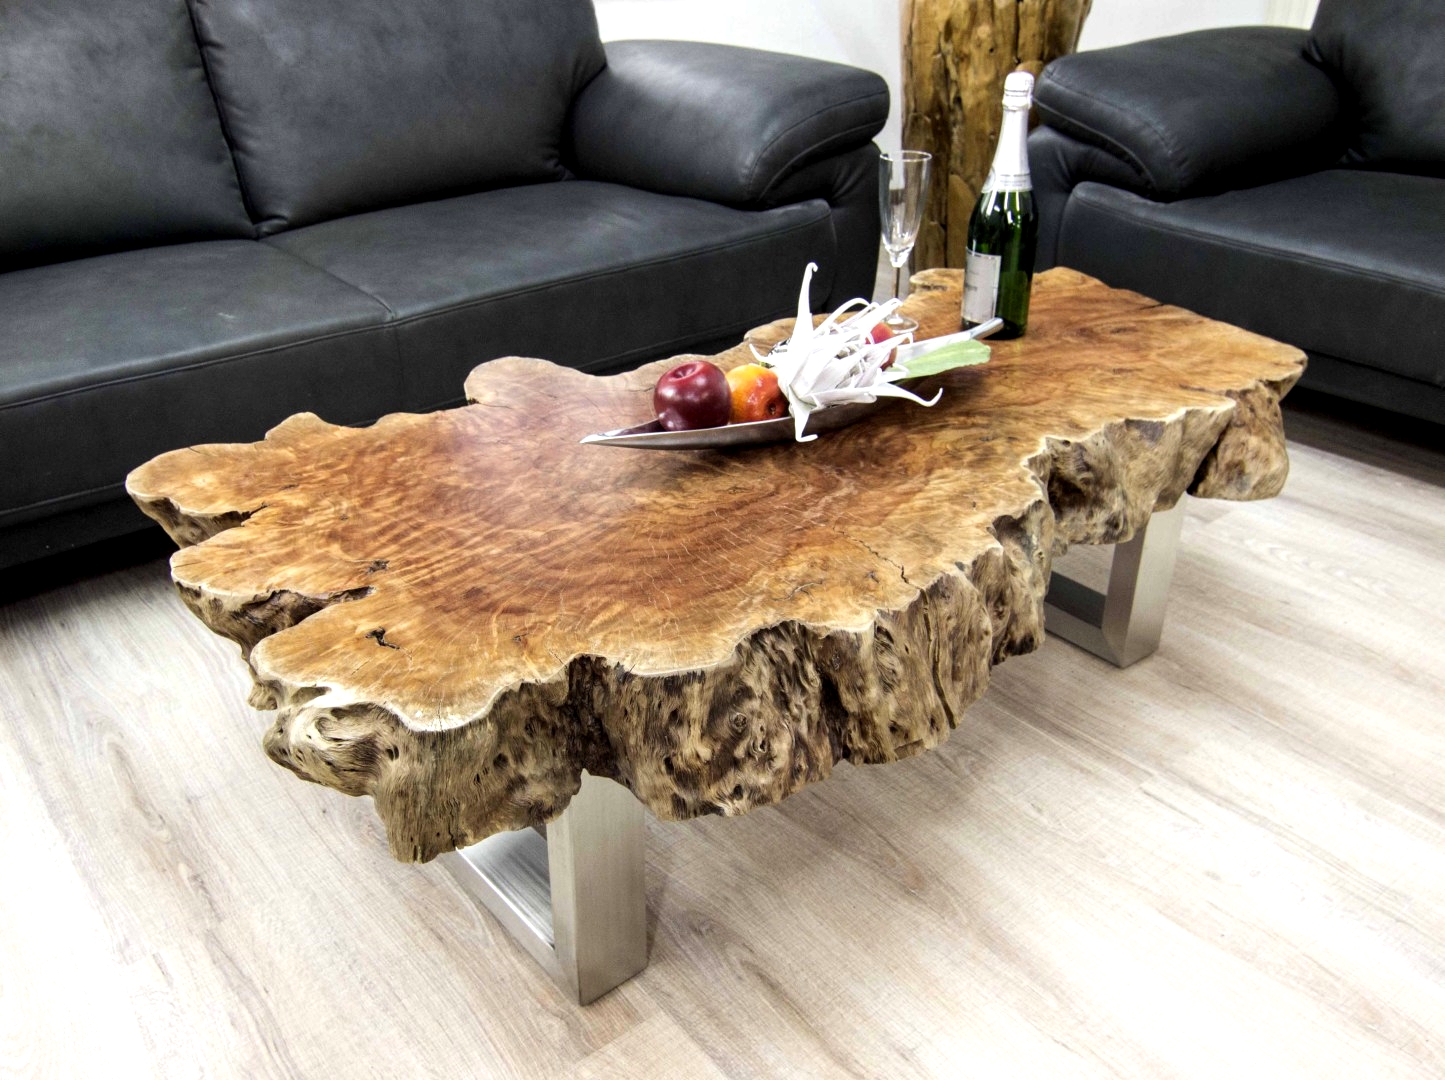
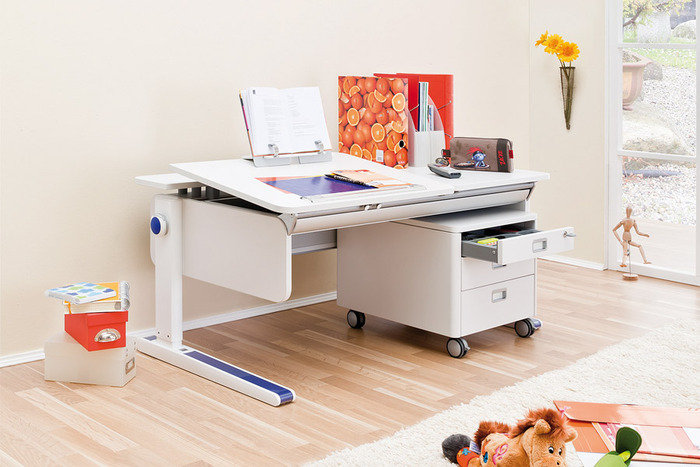
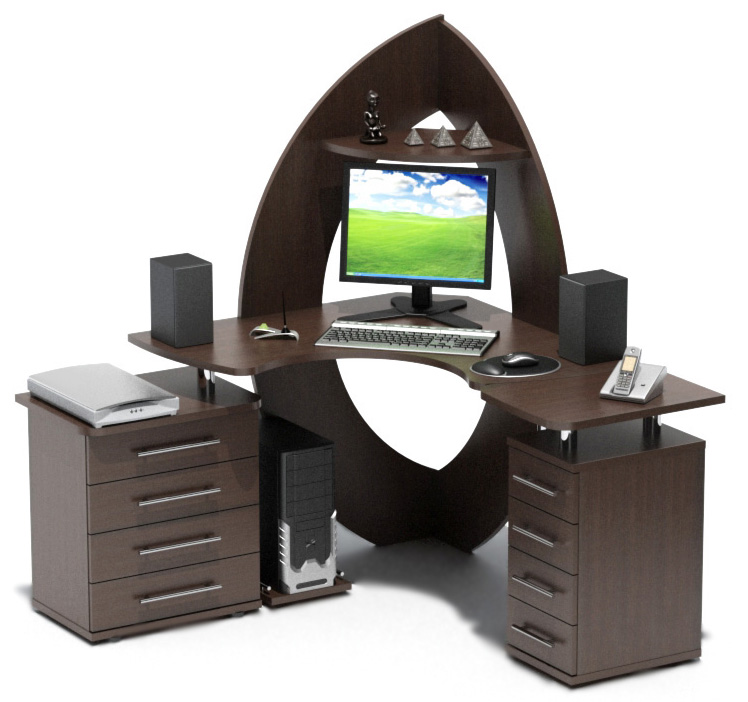
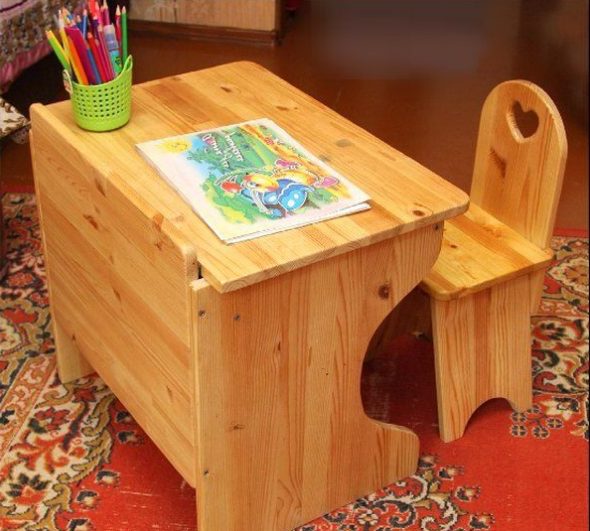
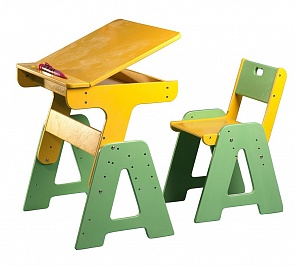
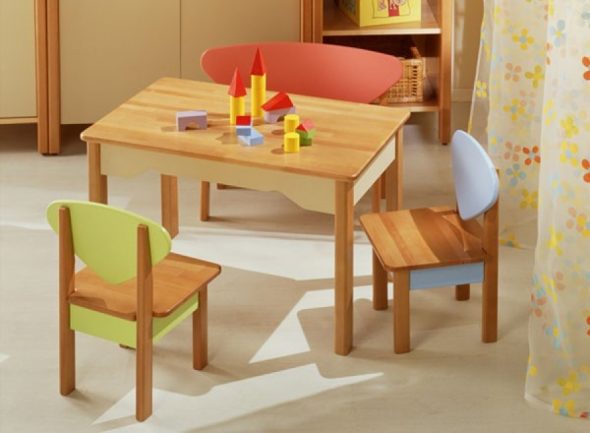
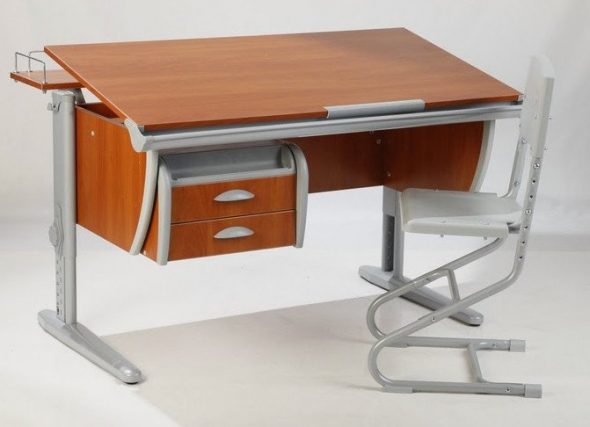
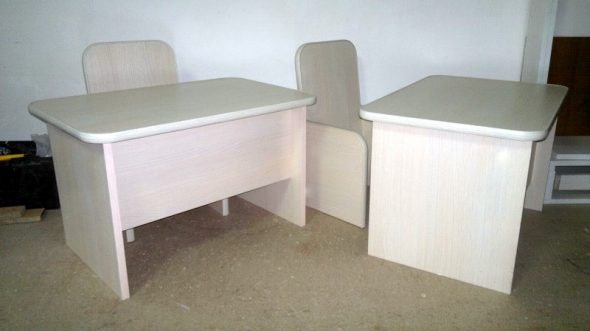
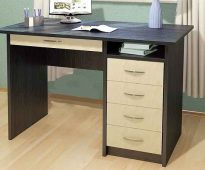
Today the market offers the broadest selection of furniture of various designs, various models and purpose. Manufacturers take into account the financial capabilities of buyers, so in furniture stores you can ...