

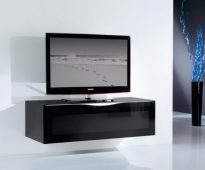
 How to make a shelf under the TV on the wall with your own hands
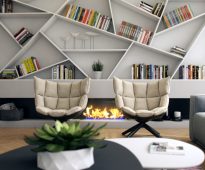
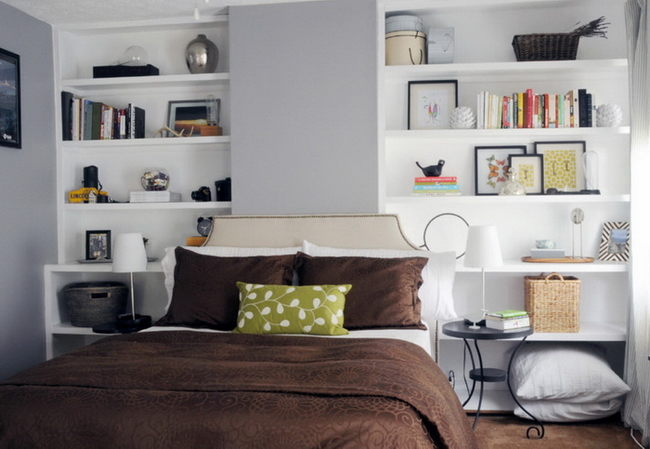
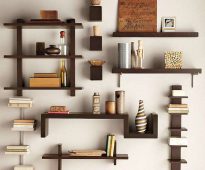
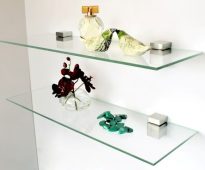
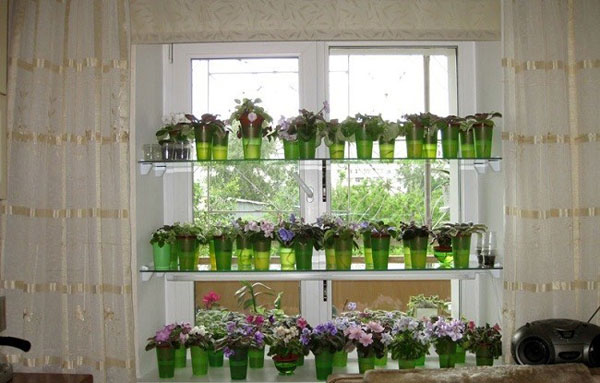
In each apartment you can find a variety of shelves, intended for placement of equipment and various accessories: books, photos, souvenirs. It is preferable to have such shelves in ...