How to make a rack of cardboard do-it-yourself

Furniture made of cardboard is an original, affordable way to transform unnecessary material into an unusual, charming thing. Appearance it is almost no different from the furniture purchased in the store, but will cost much cheaper. In the presence of cardboard boxes, you have to buy only paint and glue. Observing certain rules for processing the material, cardboard interior will be very strong and do not bend under the load of objects.

shoe rack

Furniture made of cardboard is an original, affordable way to transform unnecessary material into an unusual, charming thing.

Pros of self-made cardboard shelves


  • Elegant design - you design a thing with your own hands, relying on personal preferences.
  • Practicality - it will be necessary to spend money only on the purchase of the necessary tools.
  • At any time, cardboard furniture can be disassembled and re-folded, which is very convenient when moving or during repair.
  • You do not have to spend time searching for a practical, attractive thing that is ideal for an interior.
  • Cardboard furniture does not contain harmful, toxic and other hazardous substances.
  • Durability - the life of the cardboard furniture will be long-term if it has not been exposed to moisture and has been properly processed when it is created.
Mastering cardboard furniture

Observing certain rules for processing the material, cardboard interior will be very strong and do not bend under the load of objects.

On the eve of the first steps of work, it is necessary to decide on the design and construction of the shelf made of cardboard, it can have a classic shape, be in the form of a rack or some shape (elephant, bear, other animals or images) - everything depends on your imagination and abilities. The simplest, accessible to each option is the classic or shelf-rack, because its creation requires a minimum of skills. More difficult to manufacture are unusual, curly shelves. They need a creative approach, in most cases - the ability to draw, require more time to create.

Rack of cardboard

Elegant design - you design a thing with your own hands, relying on personal preferences.

Note! You should not use cardboard racks in places of high humidity (bathroom, street), because they quickly lose their original appearance, become unusable. It is also necessary to protect furniture from fire, it is very flammable.

Shelves made of cardboard - stylish, practical

Practicality - it will be necessary to spend money only on the purchase of the necessary tools.

Cardboard products are best attached to each other with special plastic clips, and not to glue them together. In this case, it is easily understood.

cardboard rack

At any time, cardboard furniture can be disassembled and re-folded, which is very convenient when moving or during repair.

In order to increase strength, in a box of thick corrugated cardboard, insert a second, slightly smaller one.Then the structure will acquire sufficient rigidity, will be able to withstand serious loads.

functional shelving

You do not have to spend time searching for a practical, attractive thing that is ideal for an interior.

Useful recommendation: instead of paint, you can use wallpaper or fabric. Thus, your product will suit any unique interior or give it such appearance.

Rack for the nursery from a cardboard

Cardboard furniture does not contain harmful, toxic and other hazardous substances.

storage rack

Having shown your imagination, creativity in full, you will create a unique masterpiece of interior that your family and guests will admire.

The necessary materials and tools


  1. Cardboard. It should be understood - the thicker the material, the stronger the furniture will be. There is an opinion that the dark color of the cardboard indicates its high density and vice versa - light cardboard is thinner. However, do not rush to get rid of thin material, it is useful for pasting joints. Either thin cardboard paste together, thus getting thick. If you use this method, glue the waves of each subsequent layer perpendicular to the previous one.
  2. Scotch and glue. Any type of application is acceptable, but the best option would be Moment glue. Due to its properties, the cardboard does not get wet, all the necessary parts are quickly and securely fixed.
  3. Kraft paper is used to strengthen the edges of the furniture, instead you can use thin cardboard.
  4. White paper or tracing paper. Stick it over the entire surface for ease of decoration. Please note: before sticking tracing paper or kraft paper, it must be torn, not cut.
  5. Materials for decorating the finished product - paint, wallpaper, fabric and everything else that your imagination wants.
  6. Pencil, tape measure for measuring and tracing details.
  7. Office knife or jigsaw. Follow the sharpness of the tool, it depends on the accuracy and quality of cutting. Replace fixture parts more often. Using the jigsaw, you can cut several layers of cardboard.
  8. Sandpaper is useful for sanding cuts.
  9. To dry the glue faster, use a simple or construction dryer.
We make a rack for toys with their own hands

Durability - the life of the cardboard furniture will be long-term if it has not been exposed to moisture and has been properly processed when it is created.

Cardboard Shelving Guide


Idea number one. Shoe rack


  1. You will need sheets of cardboard measuring 21 × 24 cm. Distribute them into 3 identical strips.
  2. With the help of a blunt knife, you need to carefully push the strip so that they bend. Then you can glue the long sides of the sheet with colored tape. Next, from the sheets make triangular oblong shapes, fix them with duct tape.
  3. So make the number of triangles you need. To fix such shelves, you need to glue the resulting triangles with double-sided tape or glue to whole sheets of cardboard. The required number of rows and sections you choose at your discretion.
  4. Instead of triangular sections, you can create oval, connecting them also together. Calculate the required diameter for your shoes and glue the rectangular strips of cardboard so that they form an ellipse.
rack of cardboard photo

On the eve of the first steps of work, it is necessary to decide on the design and construction of the shelf made of cardboard, it may have a classic shape, be in the form of a rack or some shape.

practical shelving

The size of the desired shelf, the number of materials depends on personal wishes.

Idea number 2. Suspended shoe shelf


  1. You will need several large cardboard sheets. Relying on the size of your shoes, cut the cardboard into identical rectangles and cut them.
  2. Each of the rectangles is divided into three parts, bend. The two sides bend obliquely and connect with each other so that the pocket is wide at the top and narrow at the bottom.
  3. The bottom of each pocket must be attached with glue or double-sided tape to the top of the previous one from the inside, leaving space for shoes.
  4. Such a shelf can be fixed on the door itself or on the wall beside it - in any case, such an original solution takes up little space.
Delightful cardboard bookcase

The simplest, accessible to each option is the classic or shelf-rack, because its creation requires a minimum of skills.

Idea number 3. Bookshelf


  1. The size of the desired shelf, the number of materials depends on personal wishes. The best option is a five-section rack with a height of 110 centimeters on the side of three sections and a height of 69 centimeters with two sections. Each section will be square, the size of the sides - 30 centimeters.
  2. For each part, you need two blanks that need to be glued together. In total, you should have 4 with three, 8 with two, 2 parts with one section.
  3. All drawings produce a ruler, cut the parts with a knife and a dense ruler. If you cut on the floor or on the table, first protect the surface from the appearance of cuts.
  4. Before starting the assembly, create additional stiffening ribs for the structure; they will create additional volume and strength to the walls. To do this, make a strip of cardboard with a width of about 4 centimeters, glue them sideways in a wave-like manner around the perimeter of one part of the part, then attach the second part.
  5. Next, for a good fixation of the workpiece must be sent under the press. As a press, you can use piles of heavy books or a stool.
  6. After carefully gluing the parts, you can proceed to the assembly of the shelf, to do this, connect all the parts to one another in the cut-out places, linking them together. Then level the surface with a putty, add evenness to the corners and hide all other defects. For complete drying of the shelves will need a day. This will allow you to get a perfectly smooth surface for easier decoration.
  7. Arrange the finished shelving at its discretion.
Interesting cardboard decor

More difficult to manufacture are unusual, curly shelves.

the design of the rack cloth

Sandpaper is useful for sanding cuts.


The final stage - decorating

It is possible to decorate cardboard products with your own hands from any materials, everything depends on your wishes and fantasies - there are many options. The most simple - wallpaper, film, paint.

Old pieces of wallpaper paste over the entire surface of the product, or just the inside, and outside paint it in your favorite color. You can completely paint the shelves, and with the help of stencils or create your own unique patterns or designs.

The easiest way is to use a self-adhesive film. It has an attractive appearance, quickly and securely glued to the surface, unlike wallpaper, it can be washed. If there are defects on the film or you want to change the design, it is enough to purchase and paste another one.

Interesting cardboard decor

More difficult to manufacture are unusual, curly shelves.

Master class: decorating products using the pages of glossy magazines

You will need:

  • any base paper, newspapers;
  • glossy magazines;
  • universal or white glue;
  • acrylic lacquer.
The whole structure consists of separate square blocks.

It is also necessary to protect furniture from fire, it is very flammable.

Cardboard furniture

Pencil, tape measure for measuring and tracing details.

Magazine pages cut into strips of 1-2 centimeters in width, twist the tubes with a thin pencil or knitting needles. On the paper, taken as a basis, paste in a row the resulting glossy straws. Then cut the sheet of tubing into a suitable width corresponding to the place of decoration and put it on the glue. When the surface dries well, cover it with acrylic varnish.

The process is very long and tedious, but the effect is amazing.

White cardboard rack

Cardboard products are best attached to each other with special plastic clips, and not to glue them together.

Master class: surface decoupage

You will need:

  • napkins with pictures;
  • acrylic paints, acrylic varnish and brushes;
  • scissors;
  • iron.
The rack is made of cellular cardboard.

In order to increase strength, in a box of thick corrugated cardboard, insert a second, slightly smaller one.

rectangular cardboard rack

Materials for decorating the finished product - paint, wallpaper, fabric and everything else that your imagination wants.

Cover the surface of the rack with several layers of paint, each layer should dry, then apply another. The very last layer does not dry completely, it should remain sticky. With a napkin, remove the top layer, walk on it with an iron and place on the surface of the product. On top of a napkin, place a clean sheet of paper and iron, heated at low power, iron.

Cardboard rack

Instead of paint, you can use wallpaper or fabric.

The napkin should stick completely to the surface, if not, add a little paint with a brush under it, let it dry. Do not rush to proceed to the next step, decoupage must dry out carefully, otherwise the figure is deformed.

cardboard shelves

It should be understood - the thicker the material, the stronger the furniture will be.

Rack of cardboard-interesting design

Please note: before sticking tracing paper or kraft paper, it must be torn, not cut.

When the surface is completely dry, coat it with acrylic varnish.

photo of cardboard rack

However, do not rush to get rid of thin material, it is useful for pasting joints.

Having shown your imagination, creativity in full, you will create a unique masterpiece of interior that your family and guests will admire. Do not be afraid to experiment, keep up with the times, because the furniture made of cardboard is not only affordable, but also the original version to create a cozy and unique atmosphere.

Rack for the daughter

Any type of application is acceptable, but the best option would be Moment glue.

Baby racks made of cardboard elephant

Kraft paper is used to strengthen the edges of the furniture, instead you can use thin cardboard.

VIDEO:How to make a cardboard rack locker do it yourself

50 photo ideas how to make a rack of cardboard

We recommend related articles.
Shelf design on the wall near the desk 
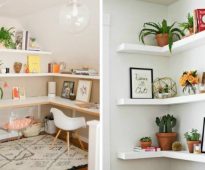
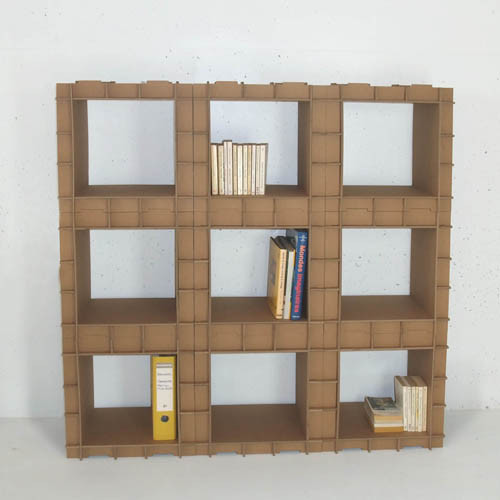
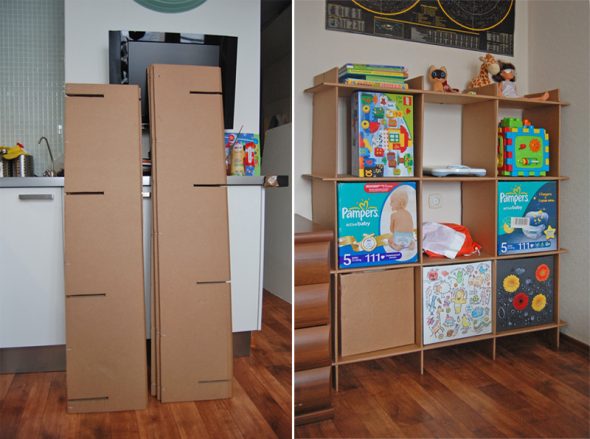
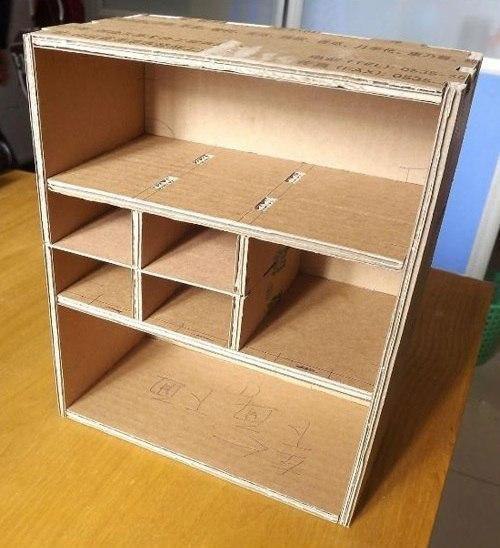
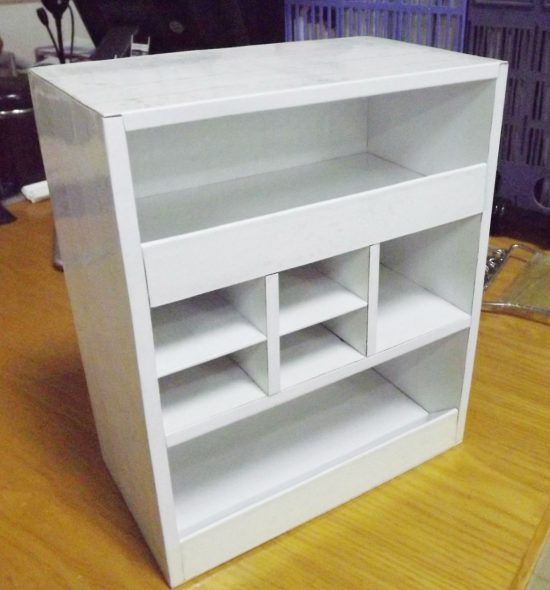
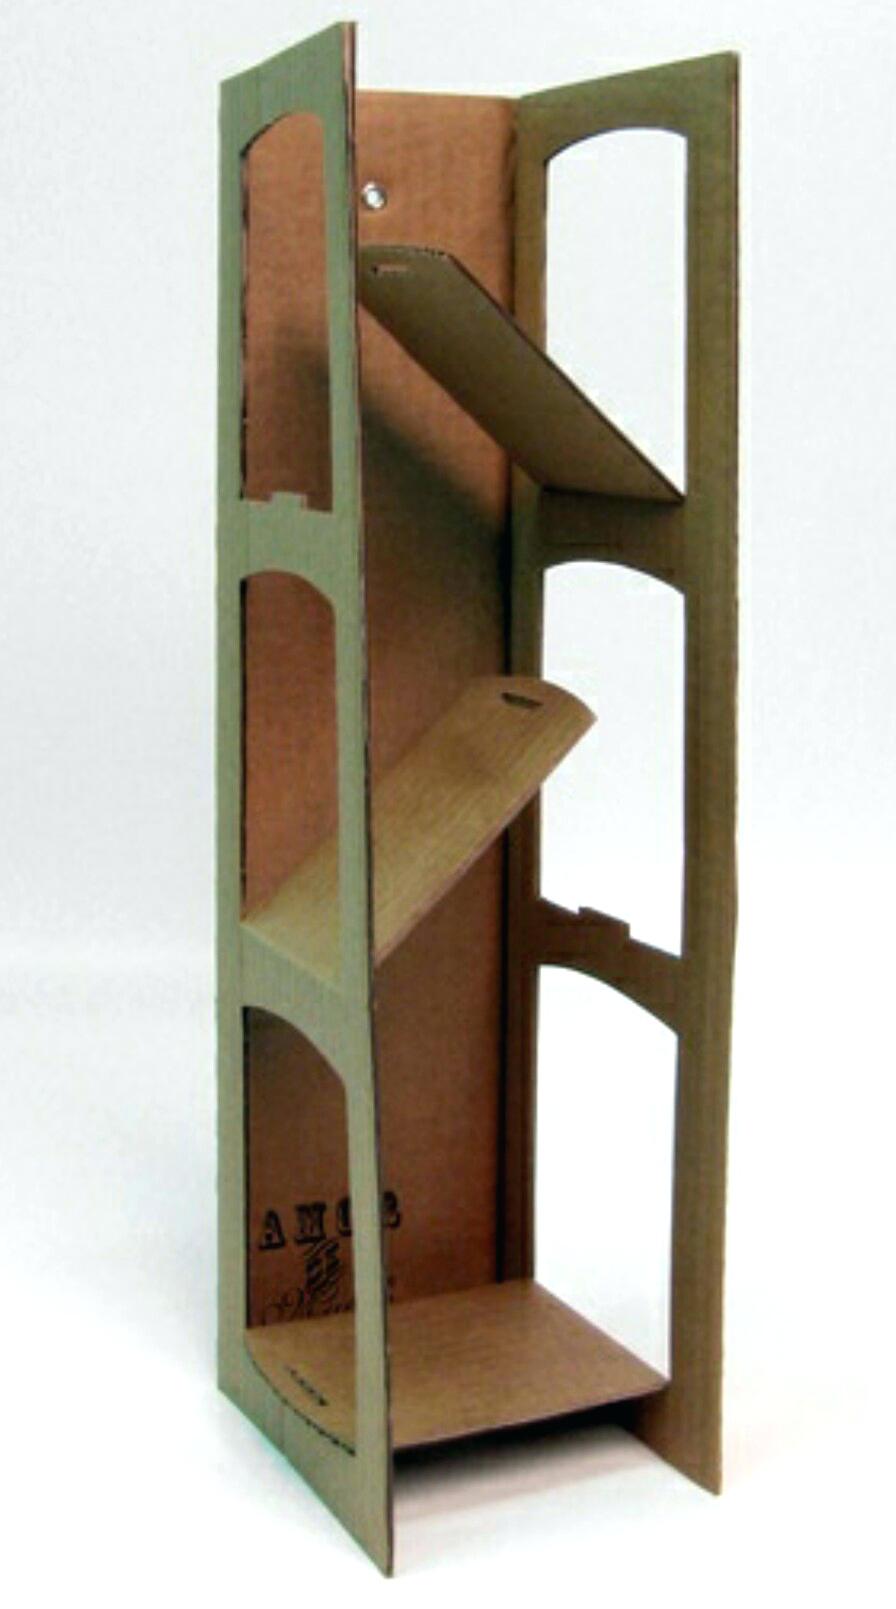
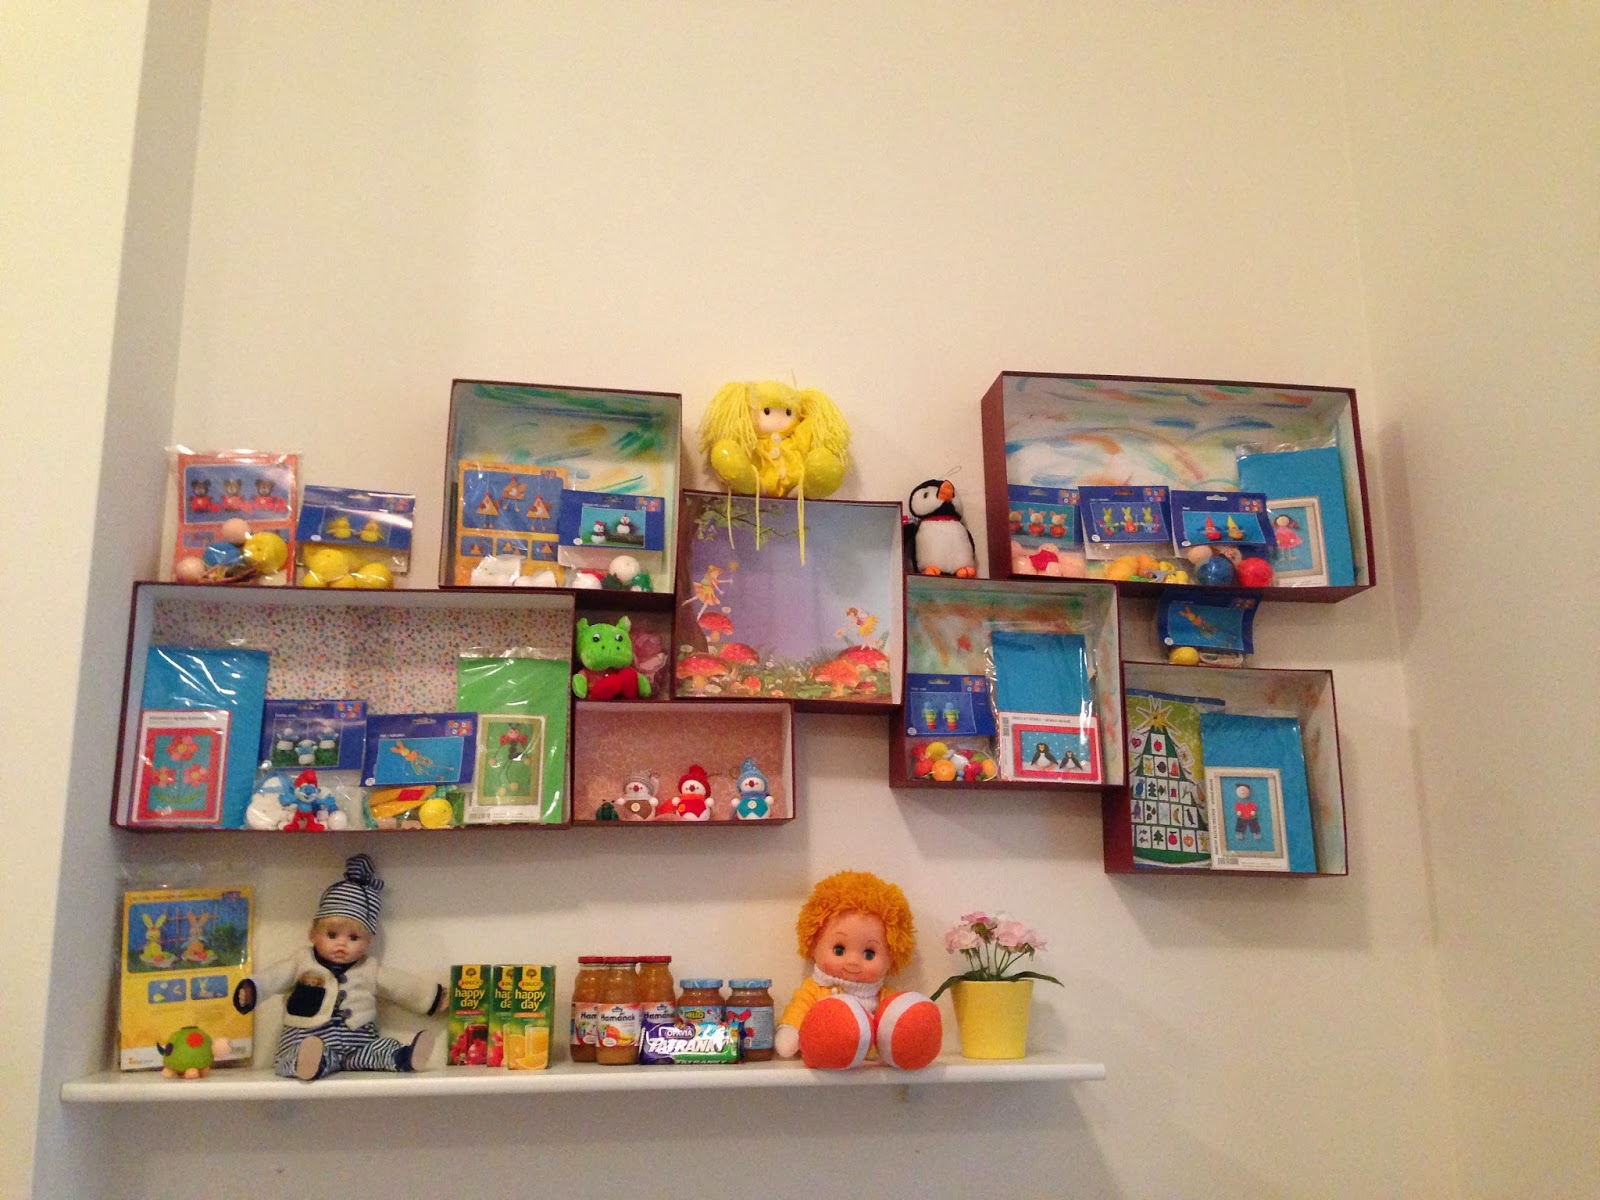
Use the shelves above the desk
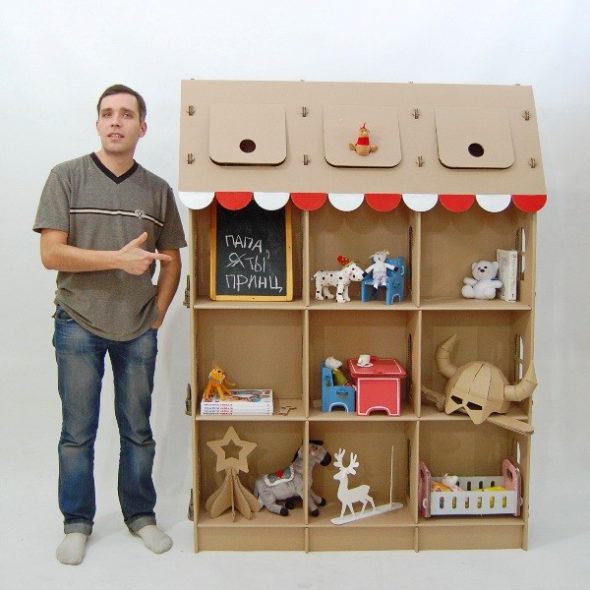
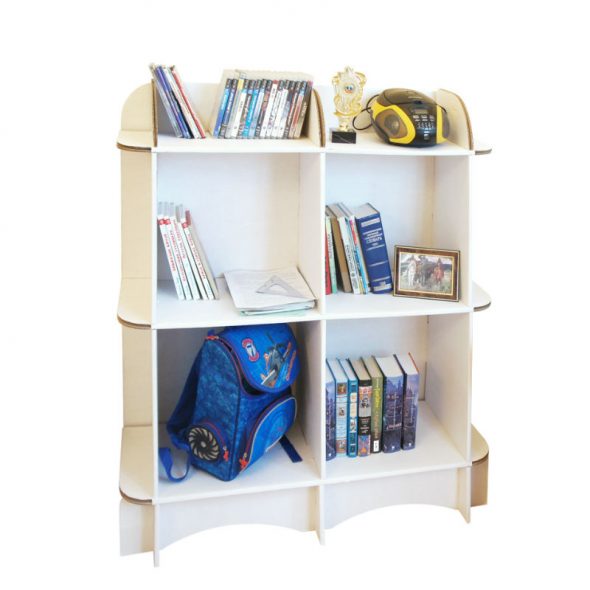
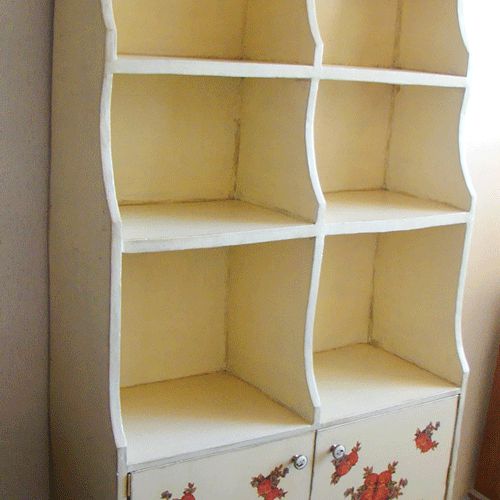
A well-designed work area is the main task of parents. If earlier it was customary to do homework in the kitchen, now to have a corner office in the house is in the order of things. To all school supplies and other ...
wood shelf Shelves in the design of the bedroom - their varieties and features
A bedroom is a place for privacy and relaxation of the owner of the house and every detail of the design of this room should create an atmosphere of calm and comfort. And even a small shelf, which stands out from the overall design ...
Wall decoration over the sofa Making shelves above the sofa: choosing interesting solutions!
The modern trend of fashion in the interior today is aimed more at the implementation of practical functions. This is justified by the comfort, convenience, originality and individual creative approach. Often...
White bedroom shelves Tips on how to choose the perfect shelf option above the bed
Shelves above the bed - many articles have been written on this topic. After all, people often ask questions: do we need a shelf above the bed? How will it look in the general interior? Will it fit into the bedroom design and in general ...
large storage room How to make the shelves in the closet with their own hands.
The current developers, unlike colleagues of the previous generation, do not seek to equip living space with storerooms. This increases the living space, but does not allow to optimize the space and ...
corner shelf ideas Corner shelf do it yourself
The problem of space is relevant for small and large apartments. It is very difficult to fit everything you need into limited square meters. It is almost impossible to imagine a house, office or apartment ...
Add a comment
By clicking a button you agree to privacy policy and site rules set forth in user agreement

Sofas

Furniture

Armchairs