How to make decoupage on the old furniture with their own hands.

Decoupage old furniture do it yourself - a decorative method for finishing material, wooden objects and other surfaces.

decoupage photo

Pictures with napkins are cut with scissors and glued (attached) to the countertop or the facade.

Decoupage furniture It originates from the Middle Ages, but it is becoming more and more popular today among people who love hand-made. Without being a master, it is easy to create a beautiful appearance of the surrounding things.

decoupage furniture

A large selection of materials in stores allows you to work with almost any plane, whether it is ceramics, wax (paraffin), fabric, wood.

Previously it is necessary to replace the accessories on the subject, to process the entire area, preparing for decoration. If you can not disassemble the headset, you must contact the master.

do-it-yourself decoupage

A variety of fantasy techniques gives a wide range of techniques to this applied art (gilding, bulk sticking, craquelure, etc.)

Types of decoupage technology

For decorating furniture with their own hands, images are attached to the facade in various ways.

  1. Standard furniture decoupage technique.

Pictures are cut out from a napkin or printed on paper images. The resulting element is applied to the object, glue is applied to it. After drying, this area is varnished with a colorless composition.

decoupage wipes

If necessary, we finish the necessary details by ourselves (the pictures acquire a volumetric view) or “we grow old” the resulting image.

  1. Reverse technique of decoupage furniture. Make for decorating glass, sometimes objects.
reverse decoupage

A picture cut out of a napkin is glued on the reverse side, after it dries, the necessary image elements are drawn for volume.

  1. Art equipment decoupage on cutting, gluing.

Effect: a single image on the plane with the drawing of shadows and shading manually.

decoupage art

It is not expensive, does not require special skills, quickly enough and very beautiful!

  1. "Dekopatch".

This is the use of various materials from which the necessary components are pulled out with hands, for example, silky designer paper, material with the effect of plastic or glass surface, napkins.

dekopatch

In the decoupage is a ragged edge and a frank demonstration of the decoupage technique itself.

  1. Volumetric technique of decoupage.

It is based on the imitation of a picture created on a decorated plane with the help of images cut from a napkin.

patterned decoupage

It is not necessary to be an experienced master to create such work with your own hands.

Stylistic directions of decoupage

Decoupage furniture performed in different styles. The following are widely used.

  • Provence.

The style of design, which came from France. It is characterized by bleached background and image in pastel colors. Often masters complement it with craquelure and floral print.

decoupage provence

Simple rectangular furniture made by local handicraftsmen is often decorated with inconspicuous bouquets or single field flowers inscribed in a square breakdown.

  • Simple City.

It is done with the help of decopatch technique.Cut from newspaper with torn edges, or old photographs.

decoupage simple city

This is the most relevant style of the people of the big city, which emphasizes its momentary and democratic nature.

  • French vintage.

Features: decorating in two colors (white and black image, less often include pastel colors). Can be used for dressers, worktops and other items.

decoupage french vintage

This is a kind of simplicity style that minimalism has been paying attention to.

  • Shabby chic.

This is a decoupage that makes the surface look like an antique item. Features: blurring borders, frayed edges.

decoupage chebbi chic

The master is recommended to make prints with roses and angels on the subject.

  • Victorianism

To decorate in this style you need to have a number of skills. Characteristics: a combination of gold, blue, green paint. Themes - still lifes, hunting, bouquets of flowers, wildlife.

decoupage victorianism

This style combined the old English traditions and the luxury of the southeastern English colonies.

Surface preparation guidelines

  1. Glass products are degreased. To do this, the glass is well washed, dried and wiped with a lint-free cloth. After that, it is degreased with dishwashing detergent without dyes.
  2. Before making tin surfaces, they should be treated with a solution based on water and vinegar. To do this, the ingredients are diluted in a ratio of 1 to 1. After washing in acetic water, it is brushed with metal. After removing the dirt with a brush, the top layer is removed.
  3. Before working with wood or chipboard, sand them with fine-grained sandpaper to smooth out any irregularities.
preparation for decoupage

Before decorating the surface, it should be processed.

Restoring the table with colored wallpaper

We decorate the table in two monochrome colors, so it will easily fit into the modern style. For work we will need a primer of white color, black and gray paint for exterior finish, emery paper with medium grain, brushes, paint roller, wallpaper with black and white ornament of 2 types, dark wax, glue.

  1. We prepare the table: launder, repair defects, tighten accessories (replace if necessary).

    decoupage table

    We give the table to dry and begin to decorate.

  2. "Pass" the entire area of ​​the table with a white primer.

    table primer

    Apply one coat of primer to the prepared surface, which provides good adhesion and saves the paint from peeling.

  3. We grind, especially carefully “pass through” the edges of the furniture, cover the table with gray graphite paint.

    painting the table

    We also “pass through the boxes” with a primer and paint it well with gray paint.

  4. We make measurements of the boxes on the side of the facades, cut rectangles to the size of the box from dense vinyl wallpaper.

    decoupage table drawers

    We glue wallpapers onto facades, smoothing them well with a roller, sponge or cloth.

  5. After drying, we coat the surface of the pasted facades with varnish.

    DIY decoupage table

    So, decoupage furniture with their own hands will be more durable.

We decorate the old coffee table

First you need to prepare for the work surface of the furniture. Plastic is degreased. The wooden table is disassembled, pass through fine-grained sandpaper so as to remove a layer of paint and varnish.

coffee table decoupage

The table is assembled again, they puttied all cracks and defects, ground its entire area.

After the primer dries well, apply several coats of paint.For the effect of additional cracking, the craquelure varnish is used. It is applied, then, until it is dry, painted with acrylic of white color.After the acrylic has dried, we glue the motive (if we do not use craquelure) and cover it with a colorless varnish. Can be varnished with a varnish spray. So the application will be more even.

DIY decoupage table

Each layer of paint should dry well so that the coloring composition does not crack, there are no stains on the surface.

After the varnishing has dried, you need to "pass" fine-grained sandpaper. This provides a stronger grip.We prepare napkins for gluing: cut out the desired image with nail scissors, soak in water for 15 minutes, lay out on a paper towel to remove excess moisture.

decoupage table napkins

Decoupage occurs in one of three ways: hot (the motif cut out of a napkin is glued and held with a hot iron without steam), dry (the motif is glued and a glue residue is removed with a cotton swab), wet (impregnated with a motive with diluted glue or varnish, put on a multifore and gently glue from it to the surface).

coffee table decoupage

After gluing the image with a napkin, bring it to a logical conclusion (draw, add a shadow, tint, etc.) and leave to dry.

ready table

Lacquered in two layers. To obtain a smoother texture after varnishing, pour water into the container and with a wet finger we smooth the traces of the brush villi while the varnish is still wet.

Chest decoupage

For decorating furniture in the style of shebby-chic, shades of pink, blue, gray, green are used. This technique does not make the processing of polished surfaces, or it is removed with sandpaper (grinding) machine. Top "pass" a primer based on acrylic or primer.

chest decoupage

The use of chalk paint is recommended, as it is better placed on the surface.

  1. We prepare the furniture, removing the coating with sandpaper, remove all the dust, primed or painted with acrylic.

    decoupage chest with their own hands

    In those places where we will have scuffed, paint it with black paint.

  2. Preparing pictures for pastry dresser.

    chest decoupage

    Cut along the contour, apply to the furniture in order to visually form a drawing.

  3. We smear the motif with glue and fasten it to the dresser.
  4. Dilute glue in water in a ratio of 2 to 3.

    On top of the image is coated with adhesive solution.

  5. Edge lubricated with white acrylic. The picture should smoothly change to the background color.
  6. "Passing" the entire chest of drawers transparent lacquer composition in several layers.

    ready dresser

    Varnish can be any, at your discretion.

Interior door decoupage

  1. We prepare the surface: we grind the tree with emery paper with a fine grain, we ground it. By MDF can work without training.

    door primer

    We ground our door with dark paint.

  2. Create a background. The best option: dyeing acrylic in 2 layers of white or dark paint.

    door painting

    We pass sandpaper with fine grain after the paint layer has dried.

  3. Place the drawing, mark it with a pencil. Cut the drawings on the contours, remove the old top layer.
  4. We apply the chosen motif, dip the brush into the glue and glue the image from the center to the edges, driving the bubbles. If the glue is too thick, then lightly dilute it with water.

    decoupage door photo

    Gently glue the picture, carefully smoothed to avoid folds and air bubbles.

  5. When pasting a panel or other large area, we glue from top to bottom, starting from the top corner to the left.
  6. After gluing and how the glue dries, we coat the product with a water-based varnish. So the door then it will be easier to wash.

    decoupage your own door

    The door turns out in style 30-40 years of last century.

How to make decoupage nightstands?

  1. We prepare the nightstand for decoration: well, wash, skin, remove all the dust, give the material to dry and paint with acrylic on white.

    bedside table primer

    If the old color of the bollard shines through, then you need to paint it again, if necessary, primer defects and chips.

  2. After drying, we coat it with paint andWe begin to decorate. You need to prepare napkins with your favorite pattern, glue, varnish, brushes.

    painting nightstands

    Choose a suitable floral pattern on napkins.

  3. We make a decoupage recesses. Prints can be combined with other shades of the interior room.
  4. It is necessary to remove the top color layer of napkins, mark up the furniture.

    decoupage nightstands

    We glue the glue on the designated places, press the cut out images, gently smoothing it in the process of registration.

  5. The insides and drawers can be made bright by filling out the color you like. The cupboard inside will now be more convenient to wash.
  6. Glued napkins should dry for 24 hours.

    decoupage nightstands

    The old bollard is covered with water-based varnish on top so that the moisture does not spoil the decorated furniture.

Decoupage kitchen furniture

For decorating old furniture, you can make pasting with scraps of newspapers, magazines, special or with their kitchen napkins, wallpaper.

decoupage kitchen furniture

For a flat surface, almost any materials with pictures or original texture are taken. They easily fall on the surface without jams and creases.

Reverse technology is well suited for working with glass. Smoky decoration can easily replace artistic painting, but it is better to give in to the master's hand. For decoration of old furniture in the kitchen, materials with fruits, vegetables, and utensils are perfect. It looks good decoration rice, mulberry, banana textured paper.

decoupage furniture

For vertical surfaces, a good choice is a volumetric technique.

For gluing, PVA is well suited; for artificial “aging”, paints made of acrylic, bitumen and paste with metal effects are used.

VIDEO: Decoupage furniture: the second life of old things.

DIY decoupage furniture - 50 photo ideas:


We recommend related articles.
Stylish white living room with a minimum of decor 
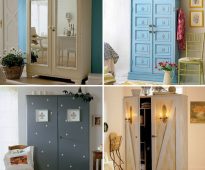
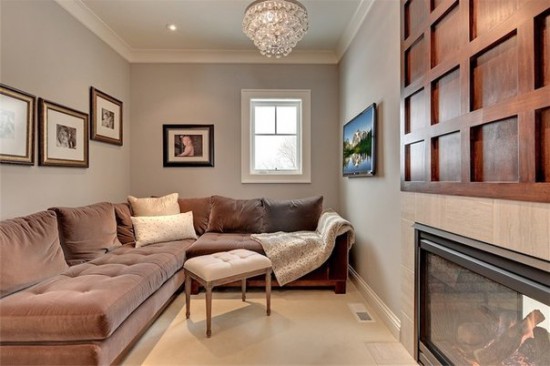
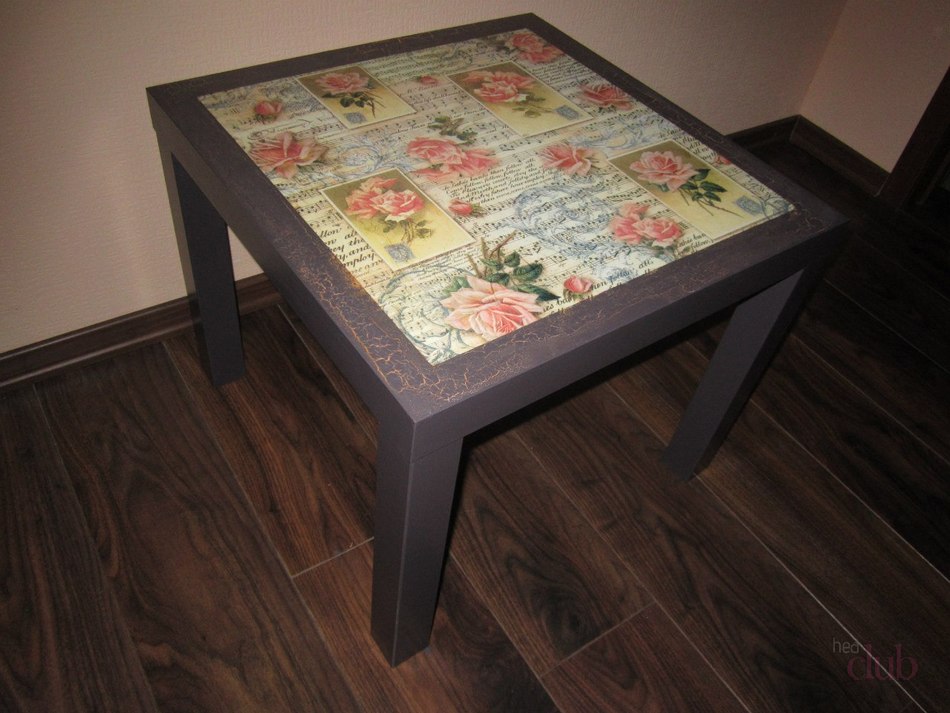
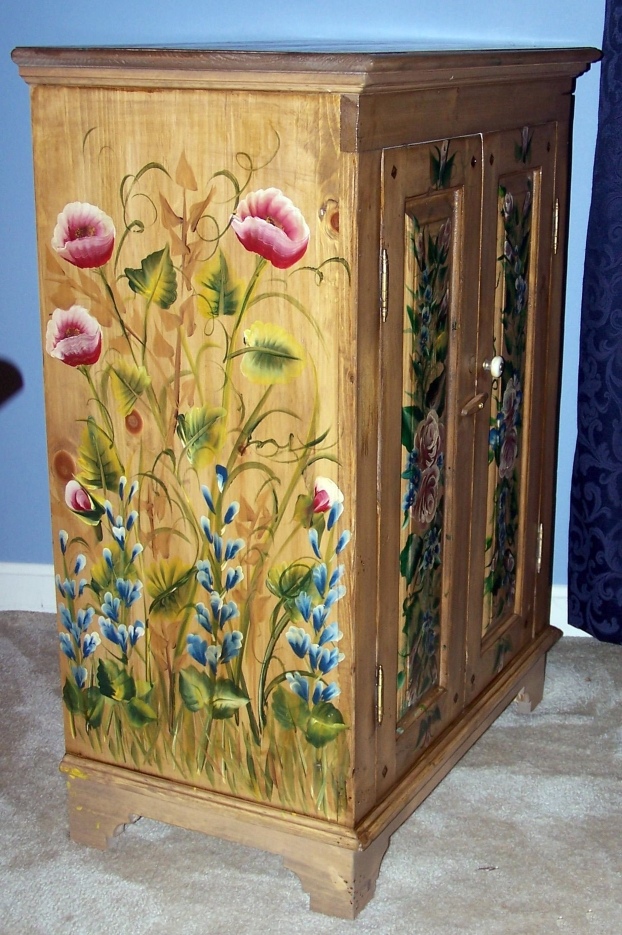
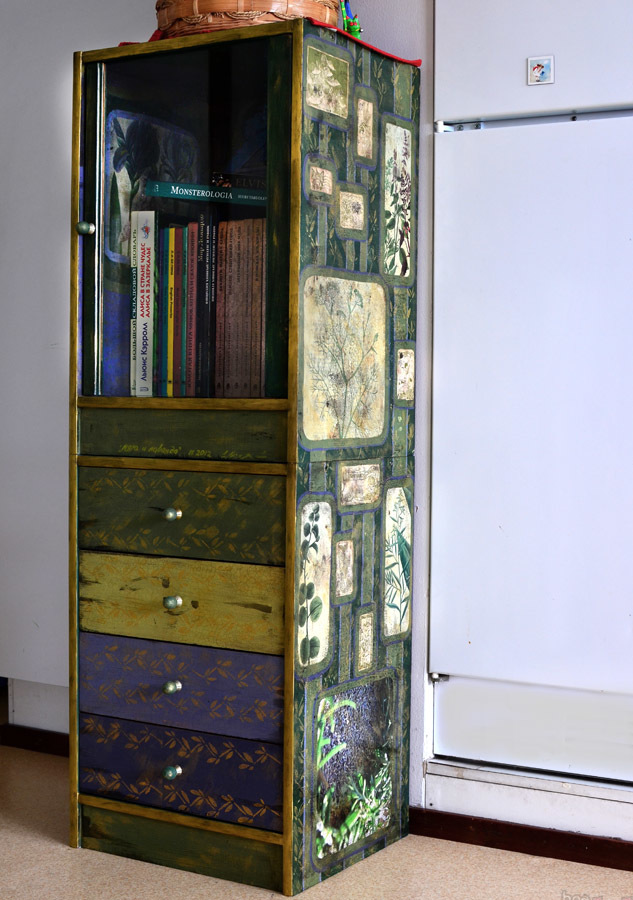
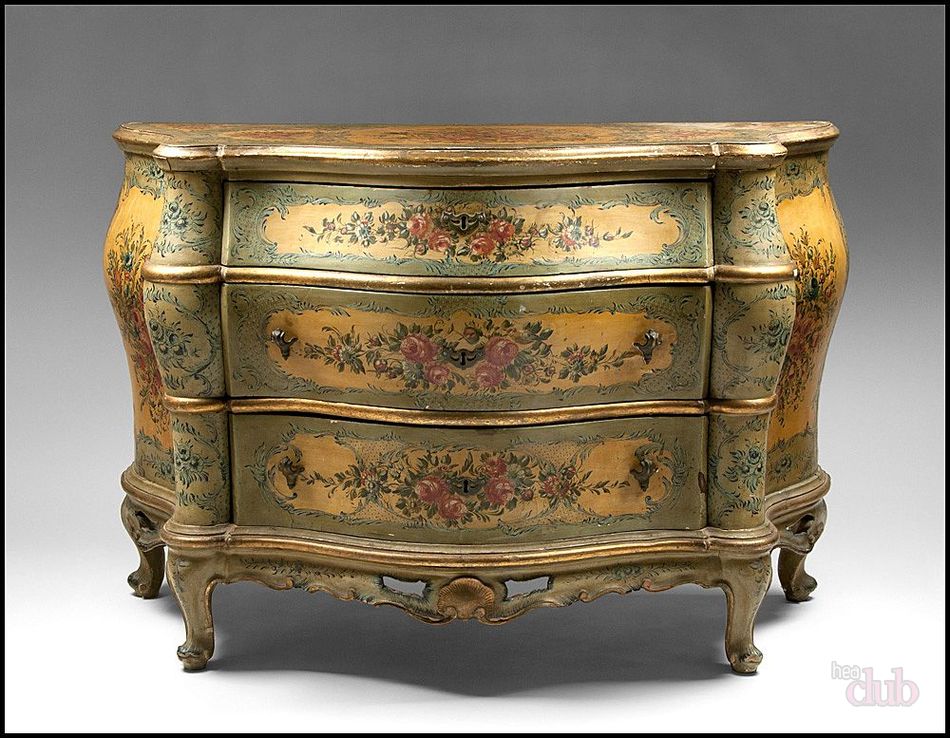
What kind of interior fit furniture in the style of minimalism
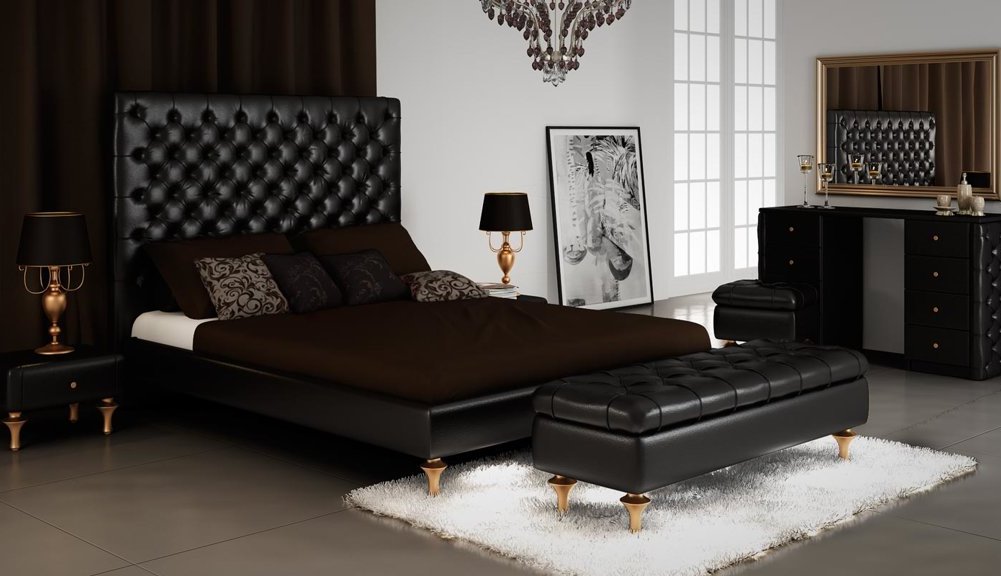
The choice of style is not the pursuit of fashion, and not imitating beautiful pictures from different magazines. This is a search for a match between design and preference. Any style is considered for convenience purposes ....
Antique wardrobe Alteration of old furniture with their own hands: before and after
Have you decided to make repairs, change the interior, buy furniture that will meet the updated design? But it happens that it is a pity to throw away the old furniture, because it is still quite strong, maybe ...
lacquered table How to remove the old varnish from the furniture at home.
Each of us dreams of home comfort and coziness, of a beautiful interior. Sometimes you want to radically change everything, change the situation. Some items are a pity to throw, they are still quite strong, but ...
weave furniture from tehnorotanga We weave artificial rattan furniture with our own hands: the advantages of creating
Wicker furniture has always been in demand and testified to the wealth and the refined taste of the owners. Its cost is quite high, as the products are handmade and are original in their ...
bed with couch black We play on contrasts: the design of a light bedroom with dark furniture.
The bedroom is the only room in the apartment where we can rest after a hard day’s work and soak in a bed at the weekend. The interior of the room should be cozy, with an atmosphere of comfort, ...
arrange furniture in a long and narrow room How to arrange furniture in a narrow room
Unfortunately, long narrow rooms are very common, and many owners are faced with the need to "fix" this uncomfortable shape and give the apartment functionality and convenience. But in other way...
Add a comment
By clicking a button you agree to privacy policy and site rules set forth in user agreement

Sofas

Furniture

Armchairs