 How and why to make furniture from solid wood with their own hands
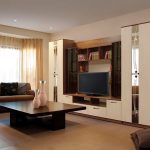
Making a wall for the house with your own hands
Recently, cabinet furniture has become a popular type of home environment. This is due to the versatility of the design. There is no need to look for additional furniture components in the form of cabinets, cabinets and chest of drawers, because everything is already in one assembly. You do not need to go shopping for days looking for furniture sets that match each other in style and size. This is the best way to combine harmonious design and superior functionality in a living space.
There is no need to look for additional furniture components in the form of cabinets, cabinets and chest of drawers, because everything is already in one assembly.
The advantages of such furniture does not end there. It can combine in itself as a service buffet, as well as a bar, a bookshelf, a TV stand, a mirror pier glass and much more. Some versions of such furniture are freely interconnected. They resemble the designer, because you can arrange the accessories as you like. There are also monoblock views, bringing a strict and conservative contribution to the interior of the room.
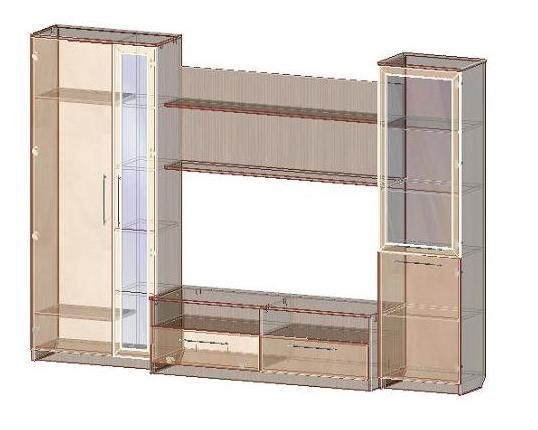
This is the best way to combine harmonious design and superior functionality in a living space.
And its beauty is that, regardless of the apparent bulkiness, it can complement the room with its lightness, or vice versa, to ground the interior with cumbersome rigor. It all depends on the whims of the owner of the furniture product.
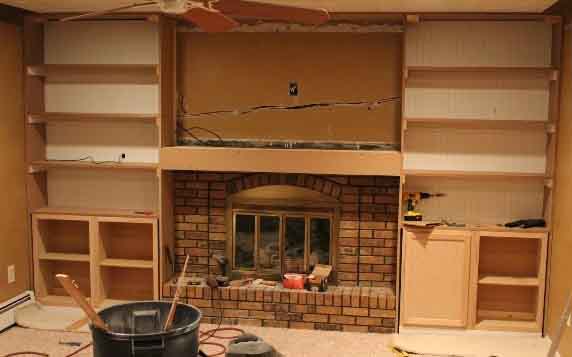
There are also monoblock views, bringing a strict and conservative contribution to the interior of the room.
The main compositional task is to combine the interior into a single semantic picture, bring together separate containers for household utensils. The main thing in choosing and designing a room is harmonious design and dimensions that fit the size of the room.
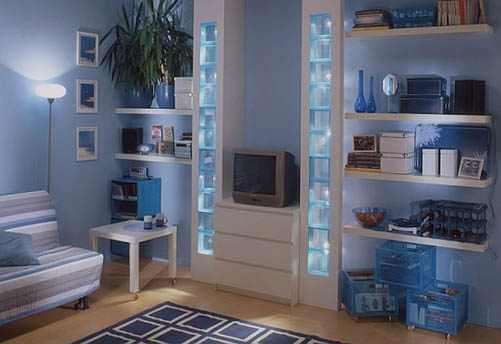
It all depends on the whims of the owner of the furniture product.
Content
- 1 A variety of types of walls
- 2 Wood
- 3 Drywall
- 4 "Masonry"
- 5 Designing a sketch from scratch
- 6 A wall with your own hands - what materials and tools will you need?
- 7 We solve the problem with electrical wiring
- 8 Installation
- 9 VIDEO: Build a unique wall with your own hands for 3 minutes under the 4K TV
- 10 50 photo design ideas for the wall do it yourself
A variety of types of walls
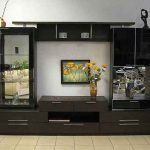
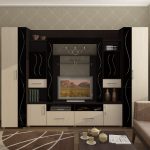
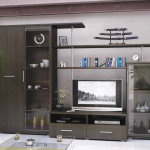
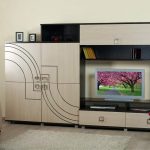
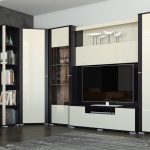
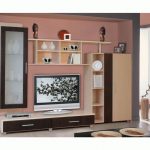
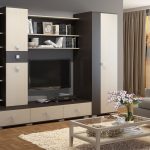
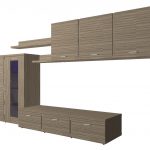
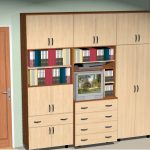
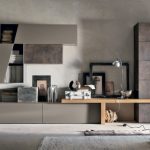
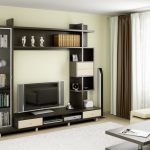
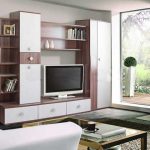
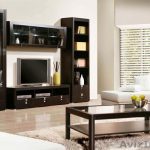
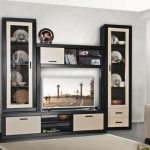
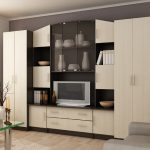
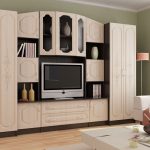
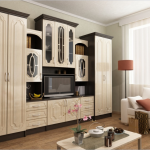
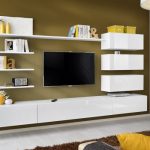
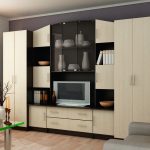
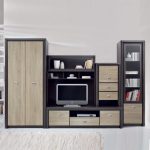
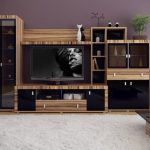
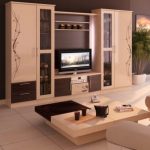
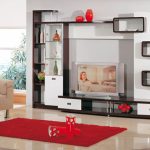
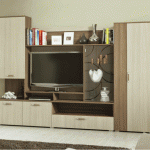
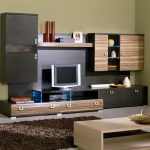
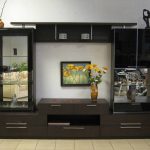
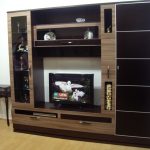
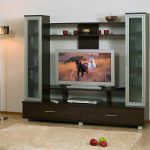
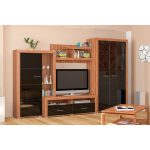
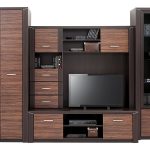
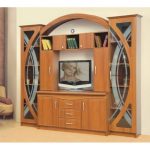
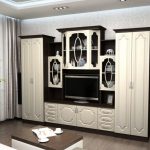
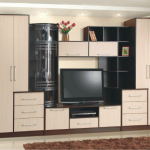
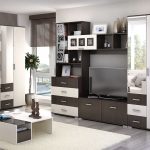
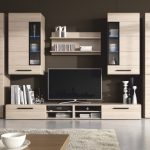
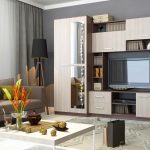
The furniture wall in the living room can consist of countless variations of individual components. But basically it always has the same structure.
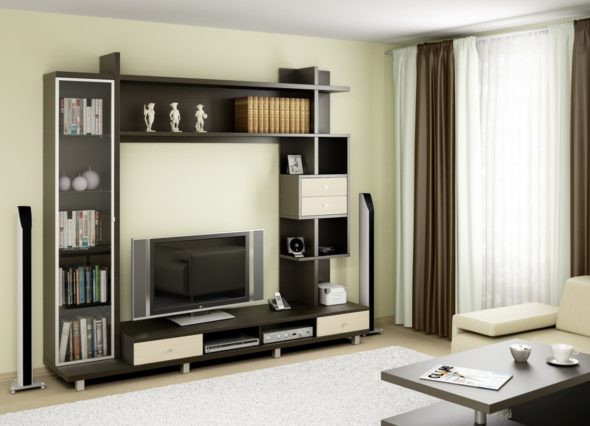
Making a slide with your own hands will not be a problem, because it is a combination of compact and harmonious elements.
The lower base is most often made up of thumbs. They are made of durable and resistant materials, as they support the weight of the whole structure. They serve as a stand for televisions, decoders, stereos, flower arrangements and other decorative items. Drawers in thumbs most often made in folding or sliding options. They are perfectly located bed and underwear. It is important to understand that the lower tier is a place accessible to children and pets. Do not place alcohol bars, medicine kits, flammable substances or other dangerous items in the thumbs.
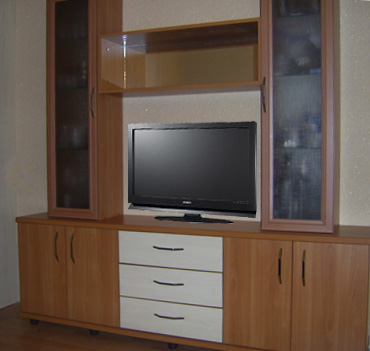
Some versions of such furniture are freely interconnected.
In the middle part of the shelves are usually placed, display cases, cabinets, shelves for dishes, books, jewelry. On this tier is just the best place to place alcoholic beverages.Some designs include the presence of a mini-fridge styled as an ordinary cabinet of standard material. In general, walls can conceal a lot of interesting and diverse mechanisms that simplify life and storage of things.
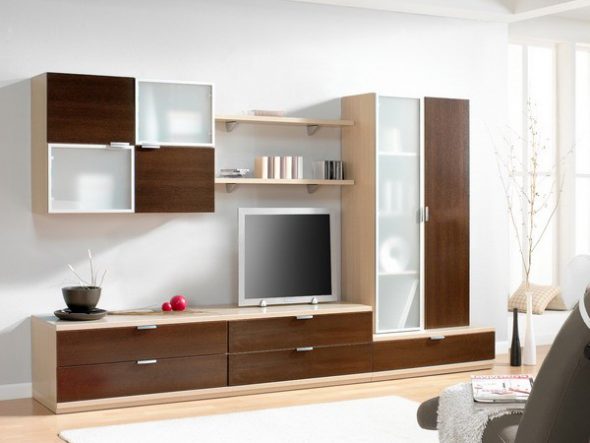
Replace all old wiring and carefully isolate everything.
The upper area is usually occupied by mezzanines and cornices serving as lighting conductors. There are hanging lamps and diode tapes. Often, multicolored ribbons are used, which gives the wall a new look, but this color introduction does not fit classical and old designs. On the upper tier, speakers or pendant video equipment are sometimes built in.
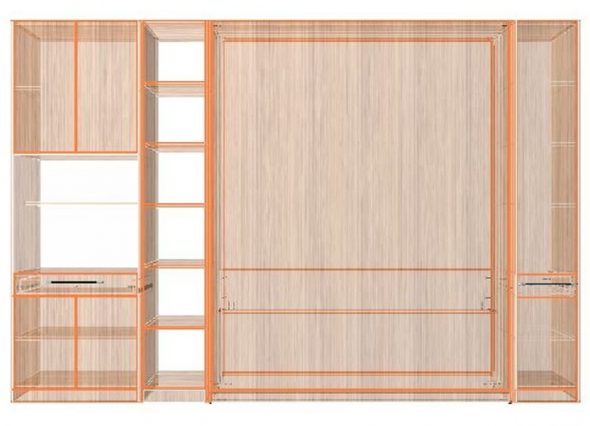
The main compositional task is to combine the interior into a single semantic picture, bring together separate containers for household utensils.
The living room and the hall are the central place in the apartment and the best place to install the furniture wall. Modern materials allow fantasies to play out designers. They create increasingly fancy and elegant designs, using a combination of the latest technologies and materials. But this option is not for everyone. What if the room in which you plan to install the product has non-standard dimensions? Or you do not fit any of the options on the market? In such a situation, you have to act independently and design the structure individually. A large variety of model range often raises many questions about the installation. It is not always clear how to make and install the product, and in what sequence to perform the actions? But the installation of such accessories is a simple matter in implementation.
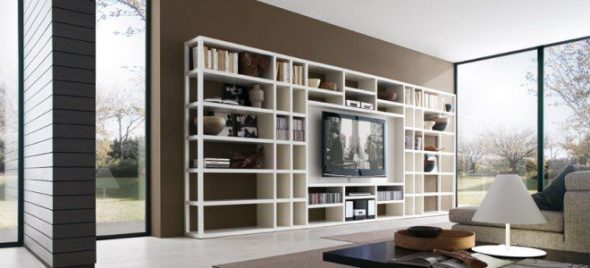
The main thing in choosing and designing a room is harmonious design and dimensions that fit the size of the room.
No need to overpay and call a specialist. It should be understood that behind the abundance of forms and designs lies the same principle of design and installation. Any more or less understanding person in carpentry business will be able to make this type of furniture, adapting it to any room. No need to look for special rare and expensive tools. Everything you need can be purchased at every hardware or building store. It is only required to strictly follow the installation instructions, and the result of independent work will not be distinguished from professional performance.
Materials for making the wall do it yourself
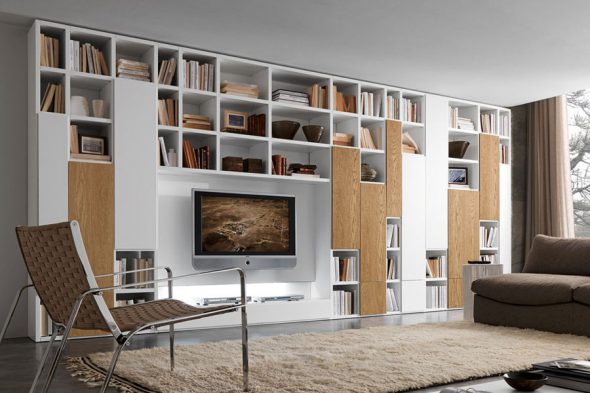
The furniture wall in the living room can consist of countless variations of individual components.
Wood
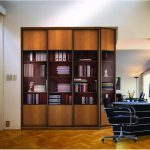
Throughout history, the most popular material in manufacturing has been wood and its analogues in the form of fiberboard, particleboard and plywood of different thickness. This is a very versatile way to produce slides of any complexity. Wood blends beautifully with other materials such as glossy and frosted glass, chrome-plated surfaces, metallic, gold-plated and silver-plated bets. This material looks great in modern designs as well as in classic and vintage style. Wood and fiberboard can give almost any texture and color. You can do this even without professional machines - do it yourself. Also, the tree looks great if it is sheathed with plasterboard inserts. In this embodiment, do not install the rear panels, or fix them in the form of a decorative element. Wall slide with your own hands can be made in an unusual style. You can harmoniously dispose of an abundance of shelves of lockers, having built a whole maze of them. The design looks very cozy. Wood is the most flexible option for making a wall with your own hands.
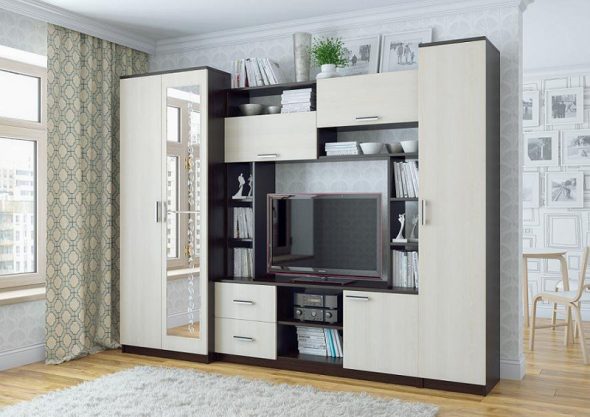
The lower base is most often made up of thumbs.
Drywall
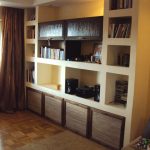
Suitable for facade types. The most economical and malleable material. Gypsum slides are not distinguished from the overall wall mass, being its continuation.Suitable for minimalist design. It is combined with large glass planes. A wall can take on virtually any design, so you can embed electronic devices of various sizes into it. In the construction of this type, the most important is the correct design of the frame. It holds the entire array, so the frame must be strong and reliable in structure. You must draw accurate drawings of the location of the rails and profiles of the frame. Cons of this option - the fragility of the material. It is necessary to approach installation very carefully.
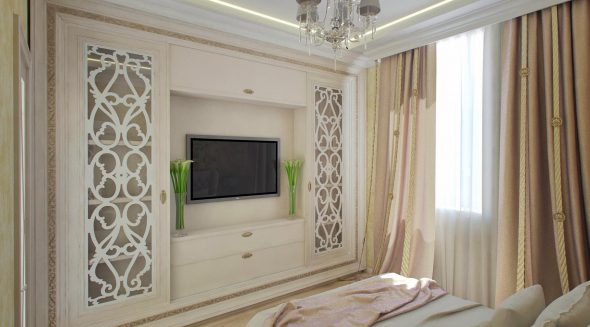
It is important to understand that the lower tier is a place accessible to children and pets.
"Masonry"
The most costly, but durable way. These options are used in homes. Apply both sandstone and granite. Most often make a frame basis, and then revet plasterboard massif.
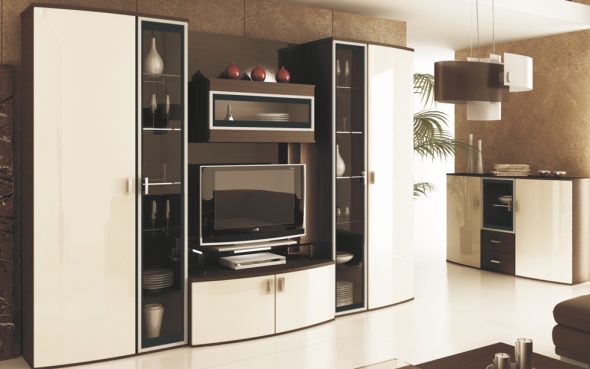
Material can be used both own production, and purchased.
The wall of the hill with his own hands best comes out of the tree. A variety of this material will allow you to truly unfold your imagination, and many ways to handle it guarantee you a fast and high-quality result.
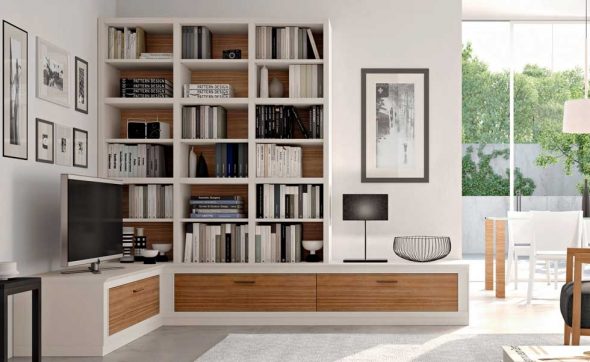
In the middle part of the shelves are usually placed, display cases, cabinets, shelves for dishes, books, jewelry.
The process of making the wall includes:
- Create a sketch.
- Calculation and purchase of materials and components.
- Preparation of electrical wiring behind the facade of the future wall.
- Build the whole structure.
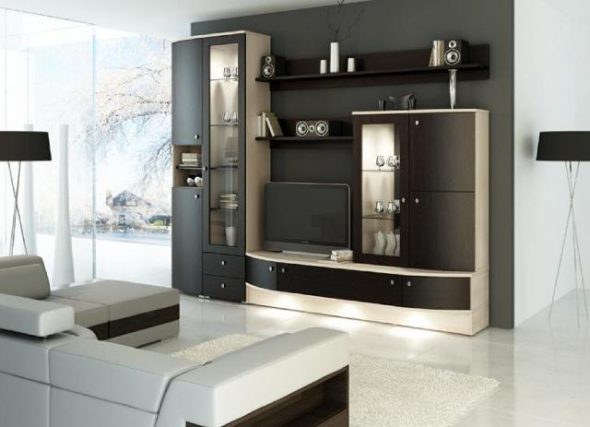
We wish you fruitful work!
By following the list step by step, you can bring to life a product of any style, reproducing life with all the conceived details.
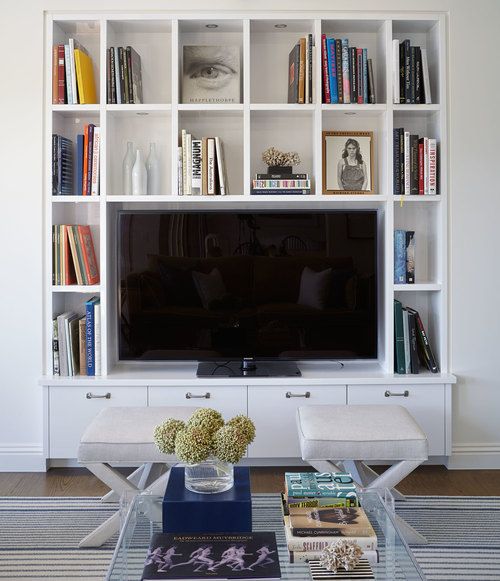
In general, walls can conceal a lot of interesting and diverse mechanisms that simplify life and storage of things.
Designing a sketch from scratch
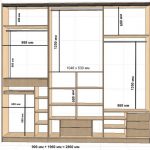
It has the same meaning as the drawing of a building in architecture. The calculation and layout of the exact dimensions of the structure will affect the amount of purchased wood web, the compatibility of different parts of the wall, its durability and resistance to mechanical deformations. The drawing should be made taking into account the maximum use of the material, because every centimeter of unused wood is money thrown away. Also, a well-designed drawing that takes into account all the details and nuances in advance will relieve you of the need to redo or finish already during installation. It is necessary to carefully measure the dimensions, calculate the area of the required material. If you doubt your ability to design paperwork - it is better to reassign this business to knowledgeable people, because the drawing is the basis of the whole product.
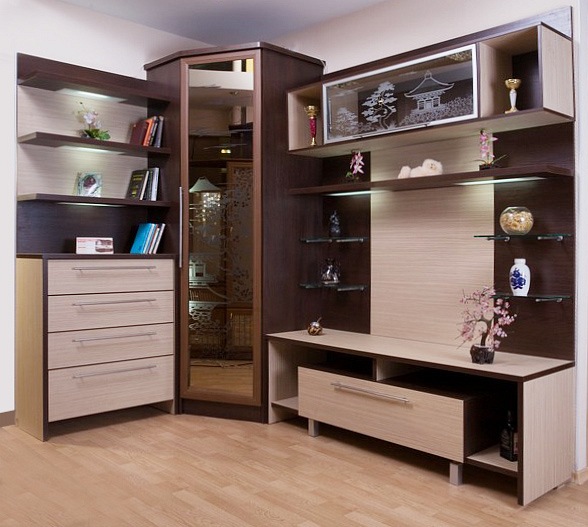
The upper area is usually occupied by mezzanines and cornices serving as lighting conductors.
Important! When measuring it is necessary to consider not only the length, width and height. A very important parameter is thickness. If you forget about it, you will get a lot of problems with the “inconsistency” of the drawings.
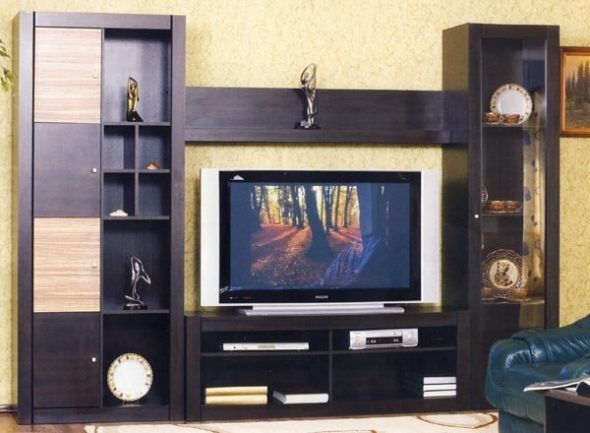
On the upper tier, speakers or pendant video equipment are sometimes built in.
A wall with your own hands - what materials and tools will you need?
The basic tooling is as follows.
- Measurement tools - rulers, roulettes, plumb lines, levels, squares and more.
- Installation tools - drill and drills for it, screwdriver, electric jigsaw, perforator, polyurethane foam.
- For cleaning - grinding machines, emery, spatula, primer, epoxy glue.
- Screws, bolts, nuts, seals of various types and sizes.
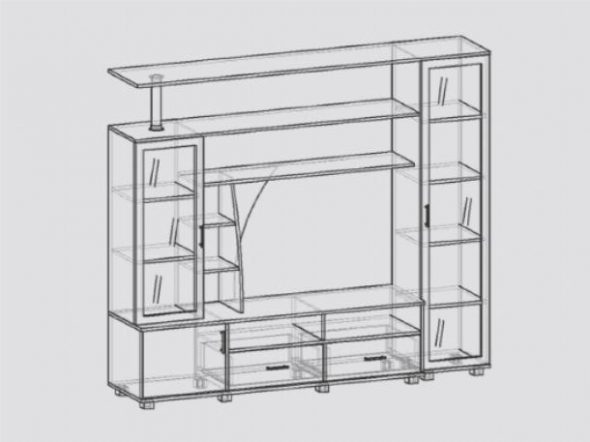
The living room and the hall are the central place in the apartment and the best place to install the furniture wall.
Material can be used both own production, and purchased. The first is more difficult - it is necessary to understand the varieties of trees and methods of their processing. If you are planning to make solid furniture, it is best to use solid wood. These are larch, birch, beech, oak, maple, elm and many others.Such breeds are expensive, but with proper processing it is an ideal option for centuries. You can make a solid product in oak or larch in a classic or country style. Dear breeds have a positive effect on human health, so if you are interested in the children's wall with your own hands, this is the best option. Also, when arranging a children's slide, it is not recommended to use a large number of paints and varnishes of non-natural origin - your child will subsequently have to breathe toxic fumes.
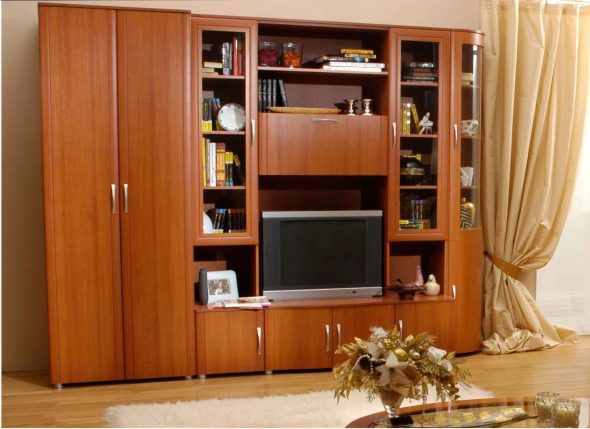
A large variety of model range often raises many questions about the installation.
The second option is to pre-order the necessary sizes and shapes from the handicraft workshops, and then just install them. This option is not so time consuming. However, in the end, you may not get what you expected. After all, good woodworkers can be counted on the fingers. Therefore, refer to the already proven furniture workshops. This option provides for the order of a variety of wall elements. They can be both from DVP, and from a natural integral wooden bar. You can use ordinary wooden bars, or replace them with special metal profiles. Also needed trim, loops and closers (optional).
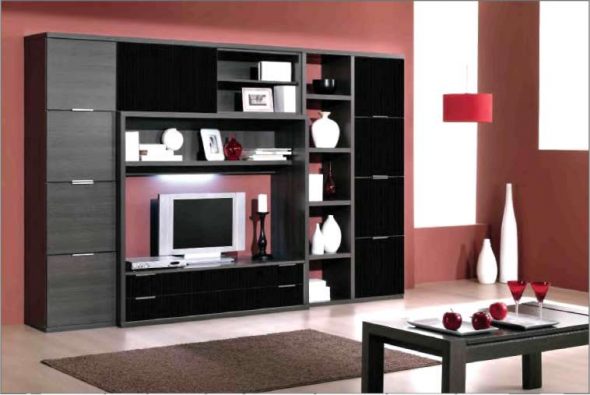
It is only required to strictly follow the installation instructions, and the result of independent work will not be distinguished from professional performance.
We solve the problem with electrical wiring
Mark the places for outlets, in accordance with the electronics that you install in the future. Replace all old wiring and carefully isolate everything.
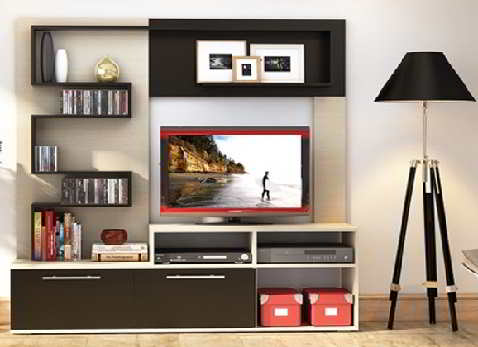
Throughout history, the most popular material in manufacturing has been wood and its analogues in the form of fiberboard, particleboard and plywood of different thickness.
Installation
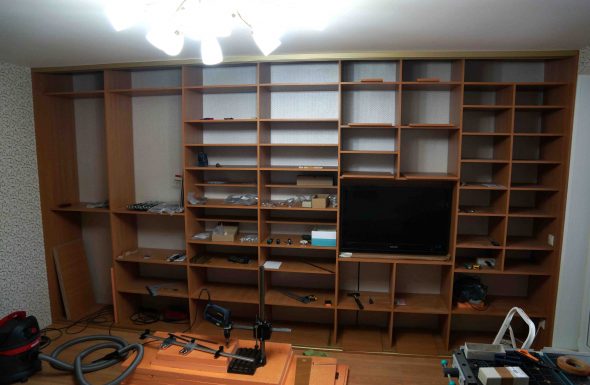
The first thing in accordance with the drawings of the product is set frame. It is the main support and supporting wall structure. Guides of timber are fastened to the walls and shelves are fastened to them. Then the entire wall is sheathed with decorative panels. They can be from any material of your choice. Curbstones are best made from re-glued wide boards. If fiberboard is used, parts and elements should be cut with a jigsaw.
Then proceed to fine-tune the product. It is carefully polished, smoothing all the irregularities and making the transitions smooth and not intermittent. At will it is possible to make decorative cutting of patterns on a tree. This option is perfect for classical or ethnic style. For the classics best suited restrained strict accessories in strict colors. For the interior in the style of Provence is best to use light colors, up to the snow-white. Paint and varnish on wood play a big role, so before applying a helmet it is necessary to sand and prime the furniture qualitatively. You can make excellent carved doors on the cabinets that hide the joints and seams of the structure. All decorative products are best bonded with epoxy glue. For a noble decor, it is better to use wood of red or black species - depending on the possible price tag.
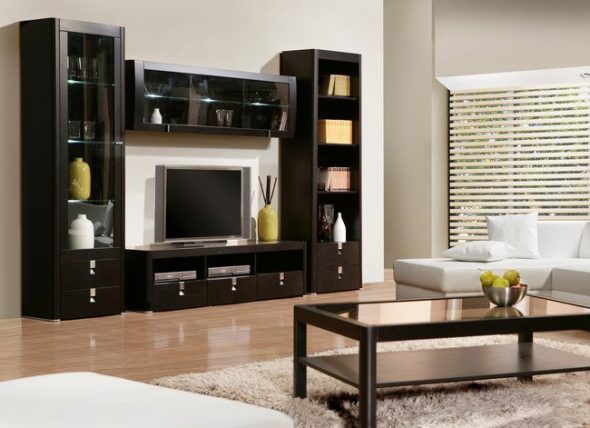
You can harmoniously manage the abundance of shelves of lockers, having built a whole maze of them
The wall in the hallway, above all, should be roomy. All items must withstand the weight of both clothing - jackets, fur coats and coats, and shoes. Most often, such furniture in the hallway is made elongated in length parallel to one of the walls. This solution allows you to place as many things as possible. The main difference between the wall in the hallway from the counterpart in the living room and hall is a great practicality of the first. All elements should be clearly debugged and not take up much space. The design and mechanism of opening the doors of lockers must be calculated so that they do not interfere with or block the passage. The doors that move along the door along special roller guides are best suited.Often, a wide mirror is installed on the entire canvas of such a door. This greatly increases the usability of the hallway. It is best to install the furniture in the entire height of the ceiling, because you can put a lot of unnecessary things on the upper shelves. Such a product will play the role of a kind of warehouse in the apartment.
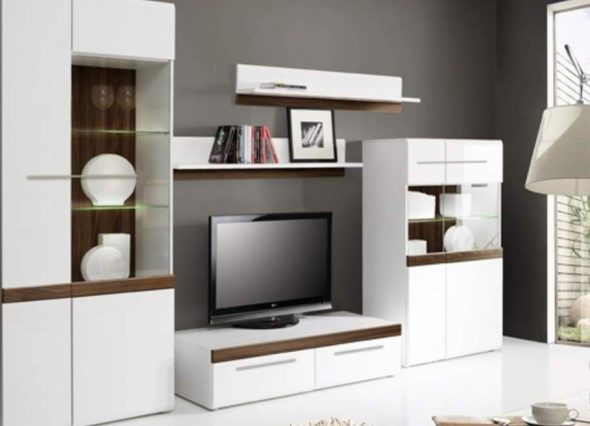
Pre-properly drafted drawing, which takes into account all the details and nuances, will save you from having to redo or finish already during installation.
In turn, the slide is characterized by ease of production, functionality and possible volume that fits in it. Making a slide with your own hands will not be a problem, because it is a combination of compact and harmonious elements. Ideal for small apartments, when every centimeter of free space counts.
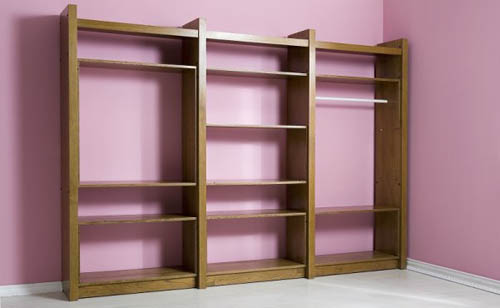
When measuring it is necessary to consider not only the length, width and height.
Here are the basic rules and tips for installing a wall in your home. We wish you fruitful work!
VIDEO: Build a unique wall with your own hands for 3 minutes under the 4K TV
50 photo design ideas for the wall do it yourself
 How and why to make furniture from solid wood with their own hands
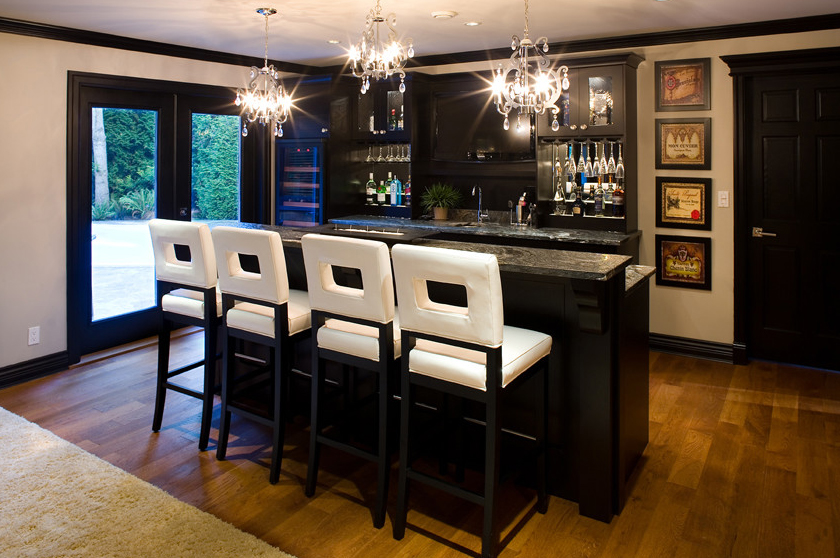 The height of the bar stool. What should it be?
 Instructions for creating self plywood chairs
 Choosing furniture in the room for the boy
 What kind of wood do furniture: expert recommendations
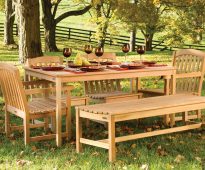 Making exclusive garden furniture with your own hands
