 Everything is at hand: the correct filling for kitchen cabinets
Benefits of concrete worktops
The most popular won countertops made of MDF and chipboard. This is due to their low cost, visual appeal and ease of installation. However, they are fragile.
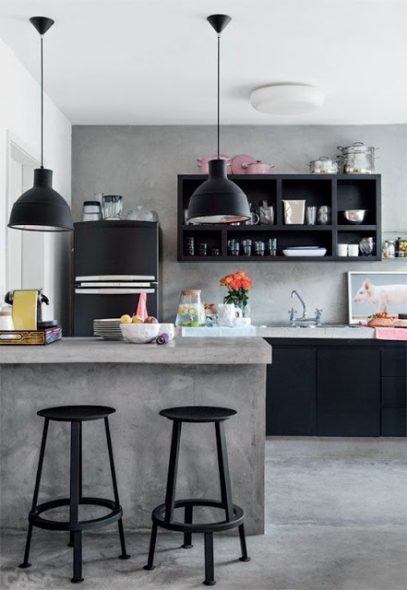
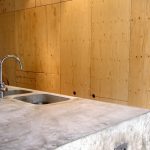
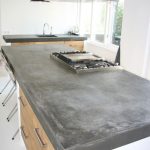
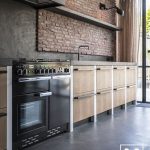
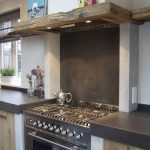
Concrete countertop for modern kitchen
Because the concrete tabletop is much more practical. They are more durable and this design can be made with their own hands.
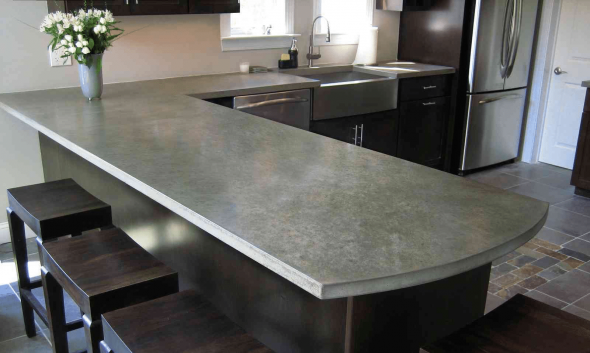
An interesting and affordable option - concrete countertop
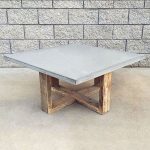
Concrete table top is durable, costly and unique. Subject to the recommendations during the manufacture of the structure then you get a reliable and durable product. Concrete is a material that is practically not affected by external negative influences.

Countertop made of concrete without polymer coating can be used in the living room, bedroom or office.
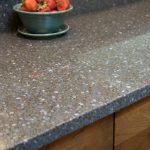
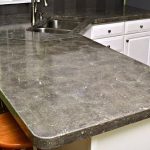
Financial costs are small. Externally, the product is similar to a marble tabletop. And if you need to embody the original interior, it is recommended to make a similar design. It will turn out in the single copy, executed taking into account individual parameters.
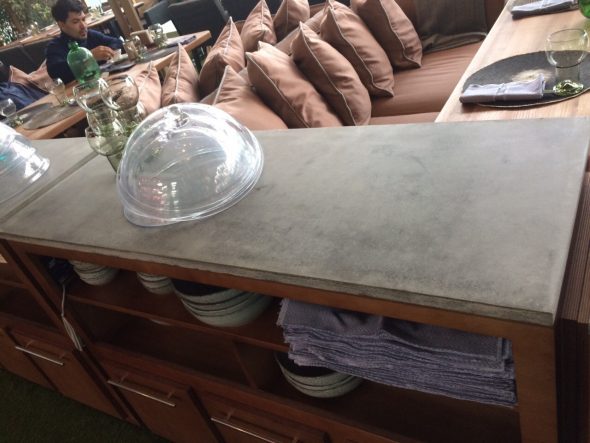
DIY concrete table top is an original, inexpensive, stylish product that will decorate your kitchen.
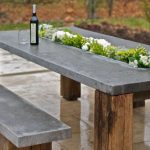
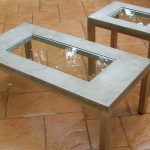
Various elements are suitable for the decoration of a concrete slab, including coins, glass, and a social tape with LEDs. When the material solidifies, all the details of the decor will be exposed to liquid. Therefore, choose moisture-proof elements.
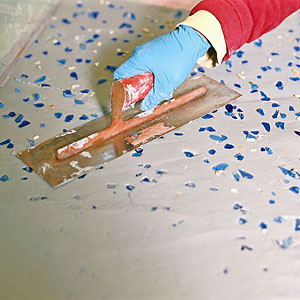
In the process of making concrete solution, you can add decorative elements to your taste.
If you plan to decode photos, they are pre-sealed in a special film. Because the key advantages of concrete worktops are:
- long service life;
- practicality, reliability;
- opportunity to choose an individual design;
- small financial costs;
- can do it yourself.
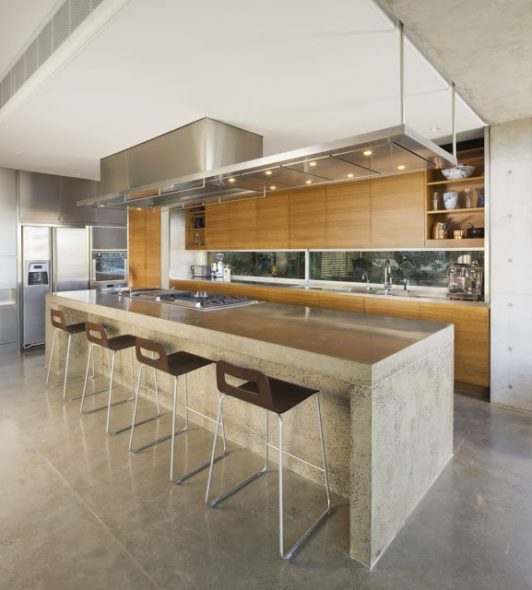
The kitchen countertop made of concrete is to be restored, it can be sanded and covered with a fresh layer of protective agent, after which the concrete work surface will look like new
We determine the design and construction: (what types of products are, what to choose depending on the needs, what is simpler and what is more difficult to manufacture, etc.)
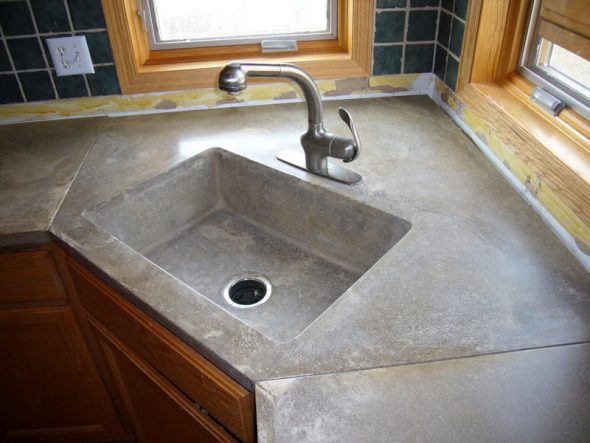
Such a kitchen arrangement solves a number of problems at once: strength, price and uniqueness
There are several methods for working with concrete design. They are reflected in the table.
| Methods | Description |
| Method 1 | The use of white ingredients to obtain a white material. There are various pigments that allow to achieve a certain shade. The range of the palette is not wide, but you can turn the design into a product of beautiful tone. |
| Method2 | Add to the aggregate filler like natural stones, seashells, glass. This option allows you to show your imagination. It is recommended to consult with the designer so that the desired idea would turn out beautiful and fit into the interior. |
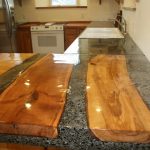
| Method 3 | Inlaid wood products of valuable breeds. Concrete and wood blend perfectly. |
The described decor options for concrete worktops will allow you to create an original and high-quality ensemble.
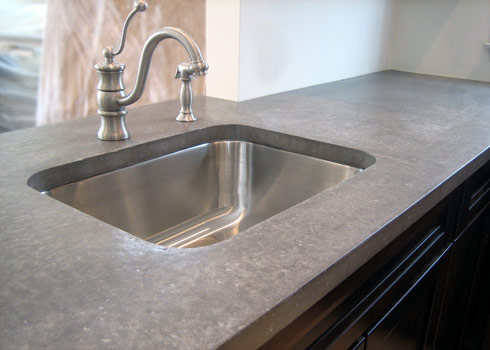
When designing a product, it is important to consider the dimensions of the future table top, if the weight in the finished form is large enough - it is necessary to divide the product into several parts
Completion of construction can be performed in several ways.
- Milk from cement. On the vertical part, drips and spots of whitish tint are obtained.
- Deep grinding to sand. The surface structure is granular. Visible quartz grains of sand.
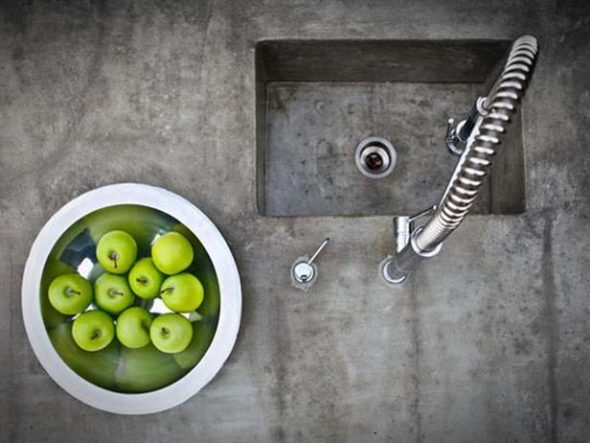
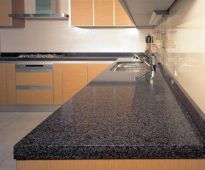
The main advantage of a concrete worktop is that there will be a fairly powerful, strong, durable working surface with a rather unique appearance.
Content
Necessary materials
To increase the strength of the structure, it is recommended to place a reinforcing frame made of metal into the solution. Therefore it is necessary to prepare steel wire with a diameter of 3 mm. The net will be subsequently made of it. For this, knitting wire is used. To secure the frame, take the screws.
Poured the solution in the formwork. It will require a sheet of plywood, resistant to moisture with a thickness of at least 12 cm. It will become the foundation. Suitable laminated chipboard.
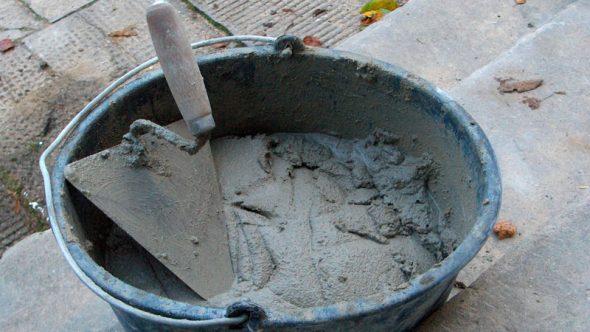
To fill the countertops, you can use ready-made building mixtures or make the mixture yourself.
Choose only materials with high strength. If there is even a slight curvature, it will affect the concrete structure.
To make the concrete tabletop with the required thickness, you need to use boards with a cross section of 50 × 30 mm. And a few beams of wood with dimensions of 50 × 50 mm. If you plan to install a sink in the product, then you should make a hole for the mixer. Be sure to purchase a suitable plastic pipe.
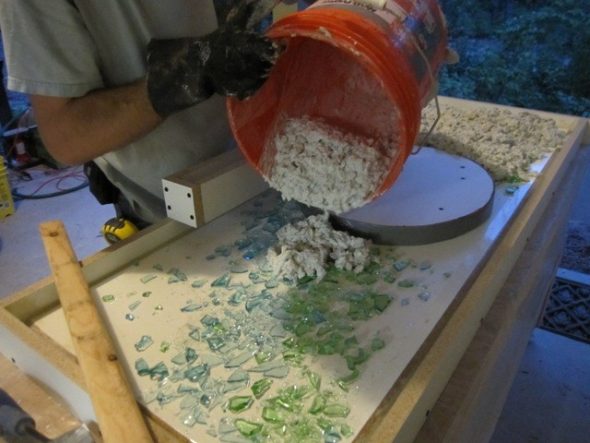
To give the tabletop a spectacular appearance, you can also use prebaked cullet, including multi-colored
Required Tools
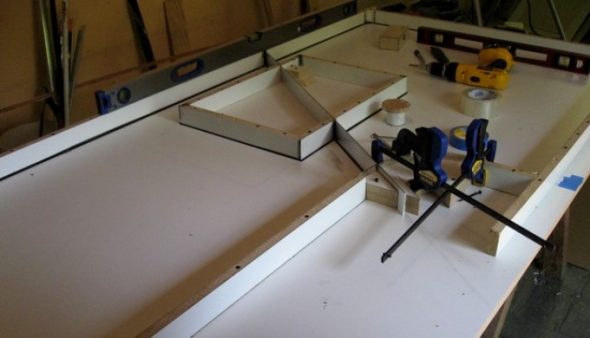
For the manufacture of concrete countertops will require tools and fixtures
To make a concrete structure with your own hands, you need to prepare the required tools:
- shovel;
- putty knife;
- buckets;
- Master OK;
- special mixer, if you plan to mix a small volume. or a concrete mixer for large size work.
To assemble the formwork you need to use a screwdriver and a saw. Place a pair of pliers, a pencil, a special level and a ruler. To measure the parameters of the future product will need a tape measure.
Manufacturing process: step by step instructions
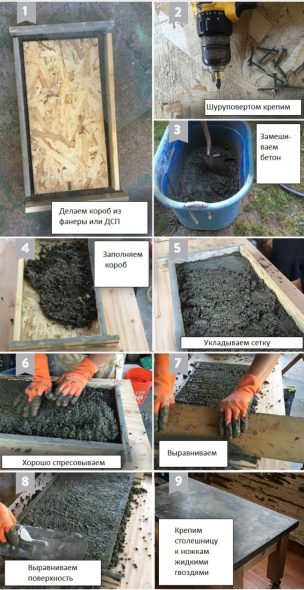
Detailed photo instructions for making countertops
Making a concrete worktop involves following steps:
- Creating a drawing. Required. It will help to accurately make the design. Therefore, it is important to carefully measure the space where you plan to install the product with a tabletop. If you plan to place in the corner, you need to align it at 90 degrees. Then it will be easier to install the structure, and the work itself will be better. To measure the space, use a tape measure.
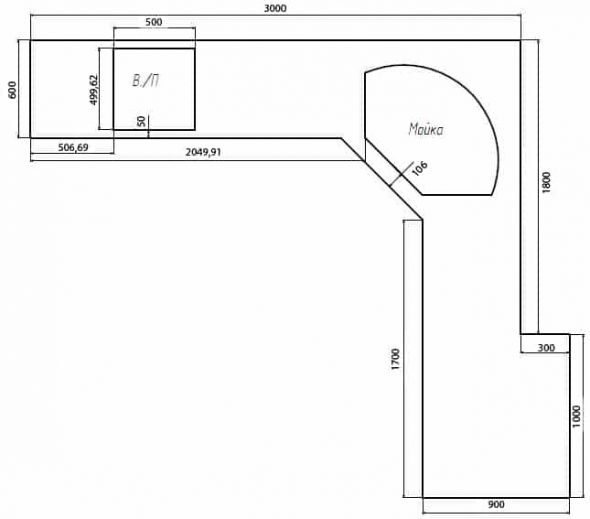
Example drawing of a concrete countertop for a kitchen with built-in sink and hob
- Formwork preparation. It is necessary to install a sheet of plywood on a horizontal surface, always flat. Transfer the data on the drawing onto the plywood surface. Align the boards on the edges. The concrete solution will exert strong pressure on the walls of the formwork. Because it is important to firmly secure. To do this, use the bars or metal corners. The first option is fixed at the corners of the product.
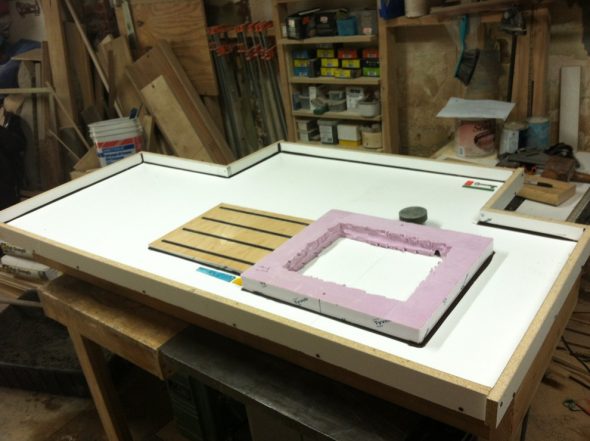
Concrete Countertop Formwork
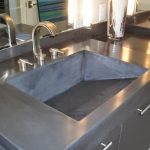
- The construction of the hole under the sink. If it is required. The course of work depends on the model of washing. If this is an invoice option, then you should take the shell and put it upside down on a sheet and make a stroke on the side. After measure the width of the bead. With an embedded model, an outline should be drawn along the edge. On the obtained lines establish the bars, subsequently fastened with screws.
- Construction of the reinforcing framework.It has the form of a grid, the cells of which have a size of 25x25 mm. From the sheet and from the edges you need to retreat 25 mm. Lay the polyethylene film in the formwork. Put its edges on the board. Remove all folds. The film should lie evenly.
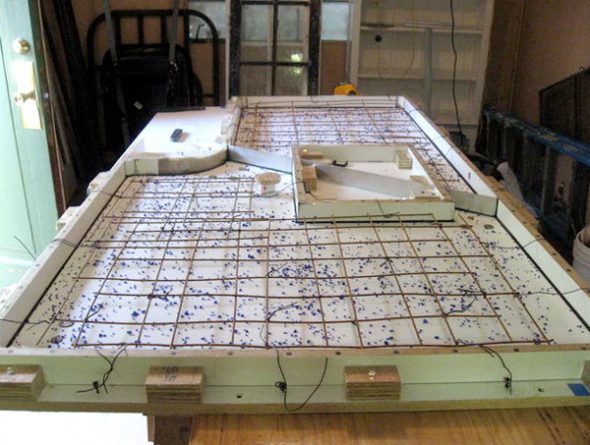
Increase in bearing capacity with steel frame
- Assembly work with the supporting structure. The framework is carried out separately, after it is inserted in place or assembled directly in the formwork. For fixing choose self-tapping screws. Installation height is 25 mm. Screws need to be screwed into the sheet of plywood over the entire area, keeping a distance of 25 mm. To level the caps, use the ruler and level. After you can fasten the pieces of wire to the screws. At the intersection, everything is fixed with a knitting wire material.
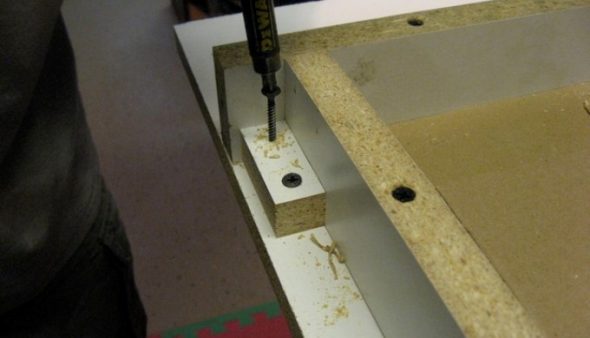
Installation of the supporting structure can be done separately, and then installed in place
- Processing joints. For this, a sealant is used. Carefully handle everything to fill exactly the gap, the gaps.
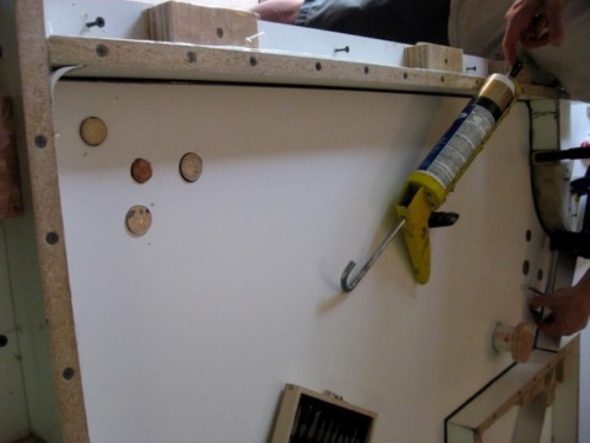
Processing joints between formwork elements with sealant
- Concreting. Pour concrete mix can be several methods. In the first case, the formwork is covered completely. In the second method, concreting occurs in layers. If you choose the first option, you need to mix cement with clean river sand, coarse aggregate like marble chips and water in a ratio of 1: 2: 4: 0.5, respectively. First, fluid and cement are combined until a so-called milk is formed. After the rest of the components intervene. It is important to mix everything thoroughly.
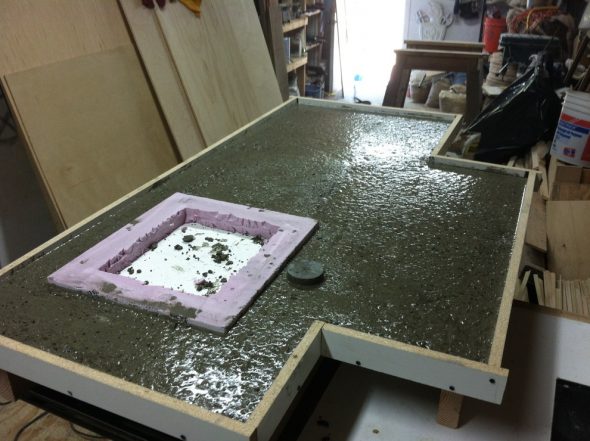
Filling and uniform distribution of concrete over the entire formwork area
- Preparation of solution for the facial layer. You will need a solution in which there is fine sand without fillers. Water is added a little less than in the previous version. If you are not sure that you get a quality solution, it is better to get ready-made mixture. The resulting mass is poured into half or third of the total height of the formwork. Do not wait for it to dry.
- The main layer. After half an hour, you can proceed to this stage. After pouring, the surface is covered with a film. Leave it for a day. Then remove and place a few pieces of wet cloth on top. After 2 days the formwork is disassembled.
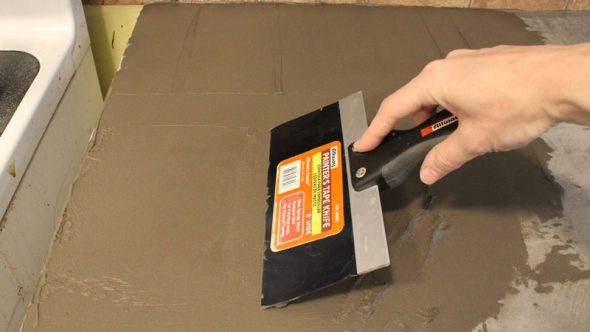
Directly pouring can be done in two ways: in layers and in a single monolith
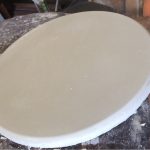
- If the decor was not applied, then the front side is polished. Instead of the grinder, take the grinder. First, take a coarse-grained circle, then change to a fine-grained. You can polish the surface with a felt wheel.
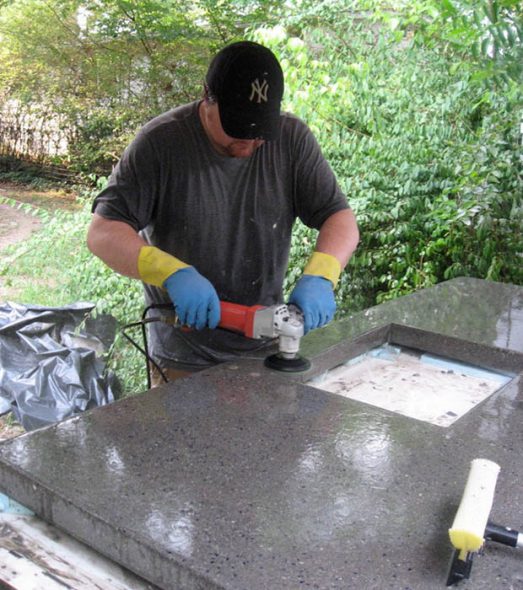
Grinding concrete slab for kitchen
The final stage - decorating

To make the tabletop look like marble, granite or have any other shade other than gray, a special pigment is added to the mix
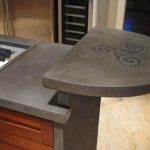
To increase the originality of the product a concrete surface can be decorated. Do it at the stage of pouring the mixture. The front part must be framed correctly and harmoniously.
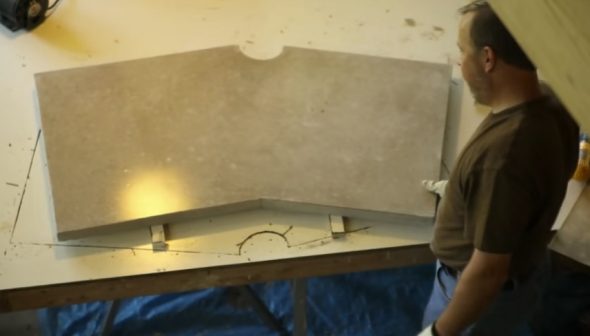
To make a marble spill, it is necessary to displace the dye with water, and then add to the solution
Broken glass and beads are used most often for decoration. You can make a pattern of wire. All this keeps within on a film from polyethylene.
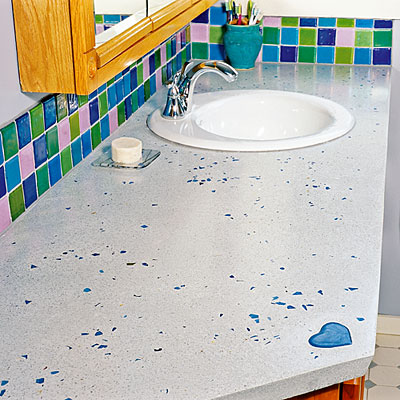
Decorative elements in the form of coins, shells, pebbles must be placed at the bottom of the formwork before pouring the solution into the form and secure with transparent glue
The decor is fixed with glue. This will keep the elements in place. You can use photos that are pre-wrapped with a special waterproof film.
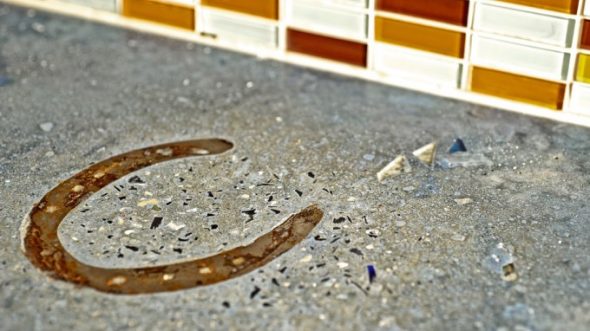
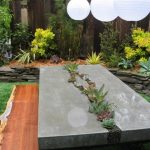
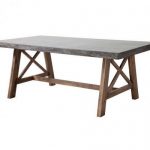
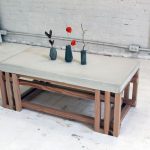
A worktop made of concrete may look very original.
Video: Concrete Countertop
Top 50 Ideas for Using Concrete Countertops in the Kitchen:
 Everything is at hand: the correct filling for kitchen cabinets
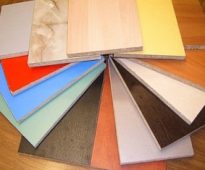 What material is better to choose a kitchen?
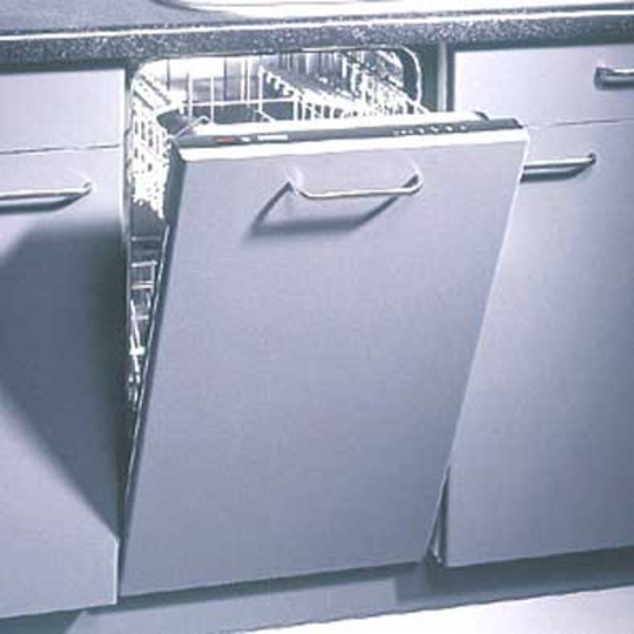 Install the dishwasher into the cabinet (45 cm)
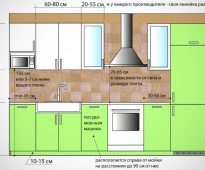 How to make the size of kitchen cabinets (drawings, tips).
 Postforming countertops - what is it and how to use?
 How to arrange furniture in the kitchen
