 Kitchen in which the cabinets are up to the ceiling
Many modern kitchens are equipped with wall cabinets, when there is a certain distance between their upper plane and the ceiling. With such a layout remains unused space.
Here ...
The furniture industry provides a choice of a huge number of different furniture for the kitchen. Sometimes the dishwasher is offered separately, and is set by the buyer independently. It does not require any special knowledge and skills.
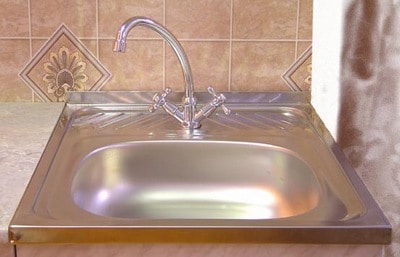
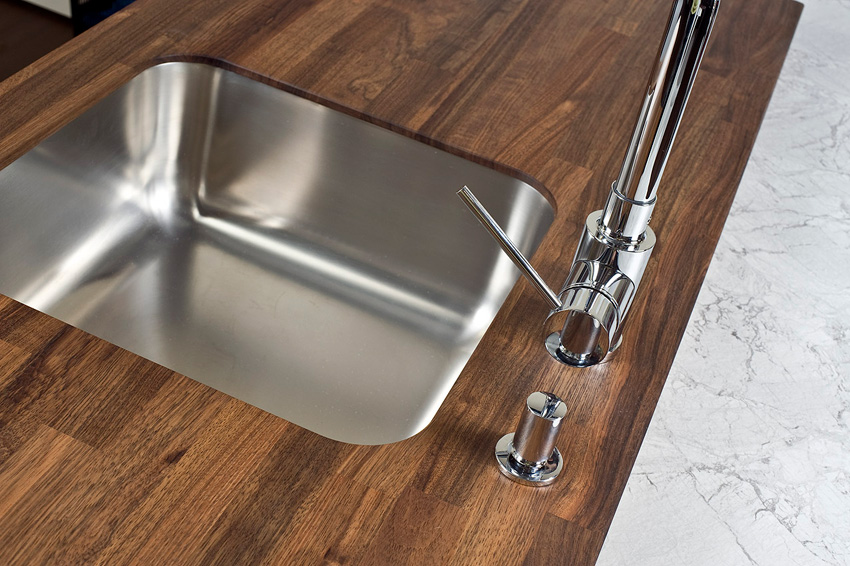
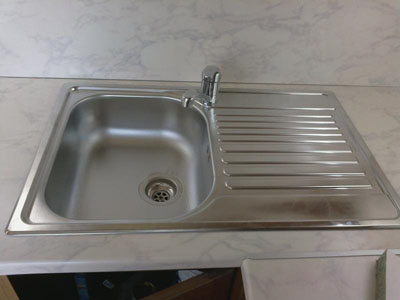
If the sink is purchased separately and its installation is required, it is advisable to entrust this work to professionals.
The tool in order to properly make a hole, you need the most simple. The question of how to cut a tabletop under the sink is not very difficult. However, if you do not follow certain requirements during installation, the installed equipment can be ruined.

The sequence and manipulations are similar to cutting a hole into a chipboard.

The tool in order to properly make a hole, you need the most simple.
The place for the cut-out is selected taking into account the minimum distance for draining water into the sewer system and connecting the water supply system.

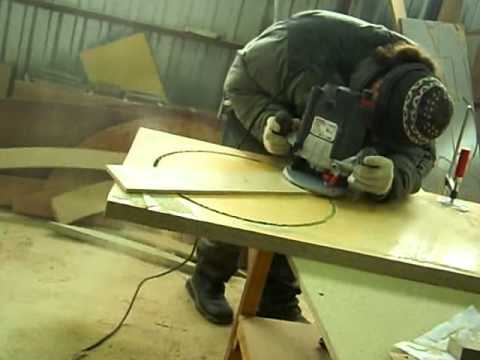
It is better to do this outdoors, as there will be a lot of dust in the sawing process.
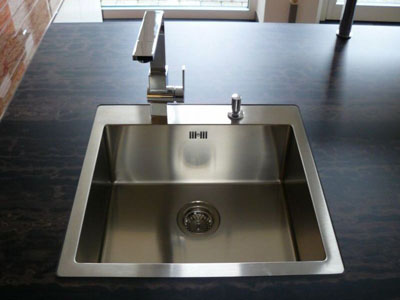
Regarding the level of the working surface can be installed in the following ways.
You will need to wear protective gloves on your hands and protect your face with a special transparent face mask.
Sometimes the dishwasher is offered separately, and is set by the buyer independently.
Content
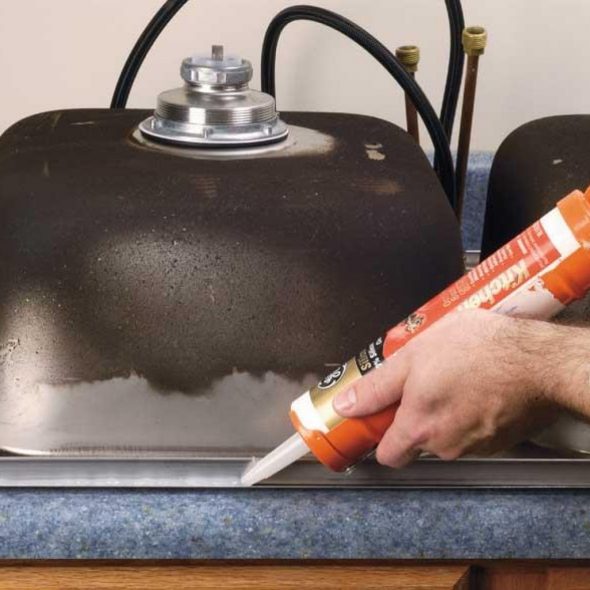
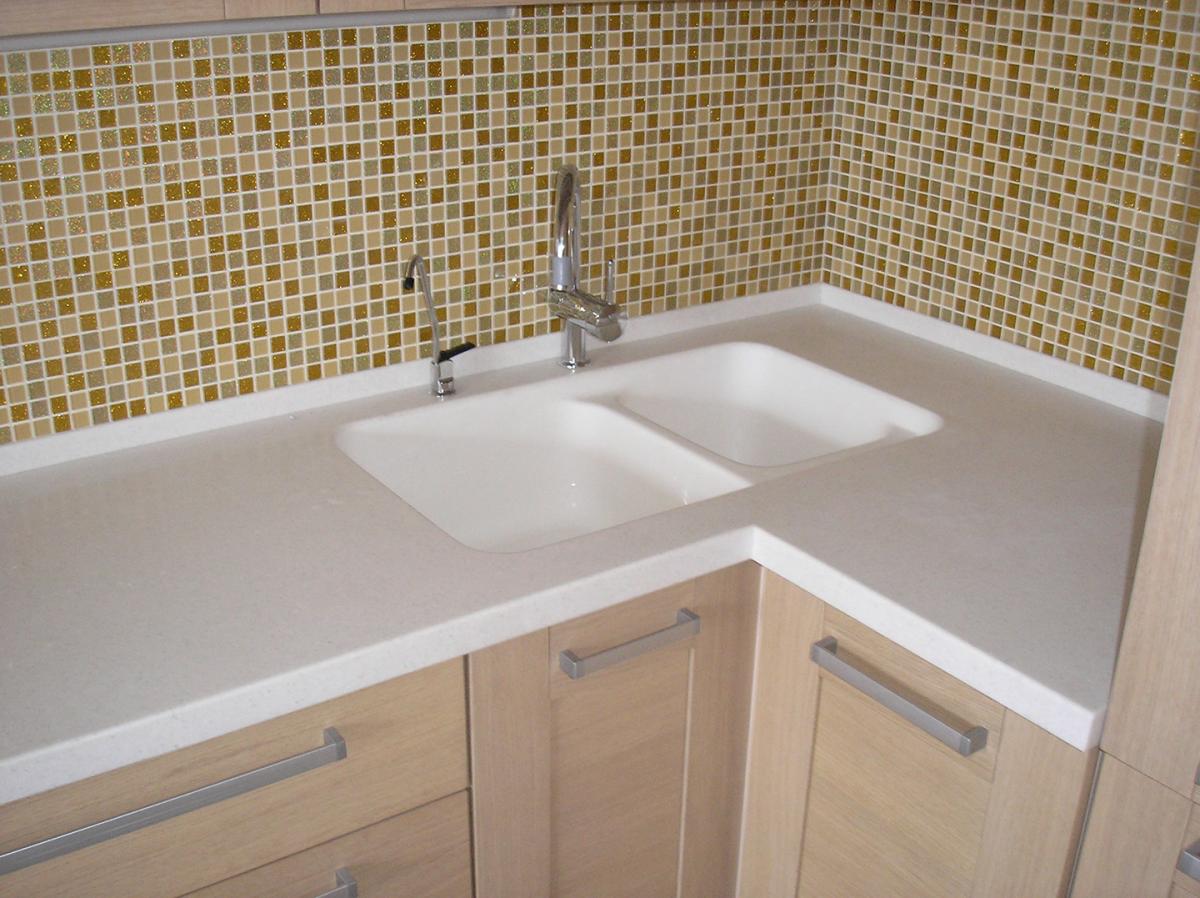
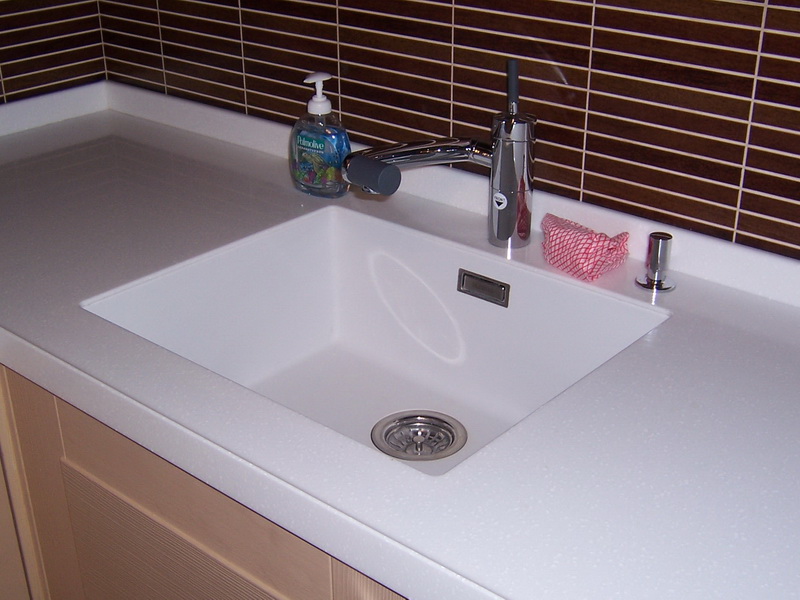
The sealant is used to prevent moisture from entering the points of contact between the sink and the table top. Water can badly damage chipboard. For different surfaces its sealant is intended. When working with artificial stone, only silicone is used. For wood and plastics, sealants containing alcohol are more commonly used.
If it is decided to cut a hole in the countertop under the sink on your own, then you need a special tool - a “Bulgarian” with a diamond wheel.
The use of a sealant not only prevents unwanted water penetration. This also serves as an additional strength to the joint.
If the sink is purchased separately and its installation is required, it is advisable to entrust this work to professionals.
Required tools:
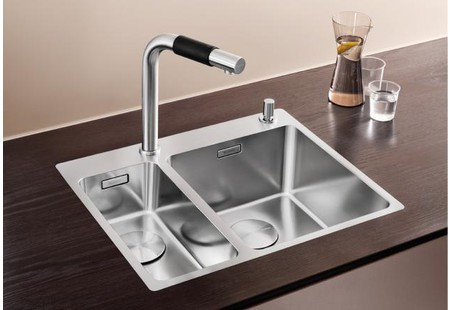
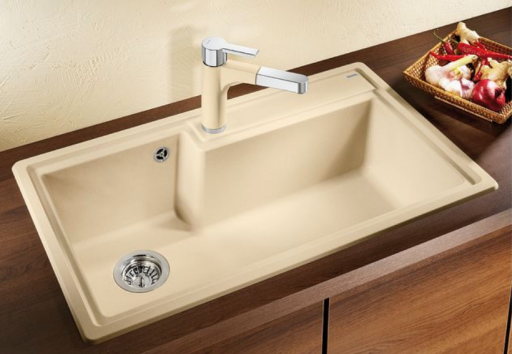
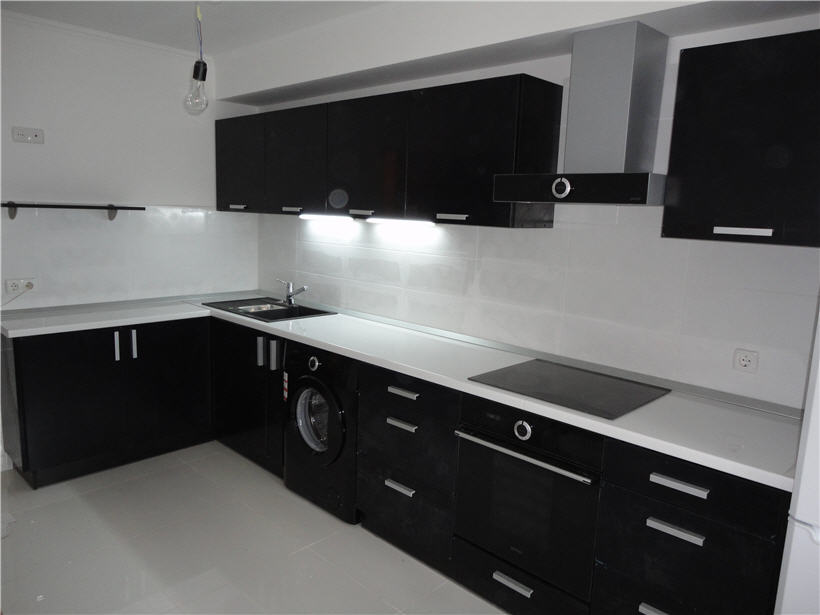
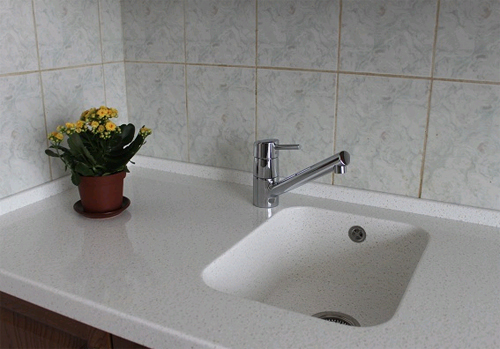
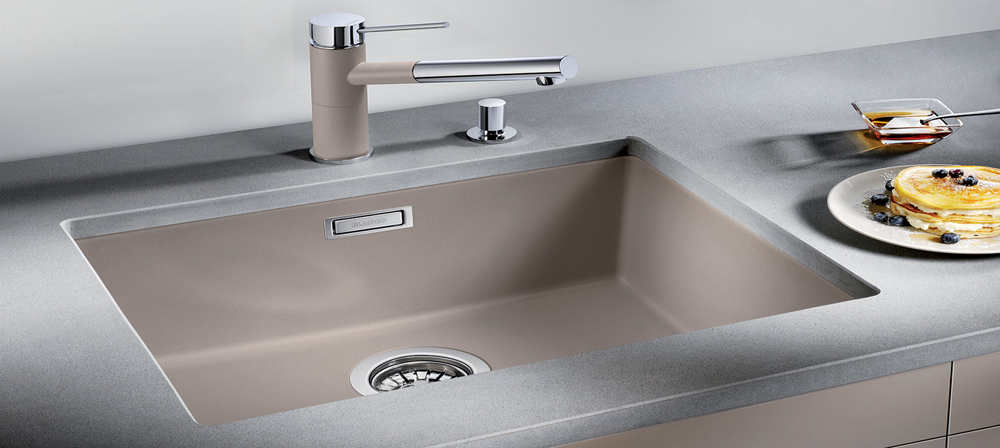
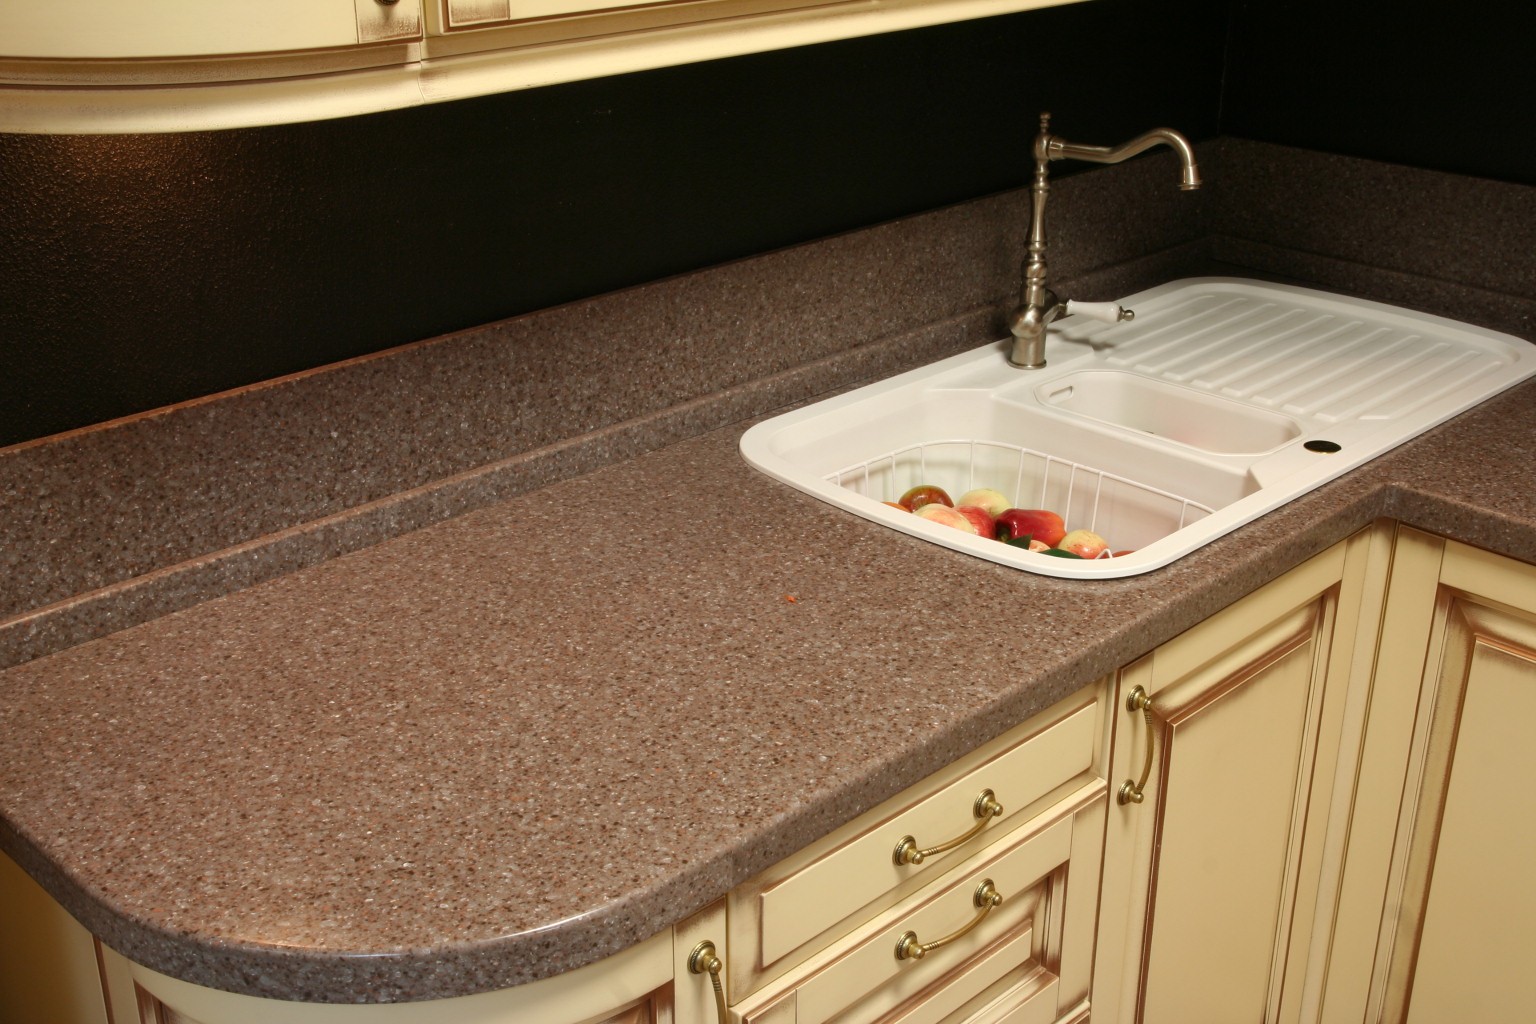
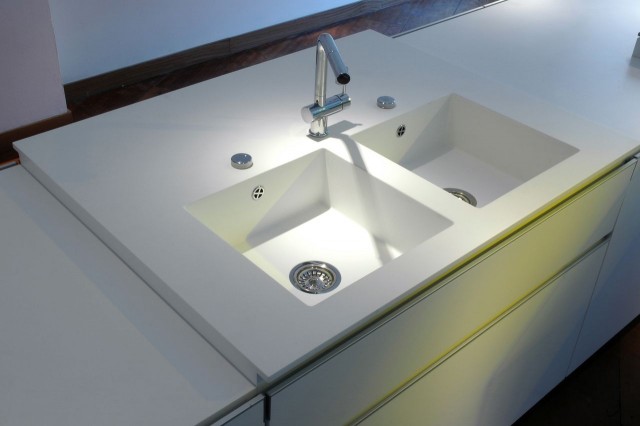
When buying furniture for a kitchen with such a surface, it is desirable to have a finished product that will require only connection to the water supply and sewerage system.
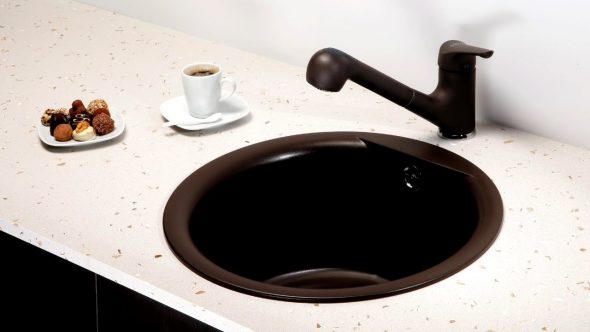
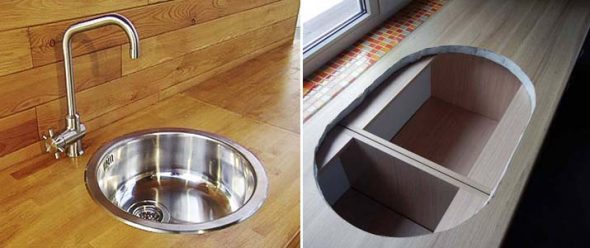
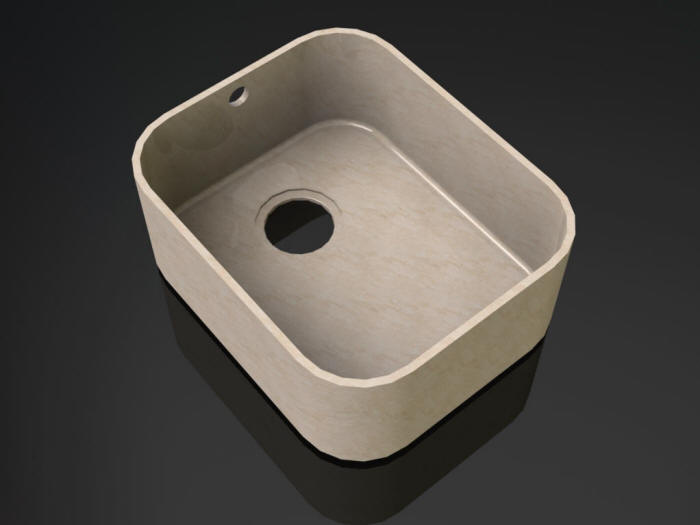
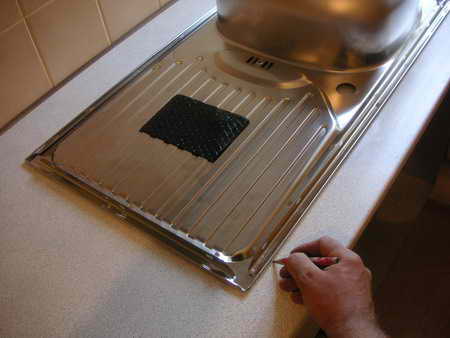
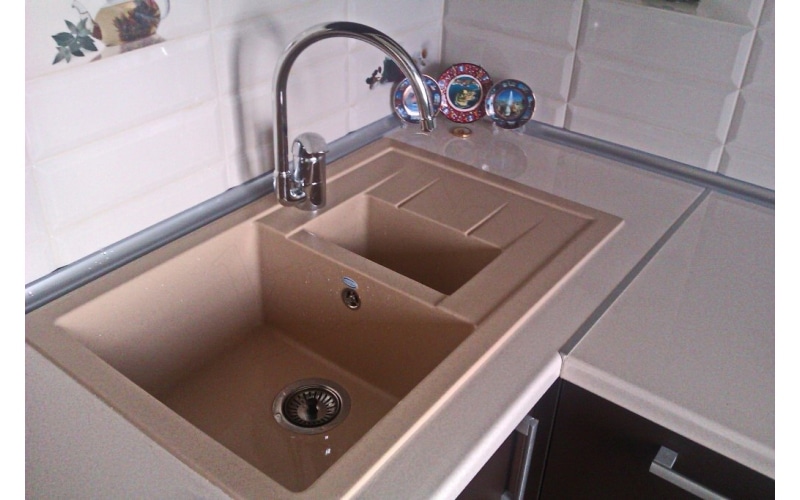
Before you cut a hole in the sink under the sink, the marking of the required hole is carried out. For this, a template is made of cardboard or thick paper. Some manufacturers and manufacturers of sinks attach a template with the product itself. If the option of installation on the tabletop was chosen and the sides are of sufficient width, you can mark out without a template. For this wash is used as a template. The top surface is applied to the plane and a marker or pencil is drawn around the contour. For ease of installation, it is desirable to remove the countertop. Stepping back inside 0.5 - 1 cm from the drawn line, a working contour is drawn, along which the cutting is done.
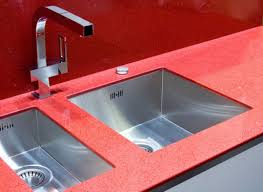
It will look more solid, but independently it will be more difficult to build in it a sink.
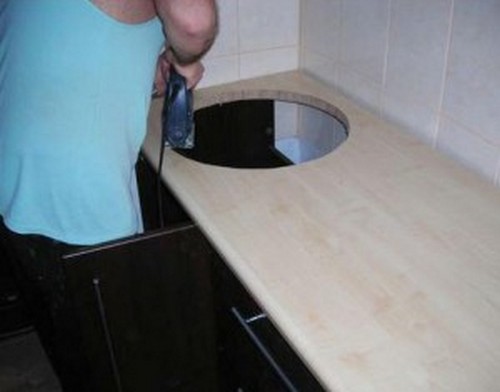
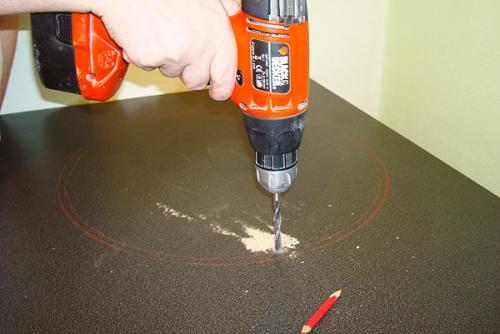
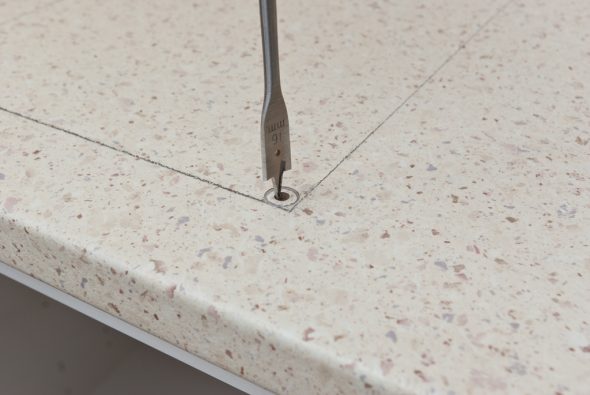
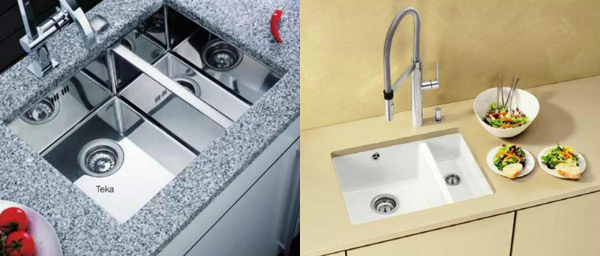
Marking the line cut, the pattern is removed and you can begin the process of cutting out a place for washing. Drill drilled space for electric jigsaw, with a diameter of about 10 mm. For quadrangular or triangular sinks, holes are made at all angles. If the product has a round or oval shape, one work is enough for work.
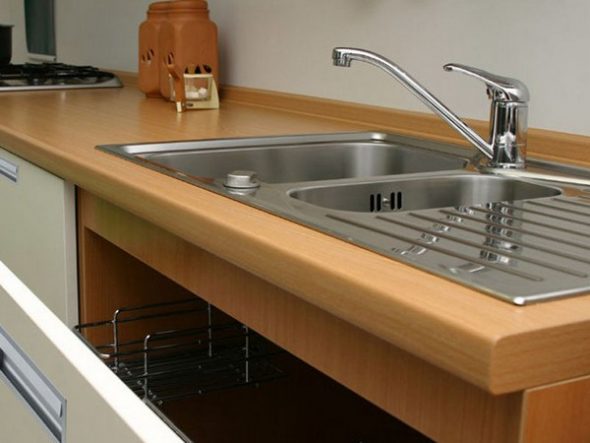
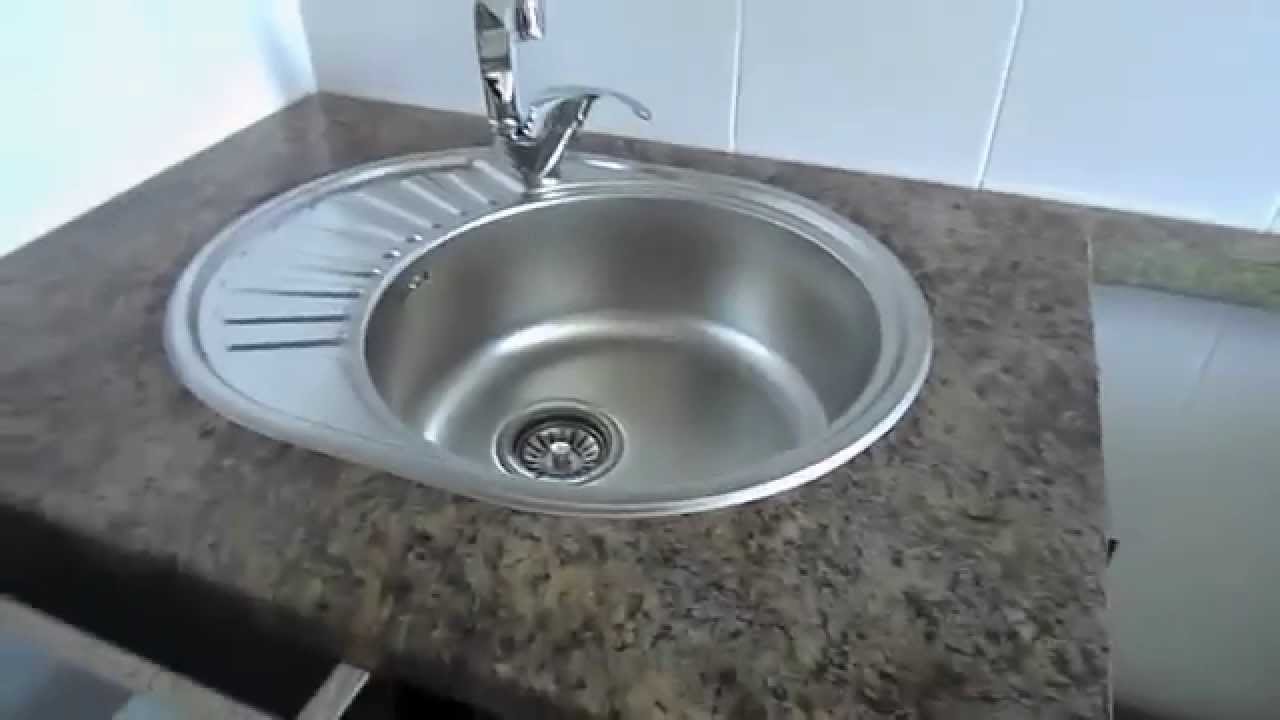
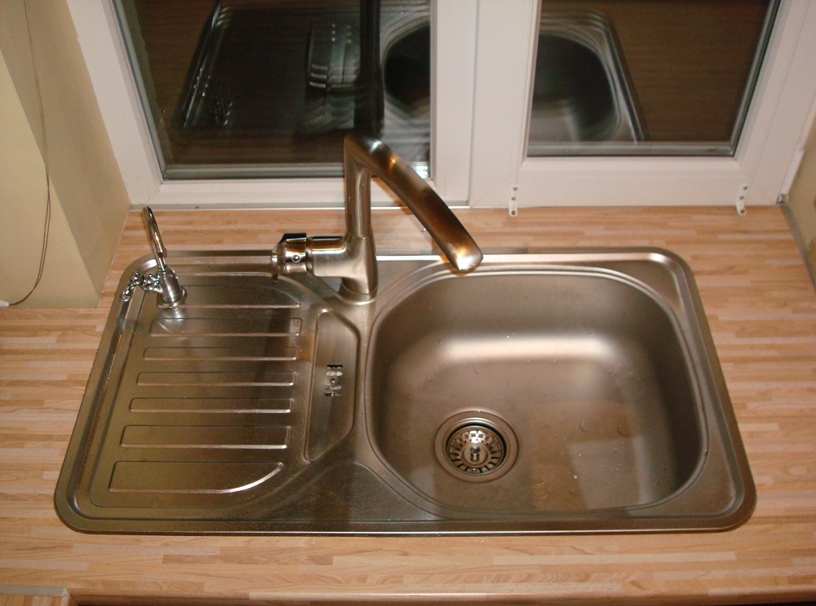
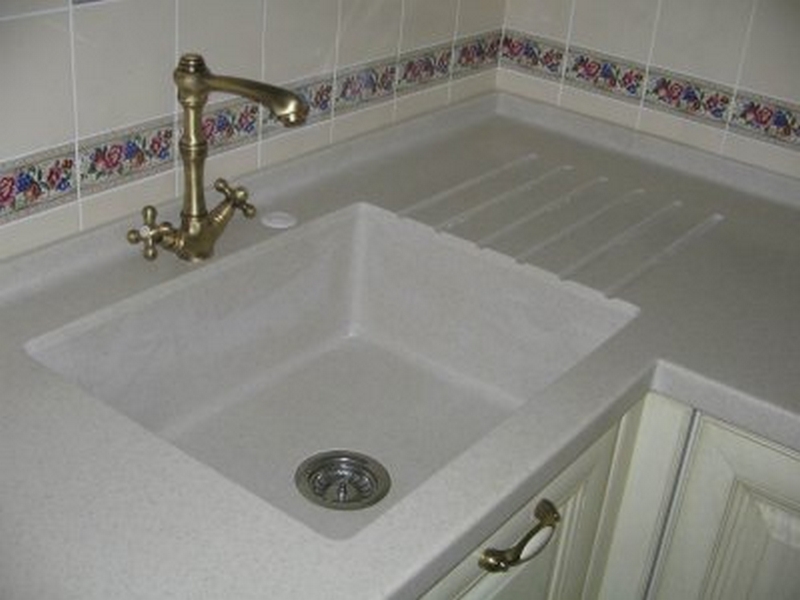
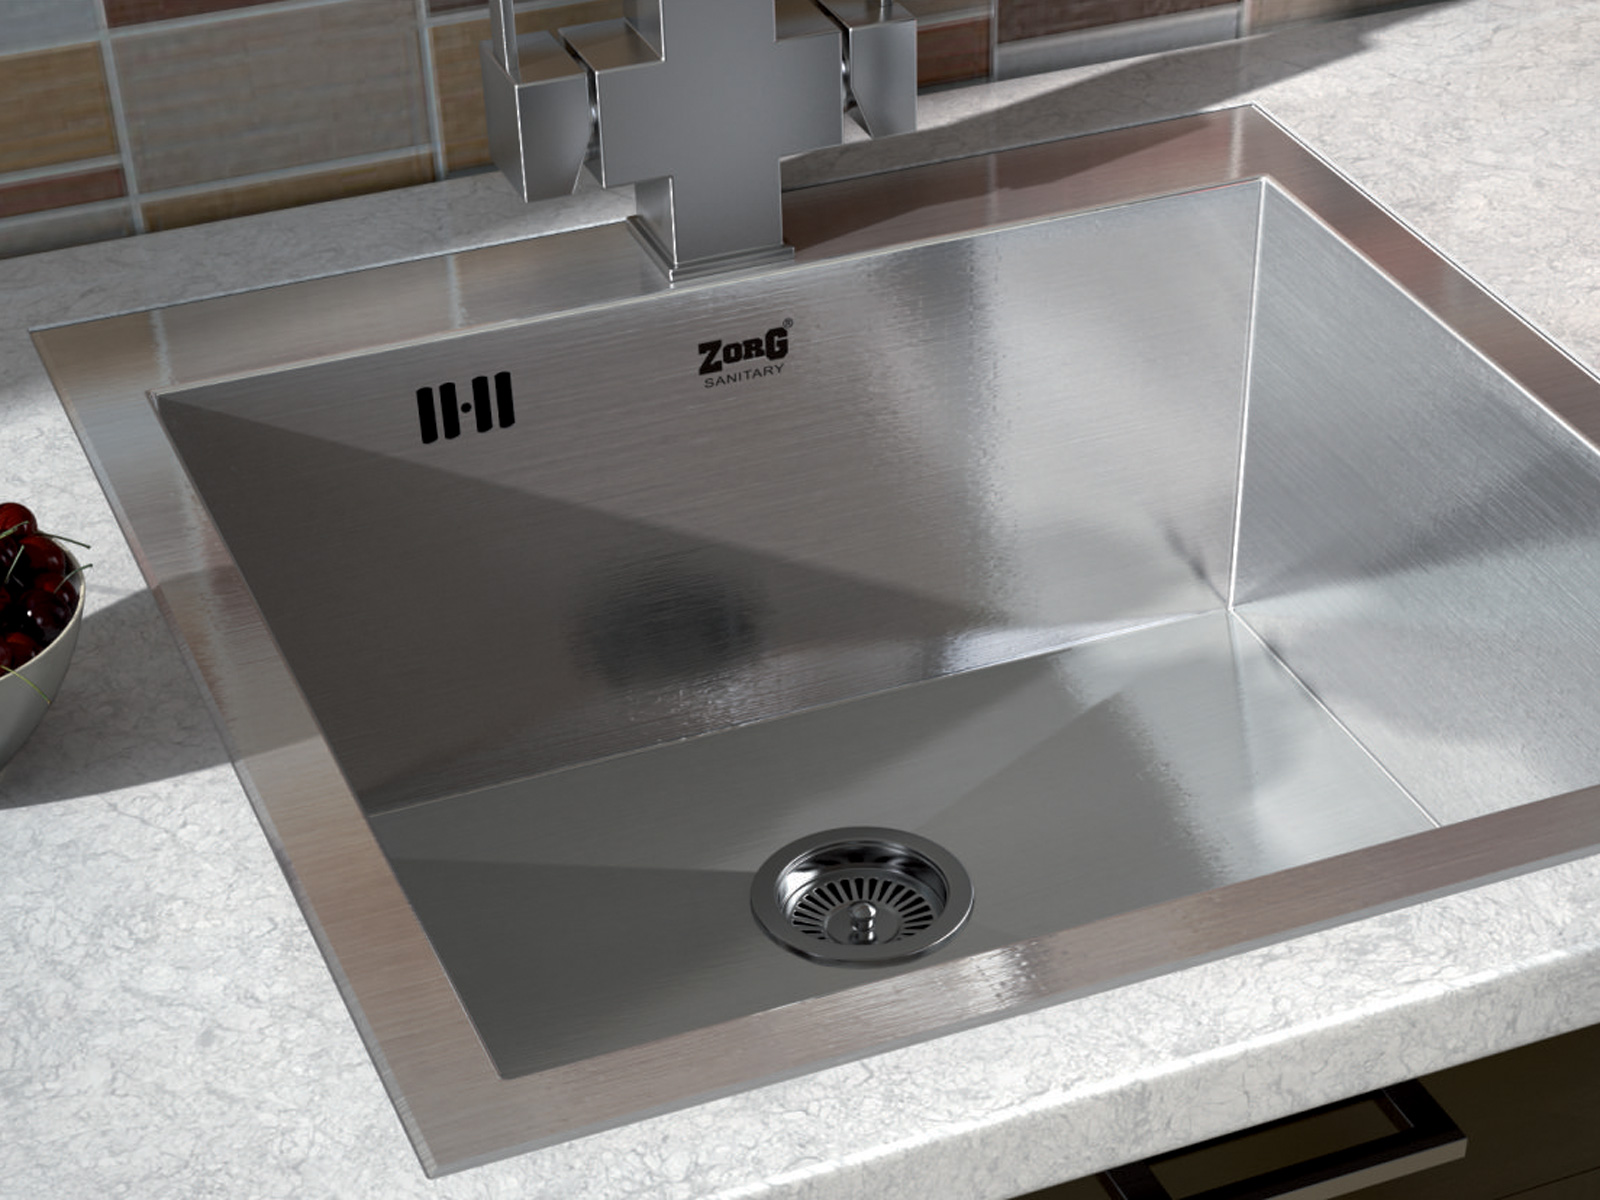
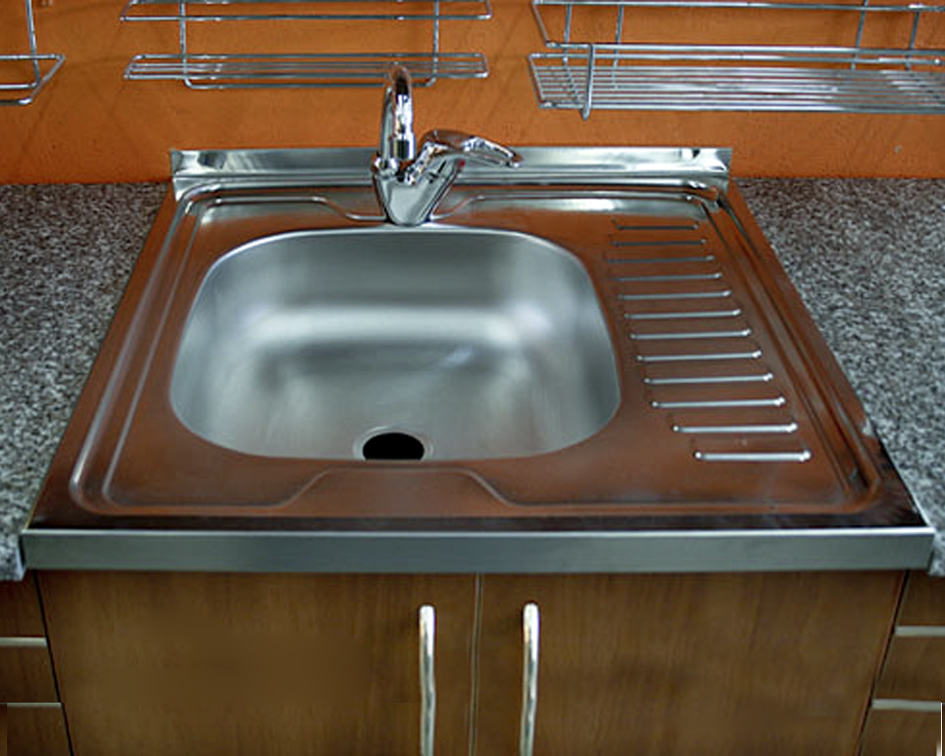
It is not difficult to install a sink on a wooden top or chipboard, having the required tools and the simplest skills to handle it.
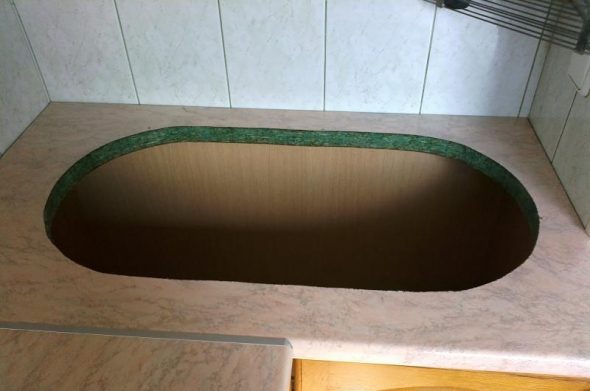
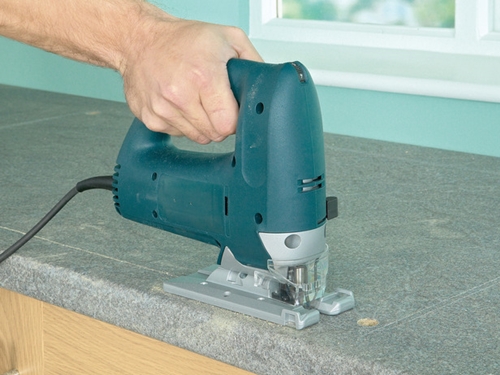
Hole and cut are made from the side of the laminate, it will prevent it from chipping. With a jigsaw, carefully cut out the required hole along the drawn outline. Electric jigsaw should be pressed tightly to the surface. The blade should go exactly at right angles.
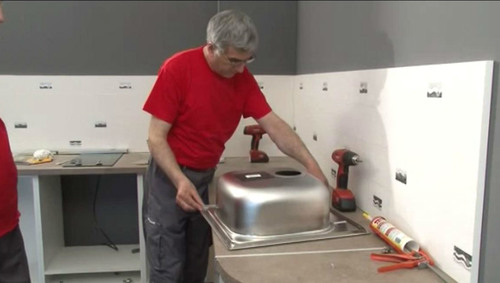
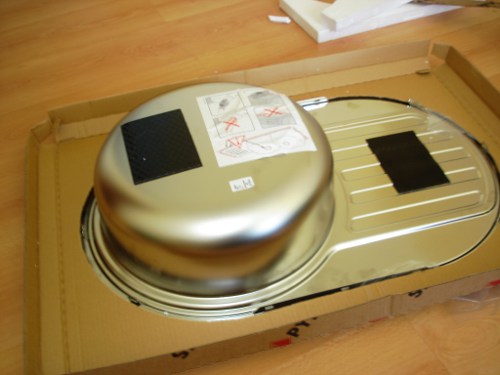
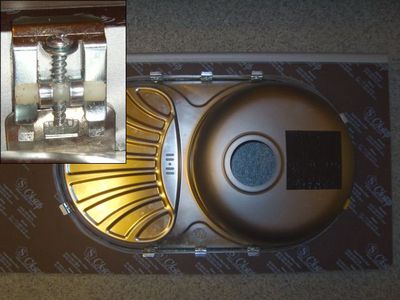
On the sink superimposed sealing tape, supplied with the product.
When performing this work, the inner part to be cut should be supported. Or arrange the tabletop so that at the end of cutting this part does not fall. With a sharp detachment of the remaining and retractable part, the laminated coating may crack. Or break off part of the chipboard.
You can use a drill with a special drill - furniture crown, just immediately take such a drill of the required diameter.
If there is no place for such an arrangement, or the tabletop has not been removed, use construction tape. Cutting is performed in this case with stops. The cut is made on 10-15 cm., Which is then glued with tape on both sides.
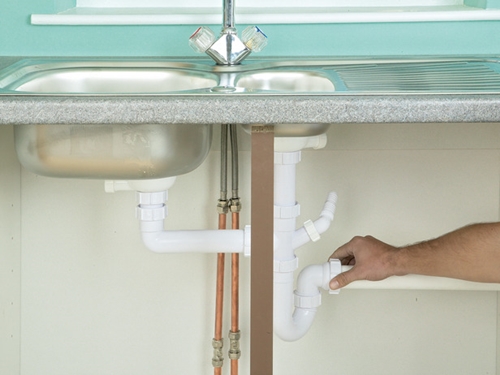
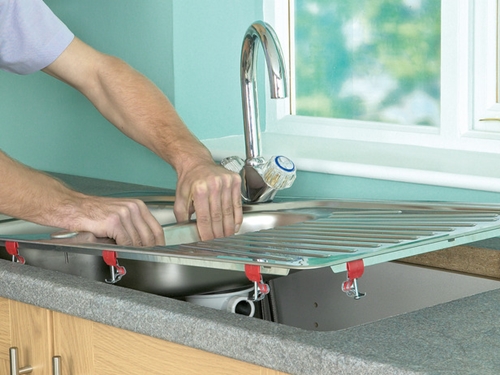
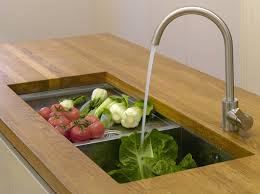
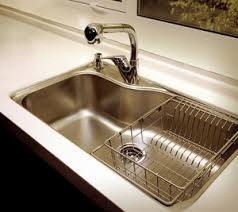
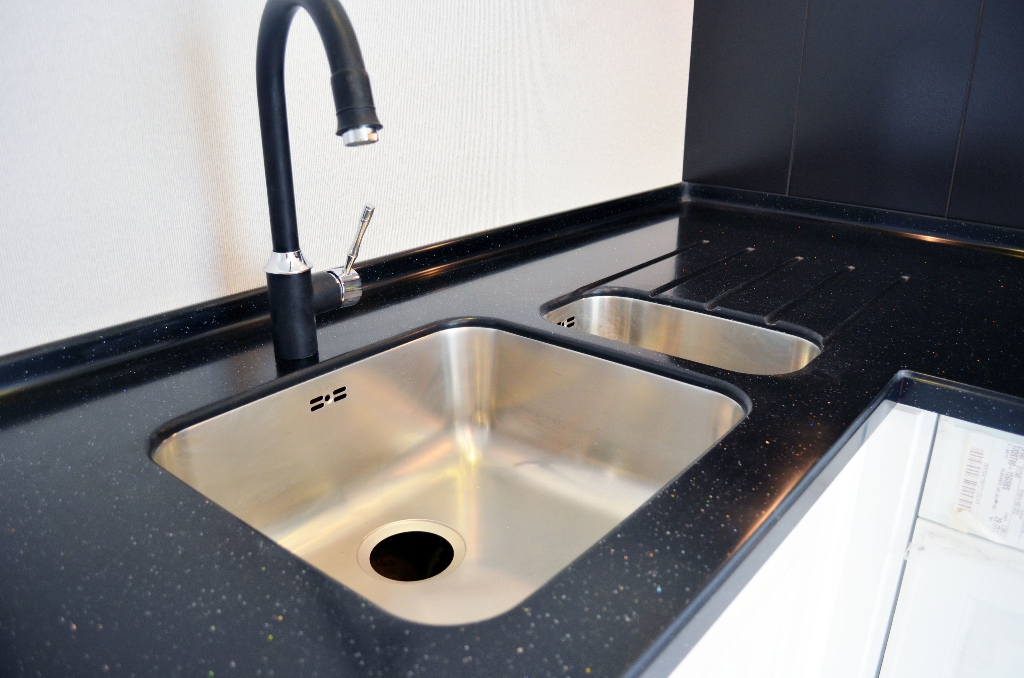
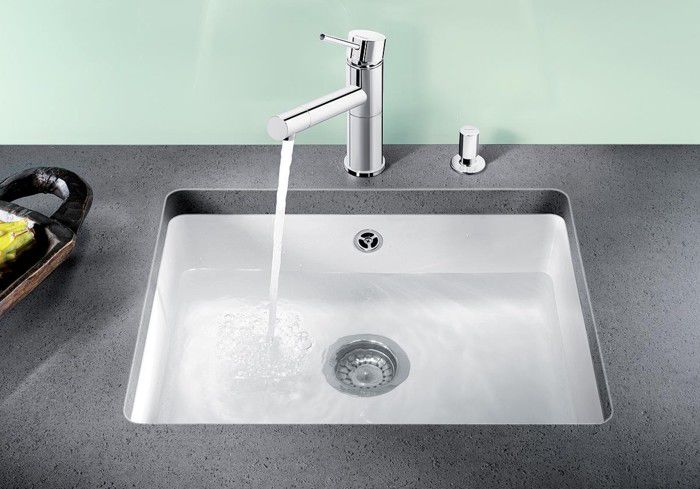
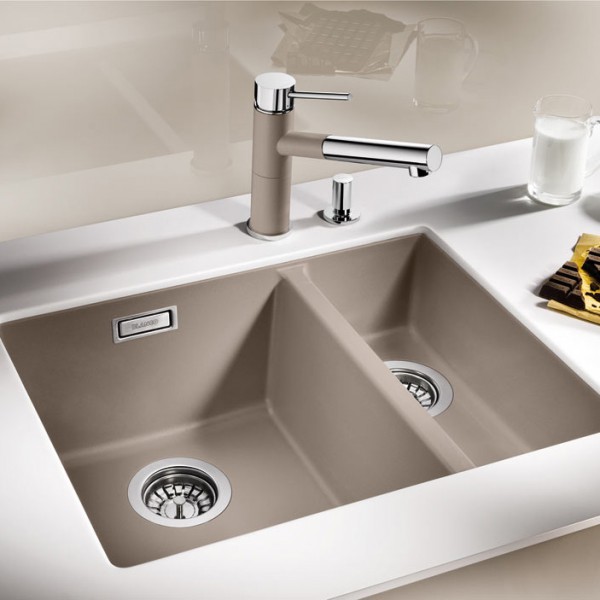
To the bowl is mounted drain and, if provided by the design, the mixer (water tap).
After the sawing is completed, a wash is first tried on. It should enter freely, but the gap should not be large. If it enters too tightly, the installation site should be expanded with a rasp or jigsaw.
Marking the line cut, the pattern is removed and you can begin the process of cutting out a place for washing.
Now it is necessary to thoroughly “sand” the inner end to which the sink will abut. This is done with fine grit sandpaper. The formed dust is removed, and a sealant is applied with a brush to the place of contact with a brush.

For ease of installation, it is desirable to remove the countertop.
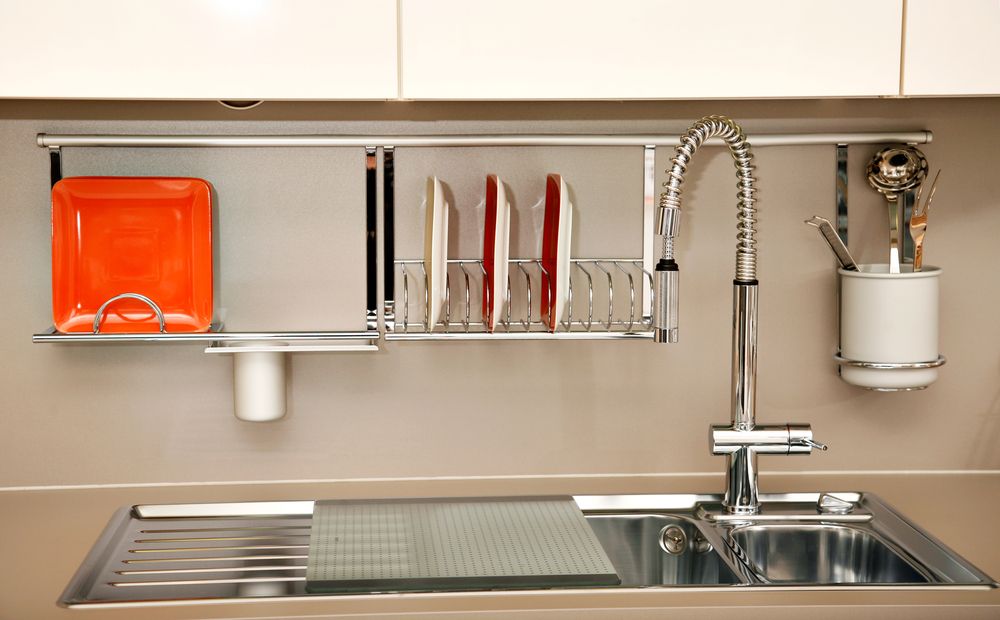
To the bowl is mounted drain and, if provided by the design, the mixer (water tap). All pads are installed in the correct sequence. Typically, the layout of the gaskets indicated by the manufacturer on the packaging of the mixer and drain the siphon. Threaded connections are well drawn with wrenches or, if necessary, a wrench.
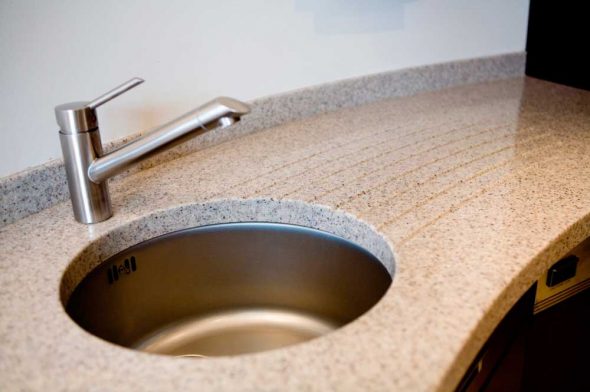
When buying furniture for a kitchen with such a surface, it is desirable to have a finished product that will require only connection to the water supply and sewerage system.
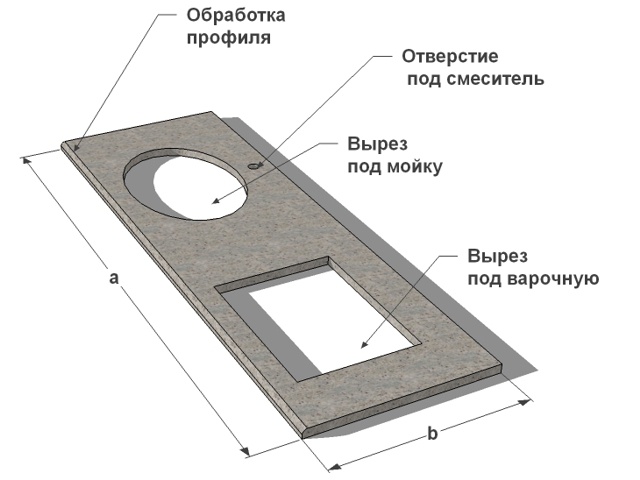
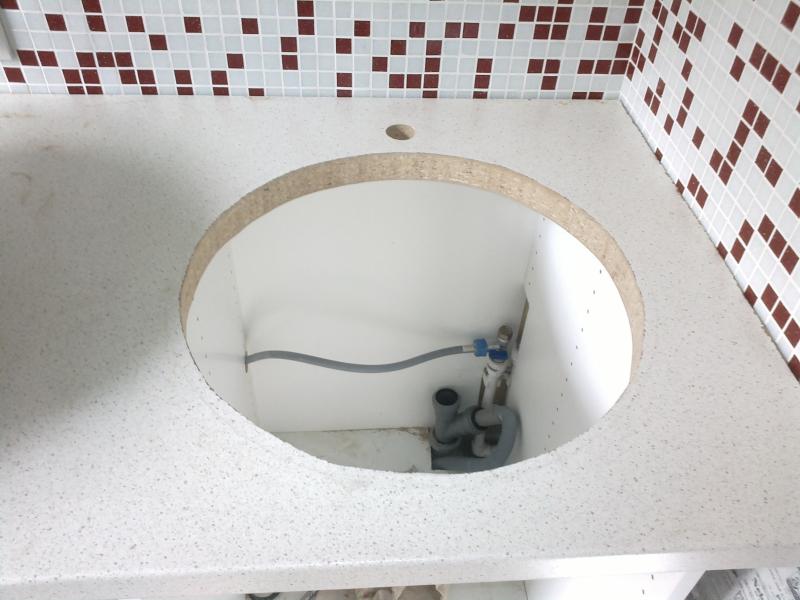
In the absence of the construction, which is planned to install, holes for plumbing and sewers, they should be cut.They are done in the same way as for washing. Drilled by a drill and an electric opening is cut out with an electric jigsaw. You can use a drill with a special drill - furniture crown, just immediately take such a drill of the required diameter.
For this wash is used as a template.
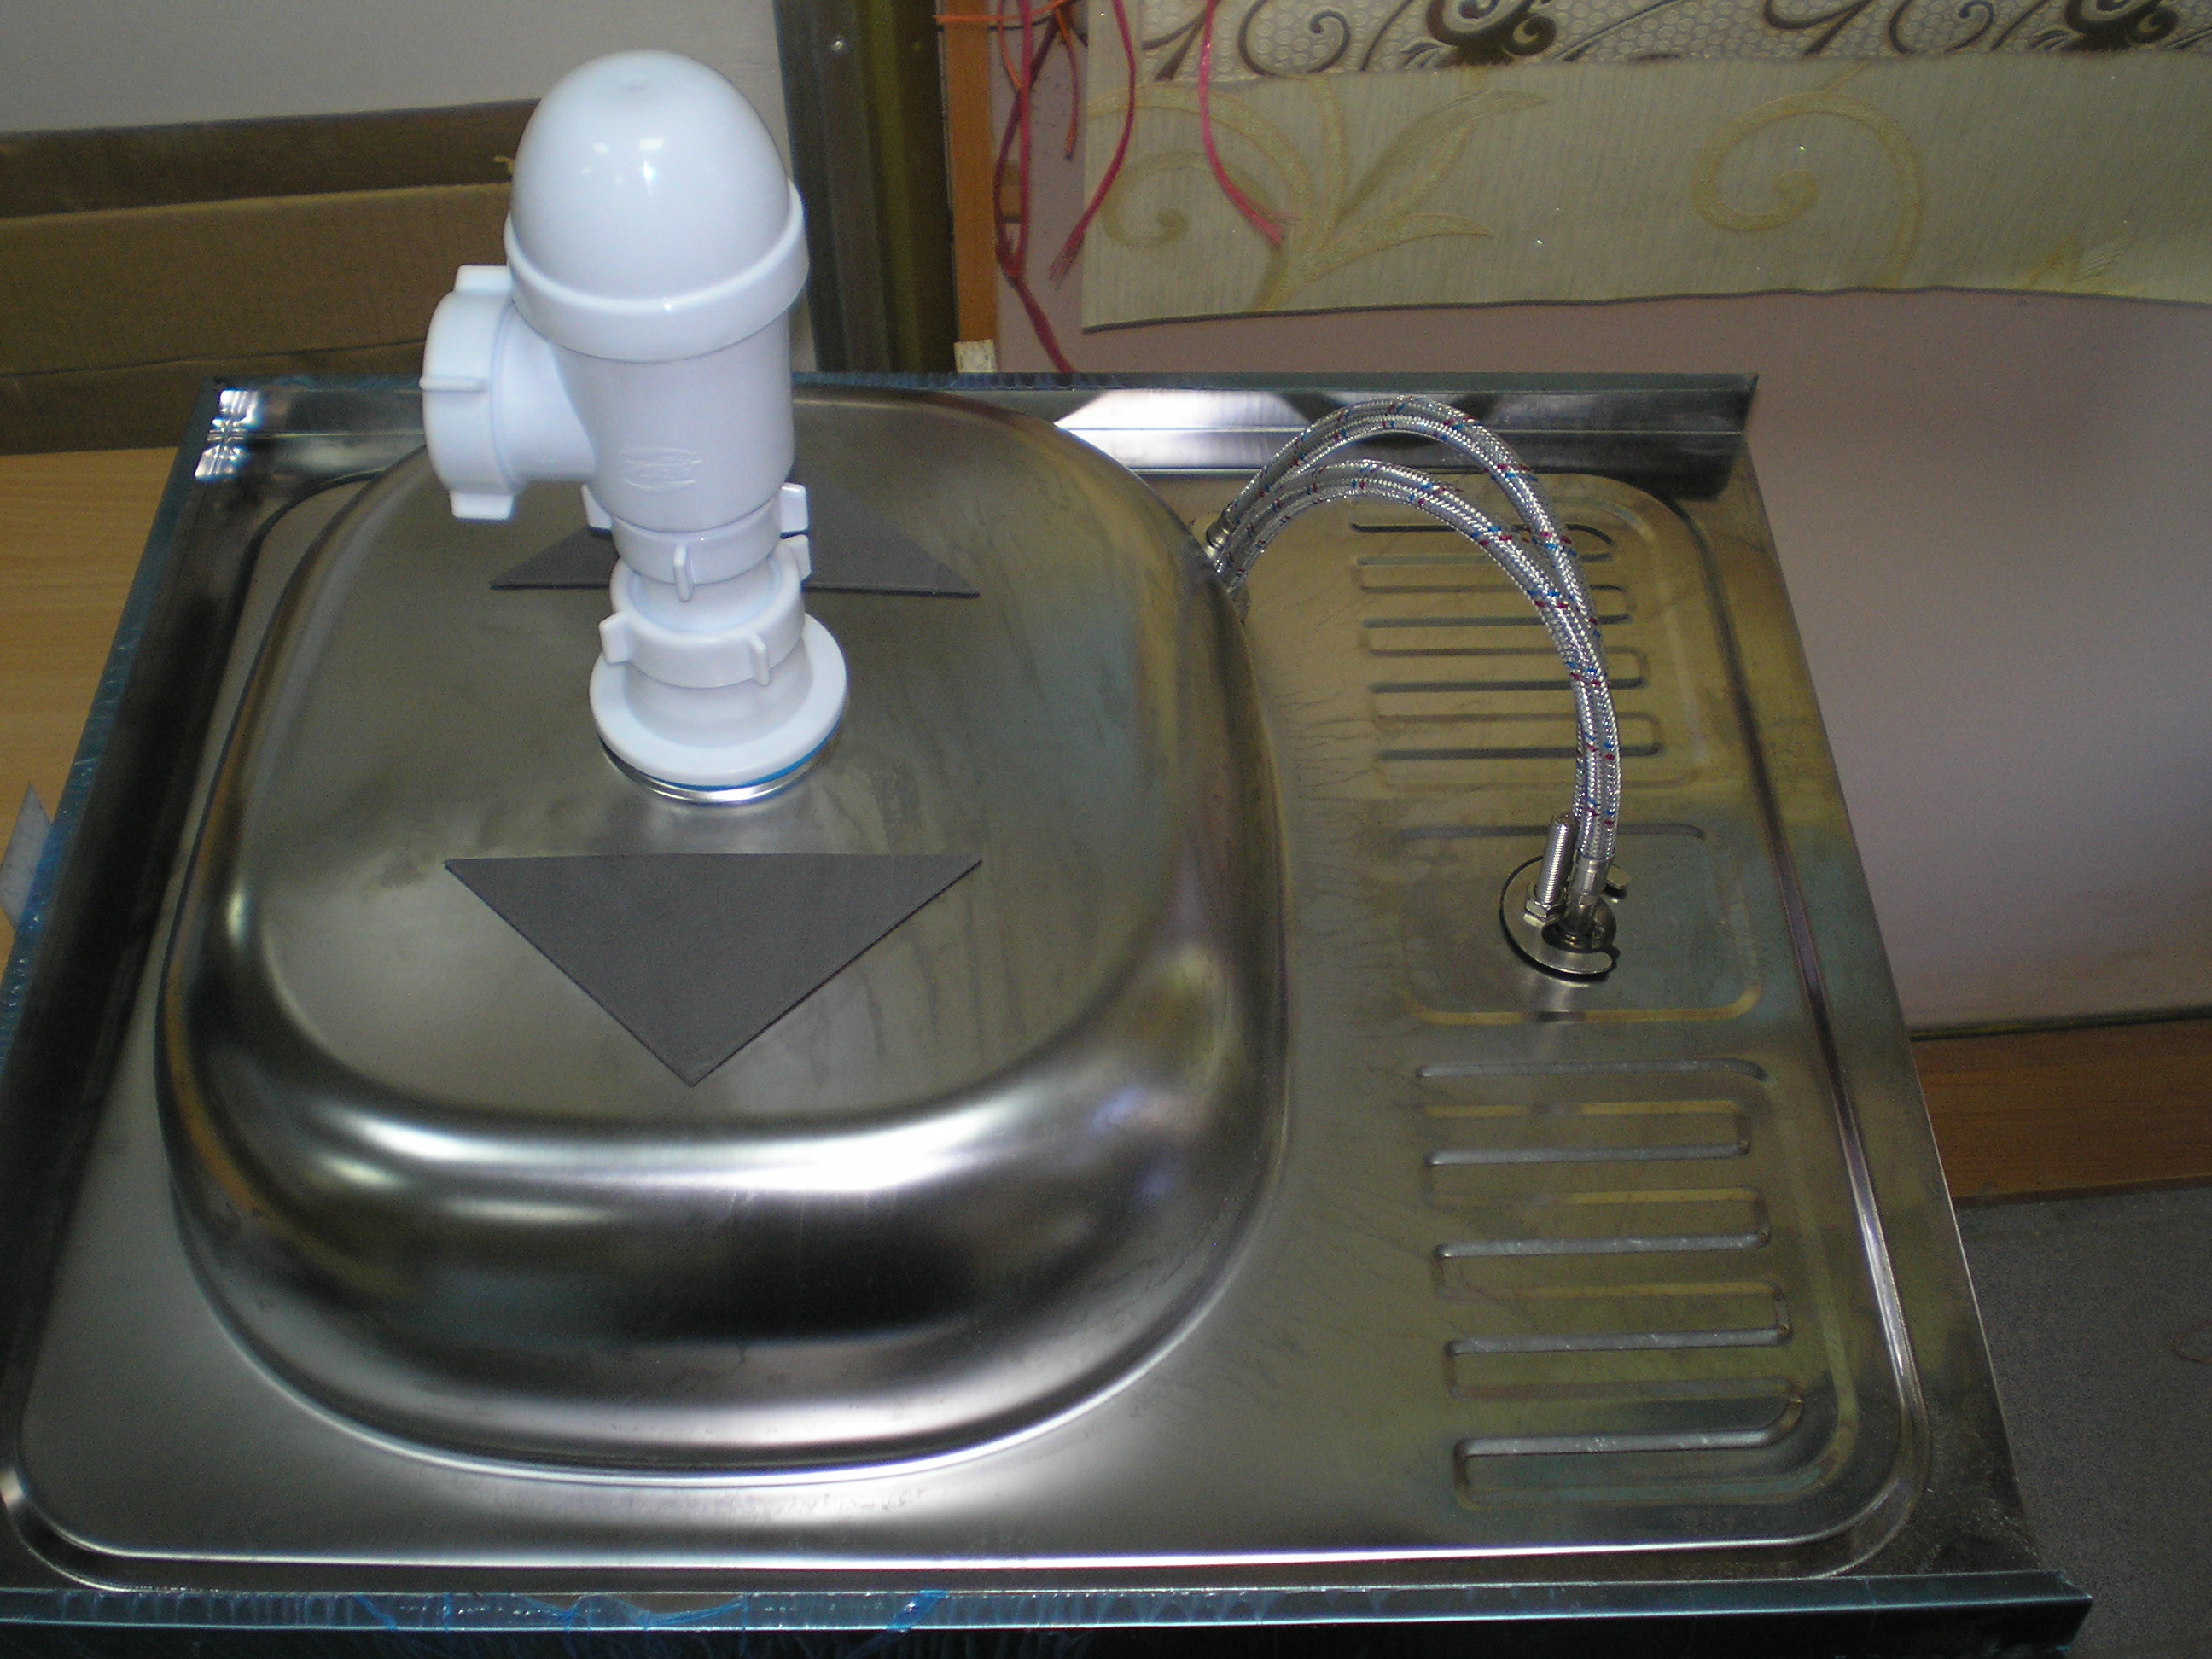
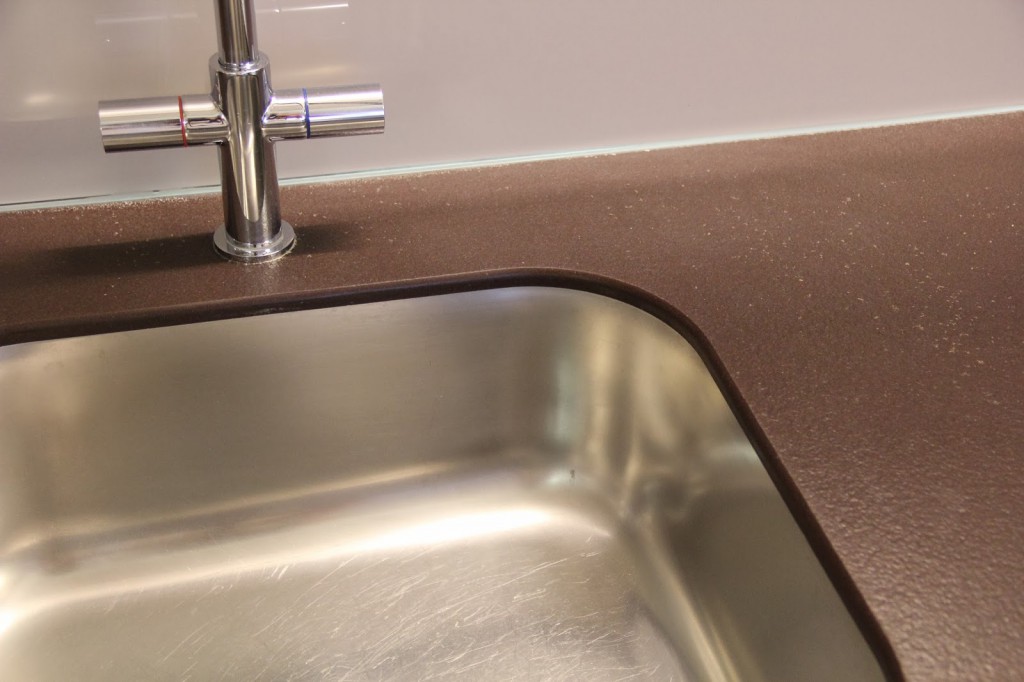
On the sink superimposed sealing tape, supplied with the product. A small gap is left from the edge, which is subsequently filled with sealant. Mounting mounting.
Some manufacturers and manufacturers of sinks attach a template with the product itself.
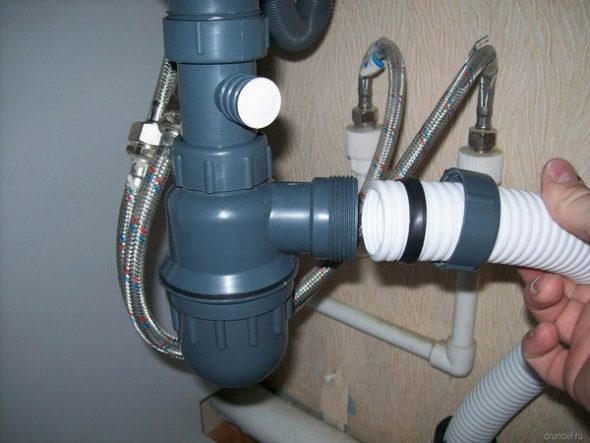
Reapply sealant to the contact points and let it dry for a while, for 2-3 minutes. Put the product in place and stretch the mount. Fasten the table top together with it in its place and connect the water hoses. Connect the drain. Once again go through the joints with sealant, the excess must be removed.
Before you cut a hole in the sink under the sink, the marking of the required hole is carried out.
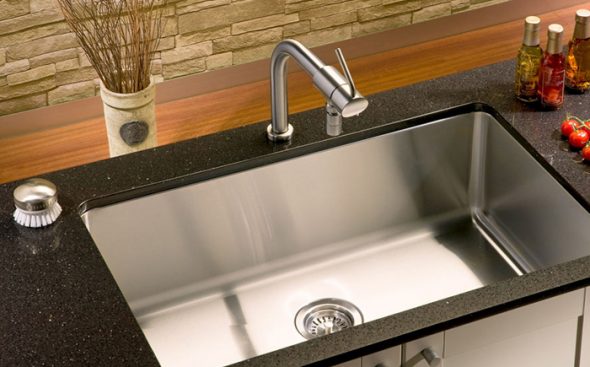
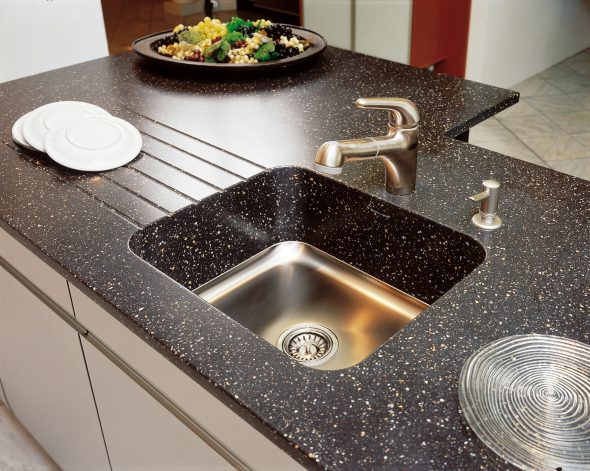
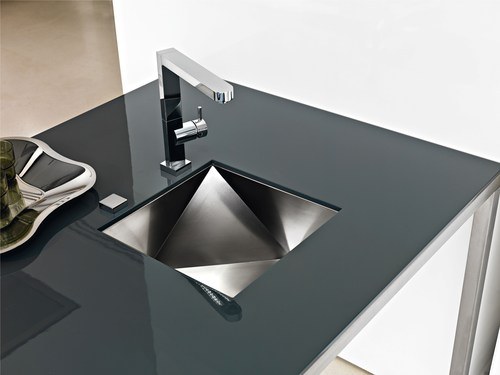
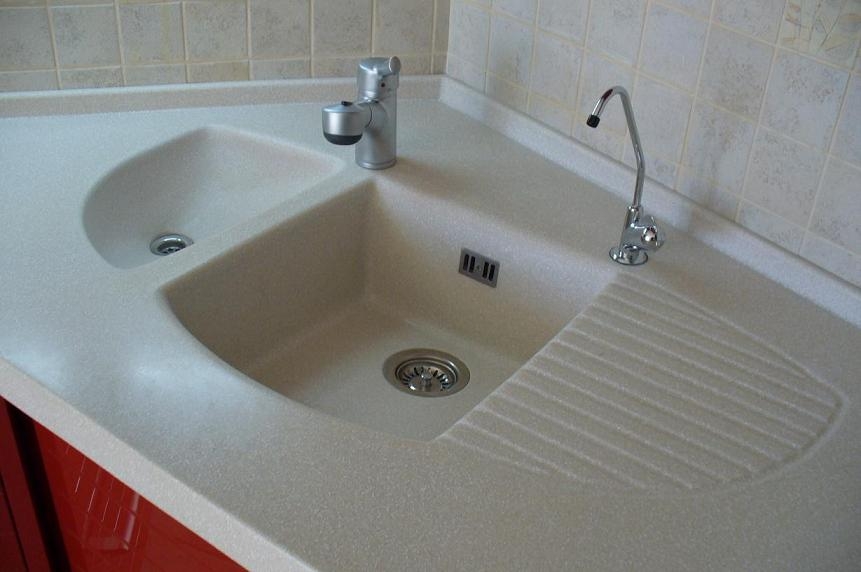
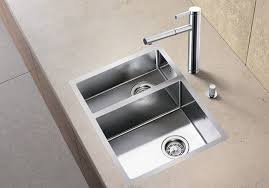
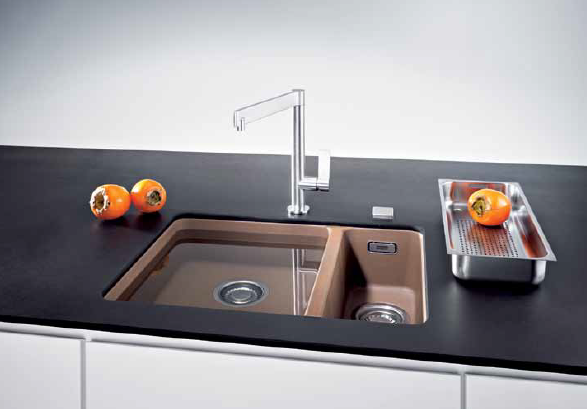
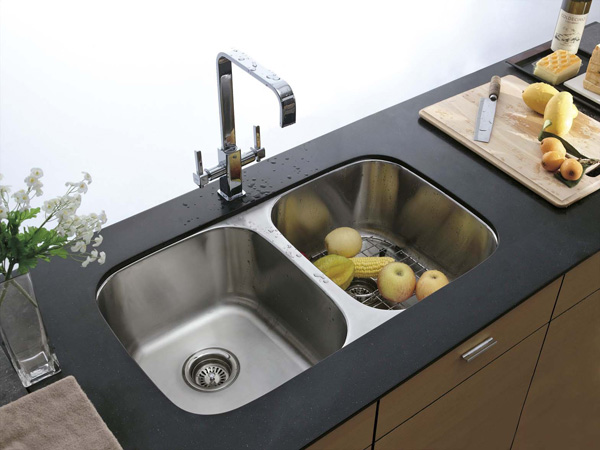
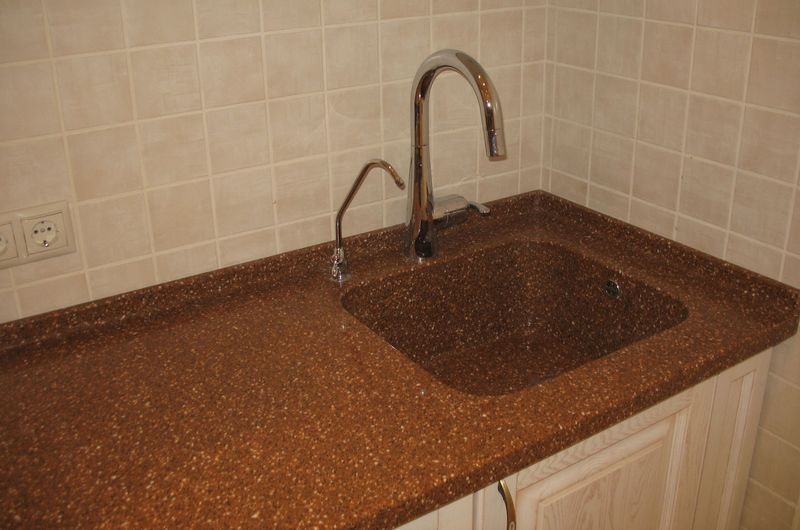
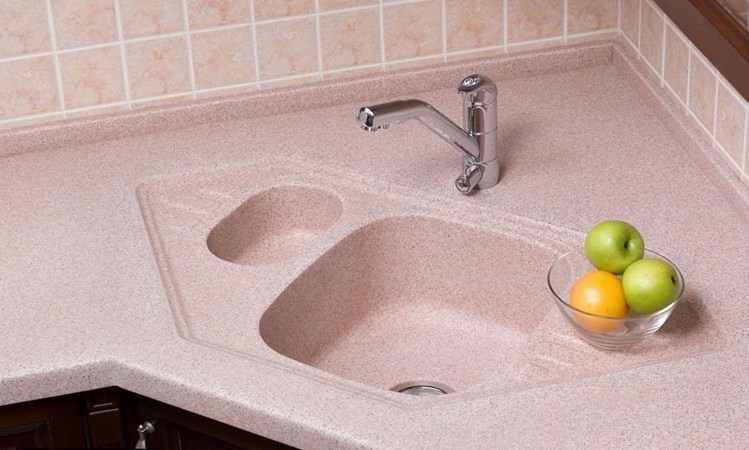
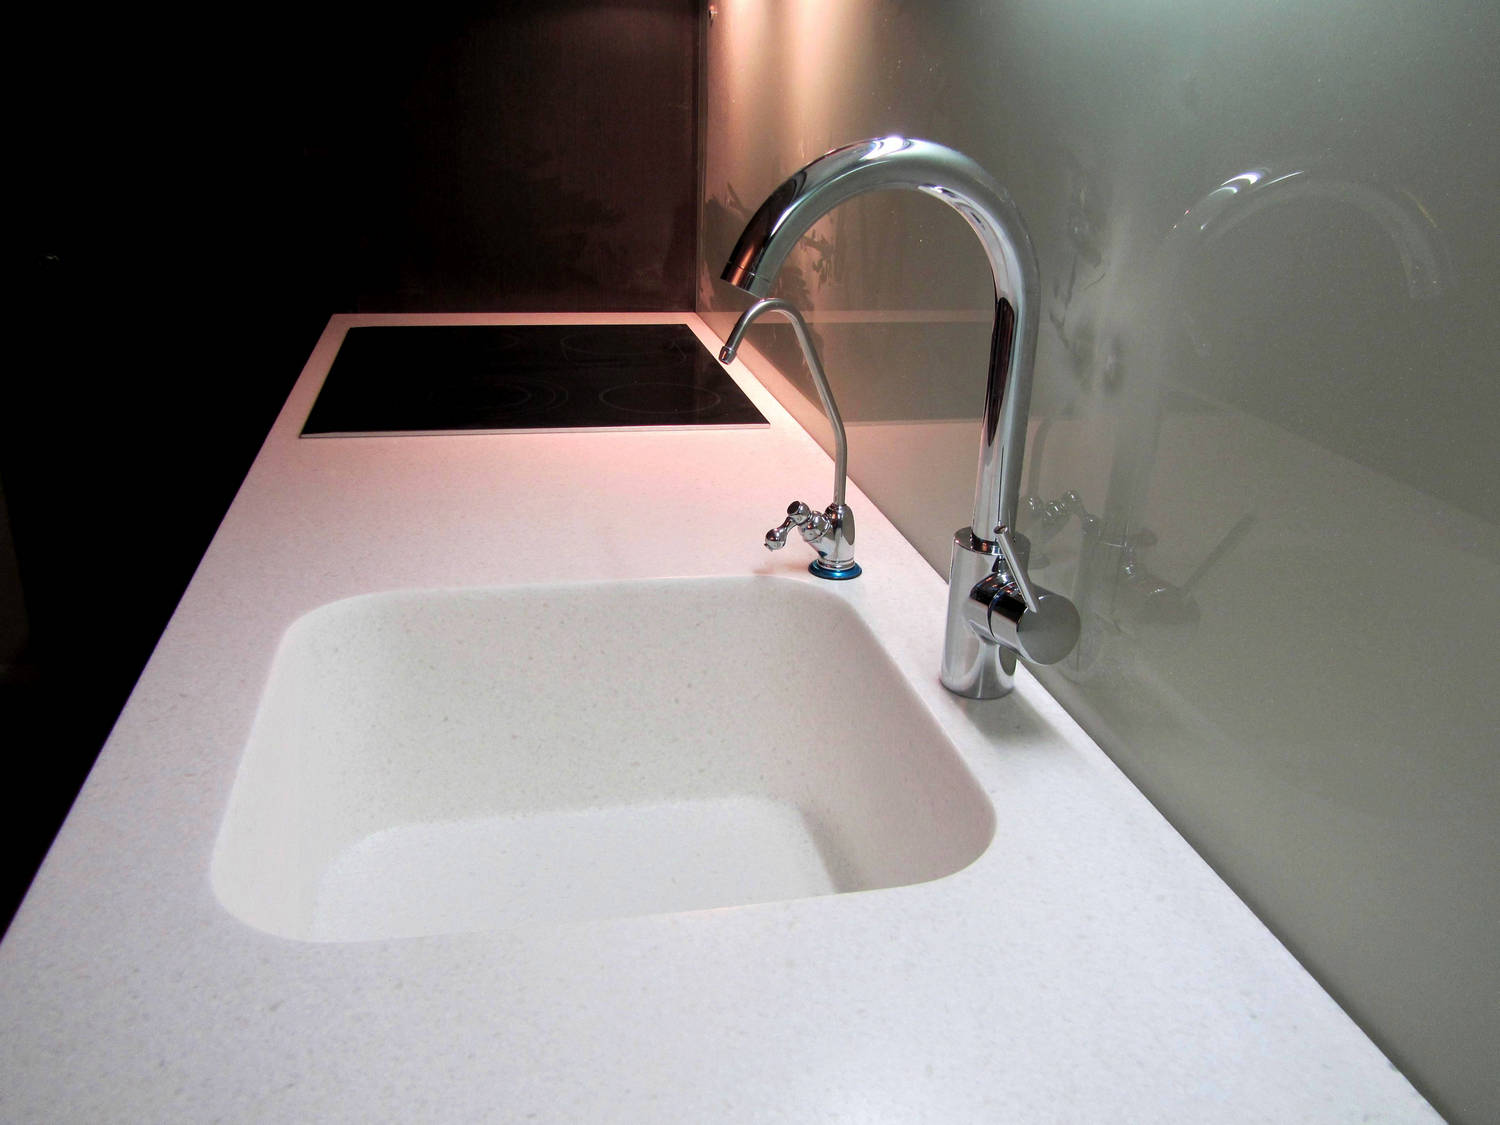
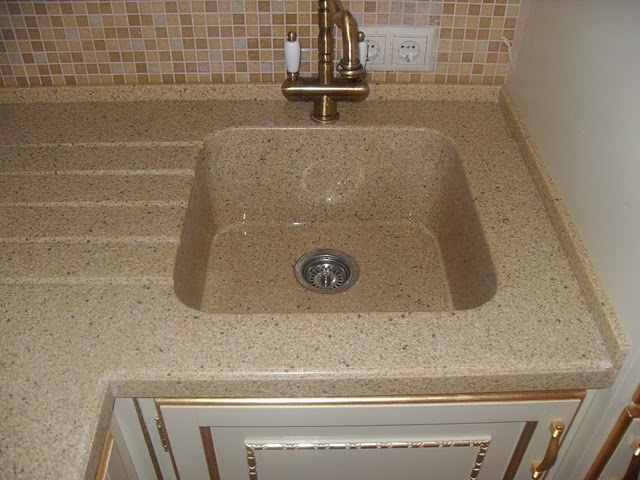
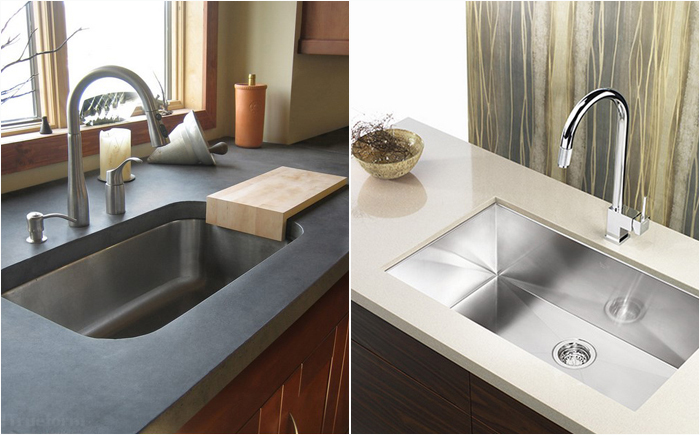
It is not difficult to install a sink on a wooden top or chipboard, having the required tools and the simplest skills to handle it. A tabletop made of artificial or natural stone installed in the cooking zone will be more durable. It will look more solid, but independently it will be more difficult to build in it a sink.

The use of a sealant not only prevents unwanted water penetration.
When buying furniture for a kitchen with such a surface, it is desirable to have a finished product that will require only connection to the water supply and sewerage system.
For wood and plastics, sealants containing alcohol are more commonly used.
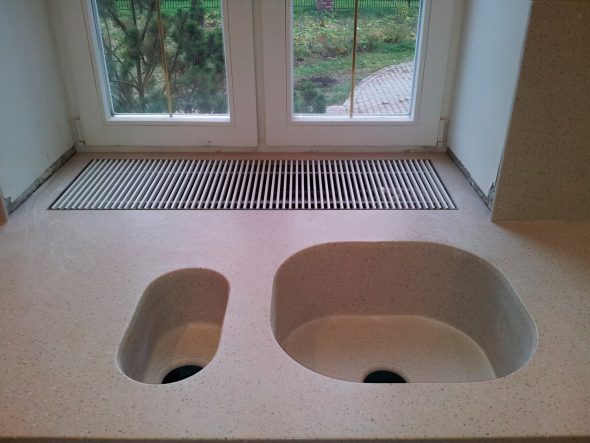
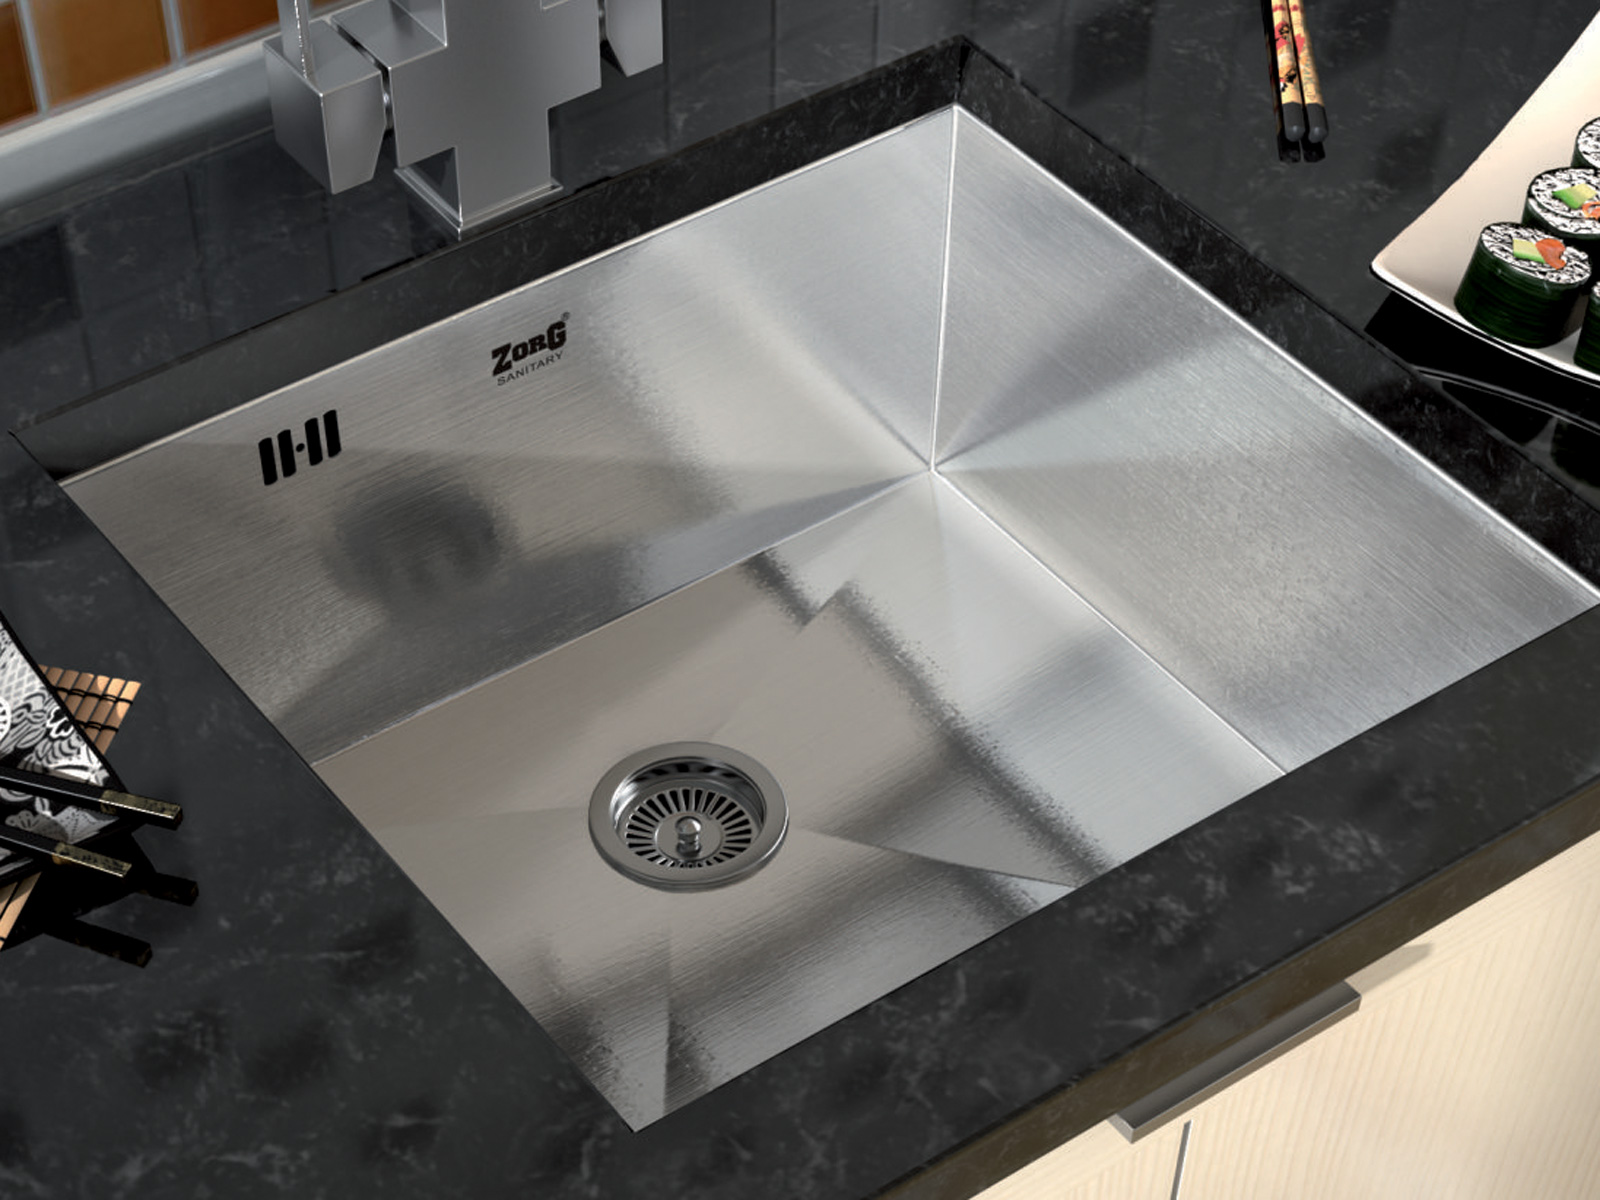
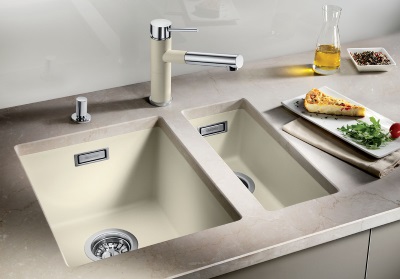
If the sink is purchased separately and its installation is required, it is advisable to entrust this work to professionals. In the stone processing workshop, the craftsmen will perform the required work without damaging the surface. To do this, they have the appropriate skills and have all the necessary tools.
For different surfaces its sealant is intended.
If it is decided to cut a hole in the countertop under the sink on your own, then you need a special tool - a “Bulgarian” with a diamond wheel. When working with this tool requires increased attentiveness. You will need to wear protective gloves on your hands and protect your face with a special transparent face mask.
The sealant is used to prevent moisture from entering the points of contact between the sink and the table top.
It is better to do this outdoors, as there will be a lot of dust in the sawing process. The sequence and manipulations are similar to cutting a hole into a chipboard.
The place for the cut-out is selected taking into account the minimum distance for draining water into the sewer system and connecting the water supply system.


 Kitchen in which the cabinets are up to the ceiling
 Choose the design of kitchen set: technical equipment and facade
 We create projects of kitchen sets. What to consider?
 Calculate the size of the kitchen
 Colors of kitchen sets. What you need to know about choosing the right shade?
 How to choose the shelves suitable for the kitchen?
 To collect the dream apartment


