


 Colors of kitchen sets. What you need to know about choosing the right shade?
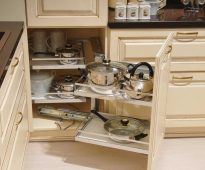
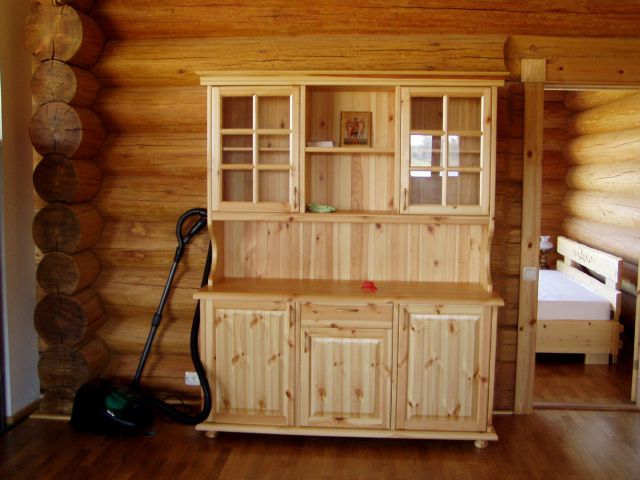
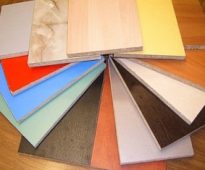
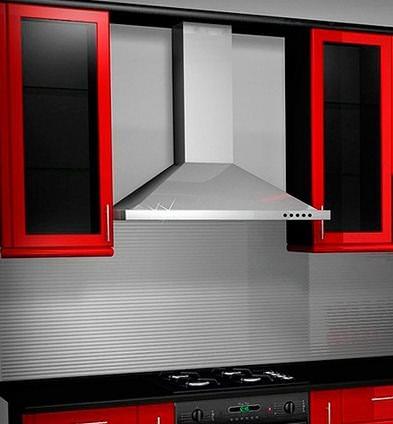
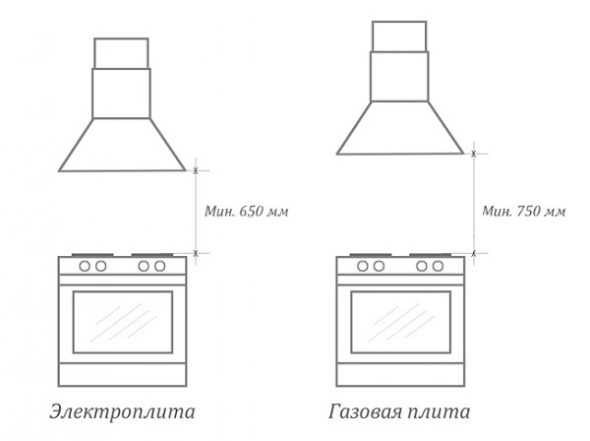
The kitchen is a special place for the hostess and the household. Here, the inhabitants of any apartment spend a lot of time for daily cooking and meals, and often for heart-to-heart talk. Therefore, the color of the kitchen ...