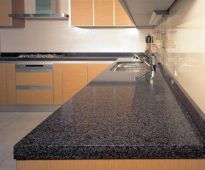
 Postforming countertops - what is it and how to use?
How to assemble a kitchen set. Step-by-step instructions, useful tips and photos
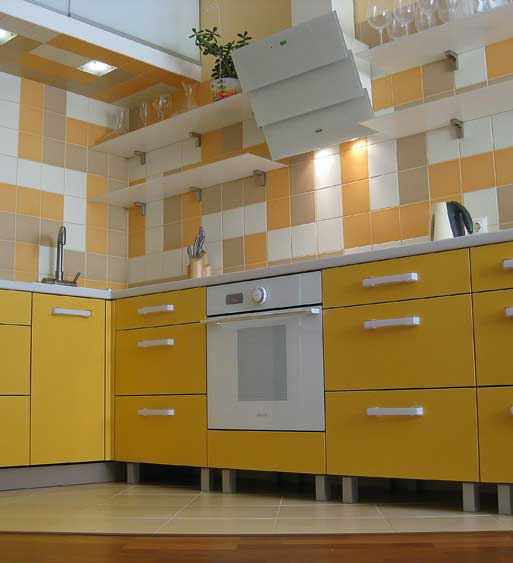
Beautiful and original self-made kitchen
You bought a new set for the kitchen and brought it home, but don’t you want to give ten percent of its cost to collectors from the store? Installing a kitchen set with your own hands is not such a complicated process. Do it yourself, if you have the necessary skills, and you are not afraid of complexity. Want to know how to build a kitchen? Use our tips.
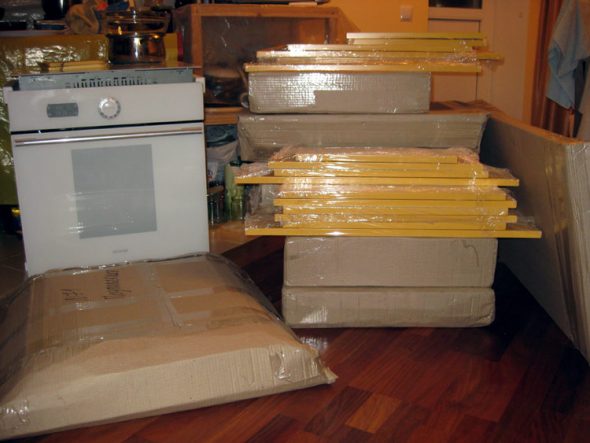
Kitchen set in a sealed form
Content
Design and construction - two sides of the same coin
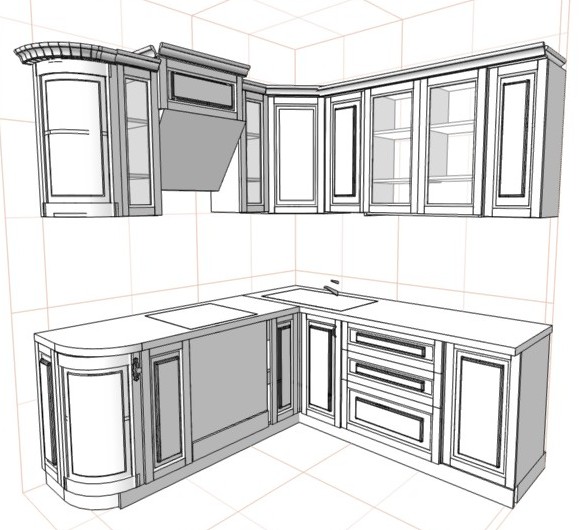
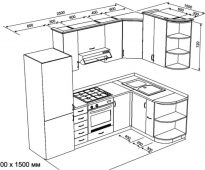
Sketch of a corner modular kitchen
Give preference to modular furniture, as well as designs which provide for a simplified assembly of the kitchen. Before buying, make a detailed plan of the room on which you must specify (preferably in millimeters):
- height, width and length of the room in different parts of the kitchen - for sure they will vary;
- the location and size of the door;
- exact position of electrical wiring, sewage, water and gas pipeline;
- exact location of ventilation;
- the height of the window sill and the distance from the window opening to the corners of the kitchen.
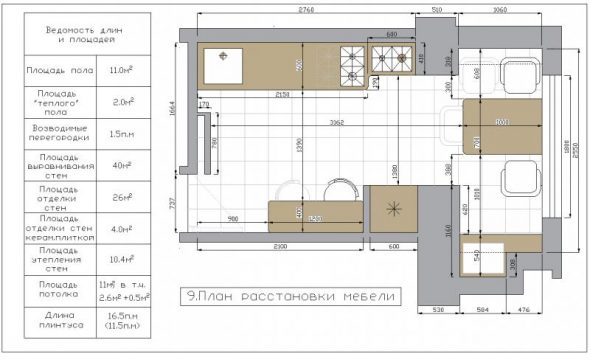
Detailed design of kitchen design with the exact size and arrangement of furniture and equipment
Now feel free to go to the workshop or furniture store. Experienced specialists using computer programs 3D-modeling will select the appropriate design and give advice on how to assemble the kitchen. When choosing, follow the rules.
- The kitchen is divided into zones of cooking, cutting products with washing and storage of products with a refrigerator. The transition between them takes place along the shortest path - the "golden triangle".
- Sink, hob and fridge need to be located at a distance of at least half a meter from each other - splashes of water can lead to cooking failure, and the refrigerator in the high temperature zone will eat more electricity.
- Place the washing machine and dishwasher closer to the water supply and sewage system.
The design of the headset depends on the size of the kitchen. Variants of the location of the elements of the headset with the letter G and P are used in small rooms. The island option is suitable for spacious rooms.
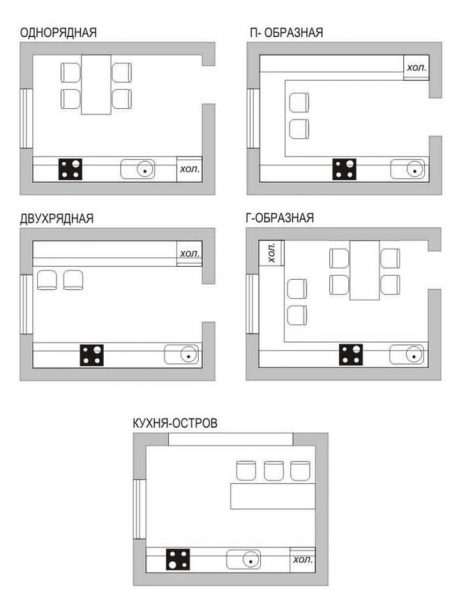
Possible kitchen layouts
What you need
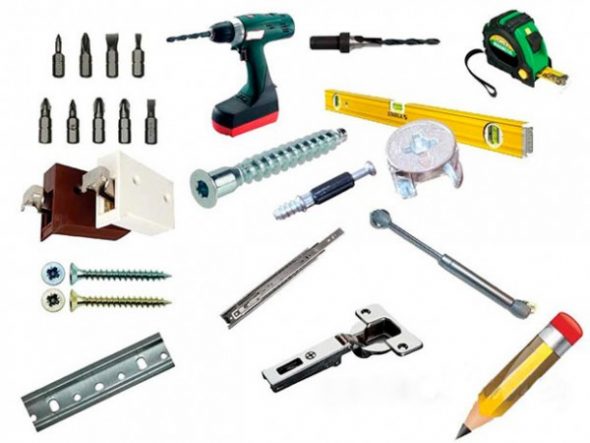
Necessary tools for working with kitchen furniture
Before you assemble the kitchen set, find in your tool box or purchase:
- drill or drill with a set of drills;
- hammer and bump - to mark the holes on the concrete;
- screwdriver - for quick tightening screws;
- jigsaw - for cutting holes;
- construction stapler.
- slotted wrench for hex head screws.
During assembly, you may need the following materials:
- furniture nails;
- furniture corners and borders, edging tape;
- intersection screed;
- mounting and wooden slats of the same thickness;
- screws and dowels;
- silicone sealant or hydro vapor barrier film;
- wood glue;
- acetone or white spirit.
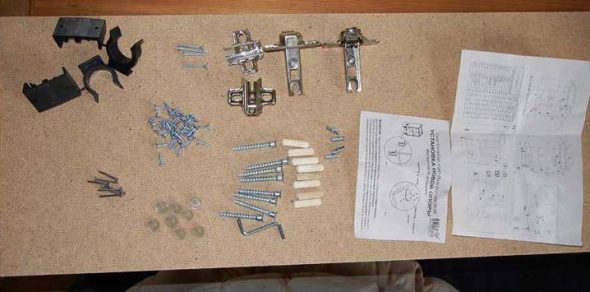
Components for kitchen furniture, assembled by hand
IMPORTANT! Your main source of information - instructions for assembling a kitchen set. Diligent manufacturers include a printed copy in the package and place it on their official websites on the Internet.
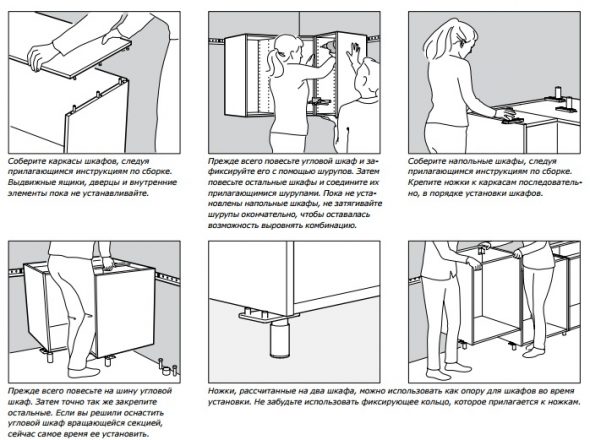

Step-by-step instructions for assembling kitchen cabinets
Need to hang exactly
Begin assembling a kitchen set with wall cabinets. Before doing this, carefully select the parts for each element of the headset.
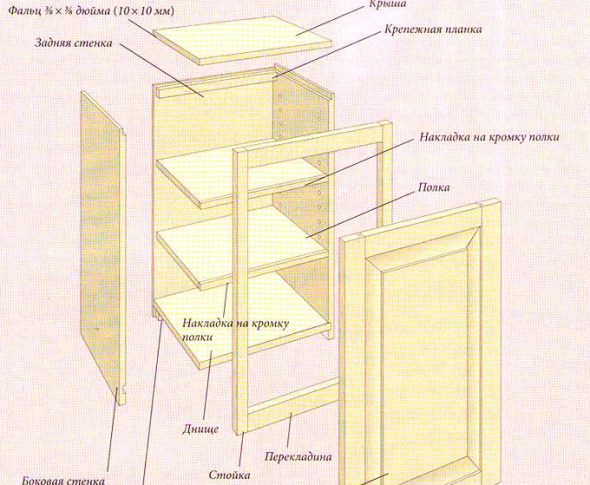
Item assembly of the hanging cabinet
Installation of hardware and fasteners
Install door hinges, shelf supports, and also guides for drawers.
Assembly of the supporting structure
For precision assembly in the field of mating parts, holes for the cotter pins are provided. Connect the side and horizontal walls, make sure the mating angle is 90 degrees.
NOTE! To avoid damage, assemble them in a position where the holes are in the plane perpendicular to the surface of the assembly site.
Dock a second pair too. Collect a box of two halves and make sure there is no skew - measure the diagonals.
Coupling box
For this purpose, screws can be used, having a secret head with an internal hexagon, or furniture corners. Insert and loosely tighten all fastener screws. Ensure that there is no skew and make the final tie.
Rear mounting
In the construction of wall cabinets use two ways to install it. The first is to fasten the hardboard or hardboard outside with a construction stapler or small nails.
- Place the box face down on the assembly surface and place the fiberboard on top so that the edges do not extend beyond.
- To avoid skewing, fasten it first in the corners.
- Fasten around the perimeter, observing a 10 cm interval.
In the second method, the sheet is inserted into the grooves machined along the rear edge of the racks.
Correctly hang the cabinet
“Well, it's completely simple! - you will think, - Attached the sheds, set the dowels in the wall and fastened with screws. " Do not hurry! The obvious solution is not always the best.
IMPORTANT! Decide which way you will hang it - on the mounting rails or with the help of mounted eyes. How to prepare the back wall, read on.
Prepare the wall
Remove irregularities, paint or paste wallpaper - you will not have such an opportunity after installation. Protect the space between the table and cabinets "apron" from the spray that occurs when cooking and washing dishes. How to do this, read on.
Make an "apron" of the panels
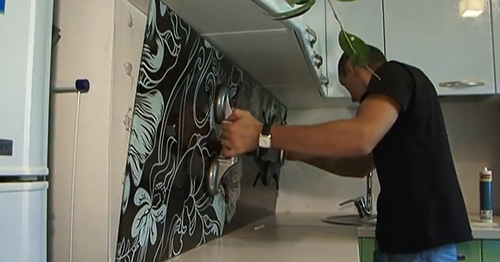
Installation skinali for the kitchen
An important advantage of such protection is quick installation and low cost. Panels are put on glue or attached to the frame (if the kitchen is large or the surface is uneven). If you chose the first method, pay attention to the details:
- level and primer the wall;
- use "liquid nails";
- control vertical imbalance by building level.
NOTE! We recommend doing an "apron" with an allowance of 15 mm up and down before the cabinets are hung. This will allow you to avoid the mismatch of its edges with the lower boundary of wall cabinets and the surface of the table.
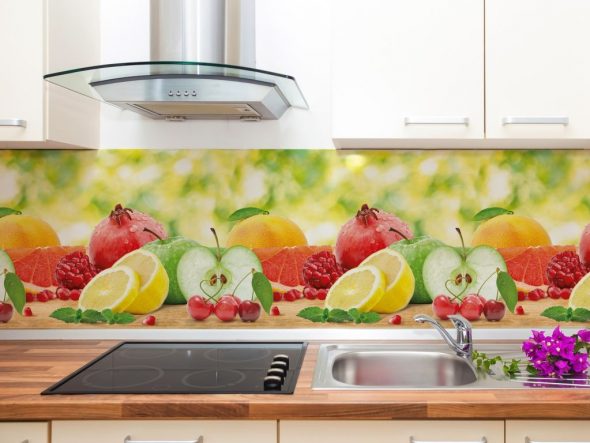
Bright and juicy summer print for the kitchen apron
Pick a comfortable height and location
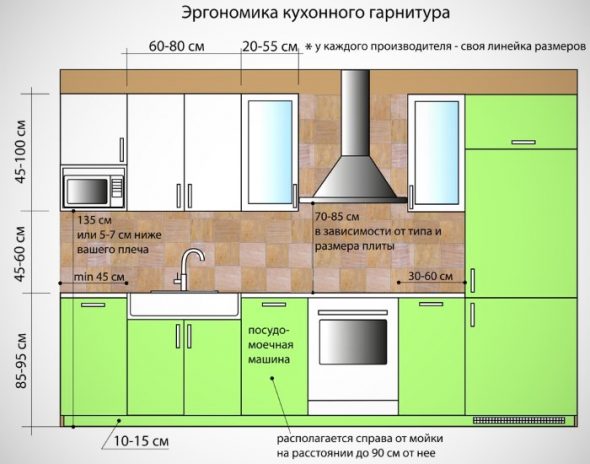
Ergonomics of kitchen set or how to conveniently and functionally arrange furniture in the kitchen
Installation height of wall cabinets is determined in accordance with the requirements:
- The space between the table and their lower limit should be at least 0.50 m and provide a good overview.
- The bottom shelf should be at the level of your eyes, and up to the top, you can reach with your hand.
- If communications are laid along the wall, it is necessary to cut out cuttings in the back of the box.
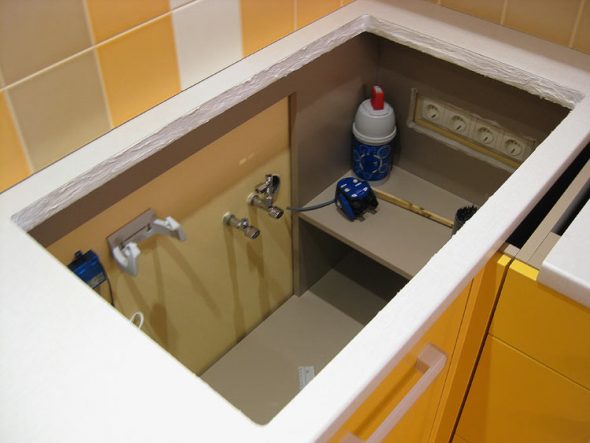
It looks like a cabinet under the sink with communications and wires inside
Draw the correct markup.
Use a building level (bubble or laser) to draw a precise horizontal line marking the holes for fasteners.
Use "crabs" and mounting tires (rails)
Canopies are not the best way to mount. Its disadvantages are:
- rigid fixation - it is no longer possible to move the fastener sideways or upwards after installation;
- inaccuracy - when drilling possible deviations from the horizontal line;
- walls must be perfectly flat and thick;
- attaching directly to fiberboard leads to its breaking out and deformation.
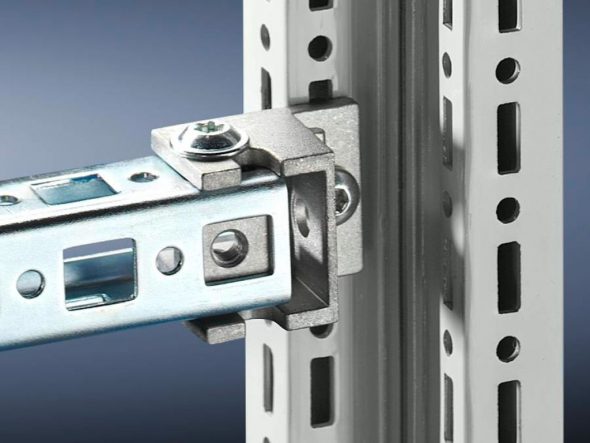
Mounting tires for fixing kitchen furniture
Mounting rails and adjustable canopies ("crabs") will give you the necessary freedom of action and the following benefits:
- load up to 100 kg does not destroy the rear wall;
- easy installation on wall paneling, drywall and wall panels;
- insensitivity to uneven walls;
- fine-tuning the position of the cabinet in the horizontal plane;
- the possibility of aligning it when hanging on the "apron".
Secure the rail with dowels and screws. Note that the distance from the groove of the slats to the top wall must be at least 40 mm.
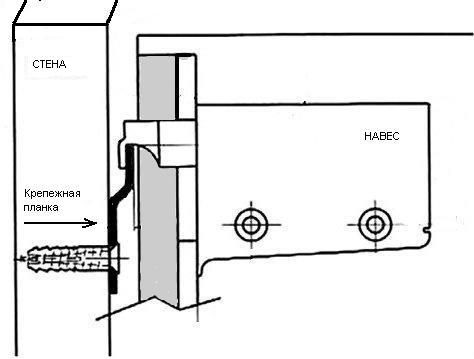
The use of a mounting bracket allows for tight and secure mounting of the cabinet to the wall
Install adjustable awnings on the inside of the racks closer to the upper corners of the wall cabinet. In the back wall, pre-cut the holes for the hooks.
ATTENTION! The canopy hook should protrude from the body for a length sufficient to hook the rail groove.
After mounting the cabinet to the rail, fine tune the sheds with the help of two screws located on the outer end. The top screw adjusts the height of the cabinet above the floor, and the bottom one tilts it forward or backward relative to the wall.
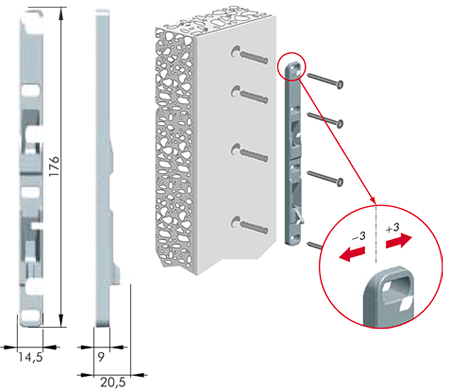
Adjusting screws on the mounting plate make it possible to adjust the position of the kitchen cabinet
IMPORTANT! If mounting is done on drywall or eurolining, install fasteners in places where there are metal guide edges of the supporting structure. The load is evenly distributed over the entire length of the rail.
Earlier, we described two ways of fixing the back wall. In the first case, the mounting plate pushes the top of the cabinet forward and creates a skew that can lead to a fall. To remove it, fasten a rail of the same thickness under the bottom edge (or use a tiled "apron"). The option of inserting the wall into the groove is more preferable, since it does not require a second bar.
Install intersection ties
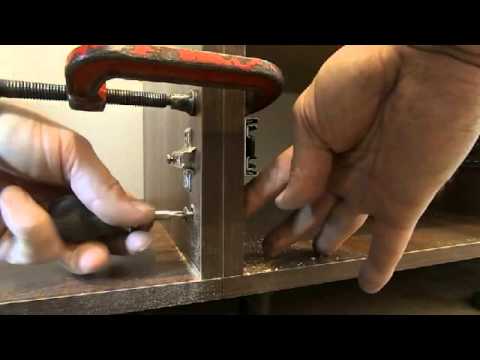
Furniture sectioning screed for additional support and protection from sagging
The screw of a coupler twists in a sleeve, and heads with wide heads provide fixing. The installation consists of a few simple steps.
| Step # 1 | After adjusting the sheds, make sure that the front and bottom surfaces of the cabinets are in the same plane. |
| Step 2 | Pull up the vertical stands with clamps to prevent dislocation when drilling. |
| Step number 3 | Drill through holes of the required diameter and connect by twisting the halves of the tie |
IMPORTANT! This technique creates additional points of support and prevents uneven sagging of sections, and also prepares a flat surface for the final stage.
Hang the front elements
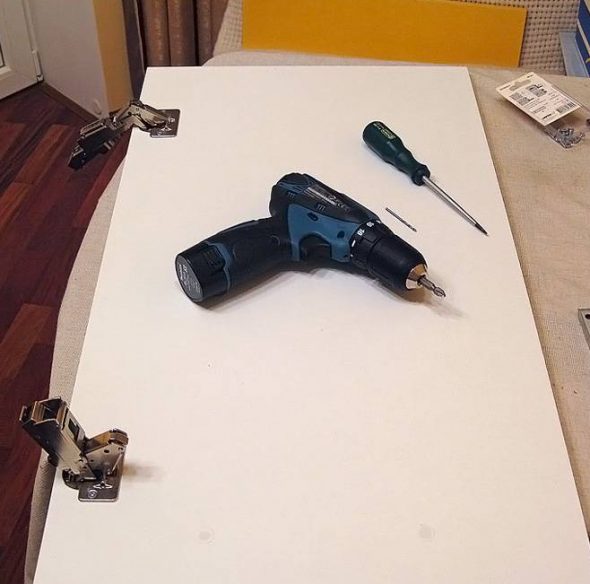
We hang doors for kitchen furniture
Install doors and borders in the last place - this will speed up the installation process and reduce the risk of breakage.
Descend from heaven to earth
After admiring the creation of their hands, which hangs majestically on the walls of the kitchen, proceed to the assembly of the floor elements of the headset.
Getting started dancing from the corner
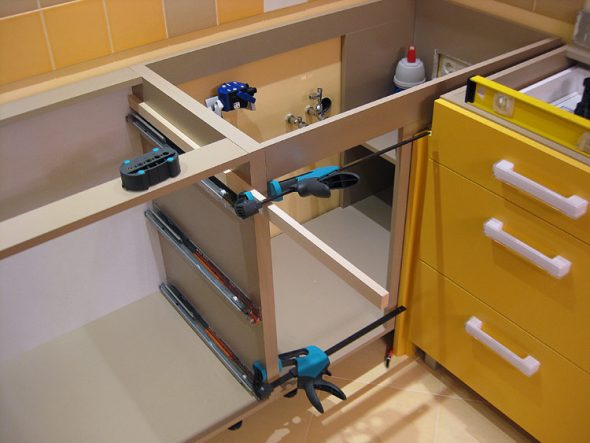
Connecting the bottom cabinets - corner for washing and adjacent with it for the drawers
And there is a corner cabinet with a sink. This is usually a construction with a bottom consisting of two parts, a horizontal bar, replacing the second back wall to provide access to plumbing, and two perpendicular to each other (large and small) under the table top. Collect it according to the following plan:
- screw the composite bottom to the rear rack and fasten the rear rear end with one of the ends;
- screw the side racks and pull them together with tsar;
- tighten them together with screws;
- mount the feet to the bottom of the cabinet according to the markup;
- hang and adjust the doors.
Insert sink
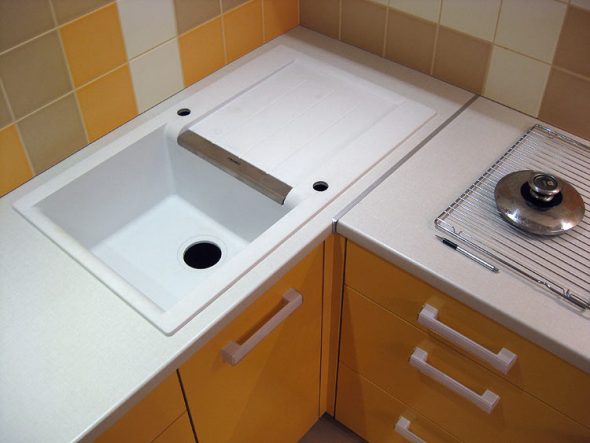
Installed sink in the corner locker
Car washes are often sold separately from the headset. Consider a few important points when installing.
- The cutting of the hole under it is carried out before assembling from the epigastric side.
- The edge of the sink has two perimeters. The outer one corresponds to its edge, and the inner one corresponds to special hinges for fasteners.
- When marking the hole, move away from the edge of the workpiece at least 10 cm. Outline the external borders of the sink with a pencil.
- Measure with a ruler the distance from the edge to the mounting loop.
- Put this distance inside the contour of the label. Draw a line through them that borders the inner perimeter.
- Drill a few jigsaw through holes in it;
- Stick on the epigastric side of a few strips of tape that overlap the delineated area - this will prevent damage to the front surface when sagging the cut piece.
- Jig saw out a hole under the sink.
- Apply sealant to the space between the inner and outer perimeters and wait until it thickens.
- Insert and fix the sink with special clips.
Assemble the floor cabinets
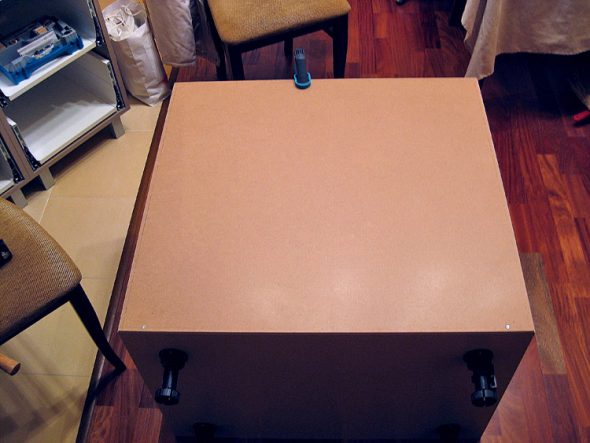
We mount the legs for our floor cabinets
The assembly of floor cabinets is based on the same principle. But first, to the bottom of the cabinet, according to the holes made in it, adjustable legs are attached. After assembling the housings, be sure to carefully align with the top edge and the intersection tie.
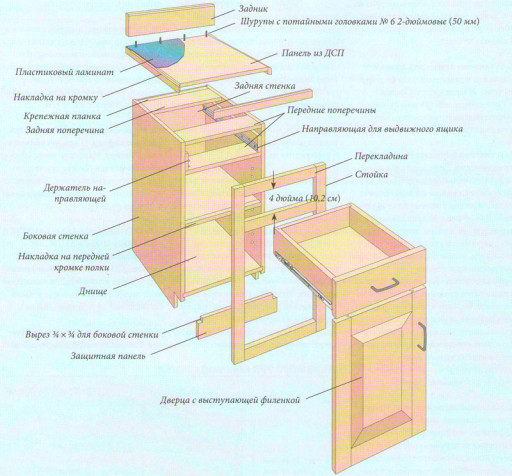
Assembly sequence of the lower kitchen curbstones
Begin assembling drawers with mounting guides on the sides. Replace them to the back wall, insert the bottom, install the front cover, check the diagonals on the skew, pull off the fasteners, fasten the handles.
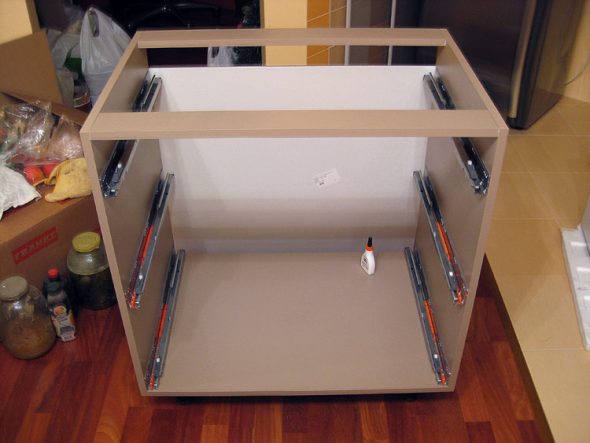
Install guides for drawers lower drawers
Install countertop
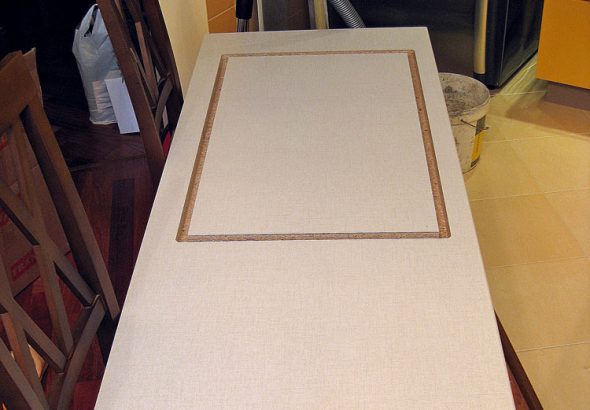
Countertop for kitchen with a cut-out for sink
Most often it is made of laminated fiberboard. It is quickly assembled, is lightweight and easy to process. The assembly consists of the following steps.
- Mark the fiberboard with an allowance of at least 1 cm in all directions, taking into account the gap to 5 mm "apron" and the thickness of the metal strip applied to the ends.
- Saw the workpiece with an electric jigsaw or furniture saw.
- Apply sealant on the ends, firmly press the bar with screws, remove excess silicone with acetone.
- Install the countertop on the racks of floor cabinets and secure with screws.
- The gap between the edges, adjacent to the apron fill the sealant and close the furniture curb.
IMPORTANT! Take the waterproofing of the ends and joining surfaces seriously and follow all the requirements of the manufacturer.
Corner table top consists of two or more parts, connected with special screeds. Assemble it according to the following scheme:
- on the upper edge of the edge of the joint, apply a special glue that comes in the kit, which has high adhesive properties;
- carefully brush the rest of the joint with ordinary wood glue;
- insert the slats in a special slot sawn along both sides of the joint;
- place the ties on the epigastric side in the mirror-like grooves made perpendicular to the interface, make a tie with a wrench;
- remove the glue that has protruded onto the face with white spirit or acetone.
NOTE! We recommend masking tape on the edges of the joints for accurate application and quick removal of adhesive residue.
Congratulations! You did it and made the assembly and installation of the kitchen set with your own hands, which will serve for many years and will be the subject of your pride.
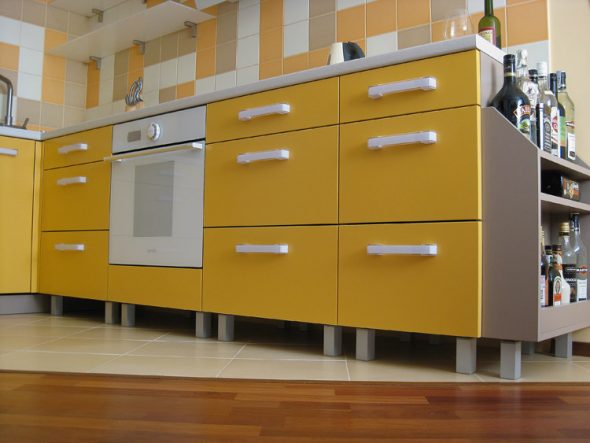
Ready-made, self-made kitchen
Video: Kitchen assembly workshop
 Postforming countertops - what is it and how to use?
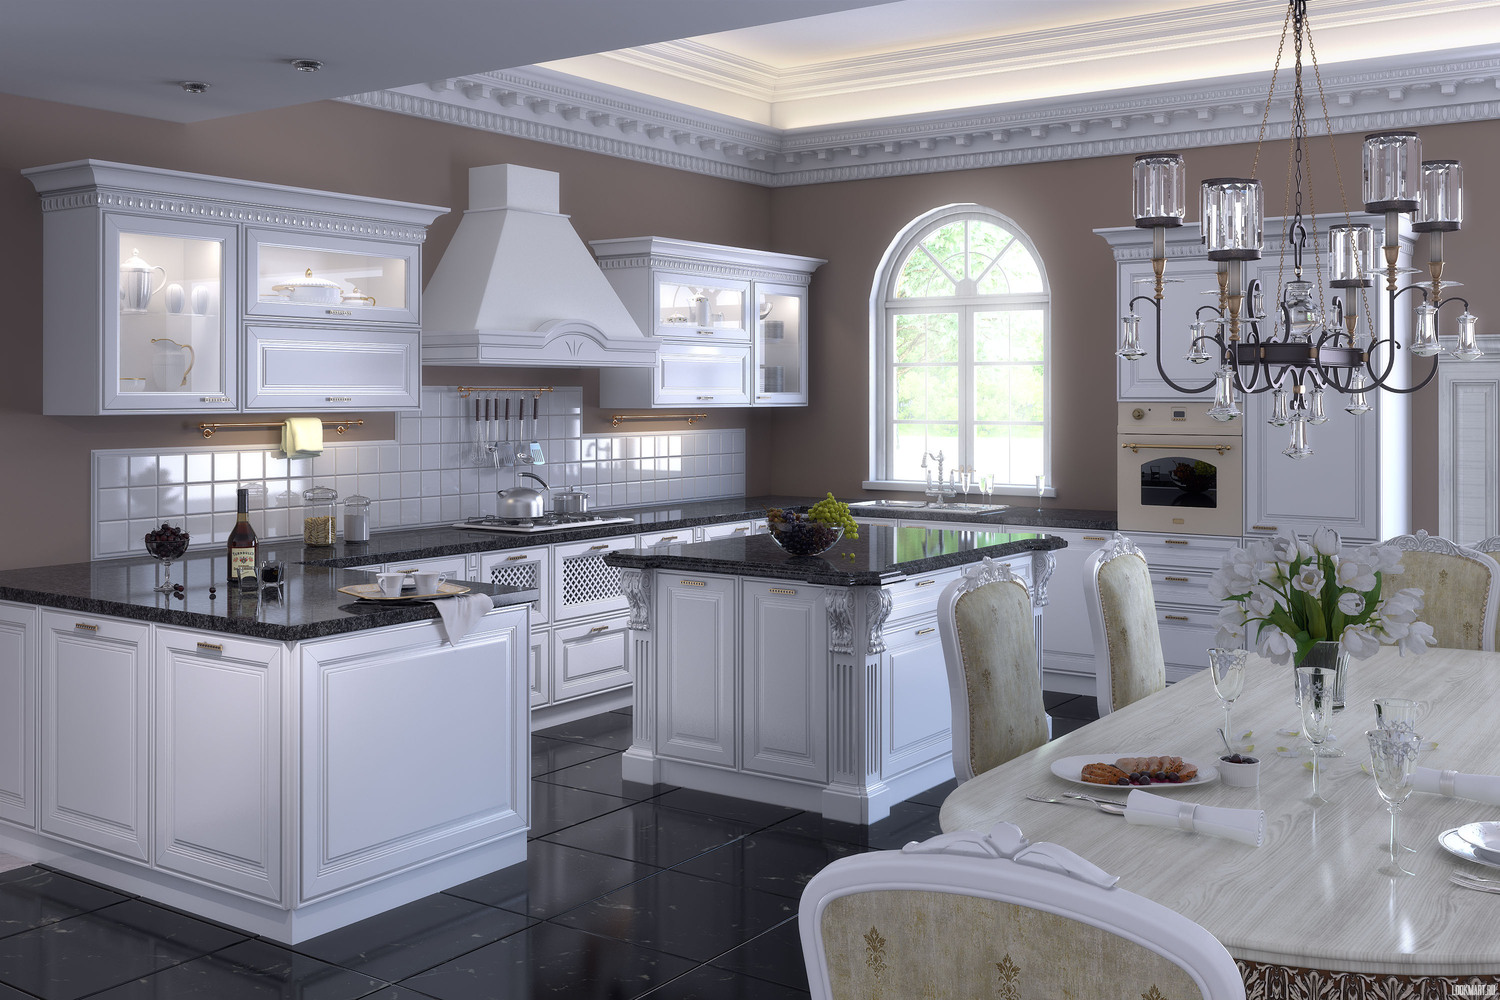 All shades of white in the kitchen and in the kitchen.
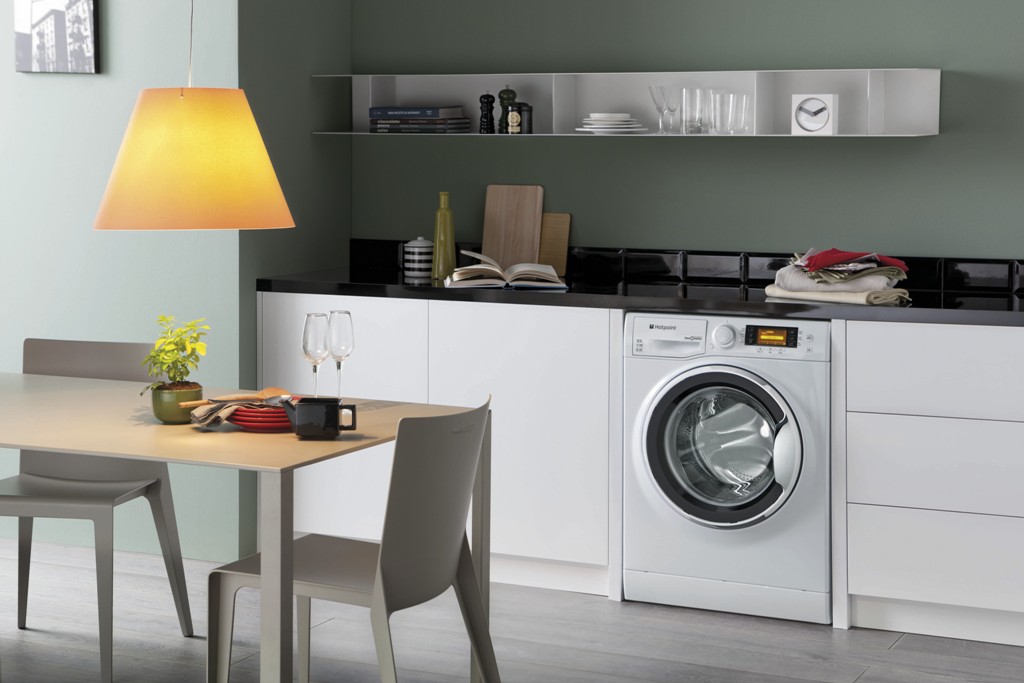 How to build a washing machine in the kitchen.
 Calculate the size of the kitchen
 Benefits of concrete worktops
 Corner wardrobe in the interior of a modern kitchen


