Making a cabinet under the sink for the kitchen with their own hands

Unfortunately, the realities of life of the average Russian citizen are such that the kitchens in most houses, and especially apartments, are of modest size. They are more or less able to meet the needs of not too spoiled families.

Small kitchen design

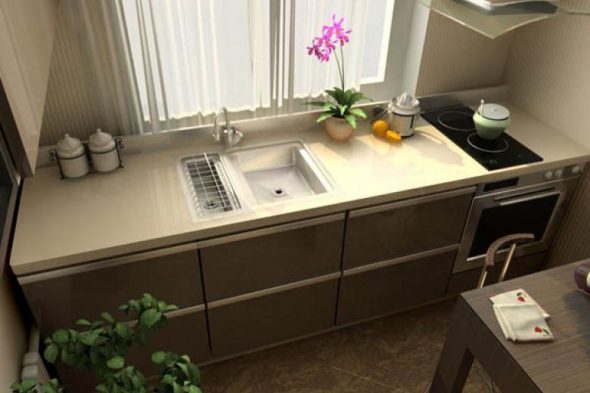
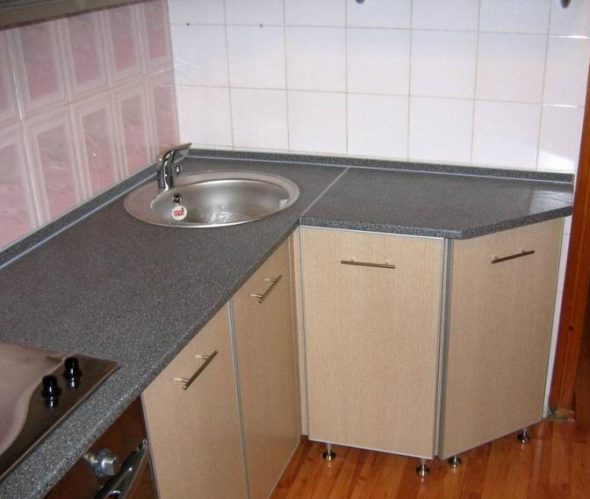
Design a small kitchen with a sink by the window

If standard furniture samples are suitable, then there will be less difficulty in equipping the kitchen. You just need to go to a furniture store, choose the option that is suitable for the price and taste. In that case, if you are not looking for easy ways or places, for example, under a cabinet with a sink it is not enough, then a decent way out of this situation will be to make a sink with your own hands, corresponding to the area and your needs.

Trapezoid in the corner

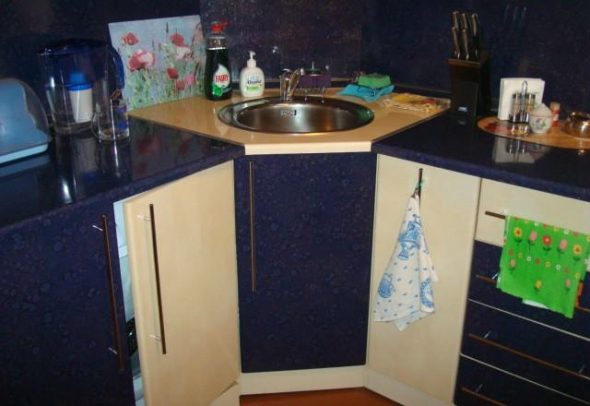
Trapezium pedestal with a round sink in the corner of a small kitchen

The advantages of creating your own hands

There are a number of significant advantages in creating a stand for a sink with your own hands.

  • The ability to save money by applying your skills in working with wooden elements, tools and plumbing.
  • Create a product of the right size, shape, fill it with additional shelves on which to place household chemicals, brushes and various necessary stuff, and provide a place for a garbage can under the shelf.
  • To use for the manufacture of cabinets any available material left over from the repairs you have - wooden sticks, simple or laminated chipboard, ready-made shelves from cabinets, screws, corners.

Design and construction which is easier to perform

With the location of the kitchen, we have to make a start from the square we have. The furniture arrangement can be different: in one or two rows, the letter “G”, the letter “P”, have a complex shape that needs to be built for a personal kitchen configuration.

Arrangement of kitchen furniture directly depends on the location of the stove and sink. With an independent performance, you also need to pay attention to what form of the kitchen stand under the sink with your own hands will be easier to make. Sinks come in the following forms.

  • Direct - the most simple to manufacture design. It is most convenient to install these items along one wall, placing a desk-table between them, and if there is still space, then a refrigerator. An interesting option would be when a single tabletop is made, for the entire length of the kitchen unit. The simplicity is that the top of the bollard is not necessary. This will facilitate and speed up the process, but in order to make it even faster and the facades can be bought.

    Classic rectangular or square bedside table

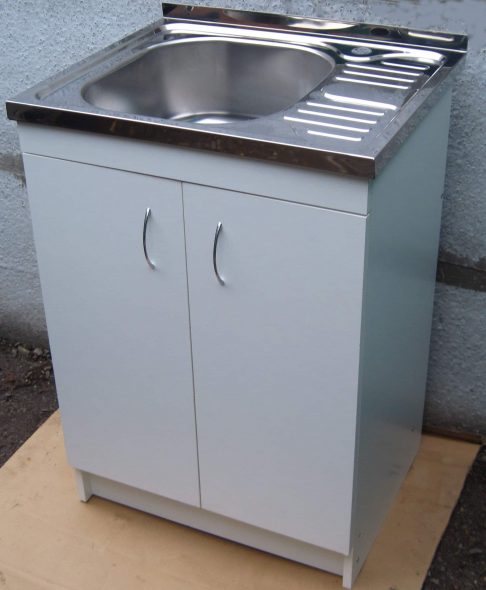
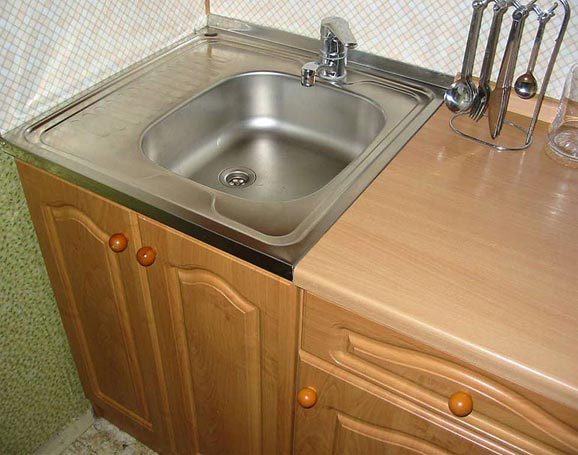
    Classic rectangular or square bedside table, which can be easily embedded anywhere on the work surface

  • Corner. It is located near two walls, at an angle of 90 degrees. There are L-shaped, triangular and rectangular bollards. The advantage is that they take up little space. Suitable for small kitchens. If rational use of the internal space, it can be roomy. Equip your product with additional devices, shelves, carousels and you will like this form of thumbs.In the manufacture will take more time, and the complexity of the first option differs little.

    Corner stand

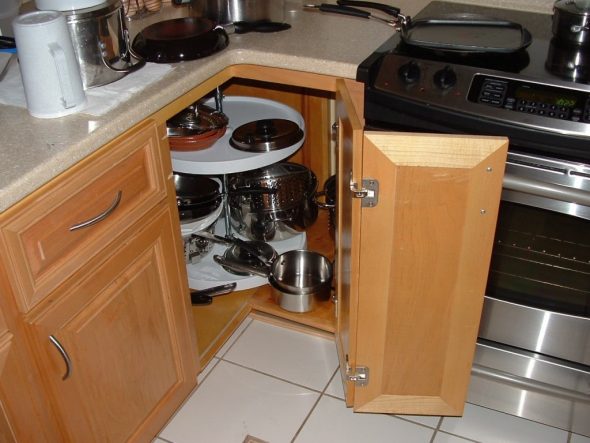
    Corner bollard, which is adjacent to two perpendicular walls of the room

  • Trapezoidal. It has a wide countertop, spacious drawers and provides an opportunity to install a sink of any shape. They are installed mainly in large kitchens.

    Trapezoidal - roomy model

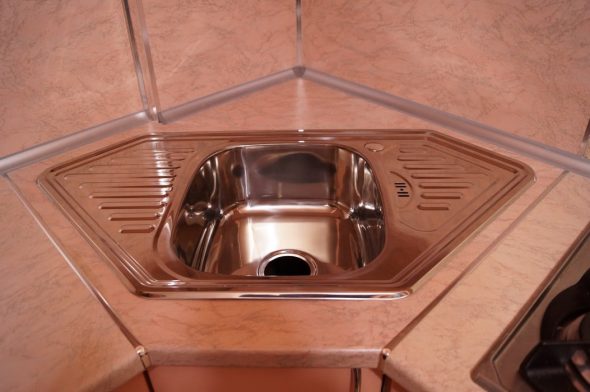
    Trapezoid roomy model with one or more doors, compartments, wide table top

Sink - an important element of the installation

Of great importance in the installation of cabinets under the sink has a niche structure. They are installed in several ways.

  1. Overhead. They are made when the bollard is a separate element. The upper part of the cabinet is removed and the sink is placed on top, fixed at the edges. Very simple installation option, even a beginner can handle it.

    Consignment bollard

    Consignment stand - a classic version for a direct bedside table with a collapsible table top.

  2. Mortise. A hole is cut out in the tabletop to prevent moisture, the seams are coated with an airtight adhesive. Suitable for cutting countertops - MDF, chipboard, wood, and the stone surface itself will not work out. This should be entrusted to specialists.

    Mortise model

    Mortise model is built into the table top of the cabinet in a hole specially cut for it

  3. Integrated. The table top and sink are one. Made to order together.

    Integrated model

    The integrated model is one with the table top.

Cabinet under the sink with their own hands: the necessary materials and tools

The most popular material for the manufacture of cabinets under the sink with their own hands is rightly considered to be laminated chipboard, as it is less susceptible to moisture.

Chipboard stove

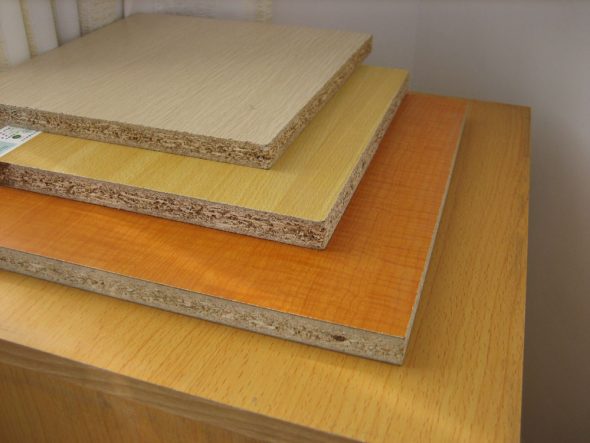
Chipboard plate with lining

If you chose this material, then you need to prepare in advance a special edging tape to avoid evaporation of aldehyde resins that are in the chipboard. It is important to understand that their evaporation is harmful to the health of residents.

Chipboard without cladding

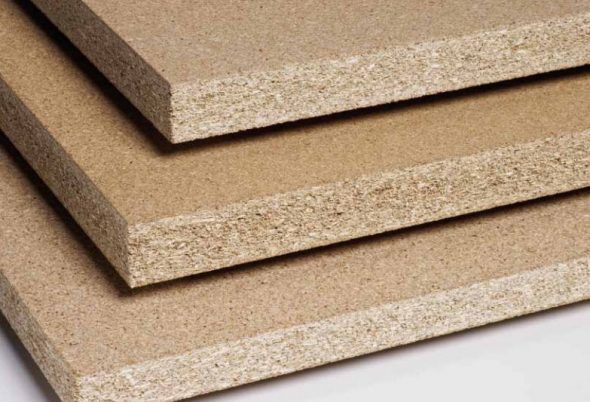
Chipboard without lining for subsequent painting

The perfect combination of price and quality is MDF. It is denser than chipboard and mounts hold better.

Laminated MDF

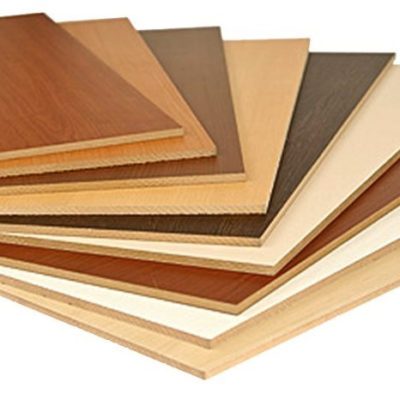
Laminated MDF is better suited for furniture, thanks to its properties

LDSP or MDF coatings

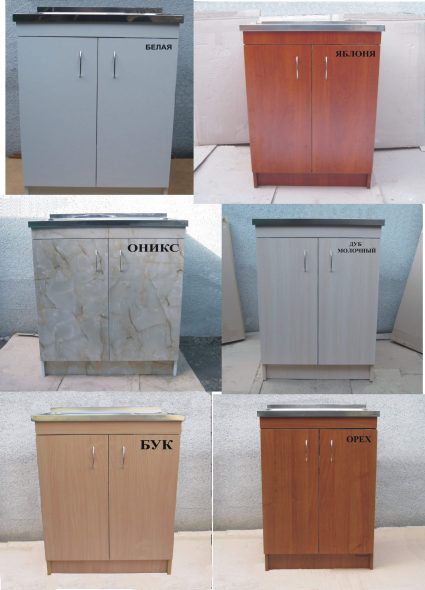
LDSP or MDF coatings can imitate almost any material.

Another option - a wooden array, but it is more expensive for the price, absorbs moisture and is difficult to maintain.

Solid wood

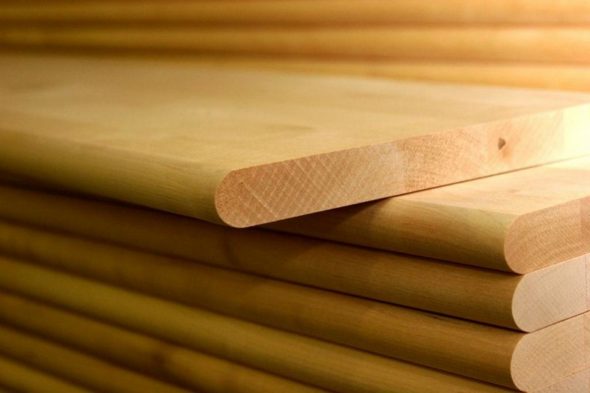
Solid wood for making furniture

When you decide on the basic material, you need to prepare additional components.

  • Pressed cardboard for the back wall.
  • Plywood for crossbars.
  • Facing tape in color cabinets.
  • Handles, hinges, angles and screws.

To translate your ideas into reality, the following tools will help you..

  • Pencil, ruler or tape measure.
  • Drill, screwdriver.
  • Phillips screwdriver.
  • Saw or jigsaw.
  • Internal corners, hinges for doors.
Tools and accessories

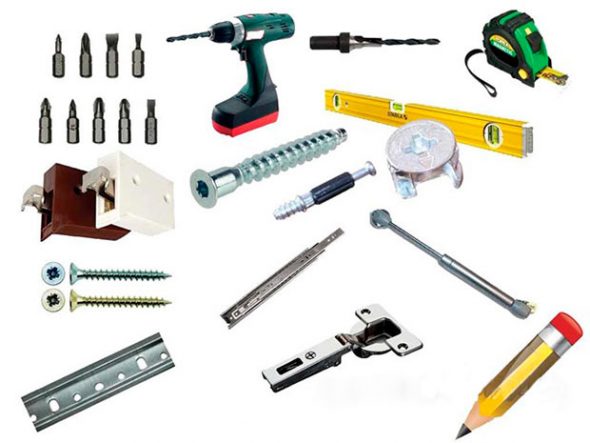
Tools and accessories for the assembly of do-it-yourself

Manufacturing process: step by step instructions

The process of making a cabinet under the sink with your own hands should be divided into several stages.

  1. Training. We carry out drawing cabinets under the sink on paper, based on measurements made on the spot and your wishes for the design.

    Kitchen cabinet model

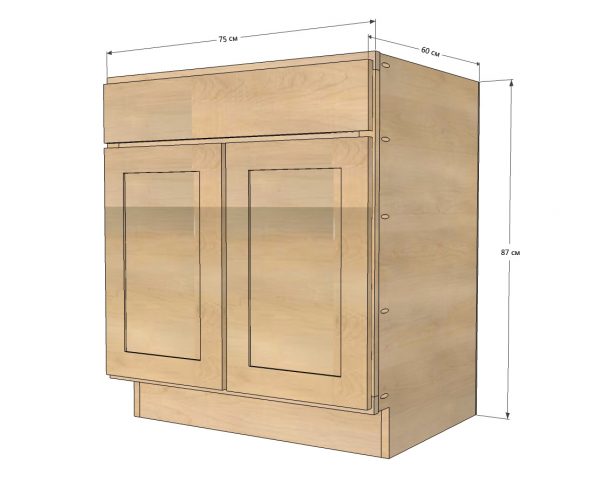
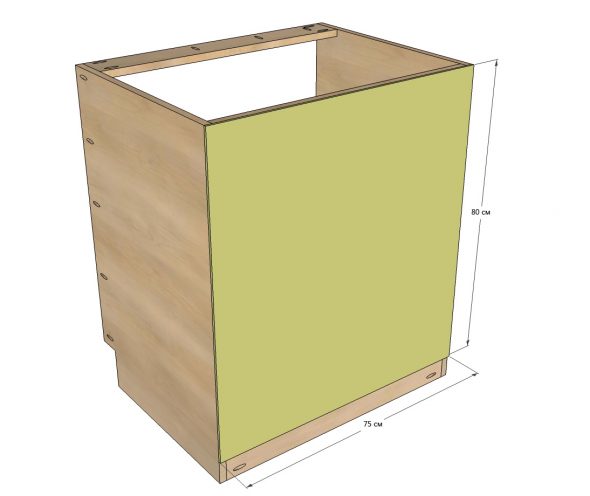
    Model kitchen cabinet under the sink with the specified dimensions of width, length and height

  2. Manufacturing parts. Following the drawing data, we cut out the side walls, bottom and doors from plywood. In the case when the sink is invoice, then the tabletop is not needed. If the sink is mortise, transfer dimensions to the worktop and cut it out with a jigsaw. The remaining parts of the cabinet are also cut out with a jigsaw, and if not, then using a hacksaw will be better, as it makes fewer chips. Edge to go sandpaper.
    Thumbnails details

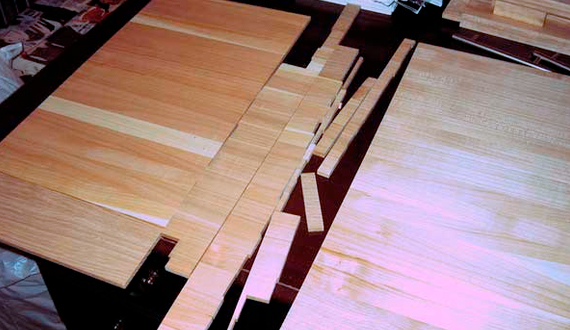
    Sawing up of details for a curbstone of the necessary sizes

    Side walls for cabinets

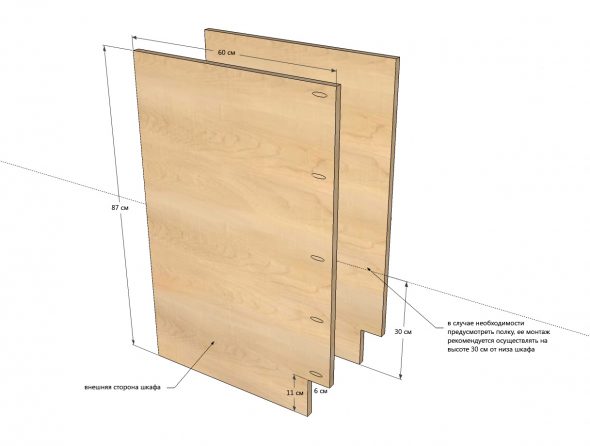
    Side walls for cabinets under the sink

  3. Assembly of frame parts. We start with fixing the walls of the cabinet with crossbars. This can be done in two ways - fasten with internal steel corners or connect with screws, then you need to take plywood thicker.Screw the bottom to the screws.
    Crossbar mount

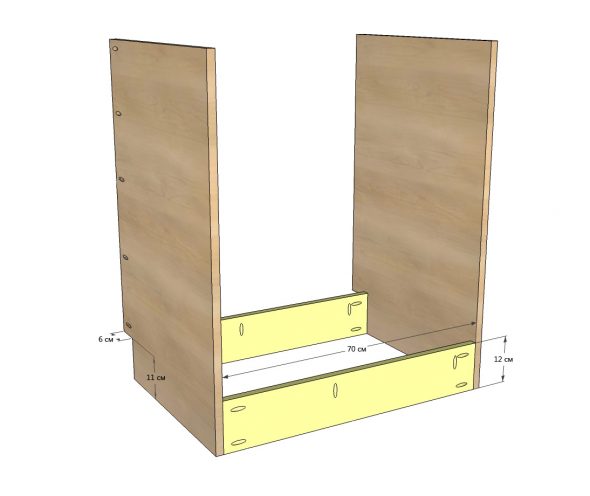
    Fastening the crossbars to the prepared side walls

    Bottom mount

    Fastening the lower base by screwing the screws directly into the fixed cross members

  4. For fixing the top of the cabinet using the upper cross member. The rear wall will be attached to one of them. We make it thin, out of cardboard, we nail on small nails.
    Fastening the upper crossbars

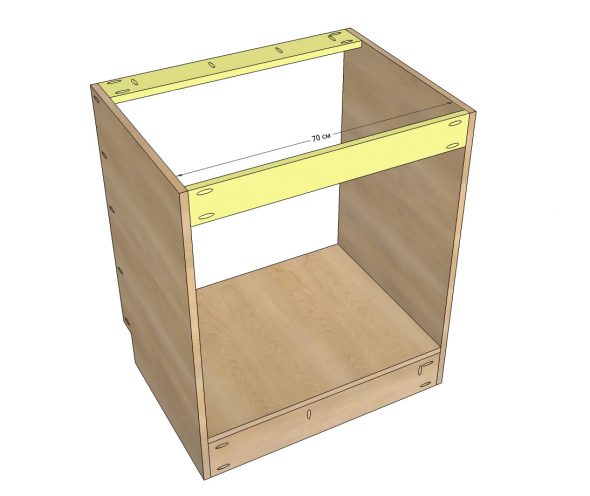
    Fastening the upper crossbars for fixing the upper part of the cabinet under the sink

    Fixing the back wall

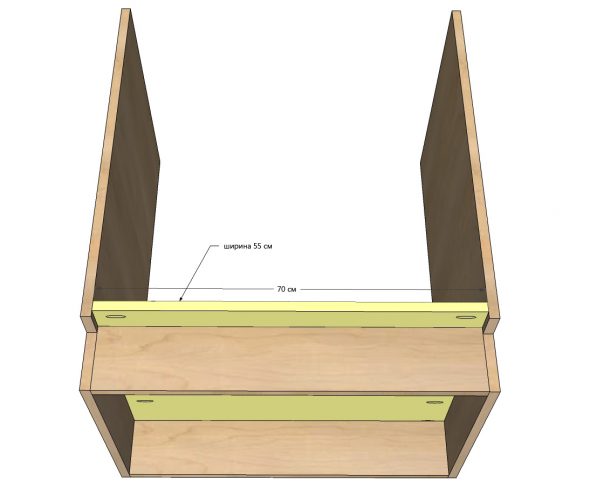
    Fixing the back wall of the locker

  5. Installation of facades. Attach and mark the attachment points of the loops. We drill holes for hinges and install. The hung doors are adjustable in height. The selection of loops should be approached seriously, since a wide opening depends on them and they will not be loosened with time.
    We assemble the front frame

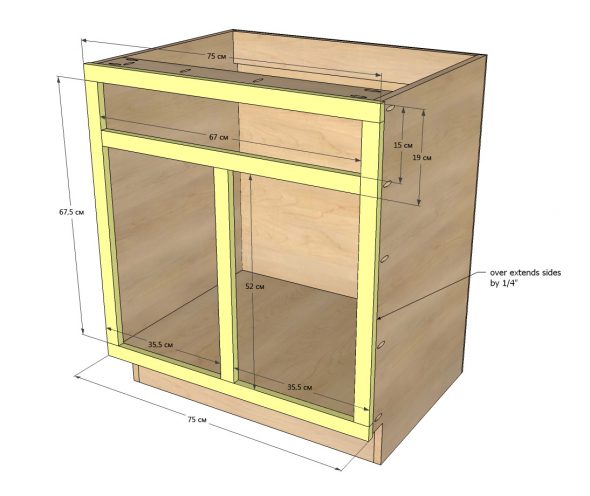
    Assembling the front frame to the specified dimensions

    Fastening cabinet doors

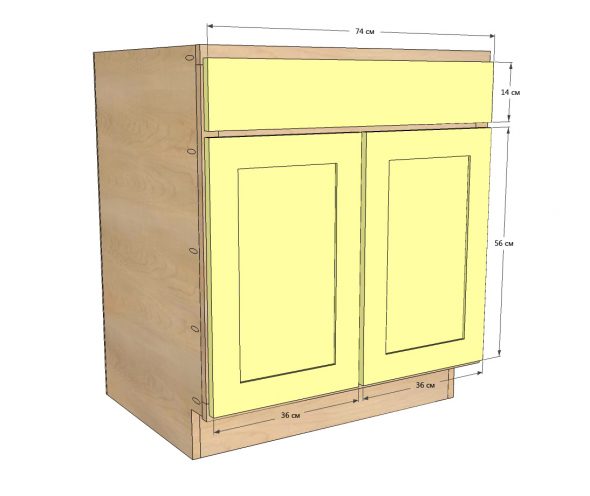
    Fastening cabinet doors under the sink

  6. Appearance design. If you need to paint, varnish, furniture film, screw in the handles. On the inside of the door, fasten a convenient pocket for a washcloth or other trifles. To increase the storage space to make the shelf. It should be easily removed and put in place. To do this, in its middle of the wall is cut a deep slot, necessary for the passage of the sewer pipe. Put on the bars, fastened with screws to the walls of the cabinet.

    Chipboard ready-made kitchen cabinet

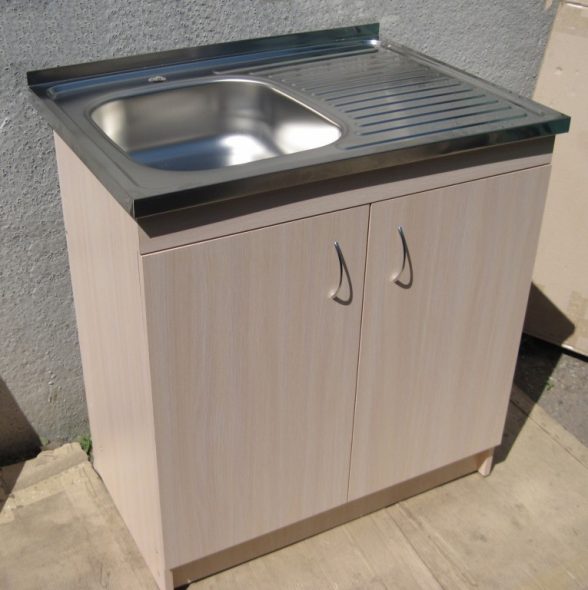
    Ready-made kitchen cabinet made of chipboard for sink

To extend the service life of the product, it should be raised above the floor, put on legs or wheels, plastic heels or thick rubber.

How to improve the appearance of cabinets from chipboard

Exquisite washing option

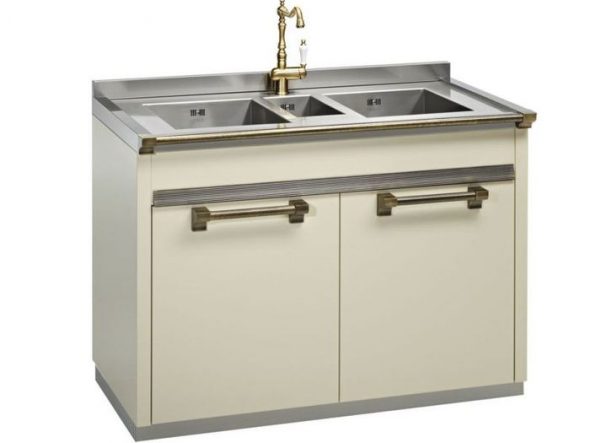
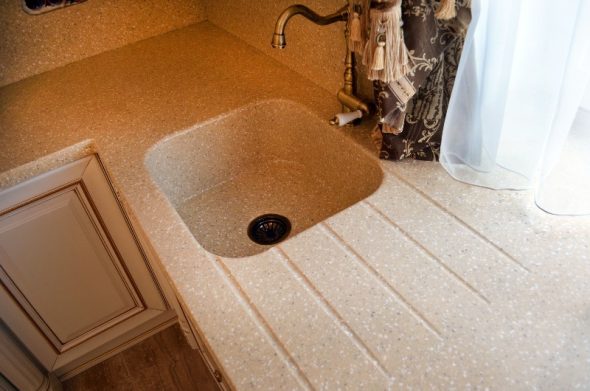
Exquisite kitchen sink cabinet

Having made a cabinet under the sink from ordinary chipboard, one more step will be added to these stages - to transform the look and protect yourself from harmful fumes.

  • We putty a thin layer, dub with a spatula. After this procedure, the surface will be smooth.
  • After drying putty, apply a primer.
  • Apply tint varnish. Use a natural bristle brush.

As a finish option, some consider the wallpaper. Wallpaper should choose washing. Stick on the surface with the glue of PVA. Making a similar cabinet under the sink to the country or apartment, you definitely will not be disappointed. You use your design talent, save money and enjoy the pleasure of further contemplation of the creation of their works.

Video: Assembling the kitchen cabinet

We recommend related articles.
Rustic Kitchen Do-it-yourself wooden kitchen set: manufacturing nuances
Today, kitchen furniture manufacturers produce a whole arsenal of various products. However, this abundance does not always satisfy the consumer. In this case, a great alternative ...
Dark wood worktop for bright kitchen How to make a wood countertop with their own hands
Having created a tabletop with your own hands, you will receive an exclusive, absolutely unique thing, ideally suited for a set. You will be absolutely sure of the quality and strength of the product. Using own materials, ...
kitchen sets 
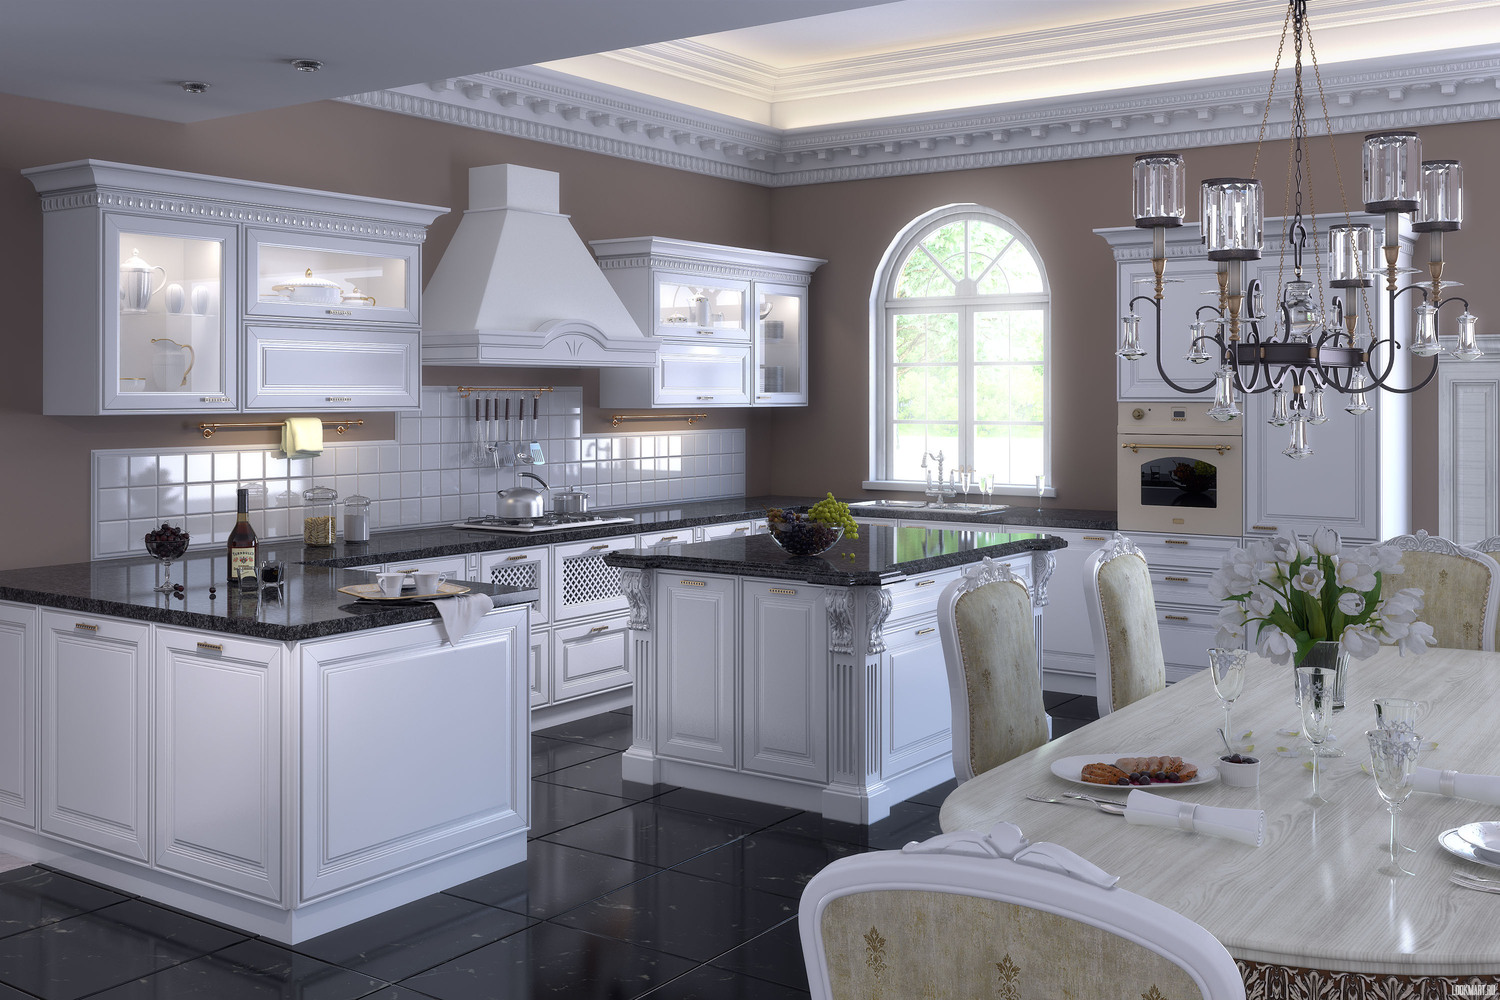
All shades of white in the kitchen and in the kitchen.
Choosing the color scheme for their new kitchen, many housewives seek to create a bright, inspiring image for a place where the whole family gathers during a warm morning breakfast or evening gatherings ...
classic buffet 
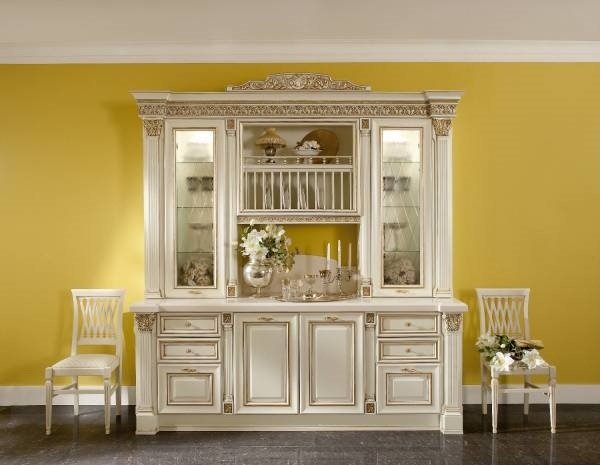
Buffet for the kitchen - a cultural tradition or a modern twist in the interior?
When planning a kitchen, creating an individual functional space is of great importance. There are many aspects to consider. In a variety of choices you can get lost and often occurs ...
Wooden drawers 
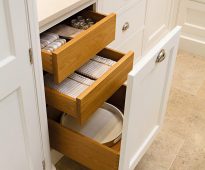
Kitchen drawers: types, advantages and features of choice
Functional furniture can greatly facilitate the process of cooking. Various baskets, shelves make it faster, easier. Drawers for the kitchen will become real assistants to the hostess. WITH...
washing machine in the kitchen convenience 
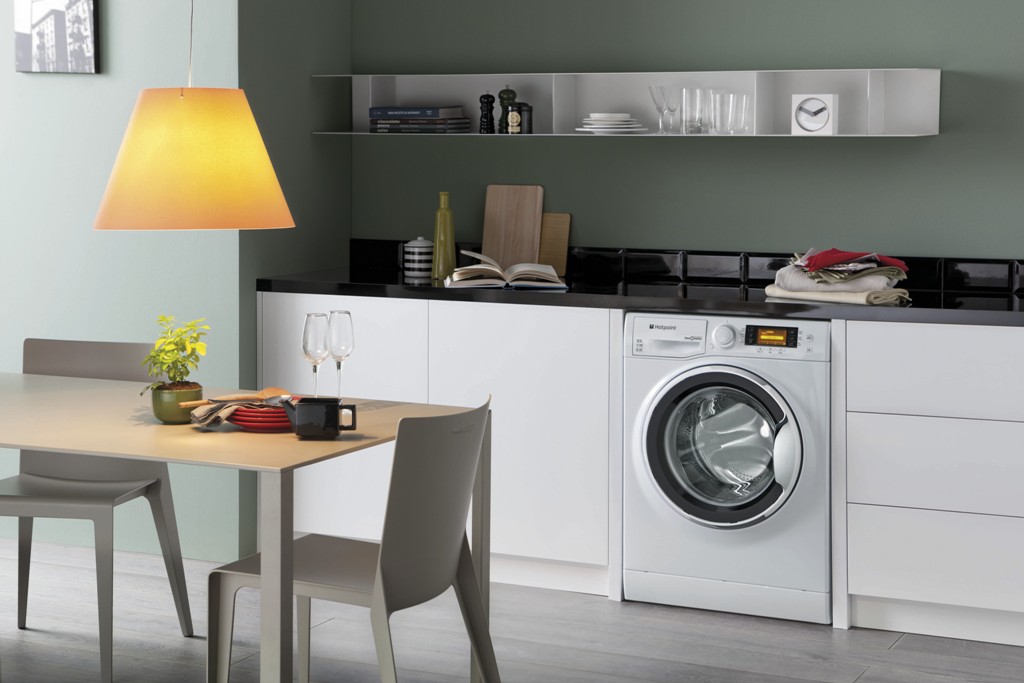
How to build a washing machine in the kitchen.
Washing machine is more familiar to see the bathroom. However, not every layout allows you to take a place under this device in the bathroom. With the right approach to business, the washing machine fits well ...
Add a comment
By clicking a button you agree to privacy policy and site rules set forth in user agreement

Sofas

Furniture

Armchairs