 Choosing a bed in the bedroom: basic models and tips on choosing the size
The advantages of making closet beds do it yourself
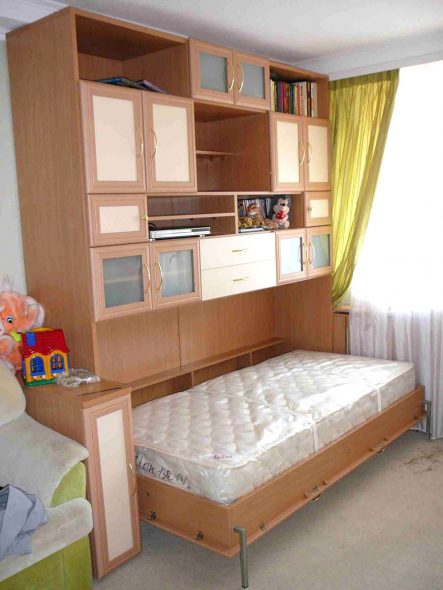
Bed-transformer built into the cabinet with their own hands
The limited space is the trouble of many. It is possible to save usable space without compromising functionality. The main thing is to properly "work" with the room. In addition to competently produced finishes, correctly chosen furniture is important. For compact rooms, these are transformable models (folding sofa, reclining table or wardrobe bed). At the same time, most of these options will have to be made to order, and this pleasure is not cheap. Solve the problem of cost can be self-fulfillment of furniture. For example, a wardrobe bed with their own hands is not at all easy to do.
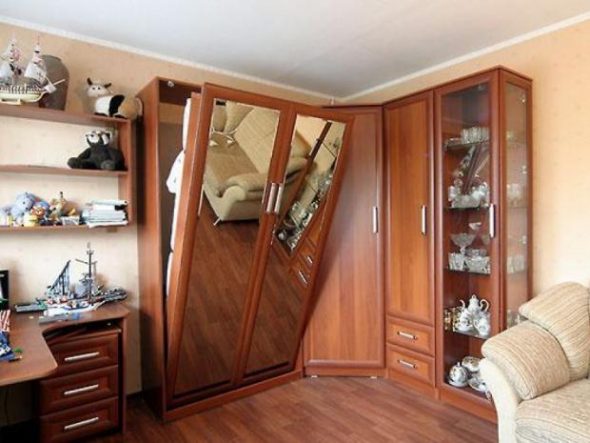
Mirrored wardrobe with built-in bed
Ordering custom production is not always possible. In small towns, individual firms provide similar services. At the same time, complex or rare designs simply can not take to do. But to buy everything you need to perform the work is not difficult. The main thing is to be on "you" with the tool, to be able to tinker.
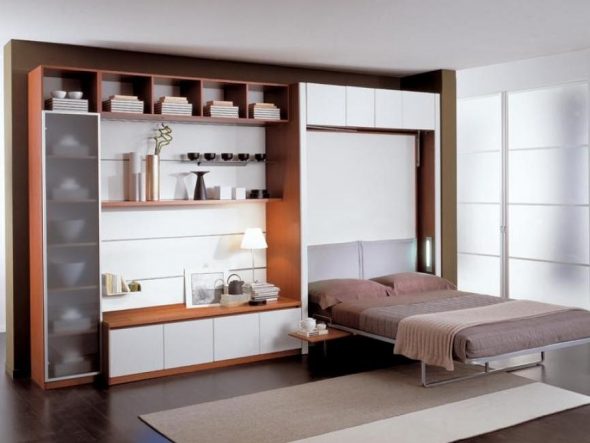
Wardrobe bed for a small living room
In addition, hand-made production gives room for imagination. It is enough to perform the necessary measurements, calculations, carefully and correctly carry out installation work. Here is a box for decoration and ready. With a serious approach, getting a real masterpiece is easy.
Another important aspect is the cost. Making furniture to order is expensive. A family with low income for this reason will refuse this service. Purchase of the necessary tools for work, materials is quite affordable.
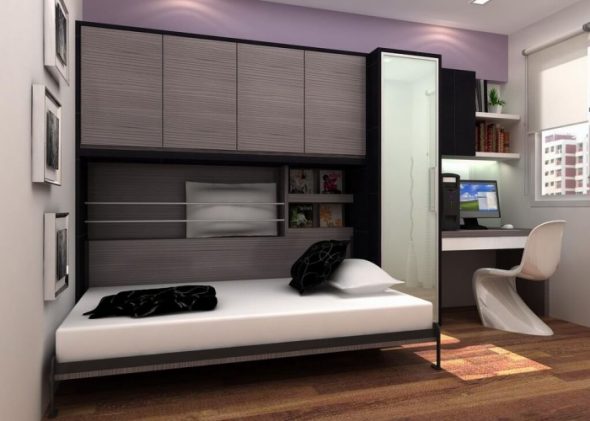
Case-bed - a full bed with a slat bottom and orthopedic mattress
Content
Planning: how to determine the design, design
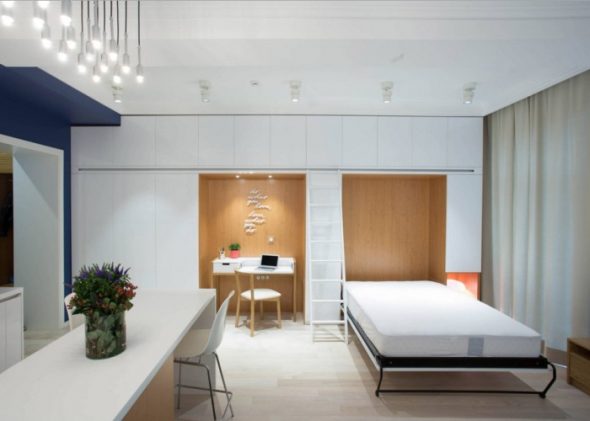
Small apartment with a built-in bed, decorated in a loft style
Having decided on the possibility of creating a bed independently (the presence of skills, the desire to create, funds for tools, materials) it is time to think about the permissible construction, design of the thing. These are the parameters that will affect the course of further work.
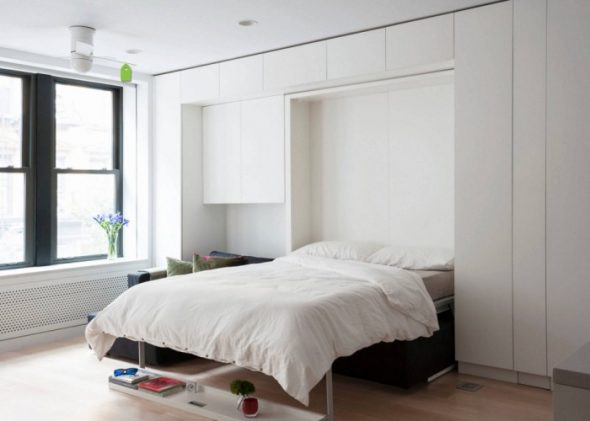
Great solution for a small apartment - the use of a bed built into the closet
First you need to decide on the location of the bed in the closet. The space should allow you to freely recline the bed. At the same time, in the straightened form, the bed is obliged to leave a sufficient amount of space for easy access. The cabinet should not stand out from the crowd. We need a holistic, harmonious picture in the end.
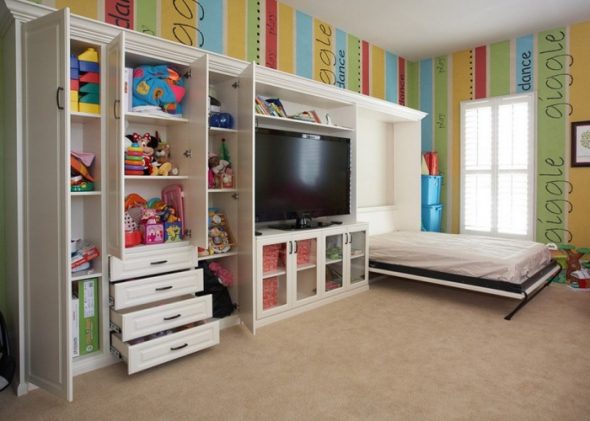
Wall to the nursery with a folding bed to save space
The design of the subject is better to choose concise, not conspicuous. Then there will not be noticeable shortcomings of work, which are rarely avoided when the work is performed by a novice. In addition, the minimalist décor is simple to perform. It fits more easily into any interior.
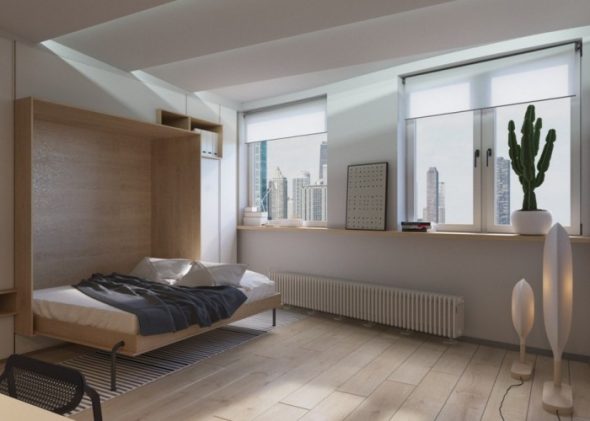
Modern minimalism in the interior of the room with a wardrobe bed
Design: drawings and diagrams
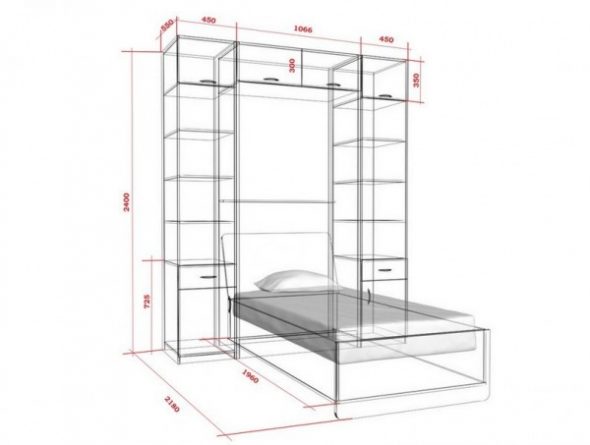
Drawing for the design of the bed-wardrobe
An important preparatory stage of creating a bed in the closet is the design of the object. Before starting the main work, perform the necessary measurements, clearly define the dimensions of the structure.
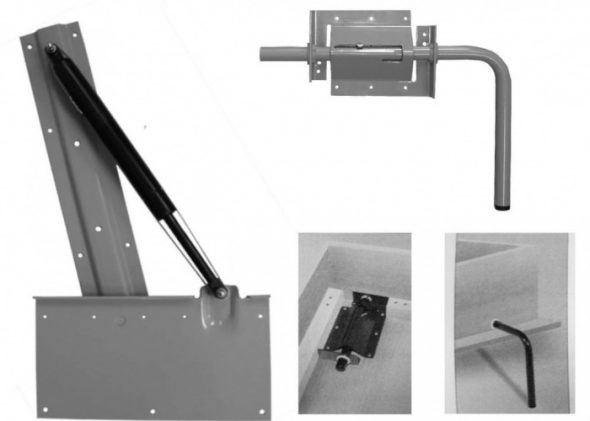
Gas lifts for a folding bed make the transformation as easy as possible
On the basis of the parameters obtained, a schematic depiction of the future bed is made, subsequently - drawings. This will help to plan in detail all the structural elements, to design the knots of the mechanism (method of fastening, lifting, length, number of berths). As a rule, a bed with a wardrobe consists of the following units:
- fixed base (firmly fixed to the wall);
- the active part of the lifting case (frame under the bed);
- swivel base elements.
When the bed is thoroughly planned according to the scheme, proceed to the technical part - drawing up a drawing. It will be used for further practical implementation of the project. The drawing will help to plan the joining of parts (quality of fit, the necessary gaps).
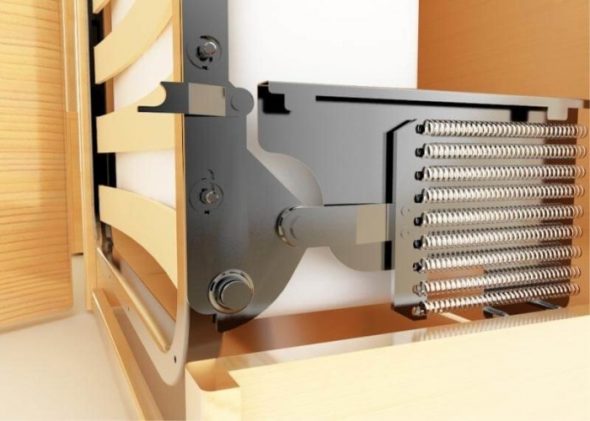
Spring mechanism for folding bed allows you to adjust the force
Based on this information, the materials and tools necessary for the work are determined. After that, proceed to the main work on assembling the bed.
Required materials and tools

Tools for making DIY beds, built-in wardrobe
Before you begin, you need to prepare all the tools and materials required to create the bed. So, it will be possible to complete the subject quickly and efficiently, without interrupting the unplanned search for the necessary details.
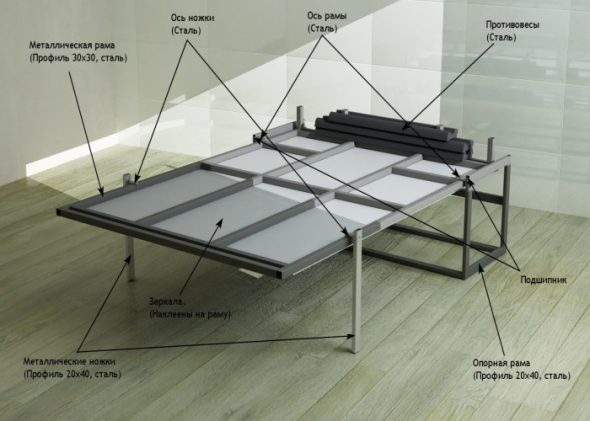
Metal frame for lifting bed made of self-standing
To create a bed in the closet can be useful many other small components of most working sets. It is better to get acquainted with the manufacturing process in advance, to draw up an action plan for yourself, individually adjust the list of necessary devices.
Chipboard serves as the main material for the bed. In exceptional cases, use other versions of wood panels.
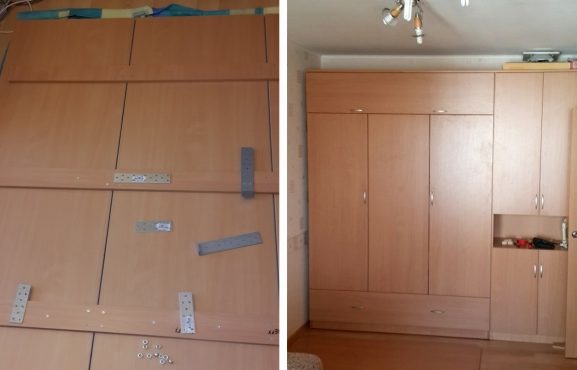
Cut sheets of chipboard for the outer wall of the cabinet
If necessary, decorating materials are selected in accordance with the chosen technique.
| Instruments | Optional accessories | Materials |
| drill | ruler | furniture screws; |
| jigsaw | roulette | bar size 50 * 50 mm; |
| screwdriver | carpenter pencil | edged board 15 * 150 mm; |
| saw | sanding paper | fixing corner; |
| screwdrivers, files, pliers | level | freewheel hinges. |
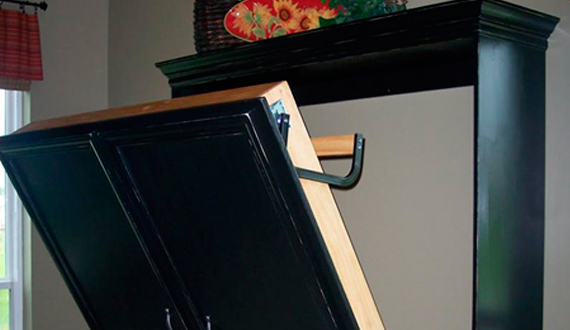
Wooden transforming bed, made independently
Manufacturing process: detailed instructions for beginners
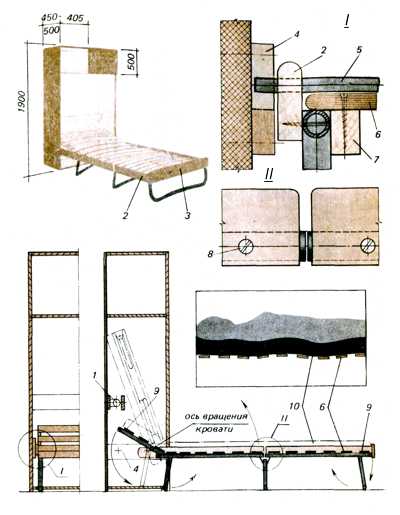
We create a transforming bed with your own hands
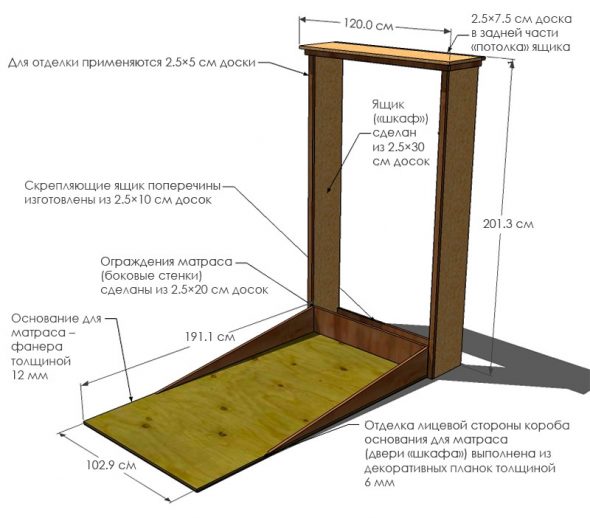
Detailed scheme for the manufacture of a folding bed
The first thing you need to do is frame the cabinet, which is securely fastened to the wall. This part of the process is made up of the following steps.
- Cut the walls of the future cabinet: 4 side plates and rear base. Recommended sizes for the sides: 1124 * 450 mm and 450 * 1800 mm - 2 pcs. Each. each. Rear wall 1124 * 1800 mm - 1 pc. The parameters of the parts, their location depends on the individual characteristics of the bed.
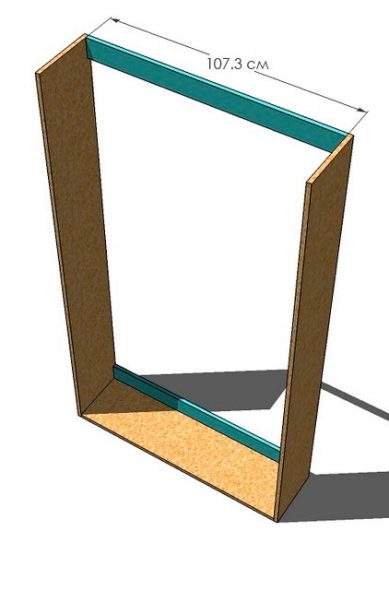
The construction of the bed drawer frame
- The resulting shields are fixed in a single box with furniture screws. To do this without the risk of splitting the material, you must first prepare the holes with a drill with a special drill (with the possibility of preparing a slot for the fastener cap). The diameter of the recess must be less than this value for the screw. The junction is placed evenly every 25-35 cm.
- To strengthen the structure, it is recommended to lay the timber in a staggered manner at the inner corners of the box received. The main thing is that the process of fixing this add-on does not violate the integrity of the walls of the cabinet.In the absence of sufficient experience, it is better to abandon this action (so as not to damage the frame).
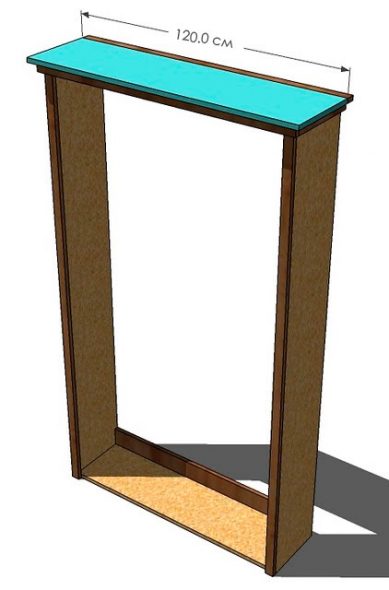
Ready frame with fixed decorative elements
The next part of the process will be the assembly of the bed body, the preparation of the bed. Make it a little harder than a closet. The procedure is as follows.
- Cut the walls of the base of the size determined in advance. You should get the details of the box with a solid bottom at the bottom.
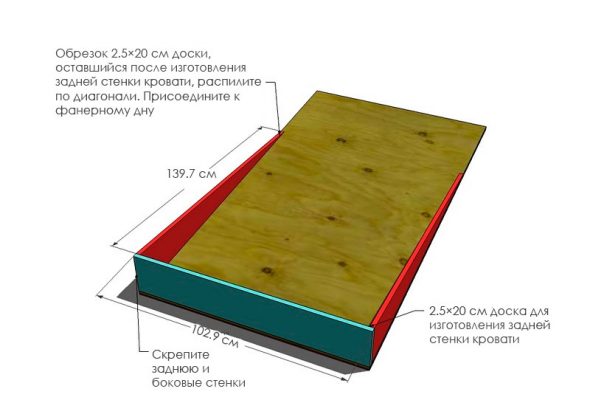
Making the bed base
- The resulting shields fasten furniture screws. Special attention is paid to this process, since poor-quality joints often become the “sore point” of the bed. The fastening frequency of the screws should not exceed 25-30 cm.
- Inside (along the perimeter) lay the timber, which will become a support for the mattress pad. The height of the mounting relative to the lower boundary make 30 mm
- For the device of the mattress pad, the edging board is screwed onto the support created earlier. Such a mechanism of the bed quality, convenient, quickly execute. It is necessary to strive for maximum lightness of the bed box, which should be easy to move around and fulfill its functions.
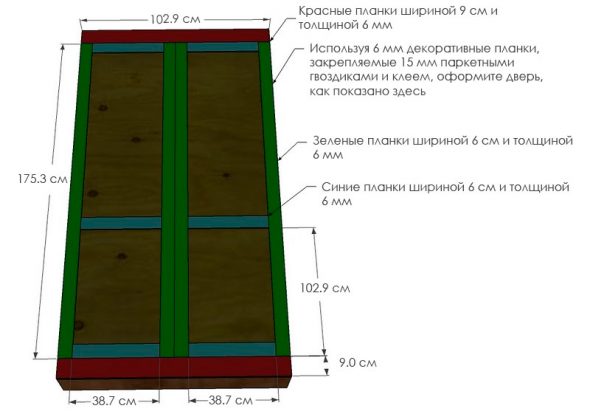
We collect the box for the mattress with glue and screws
- For additional fixation of the bed in the process of lifting the bed should provide stoppers for movement of the pad.
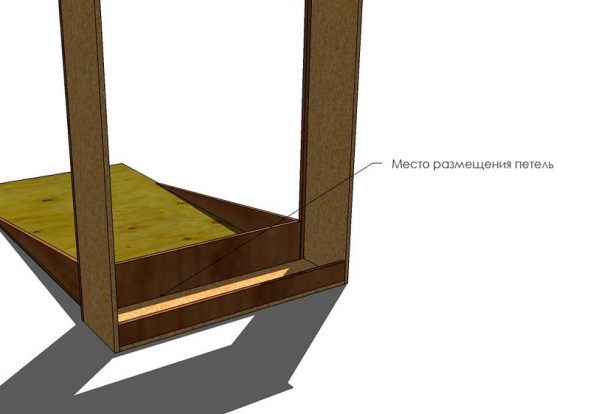
We use loops for fastening the bed (box for the mattress) to the wall "box"
The final part of the manufacture of the mechanism is the assembly of the components together on a moving stroke. To do this, the bed box is screwed using a hinge mechanism. It is good if there is a possibility to provide additional details that will facilitate the course (gas shock absorbers, counterweight). Finish the product by fixing the movable legs on 2 sides on the bottom of the box.
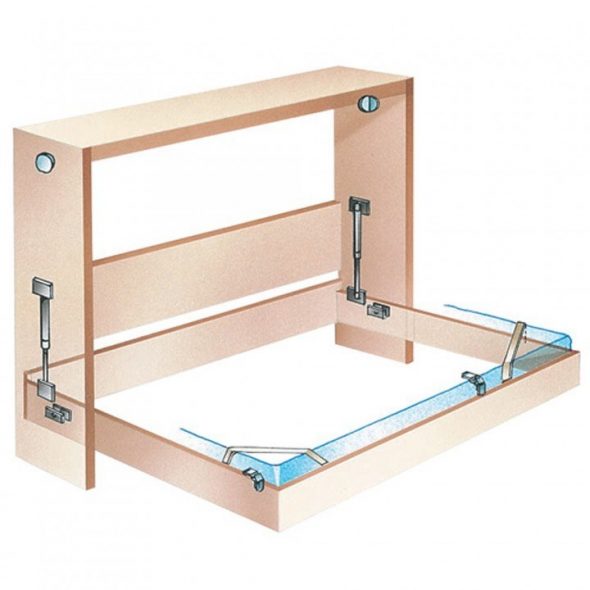
Folding bed mechanisms
Decoration of the finished product
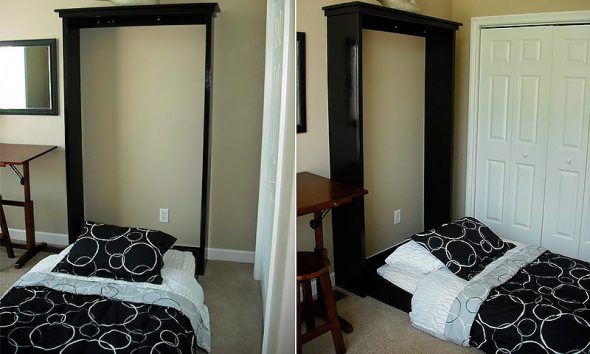
Ready-made, self-made folding bed
Upon completion of the bed cabinet, you can begin to create the optimal appearance of the product. All parts in the manufacturing process are polished by default, prepared for safe use. Therefore, there is no urgent need for visual design of the bed.
It is only necessary to ensure the tightness of the bottom wall of the bed box (when closed, the bed should not be visible). Externally, the details of the retracted structure should correspond to each other, visually resemble the function of the cabinet. If necessary, the object is decorated with the help of simple design techniques.
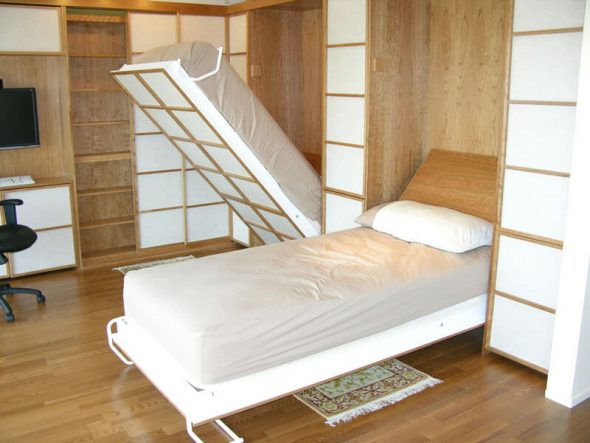
Hide the bed in the closet and free up space in the nursery
Assemble the bed in the closet, which will please the view, to save space is not difficult. To do this, use simple tools and materials that have widespread accessibility. The result of labor just will not leave indifferent.
Video: How to make a lifting bed with a lifting mechanism do it yourself
 Choosing a bed in the bedroom: basic models and tips on choosing the size
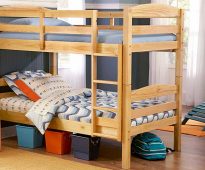 How to make a bed with your own hands
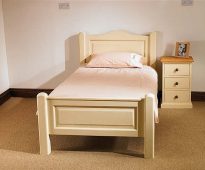 Single bed 90х200 - features and selection criteria
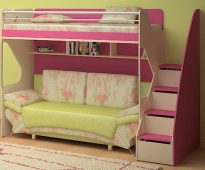 Choosing a loft bed with a sofa downstairs. How not to make a mistake with the purchase?
 Double bed with drawers - practicality and space saving
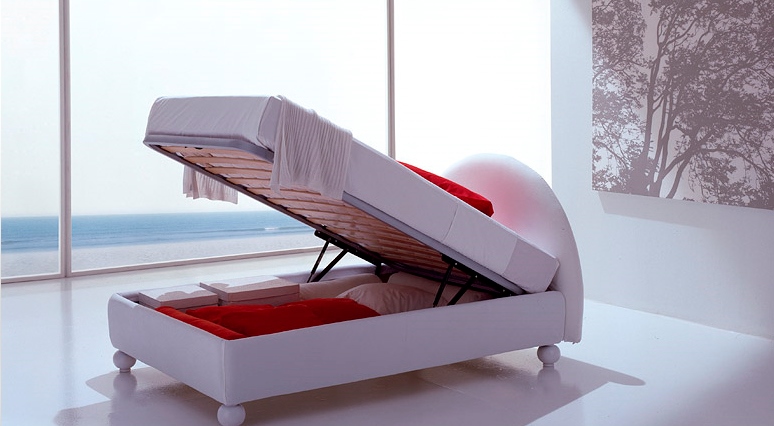 Bed with lifting mechanism 120x200. Characteristics and description.


