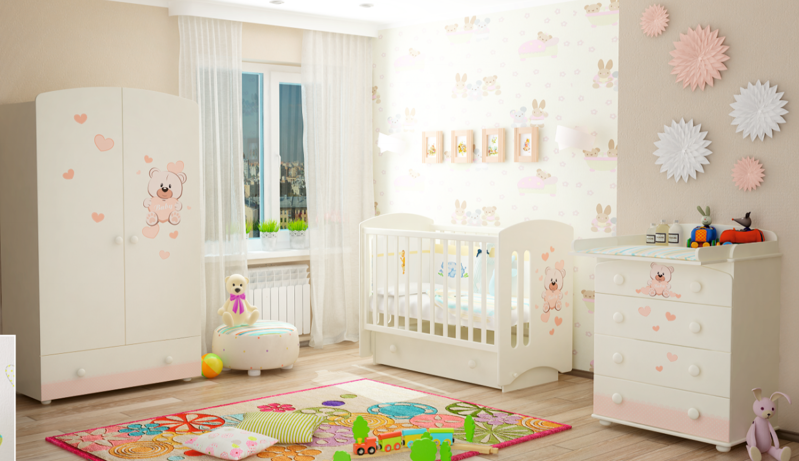
 Baby cot with a pendulum and a box.
When a newborn appears in the family, parents have a difficult choice of a bed. It is important to choose not only practical, but also a convenient option for the little man, in which he will conduct ...
The bed occupies a central place in the bedroom. On it you can sleep, relax, read, watch TV.
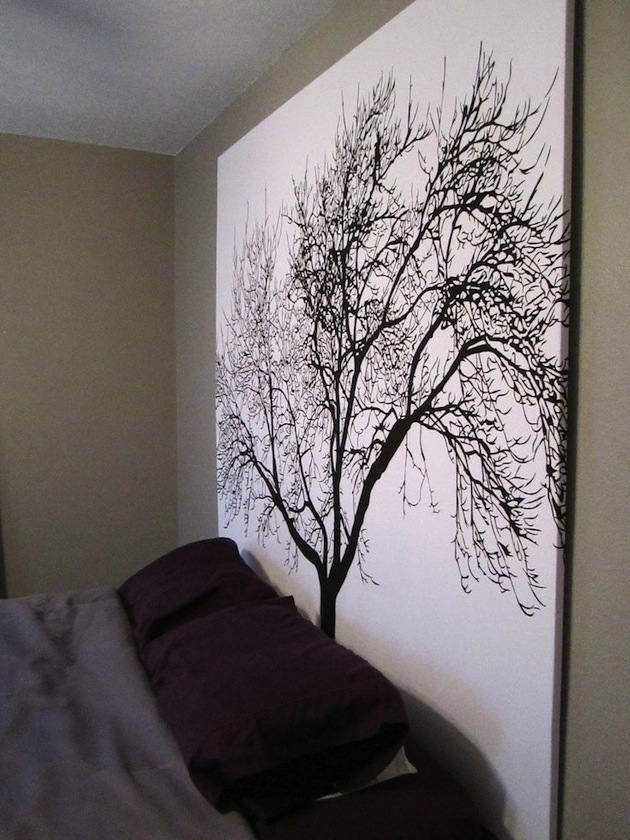
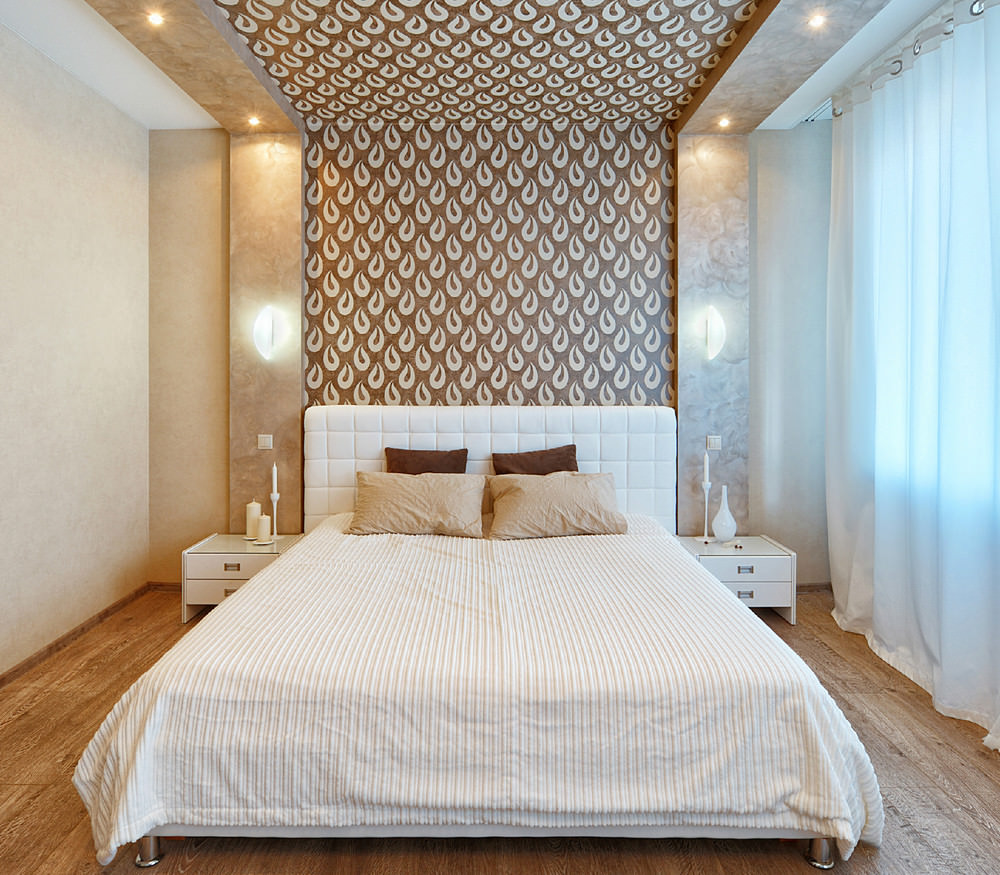
The most important element of the interior design of the bed is its headboard.
Let's talk about how the bed headboard can be and how it can be done with your own hands at home.
Content
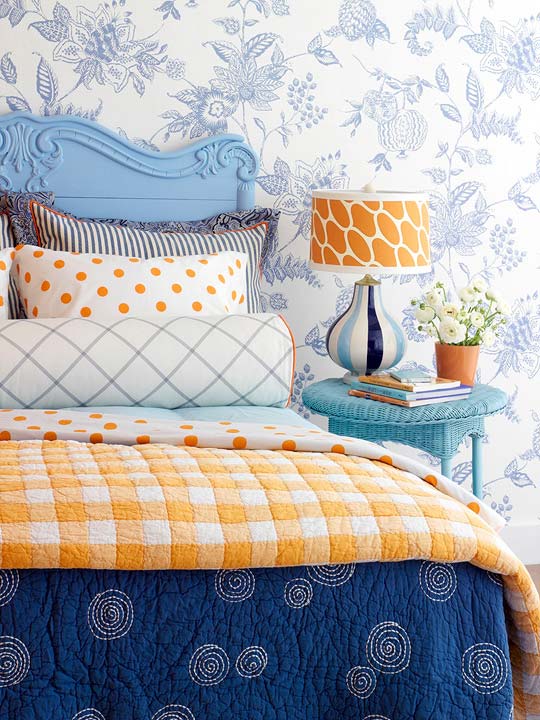
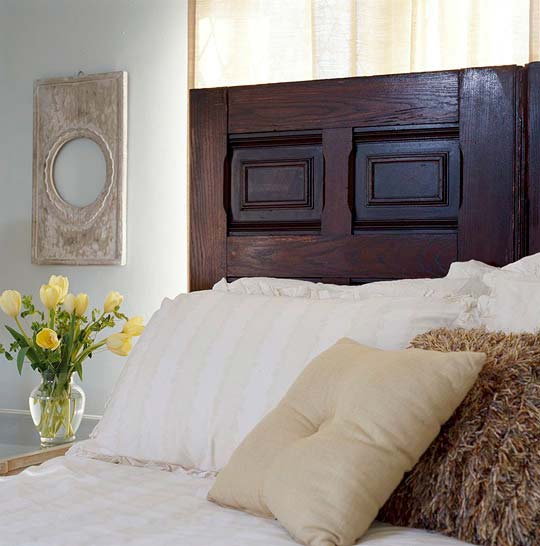
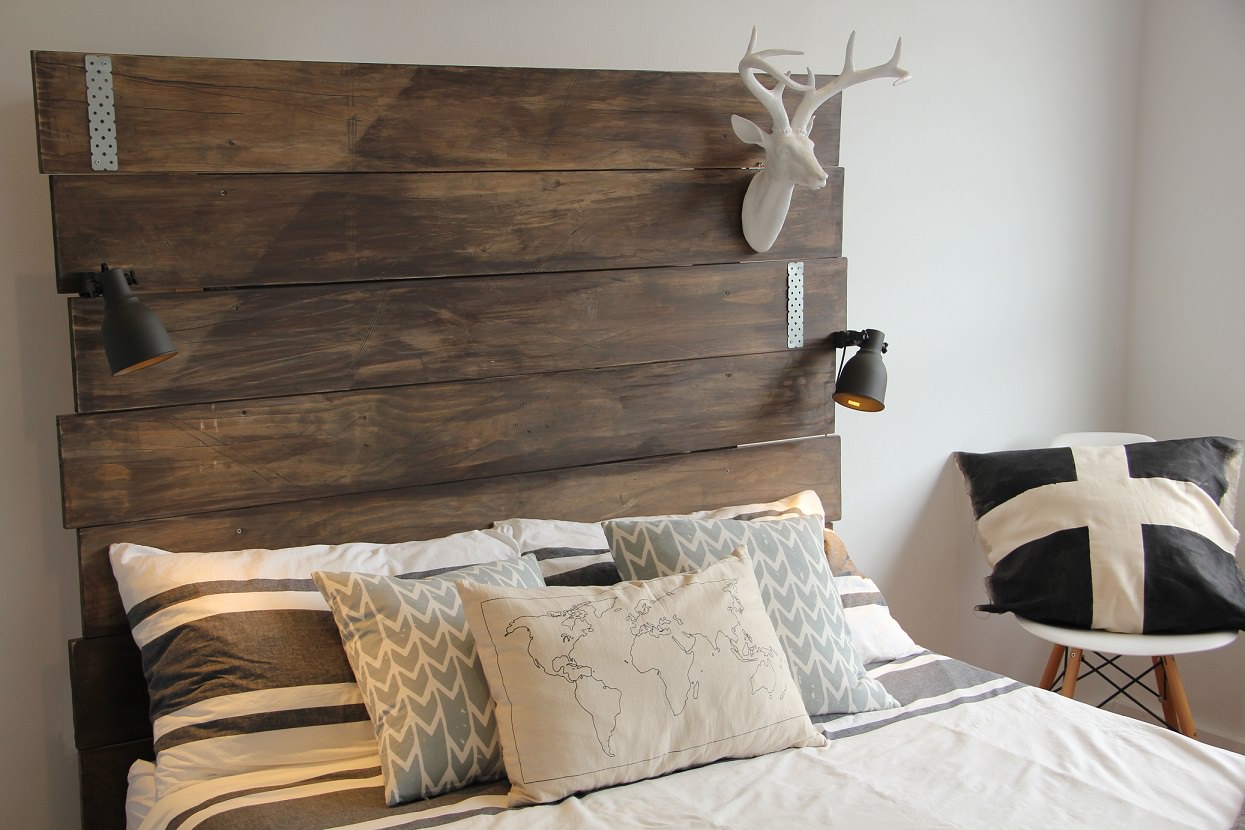
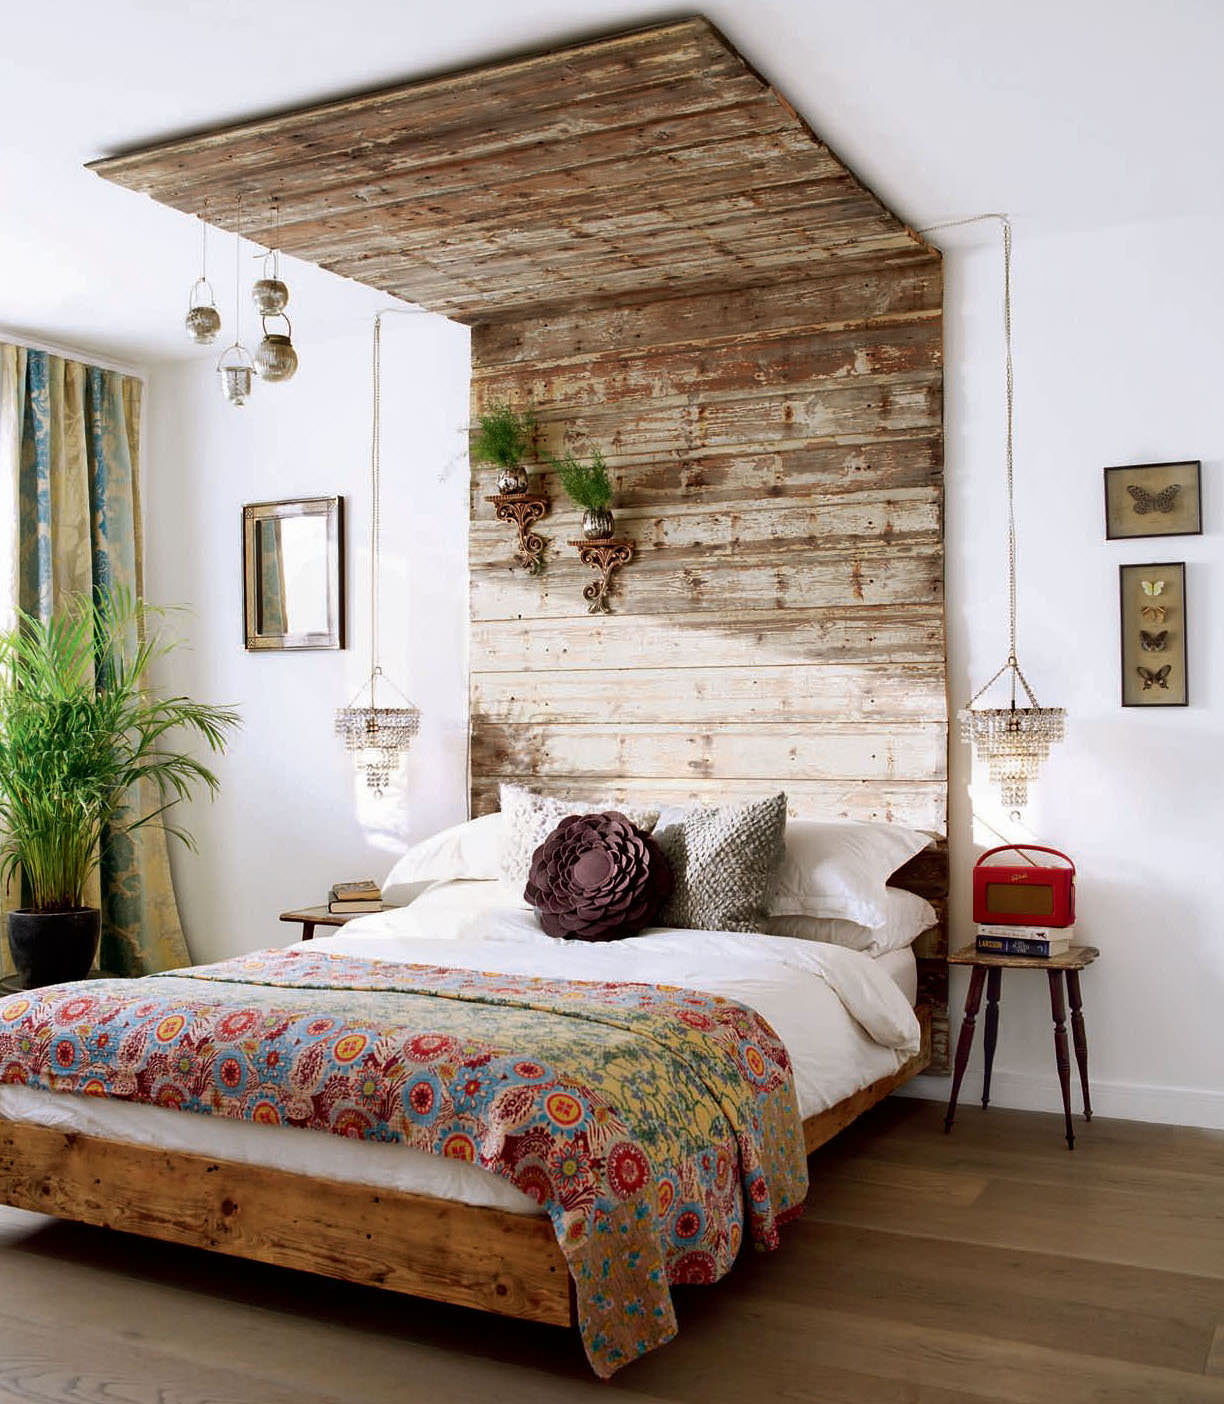
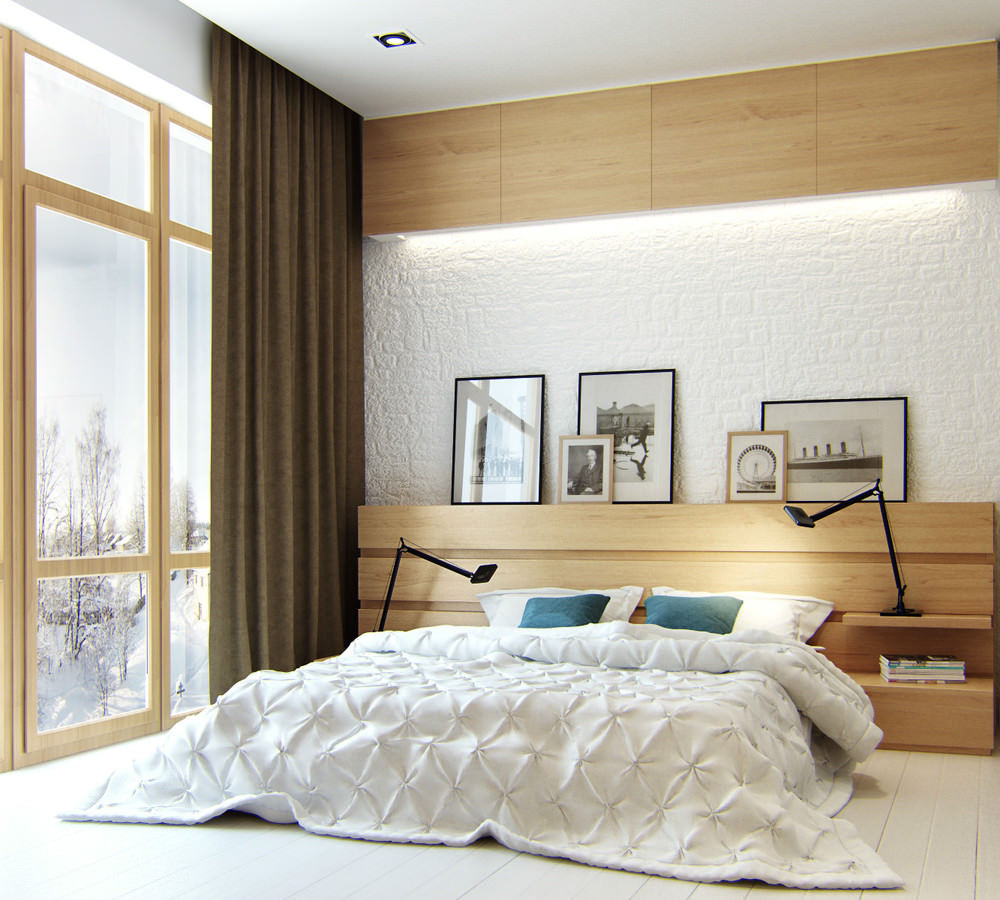
The first option is classic, made of wood. The way the wood is processed depends on how the bed fits into the style of the bedroom. Strictly made headboards do not decorate, they are made rectangular or slightly rounded. Such furniture elements are lacquered or painted.
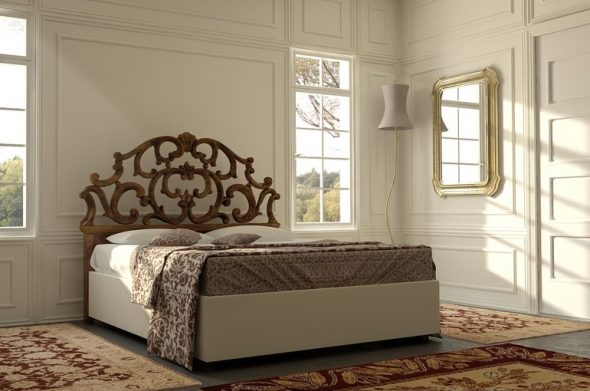
Aristocratic products decorate with a wave-like ornament, and elegant, made in the Baroque style, Empire or classicism, are true masterpieces.
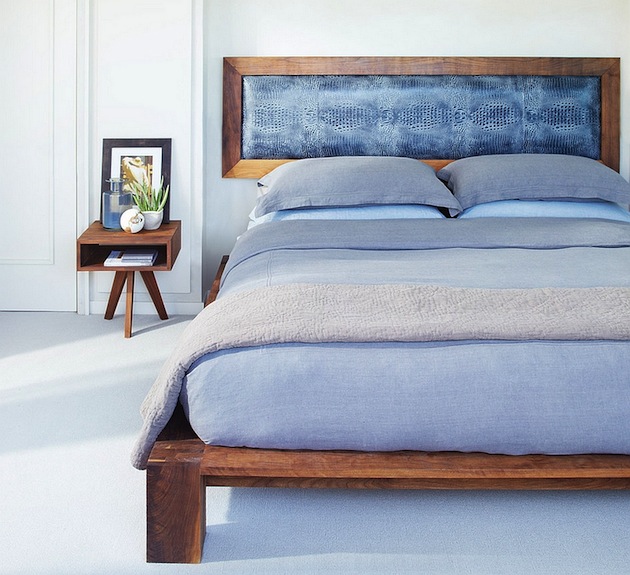
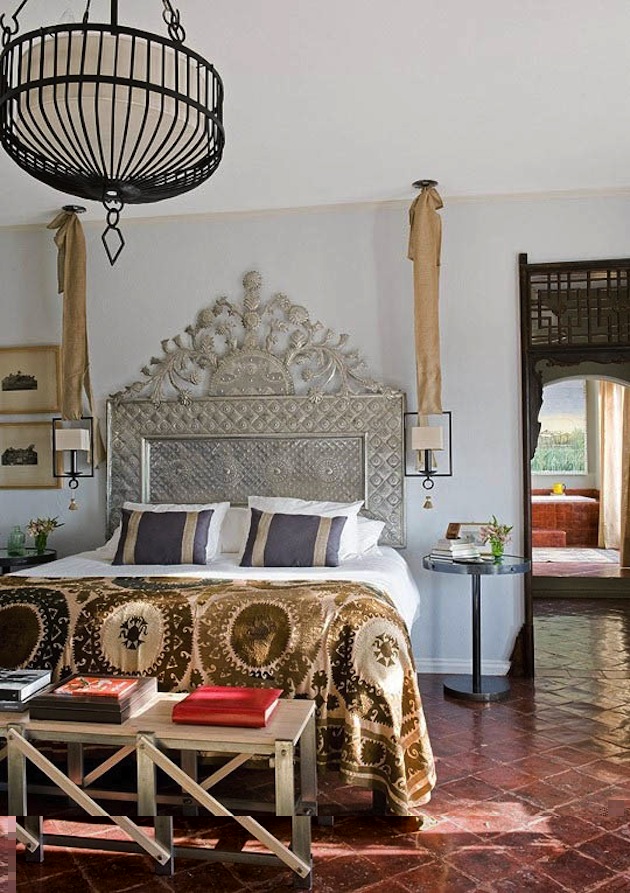
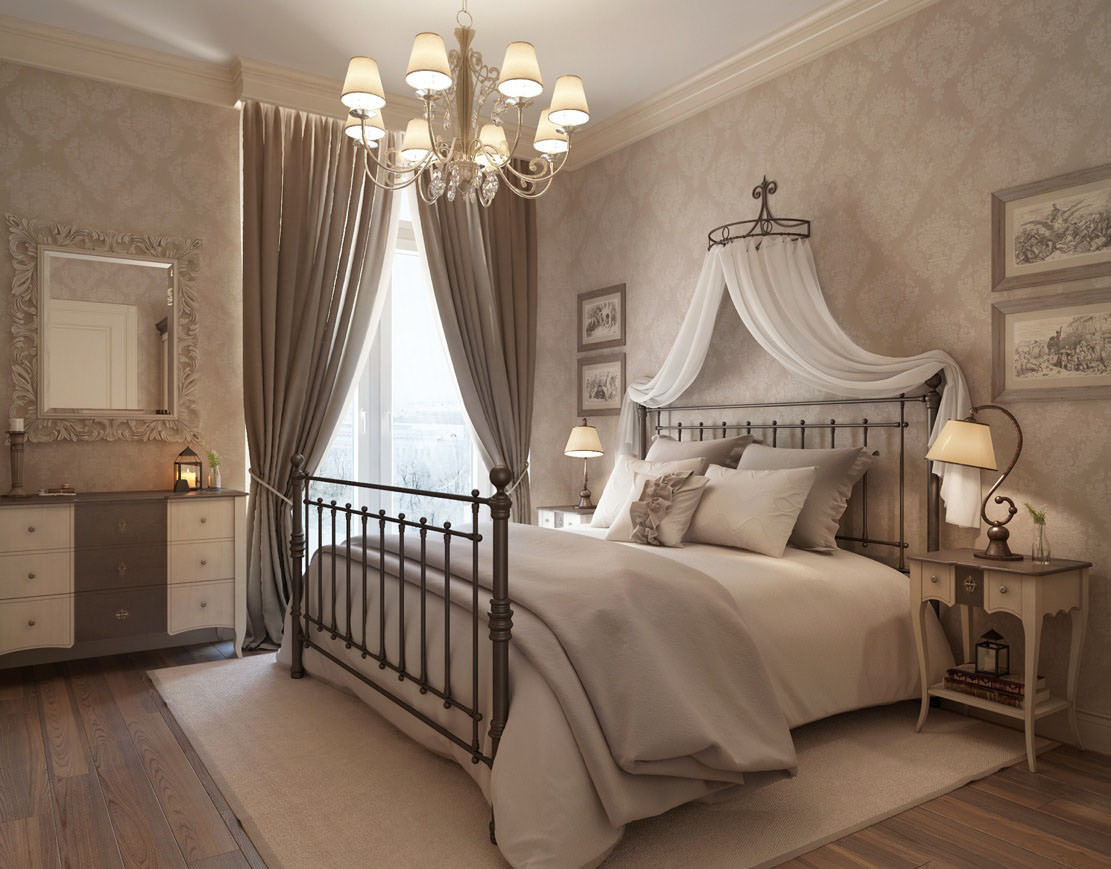
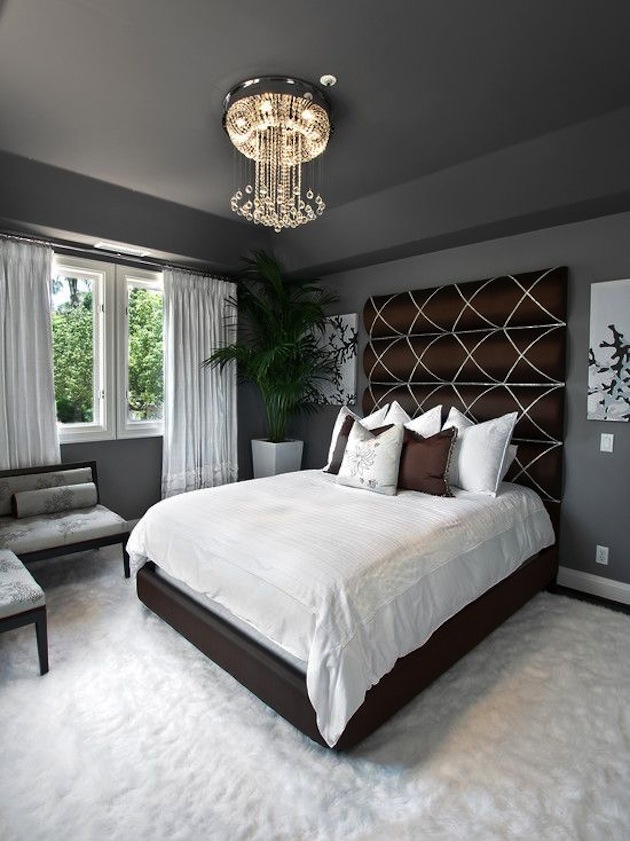
The metal version is an ancient type of headboard. This option is used in many styles of bedroom interior.
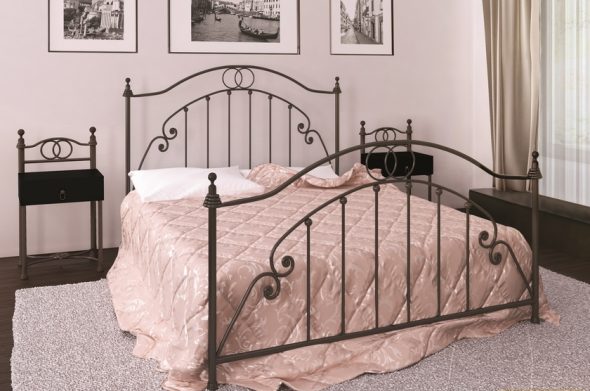
This design headboard fit to the Romanesque and Scandinavian style.
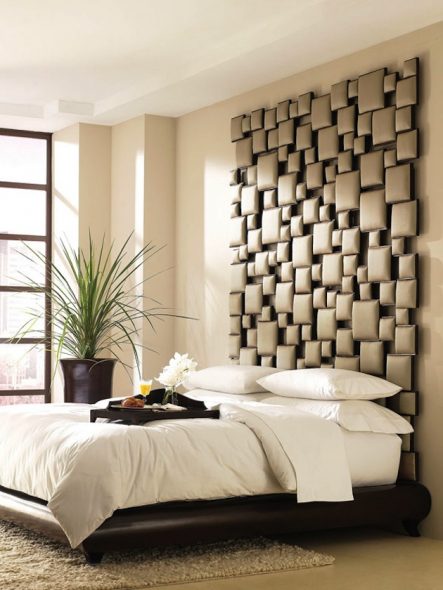
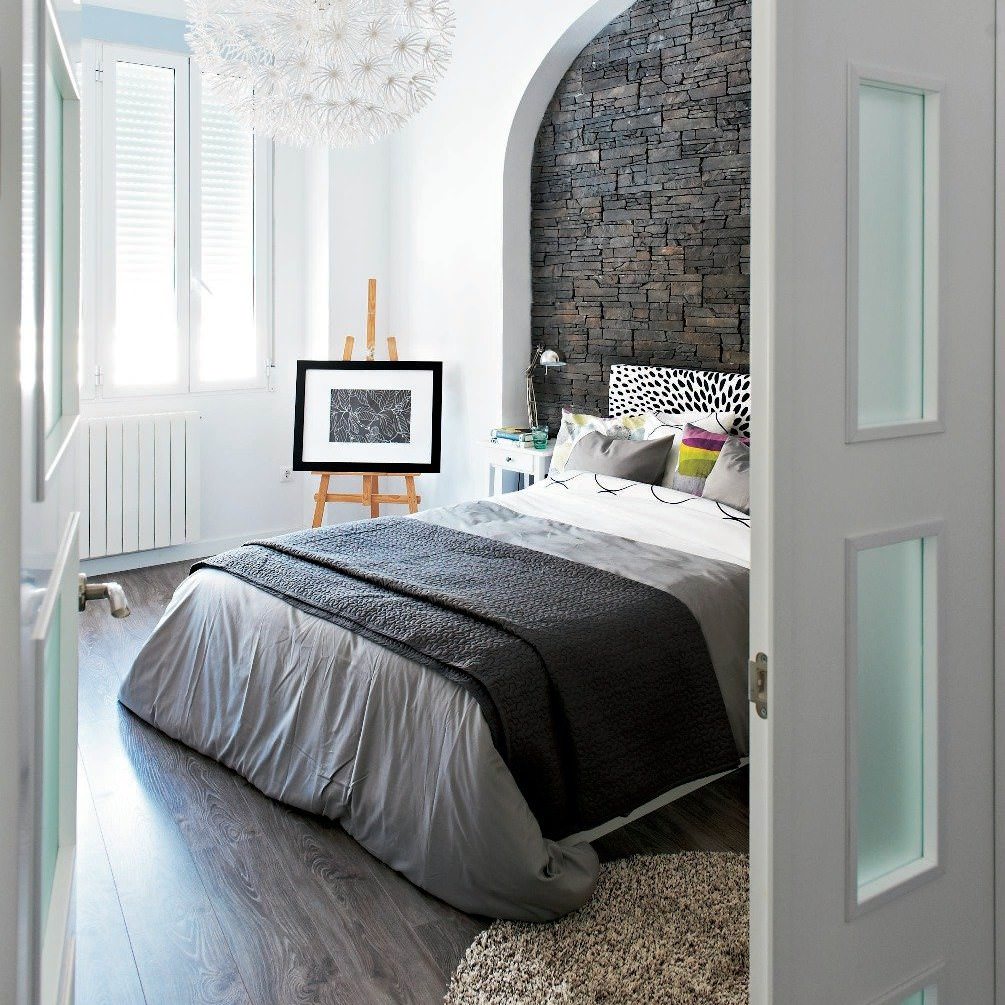
A variant that uses mosaic or natural stone is another popular type of backrest.
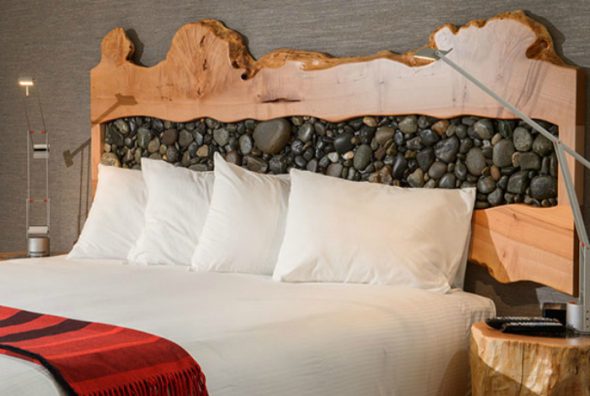
It often involves sea pebbles, glass, ceramics and other materials.
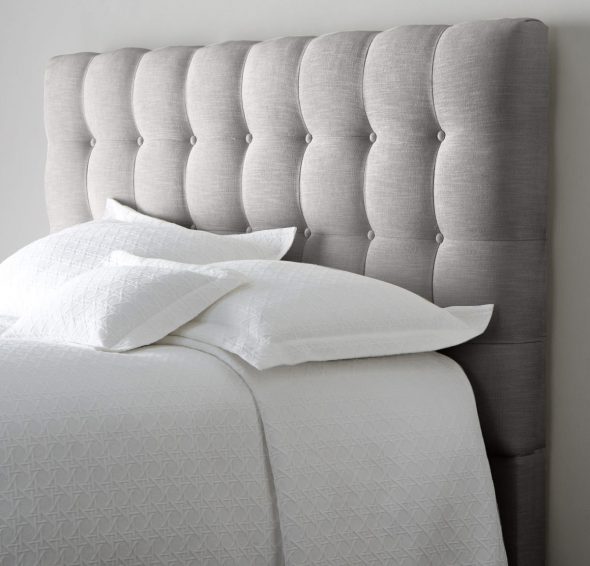
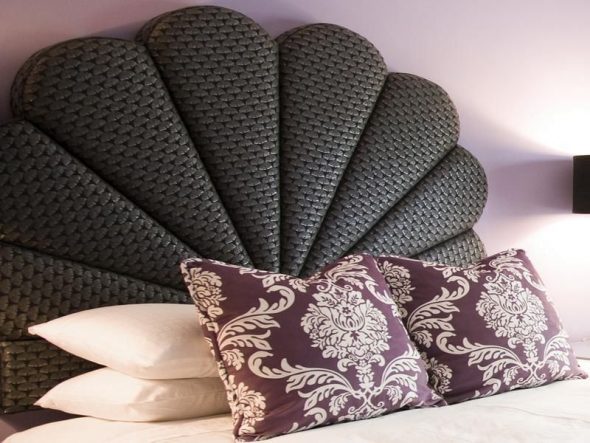
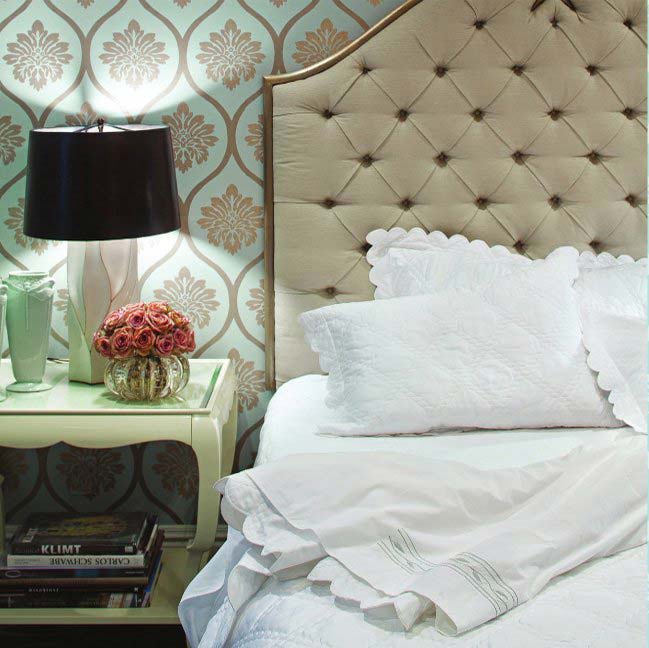
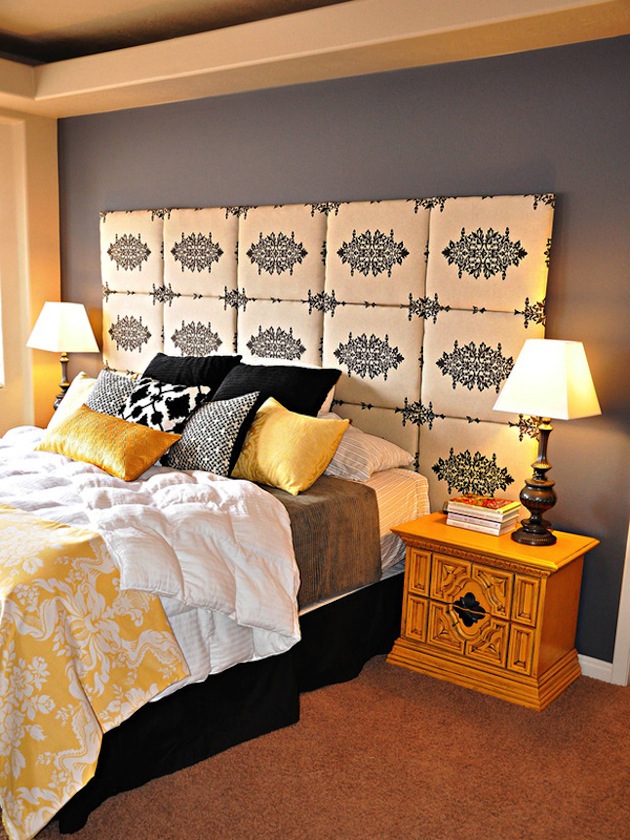
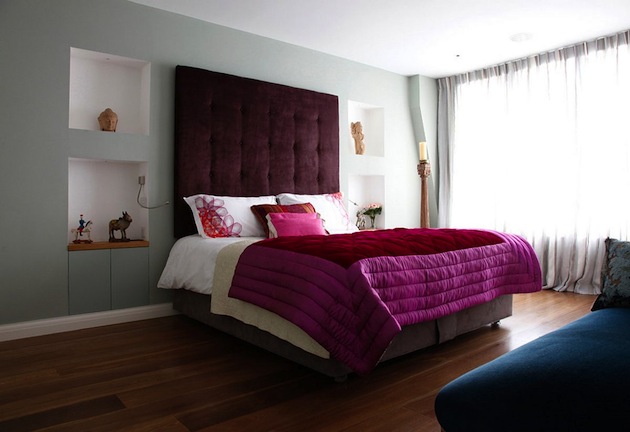
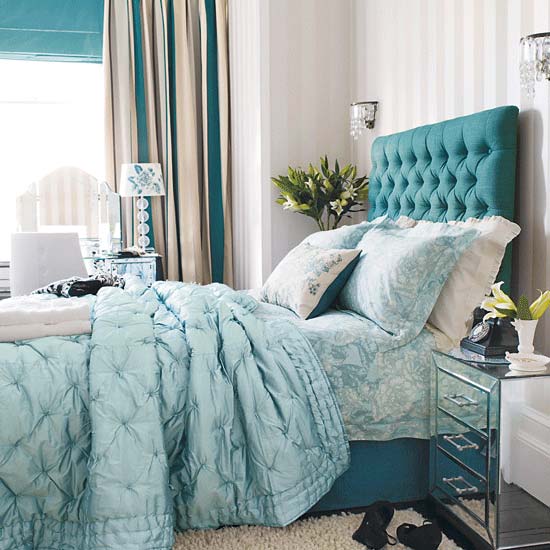
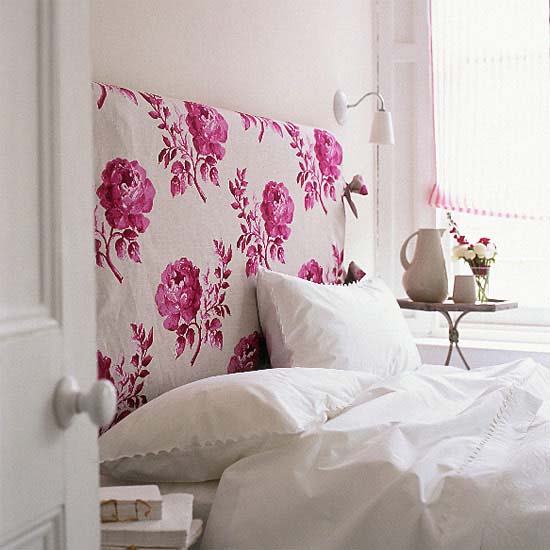
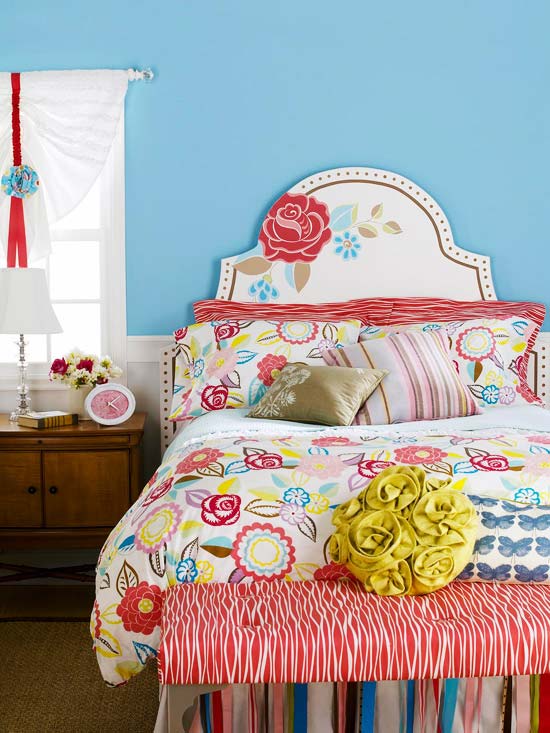
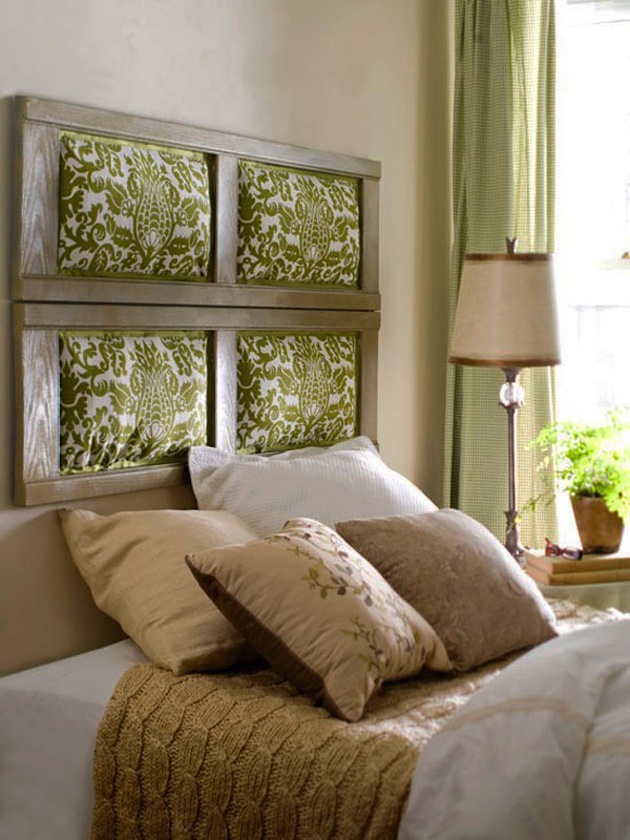
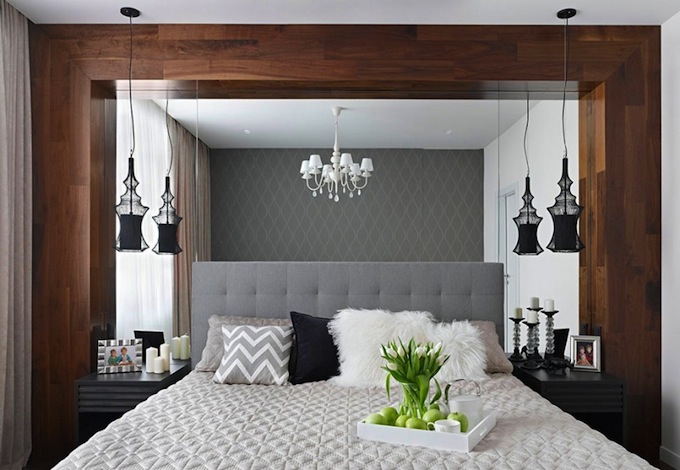
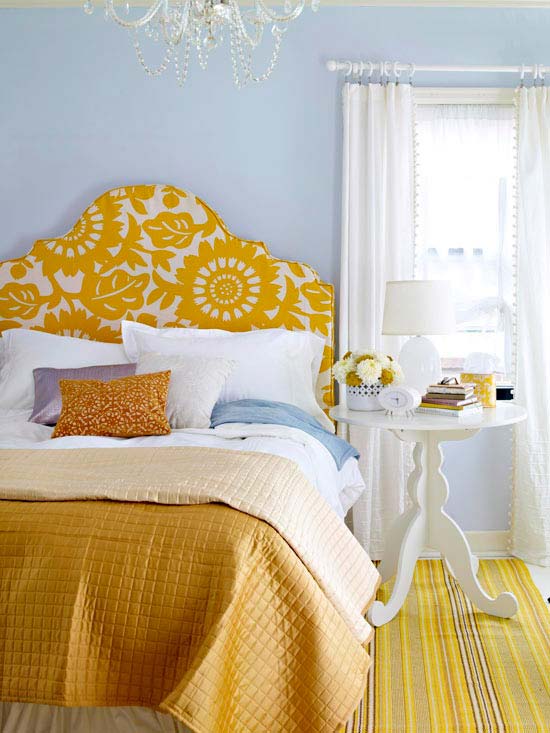
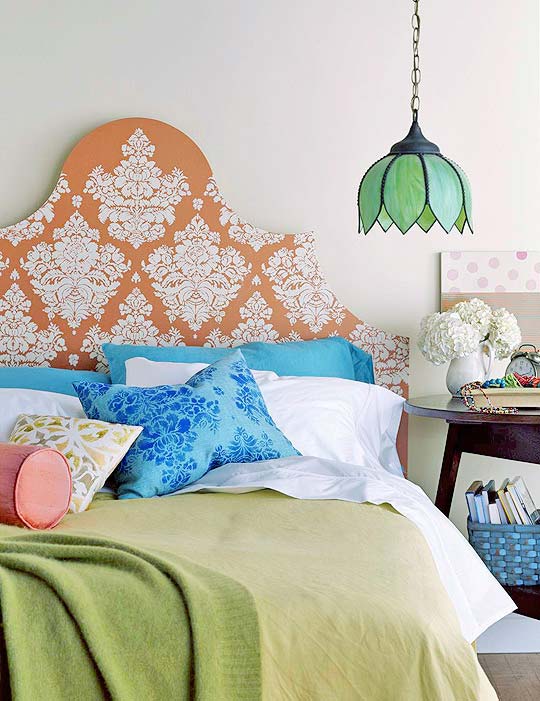
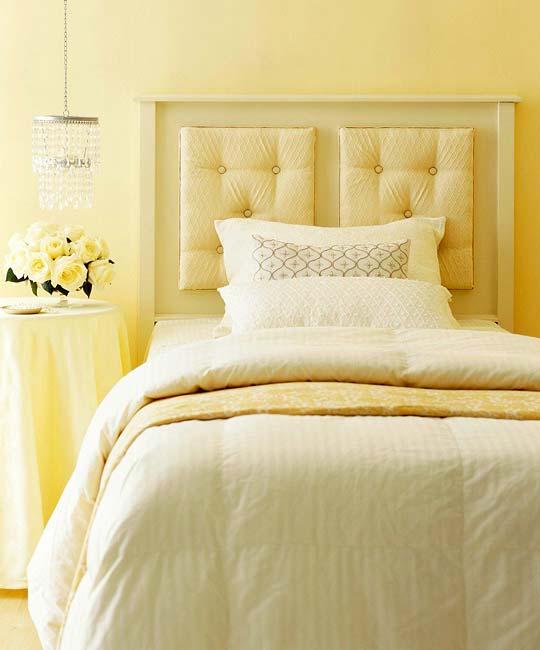
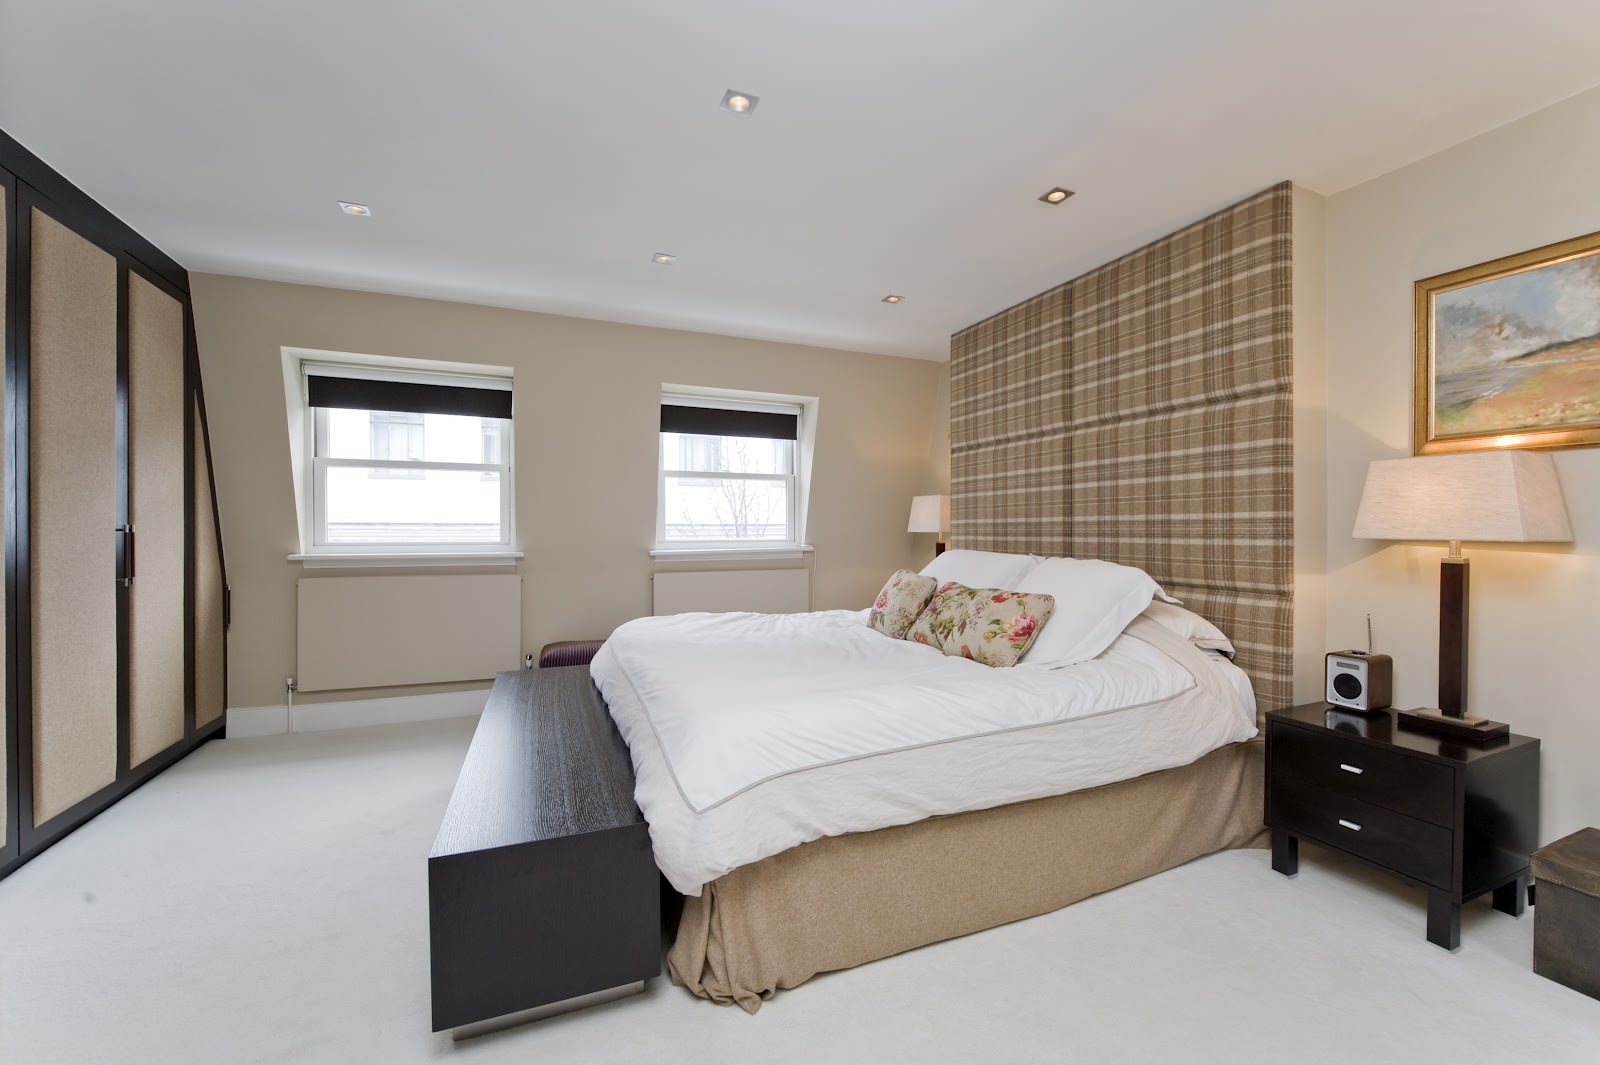
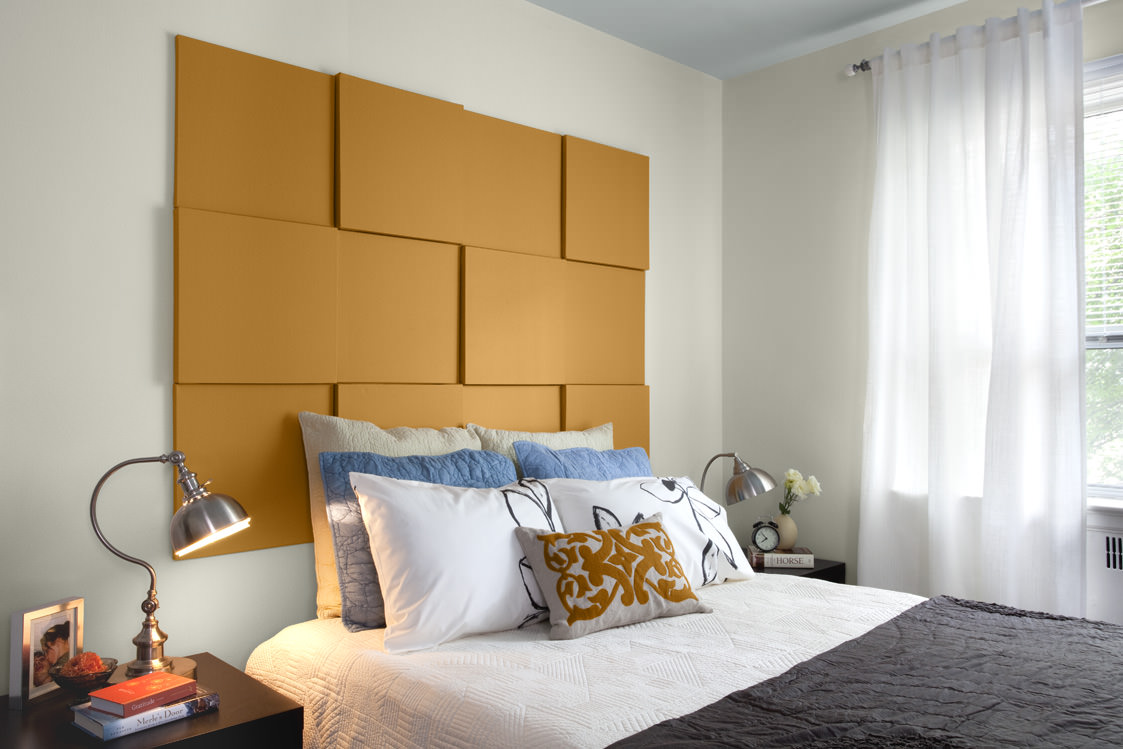
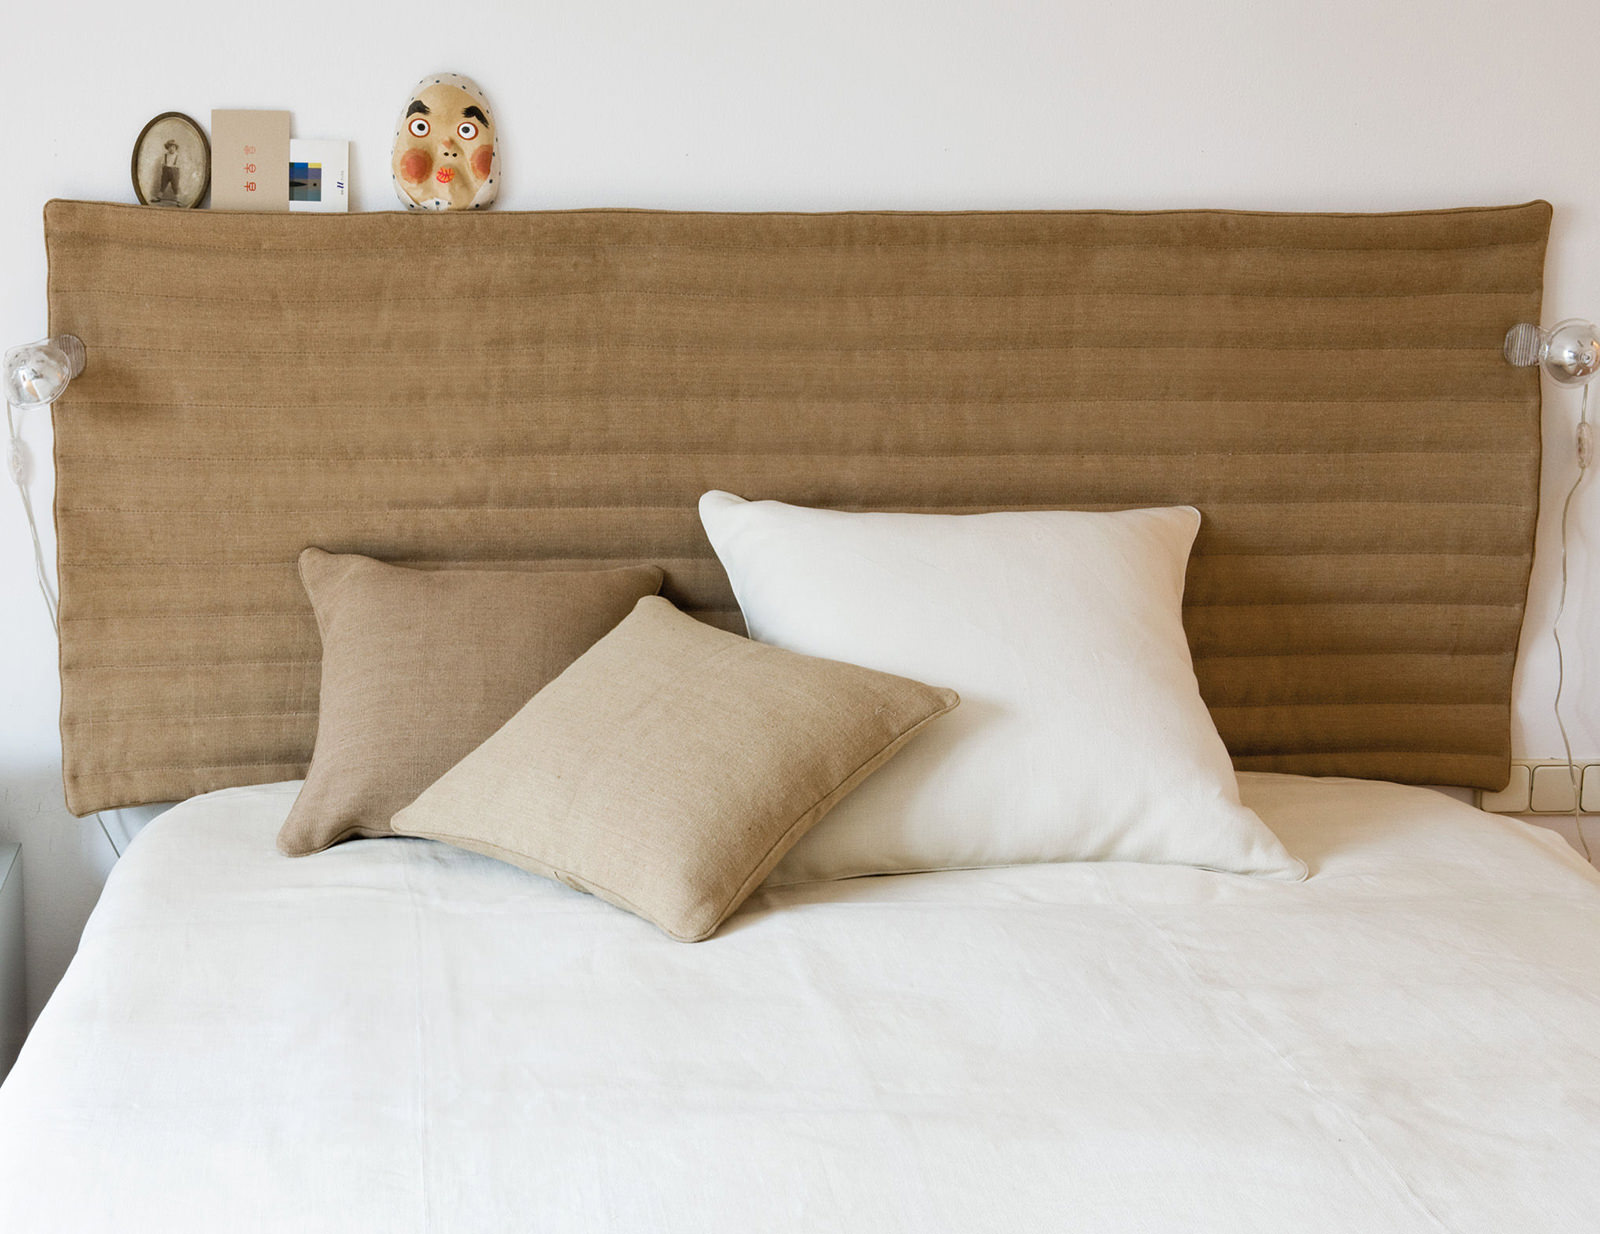
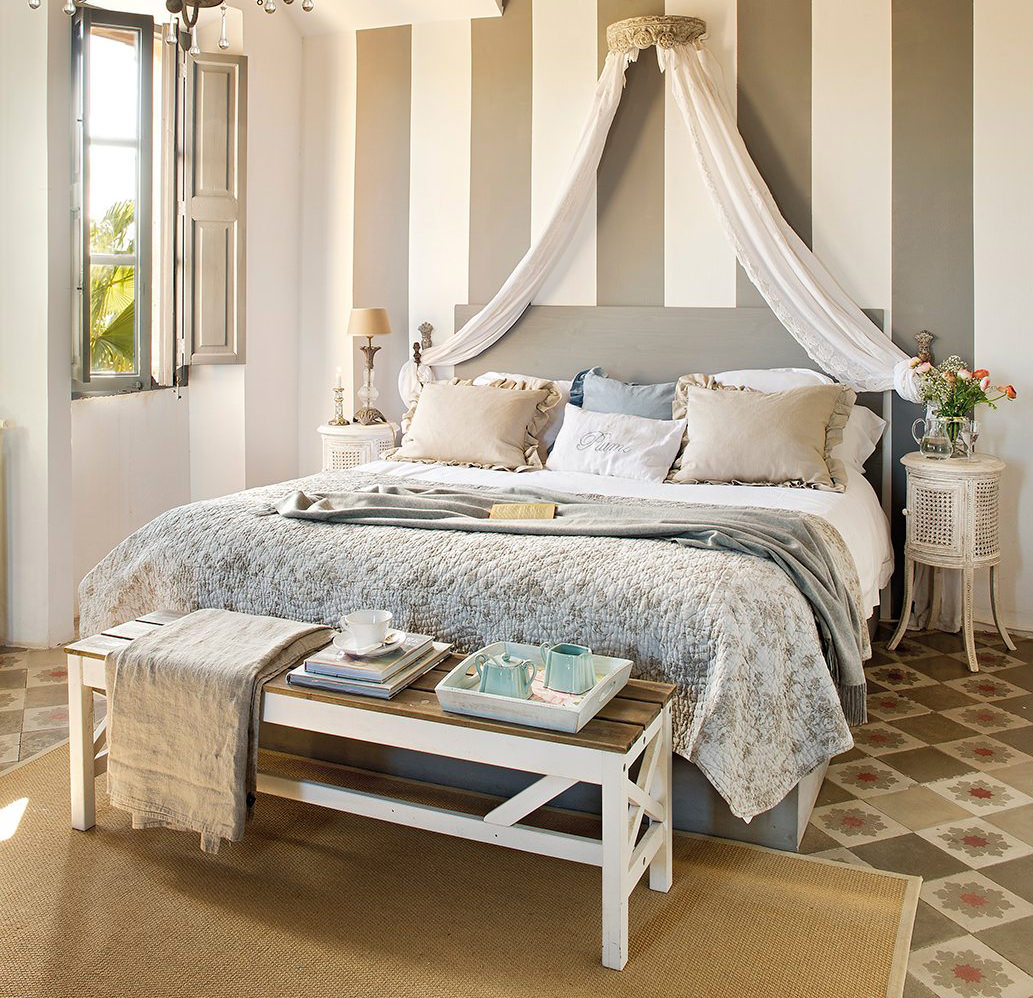
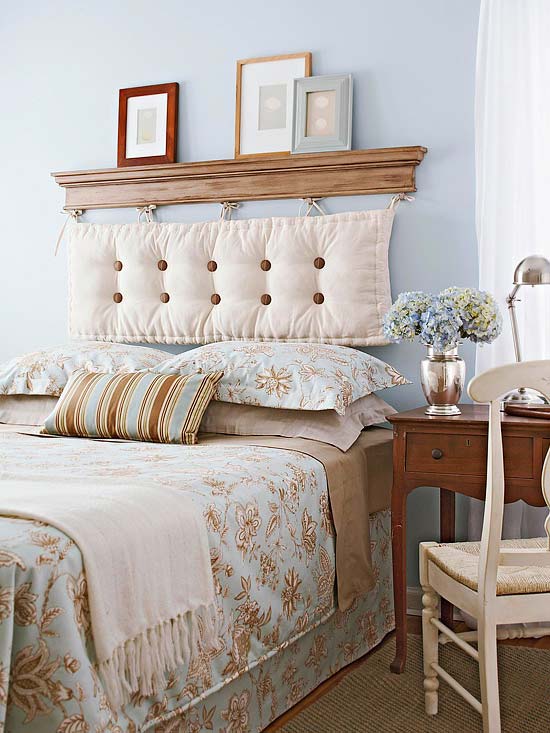
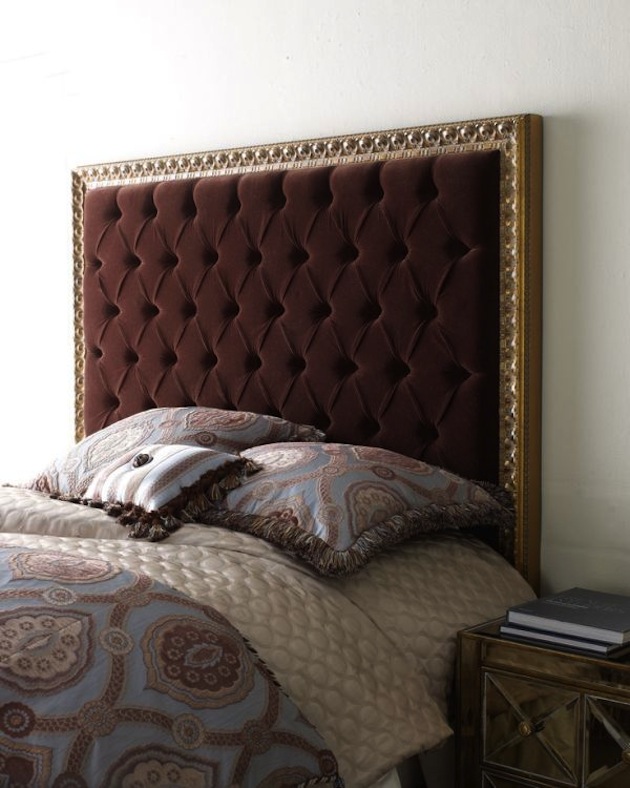
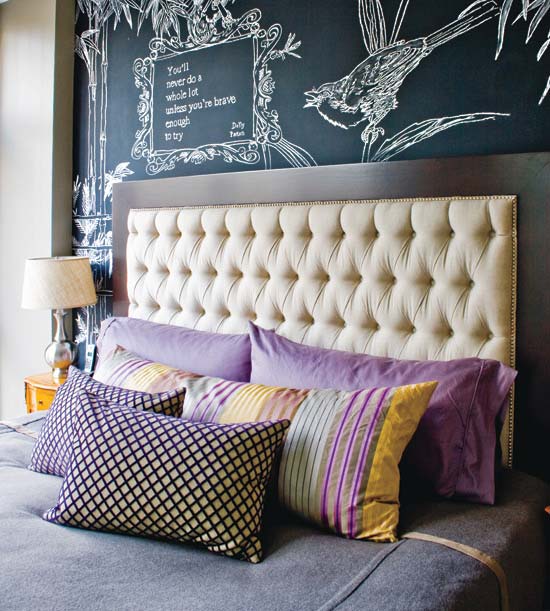
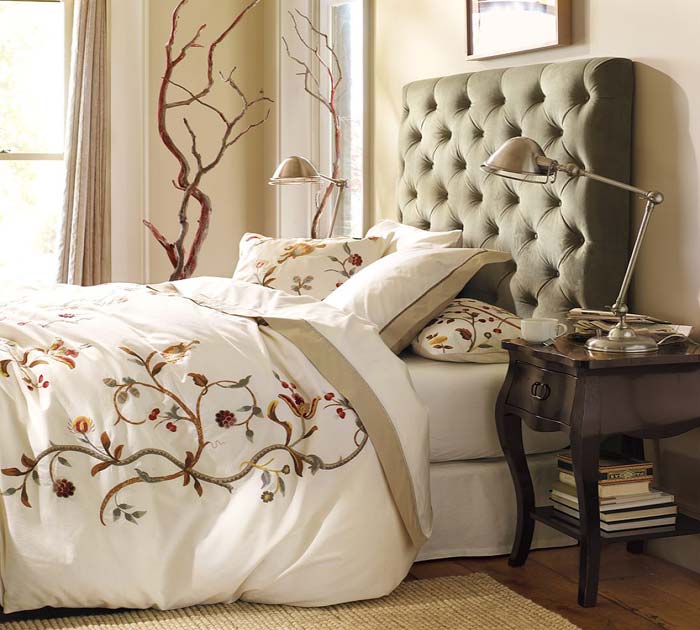
Constructions in which textiles are applied are a frequent frequent occurrence.
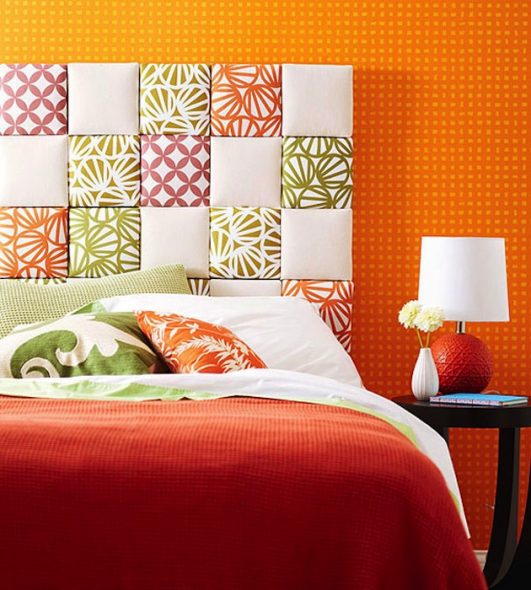
Their wide distribution can be explained by the coziness and comfort brought by the fabric into the bedroom interior.
Certain types of textiles are suitable for different styles of bedroom decoration.

For baroque or rococo, velvet is used, and empire is suitable for atlas.
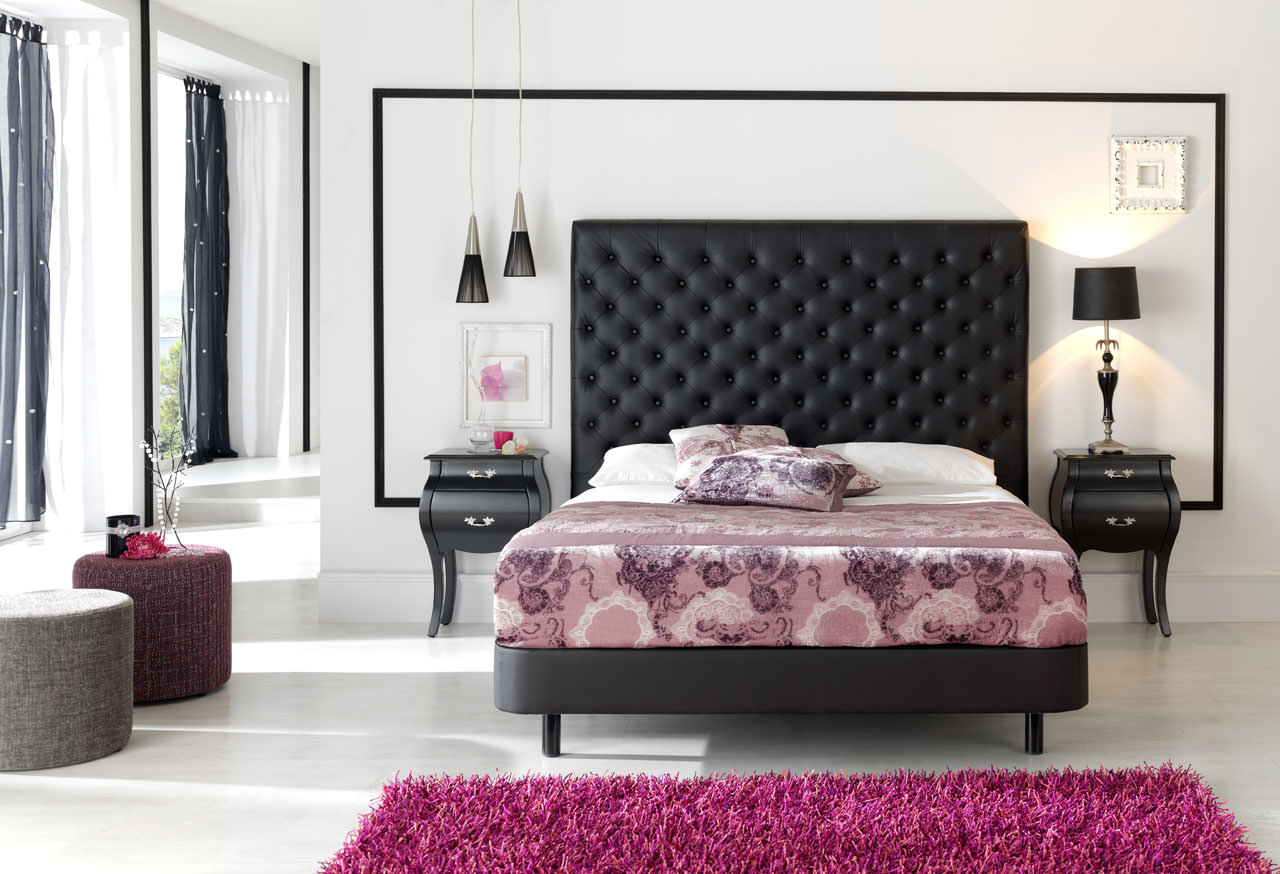
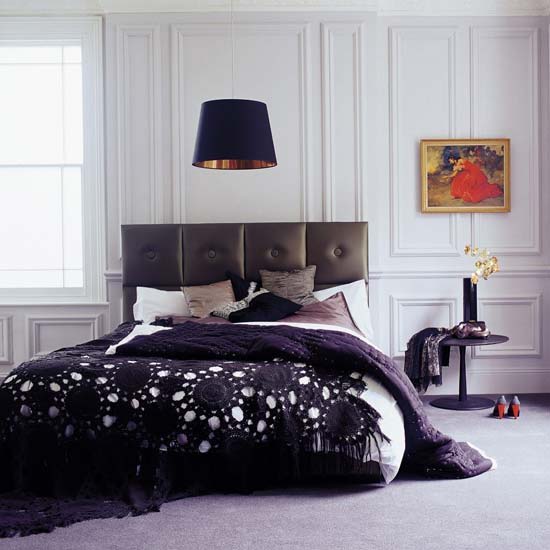
Looks stylishly bedroom furniture, decoration which is made partly of leather.
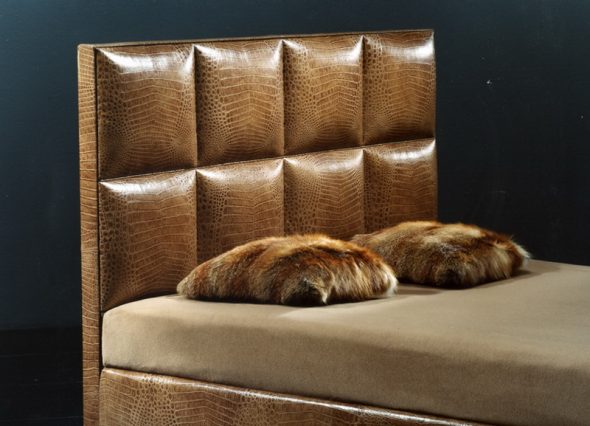
An element upholstered in leather gives it chic and sophistication.
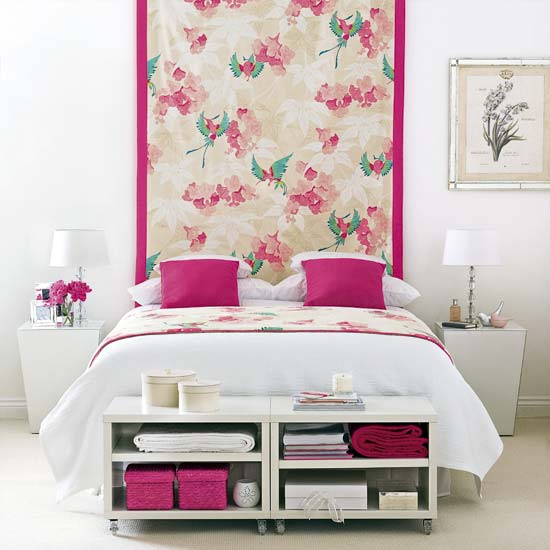
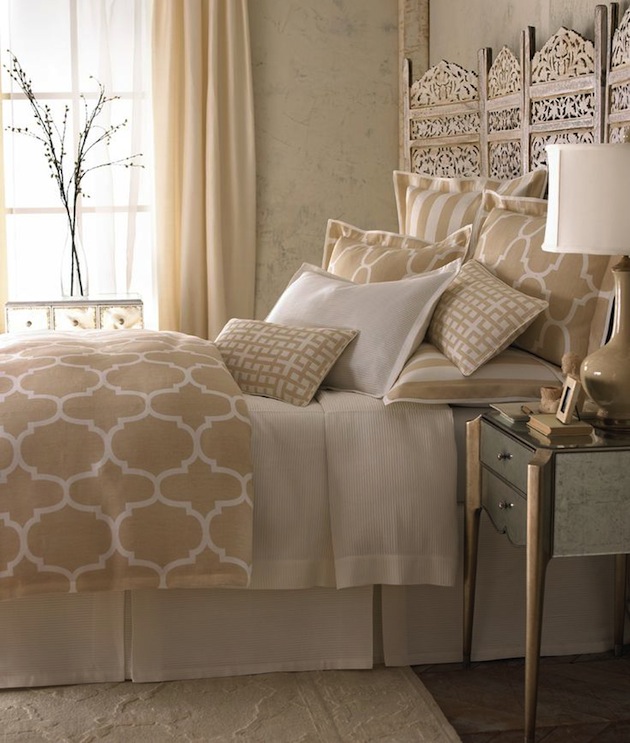
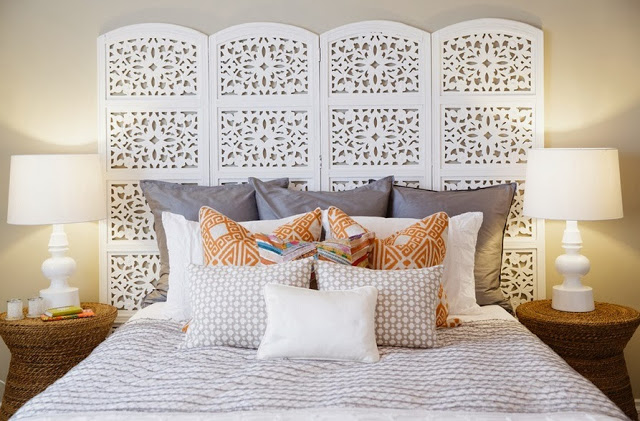
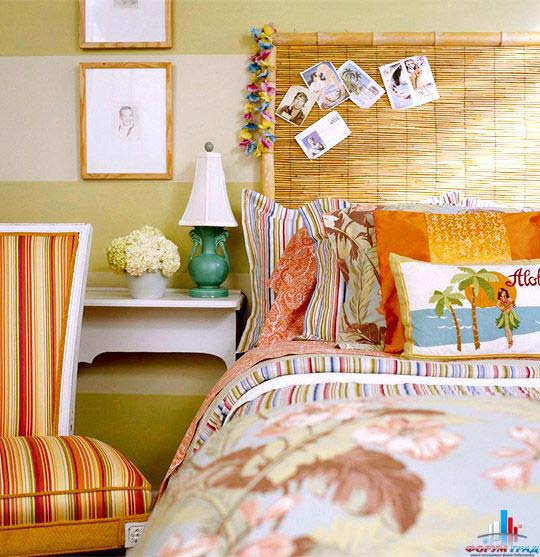
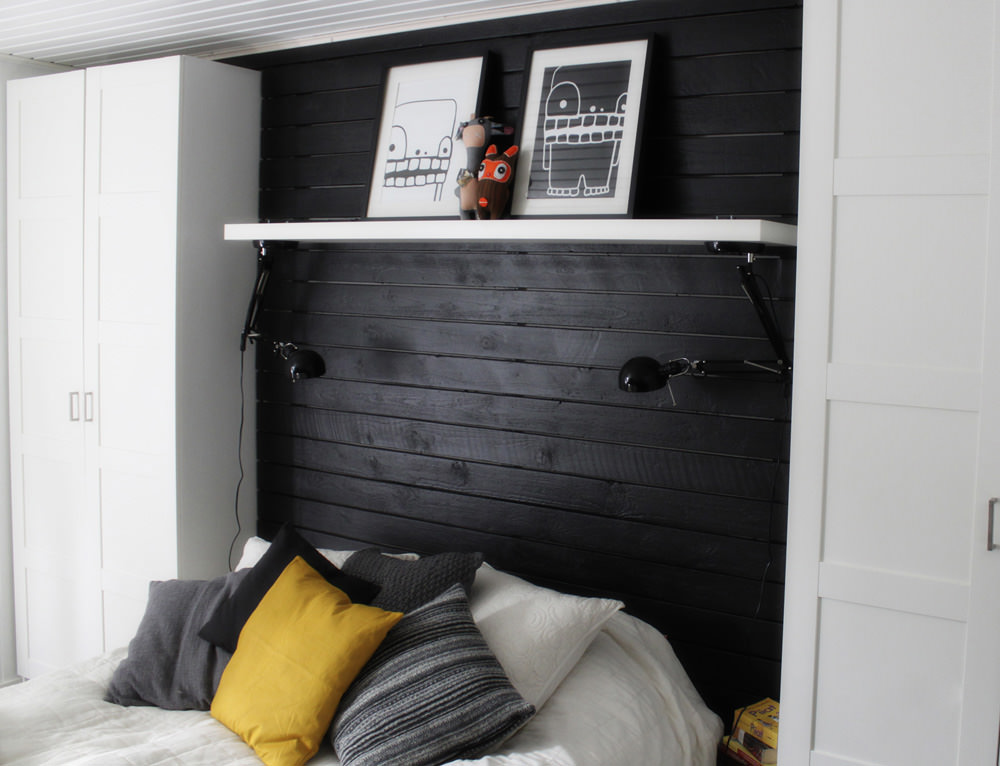
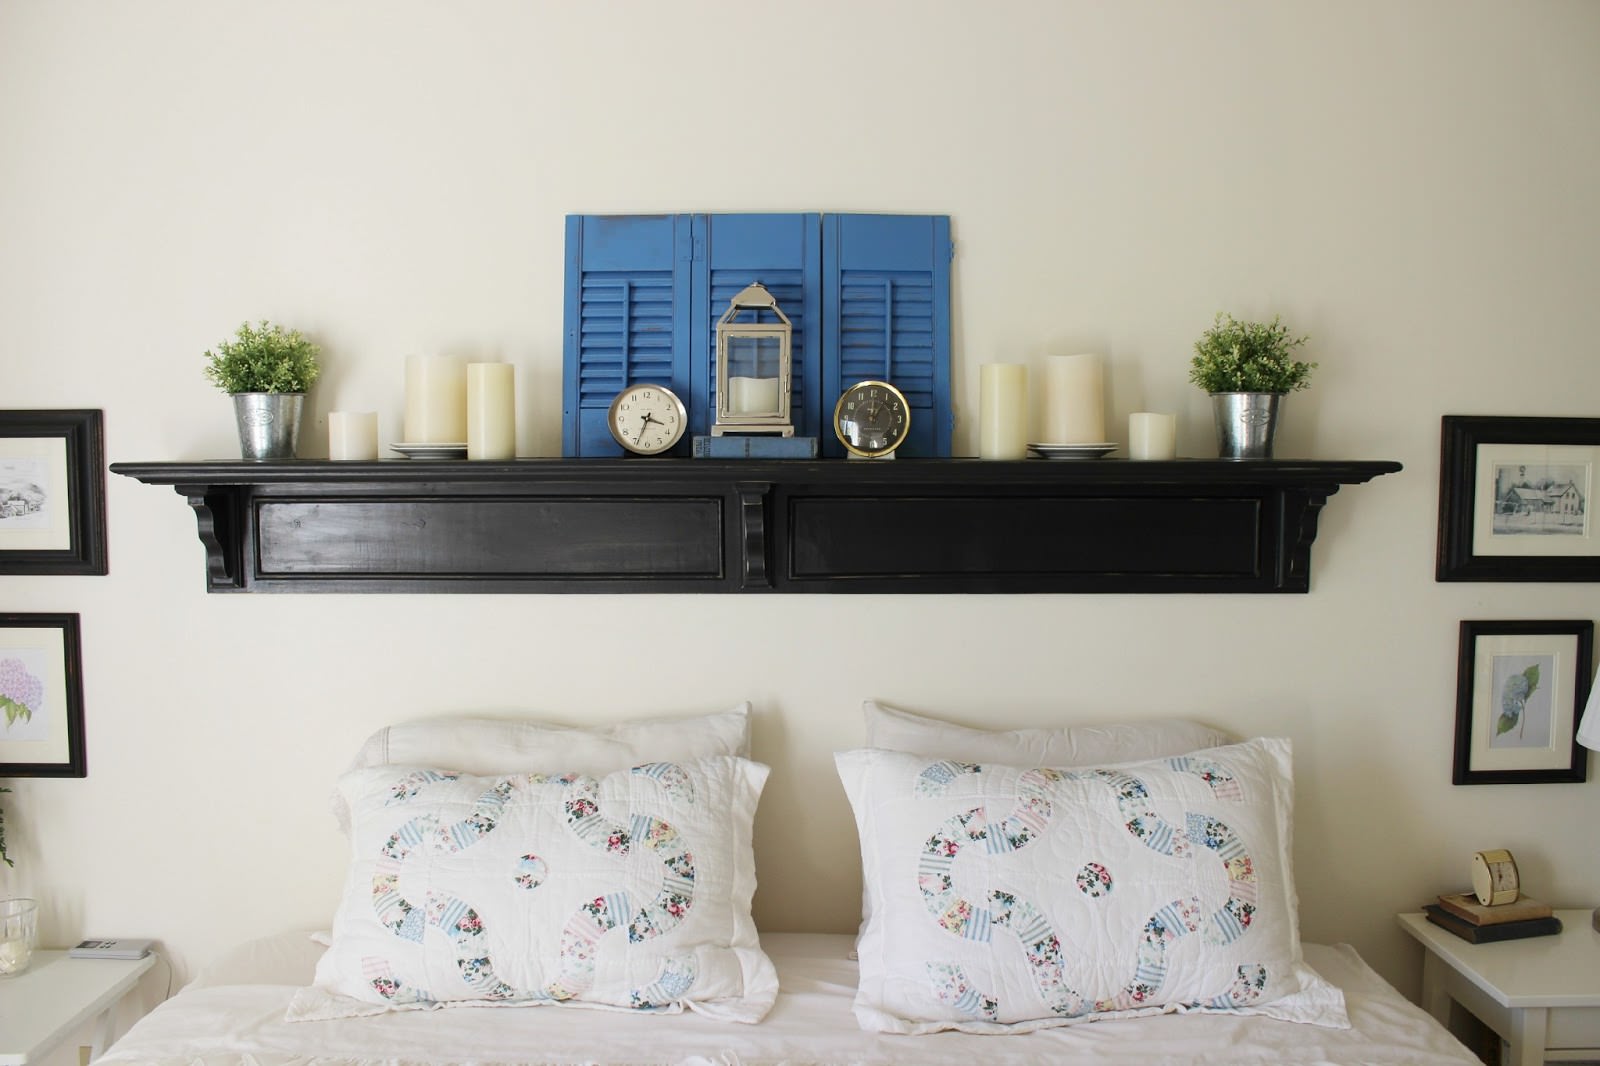
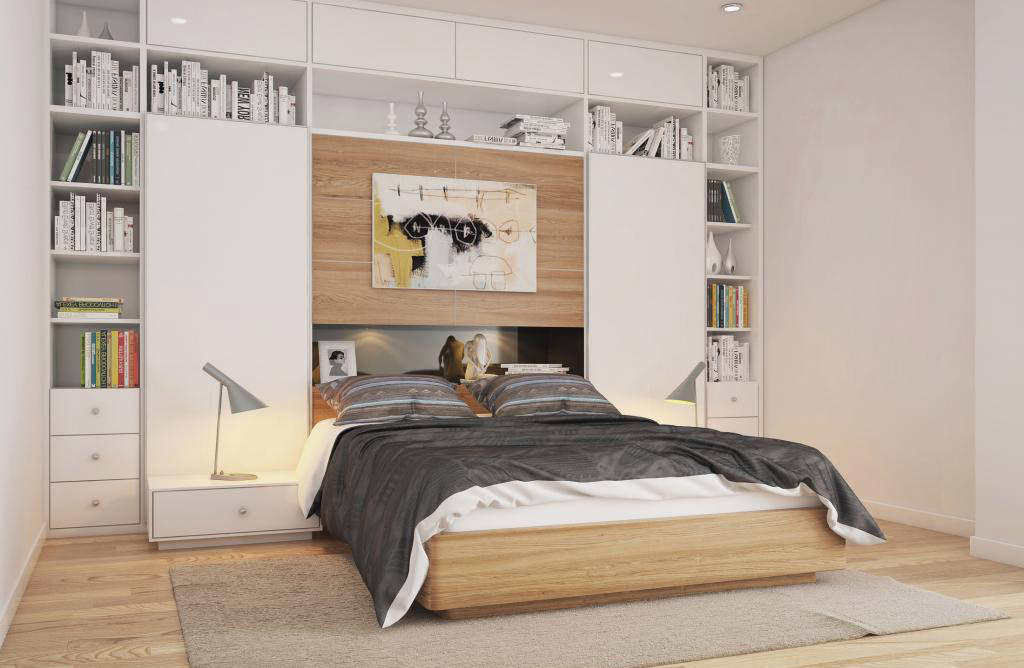
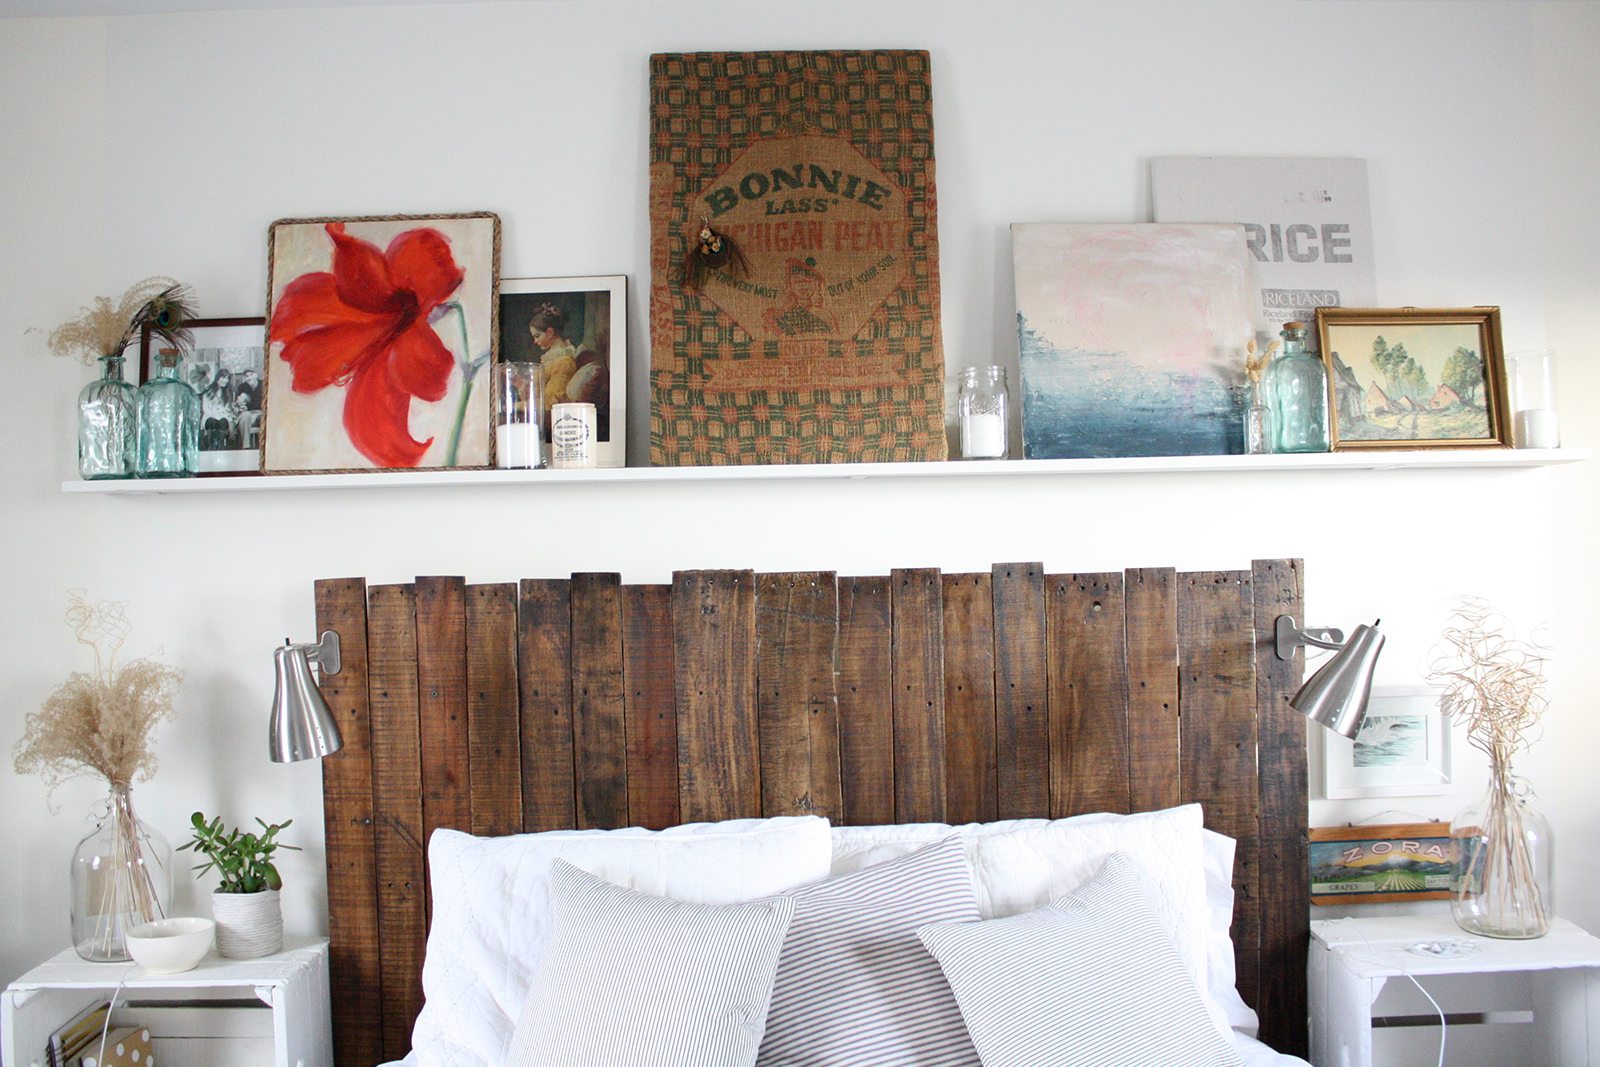
The design in the form of shelves makes it possible to use the space of the bedroom, to free up extra space in it.
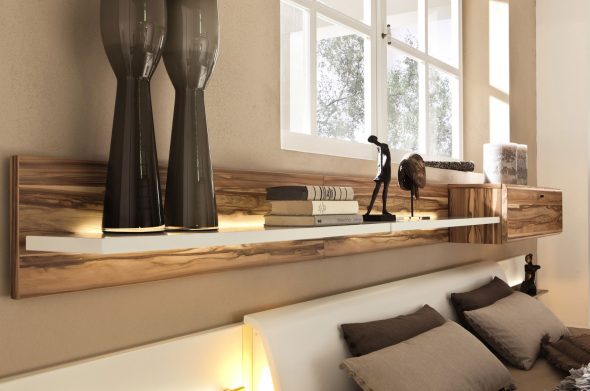
It is only necessary to make so that the objects standing on the shelves do not accidentally fall on sleeping people.
Mirror headboard is suitable for those who are not committed to Feng Shui.
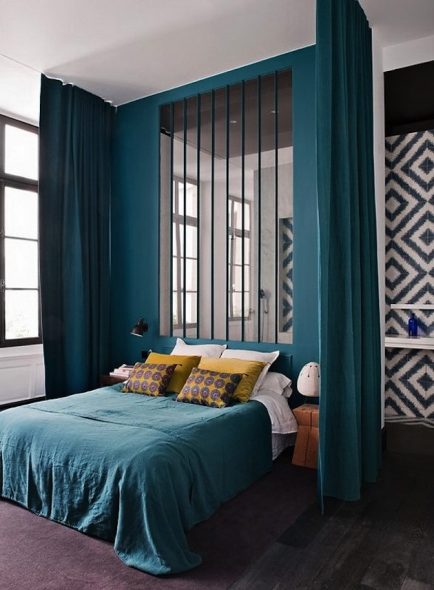
This teaching does not use a mirror in the bedroom.
Sheathing the furniture for the bedroom itself is quite difficult. But if you try hard, do not rush, you can get a good result. It is better when the construction is made by the master. But it is never too late to learn something new.
Before you get to work, you need to prepare everything you need.
You will need:
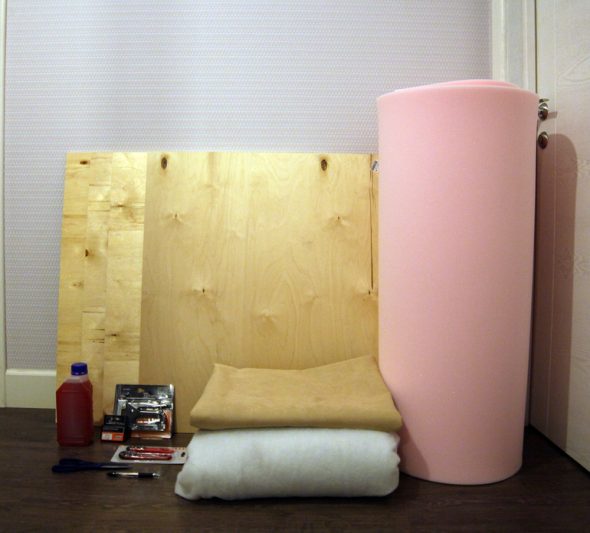
Materials for the manufacture of the headboard.
Thought not to do without the following tools and materials:

Set of tools.
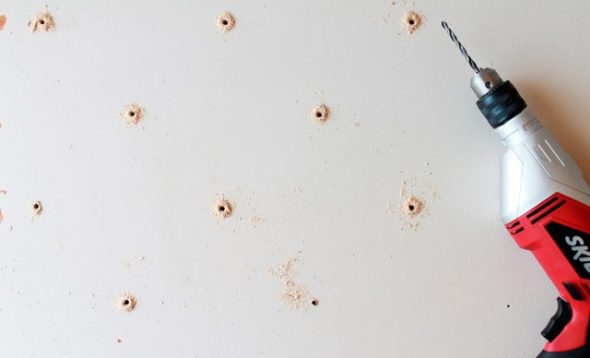
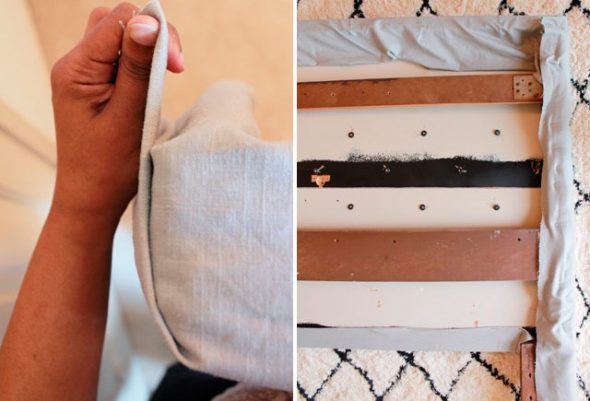
First of all, free the frame from the old plating. From the rear we nail or fasten a pair of boards or plywood with screws along the length.If you wish, lengthen the base with 5x5 cm bars. They may not be attached to the frame. They will hold the brackets that secure the cushioning.
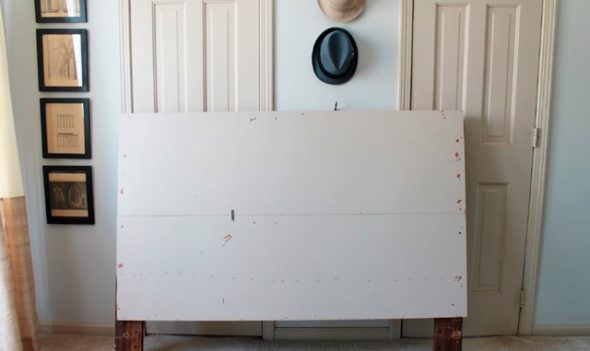
Behind the frame will look ugly. You can cover it with plywood.
Mark up the holes that will be drilled to fix the material. A template for it will serve as a perforated plate Pegboard, which stores tools and other attributes.
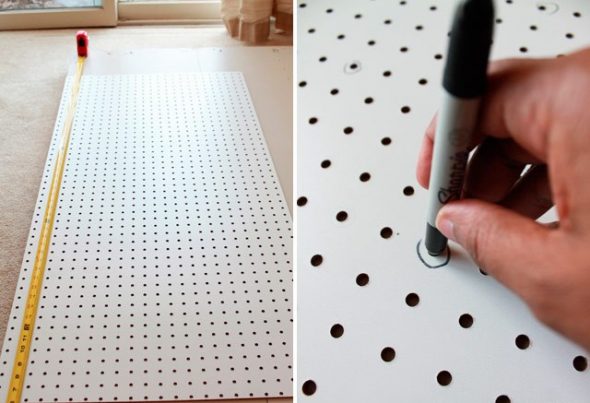
You can trace already transferred holes on the perforated plate, so as not to forget what has already been done.
All work consists of the following steps.
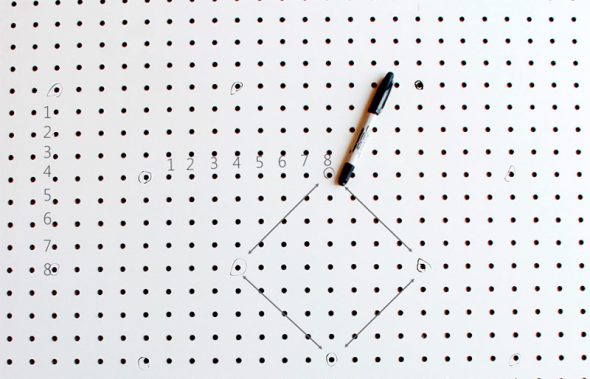
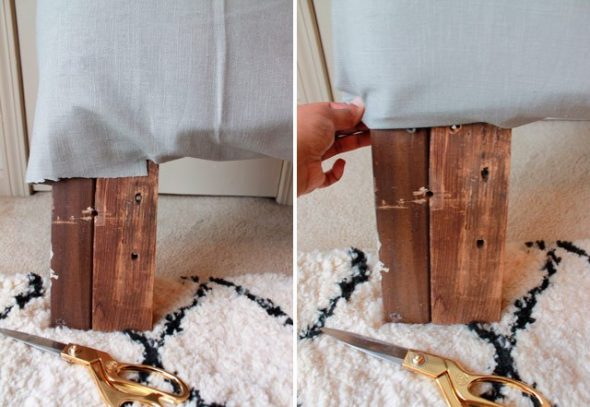
It is not necessary to put points to the very edges of the headboard, leave several centimeters intact.
If on the back of the base something interferes with the free entry of the needle, the holes should be made through for a solid skin.
We take foam rubber, dividing it into two pieces by size, and place it along the front of the back notch to the bottom. Align the sides and top of the foam. Excess cropped.
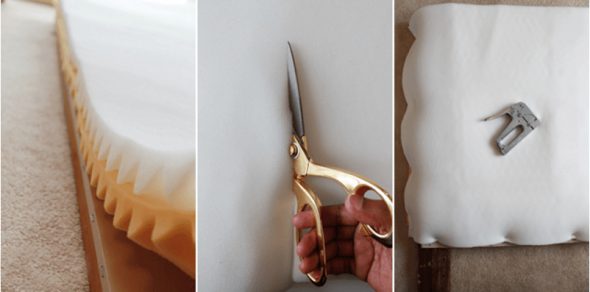
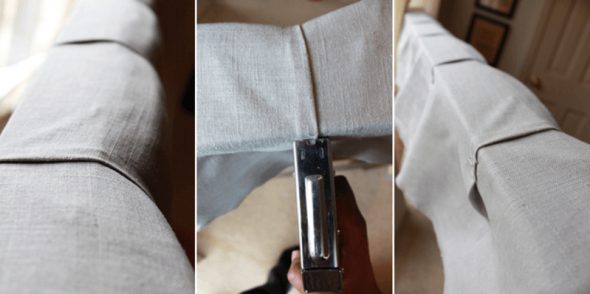
We fasten foam rubber on the sides and bottom with a stapler.
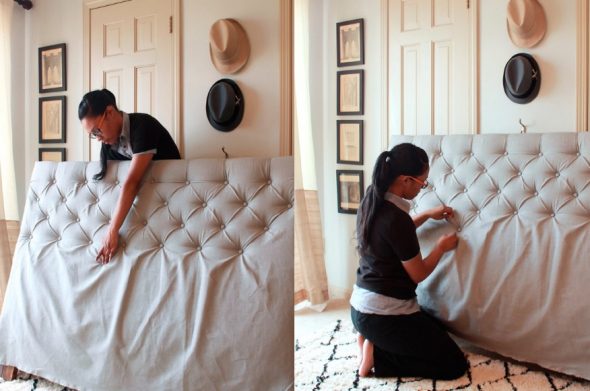
We drape textiles. We reserve margin on the edge from 25 to 30 cm. We put the structure vertically draped with the help of matter and abut it against the wall. It should be noted that when it is sheathed, we need free access to it.
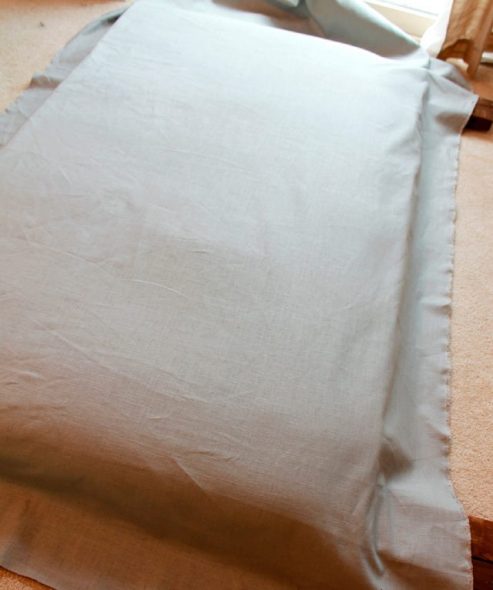
Not bad to find a partner who would hold her.
Now we are waiting for the most time-consuming work - weave buttons with a cloth. The set of buttons has instructions for use, carefully read it and get down to work. But first some work tips.
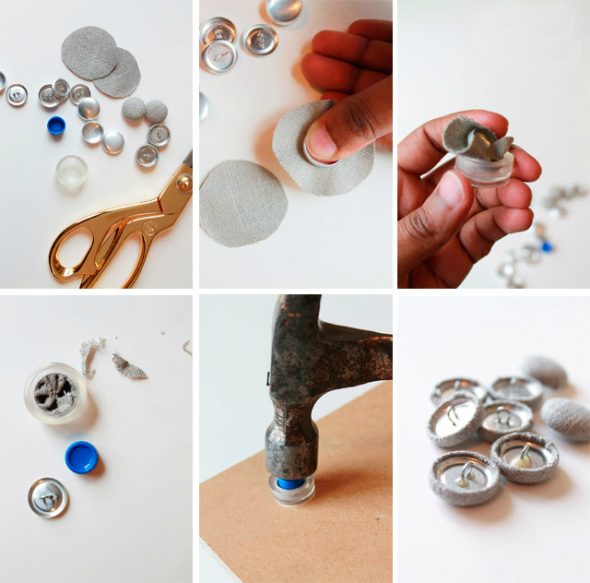
Remember to use good glue if you do not want the button covers to fall off over time.
For this procedure, you need to stock up on a long needle with a large eye, simple buttons and twine. You need to firmly tie knots on the rope. There should be several.
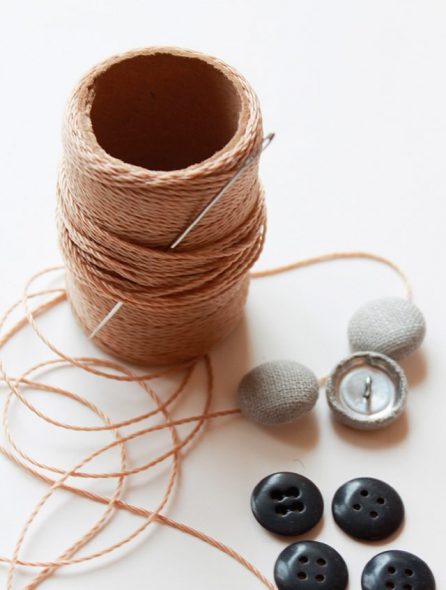
The knots on this smooth twine are easily decoupled, but then it freely passes through foam rubber and fabric.
We insert a long piece of rope in a needle and put on a button through all the holes, as if it were sewn. Tie it into several knots.
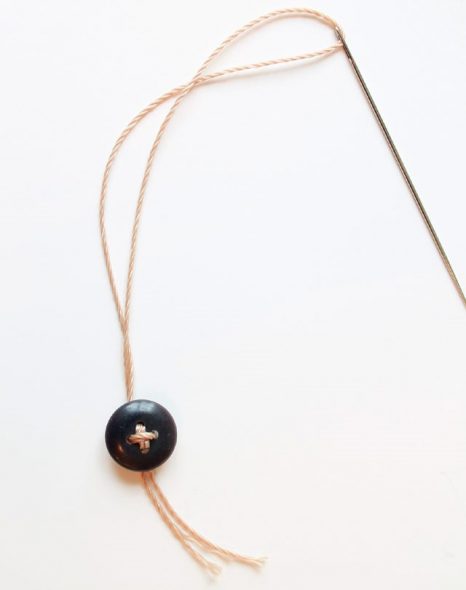
Make sure that you have tied a knot with quality (and more than once) so that it will not be untied over time.
We skip the needle through the upper central hole, which we drilled, and move from the back of the head to the front. Needle keep strictly straight. We pierce foam rubber with a needle, carefully pushing it from the outside. Take out the needle.
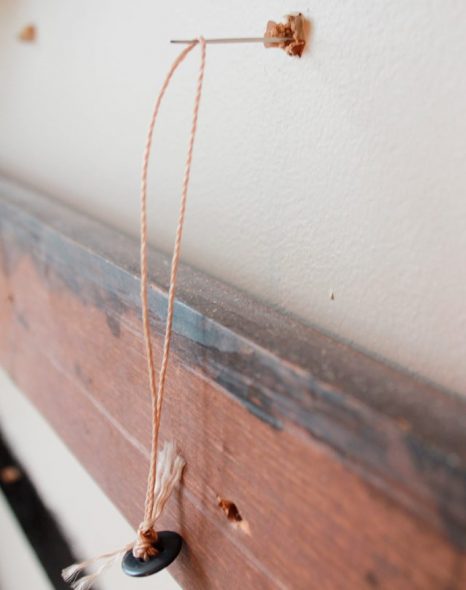
Be sure to keep the needle straight.
Fasten a dried button from the front of the headboard. For this:
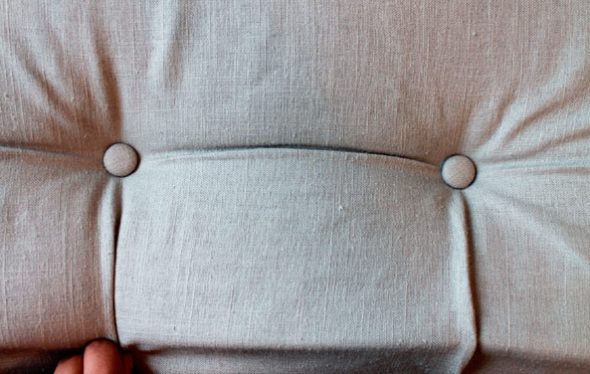
Make sure all the folds are in the same direction.
After fixing the buttons, we form a fold that goes up. Then fasten the next one and form the fold again. Sew four buttons, stretch the material and fix the folds with staples.
Folds should look the same.
In a similar way we fasten the next buttons and form new folds of the 1st row. At the end of it, we continue to flash the remaining surface.
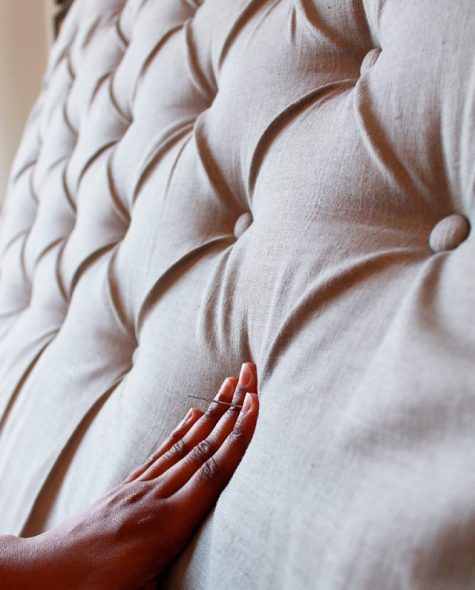
Following all the rules, every diamond on your back will be perfect.
Now small folds are formed and fastened after each button to get beautiful diamonds.
You need to microscin with your fingers after adding each new button to get perfect diamonds.
The front side should look perfect, and the rear view is not that important.
There is no point in fastening the fabric in front of the leg, because it is so well stretched behind.
The interior of the bed depends on the preferences of the owner. Usually the bed is bought finished or ordered by craftsmen. But now it became popular to decorate the soft headboard itself.
This method makes bedroom furniture unique.
The decor of the soft headboard can be very different. It all depends on your imagination and financial capabilities.
The original headboard will help highlight your style and taste.


 Baby cot with a pendulum and a box.
 Big problems of small apartments. Choosing furniture for a small room
 Bed sizes matter
 Hanging bed do it yourself - a heavenly place to relax in your apartment!
 Bed head to the window: a fashionable trick or stupidity?
 How nice to make a bed
 To collect the dream apartment


