 What is the Askona bed with a lifting mechanism
We do the limiter for the children's bed with their own hands
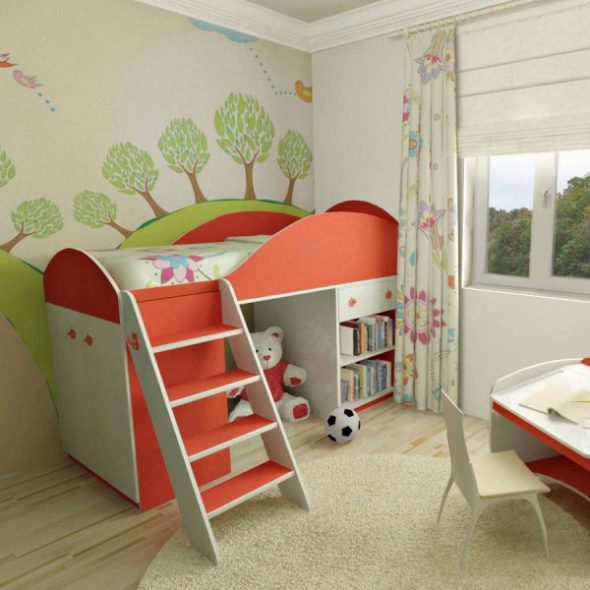
Loft Bed with Protective Side Panel
Restless sleep is inherent in young children, they often spin and throw off the blanket, and fall cases are not uncommon. To avoid this, cots are sure to install the bumpers. But if the bed is purchased for growth, its design usually repeats an adult and there are no such barriers. The best solution is to install a temporary limiter, which will allow the child to sleep without the risk of falling, and is easily removed when he grows up.
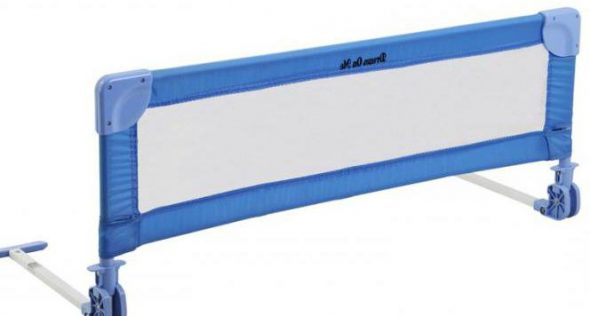
Store removable barrier mobile, conveniently removed and well washed
Limiters can be purchased at furniture stores, where a wide range of different materials and colors are presented. Making a removable side for a bed to order will provide the best combination with the available furniture, both in size and design - but it will be expensive.
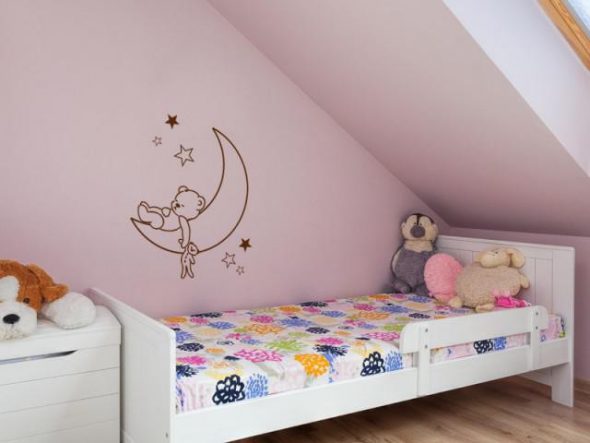
Wooden bed restraint perfect for baby bed
Therefore, the best solution would be to make a fall guard for the child with your own hands.
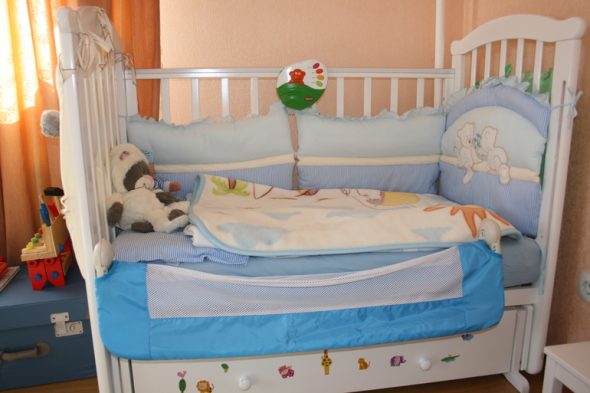
Removable stop allows you to lower and raise the side if necessary
Content
Main varieties
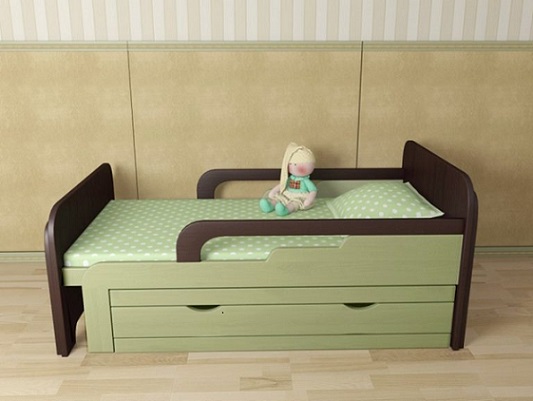
Stationary side-restraints have curly cuts used by babies as a stop, allowing you to climb into the crib without the help of adults.
For very young children, a barrier that completely closes the side of the bed is recommended. In addition, it should be high enough so that the child could not roll over or climb over it. For grown up kids, a small limiter is enough, the goal of which is to prevent just an accidental fall in a dream. Such barriers usually cover only part of the bed length, often for the convenience of being lowered.
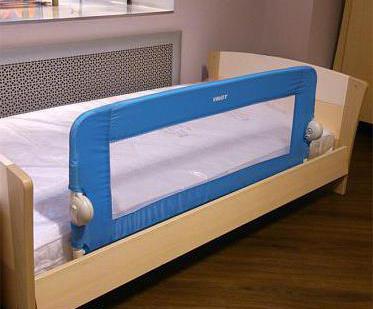
Removable child restraint for the bed is considered to be the ideal solution for arranging a bed
A common option is a removable stopper for a child, which is convenient to dismantle when it becomes unnecessary. Such a removable barrier will also be indispensable if there is a trip with small children - you can easily take it with you and install it on any nursery or adult bed.
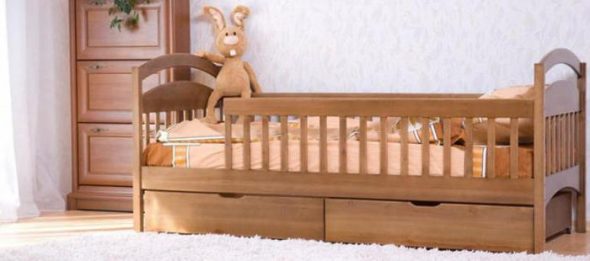
The built-in side guard for the baby bed is purchased with the rest of the children's furniture.
Depending on the material of manufacture, there are several types of protective bumpers.
- Soft - the simplest design will be a barrier of foam rubber or padding polyester rolled into tubes. The resulting rollers are fixed to each other, gaining the necessary height of the rim. For a more convenient care and aesthetic appearance, removable covers are sewn on such a stopper, which can be washed in a typewriter. Such structures are usually attached with velcro or strings to the bed mattress.
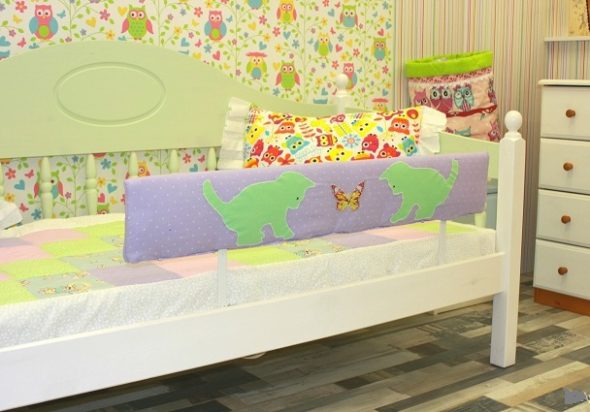
Beautiful soft side for a girl's bed
- Grid - a fairly effective way to protect the baby from falling in a dream. You must make sure the strength of the material, the child should not break or push the net with his weight. For mounting, you can make a frame of wood or metal slats.
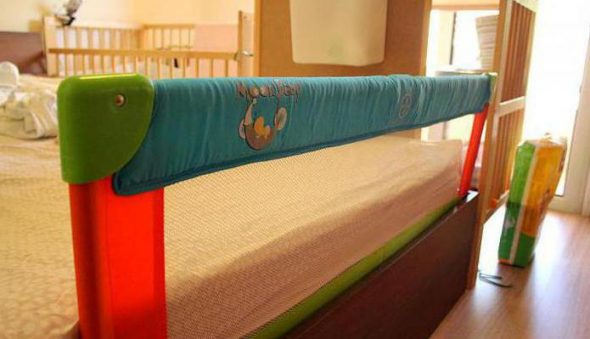
Protective mesh on a metal frame
- Plastic - such a barrier can not only be purchased, but also made independently.This will require the usual plastic pipes for plumbing - they are easily cut and fastened together with the help of corners. The result is an easy-to-use and neat externally limiter that fits well in any children's room. The advantage of the design will be the ability to disassemble it at any time, as well as good tolerance of wet cleaning.
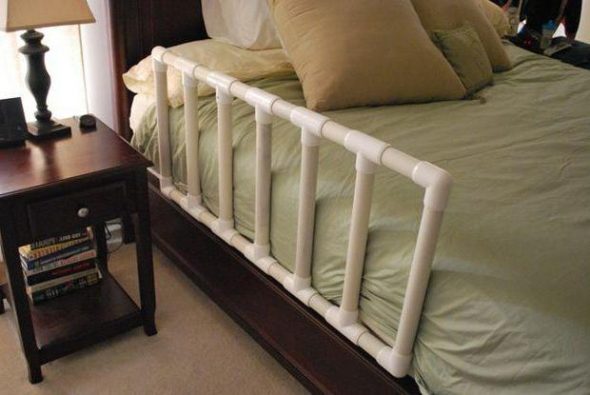
The limiter barrier for a children's bed from plastic pipes
- Wooden - the traditional version, the most time-consuming, but best suited to the classical interior. Such a barrier is also distinguished by its greatest strength and durability. The most various types of designs and design are possible. A wood stopper is usually painted in the color of the furniture, and decorative design options are often used.
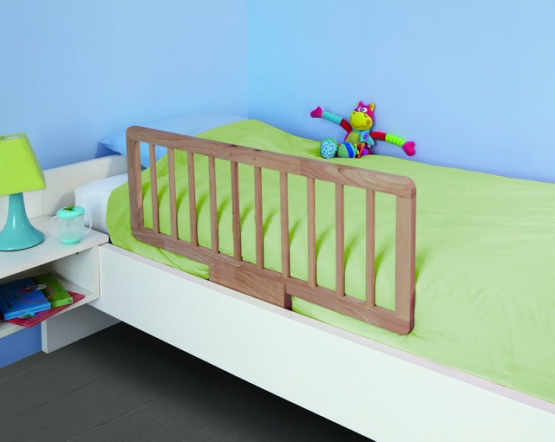
Wooden side for a kid's bed
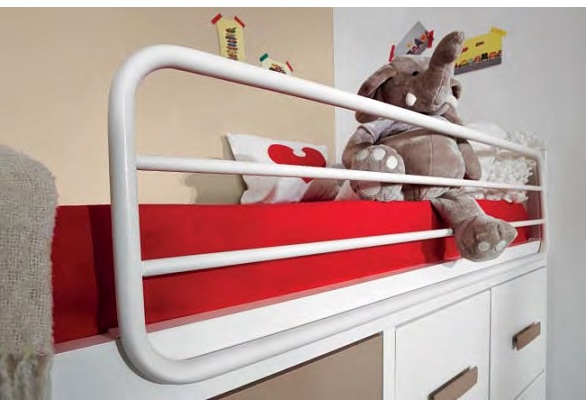
Metal side limiter for the loft bed
It is rather simple to make a barrier of any variety independently, it will not demand big economic expenses, and will serve not less reliably, than purchased.
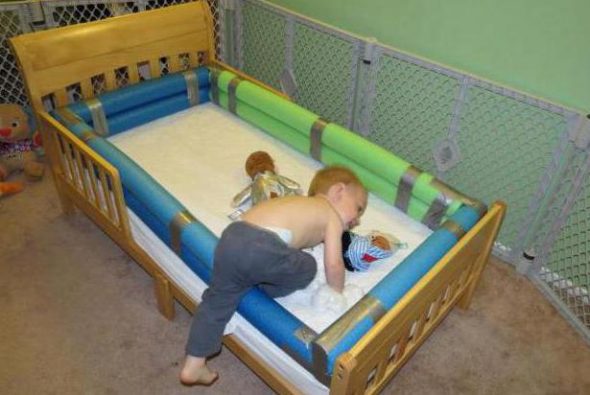
Unusual do-it-yourself budget limiter
Making a wooden limiter do it yourself
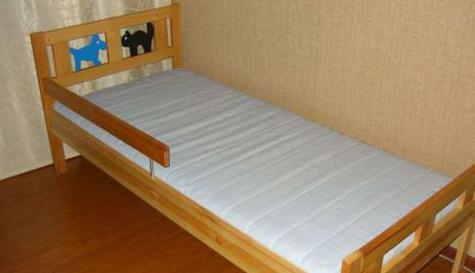
The limiter for a children's bed with their own hands
Even if there is not much experience in carpentry work, it will not be difficult to make a barrier of the simplest construction. Before starting work, you should choose the type of fastening - the simplest means to fasten the holder to the bed side. This will save material and time, but it doesn’t look too aesthetically pleasing and the bedboard will be damaged.
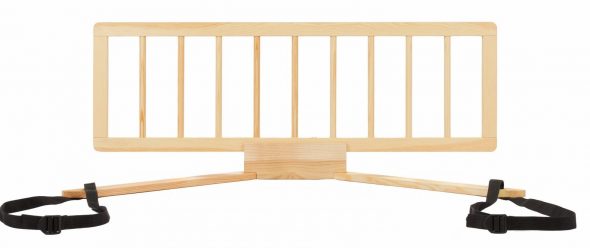
The stopper for the baby bed is easy to install and securely fastens
The second way is to make holders that will be attached to the bottom of the bed and closed on top with a mattress. This option is more convenient, but the possibility of its implementation depends on the design of the bed.
For work you will need the following materials and tools:
- durable wooden slats;
- saw-hacksaw;
- bolts or screws;
- screwdriver;
- tape measure or ruler;
- paper and pencil for drawing.
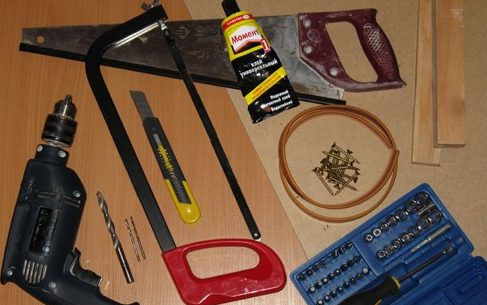
Tools for making a side with their own hands
To make a simple u-shaped rim (fastened with bolts), you need fairly short slats - the length of the barrier is 55 cm. The height of the limiter is optional. For a removable model, a height between 15-30 cm is sufficient.
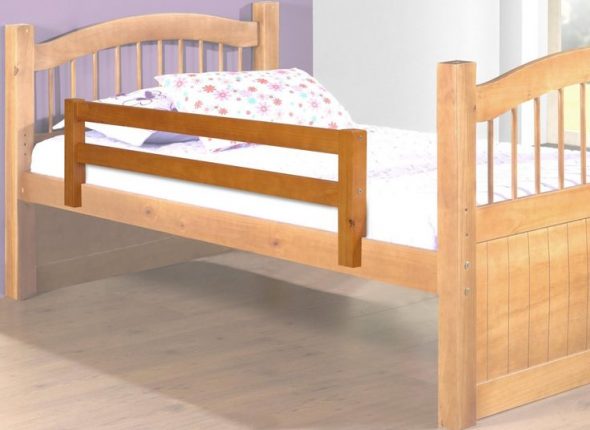
An example of a short barrier limiter
Stages of work are performed in a specific order.
- On paper, a drawing is made taking into account all calculations.
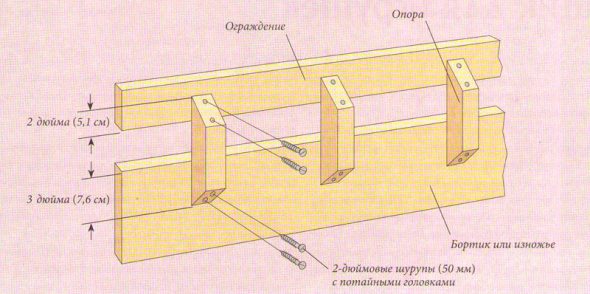
The scheme of the limiter for a children's bed
- In accordance with the drawing slats are sawn.
- Reiki neatly fastened, turned out to be a U-shaped design.
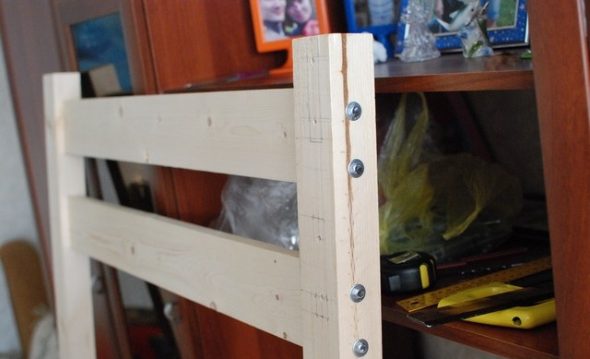
Assembly racks - sidewalls with outlines for fixing the sides
- Holes for bolts are drilled in the slats and on the side of the bed.
- The side is screwed to the bed.
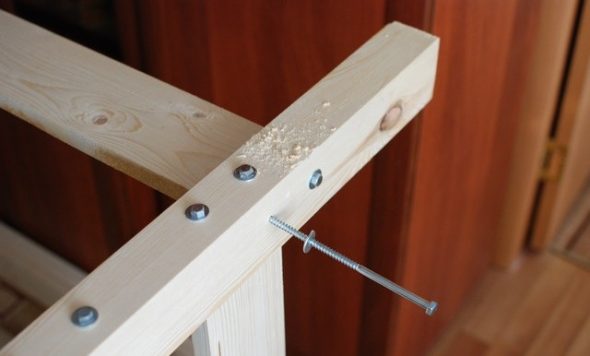
Fixing the sides of the future bed with racks
- When performing work, you can take a board of a given width instead of a long rail - this will avoid the formation of a gap where a child’s hand can get stuck.
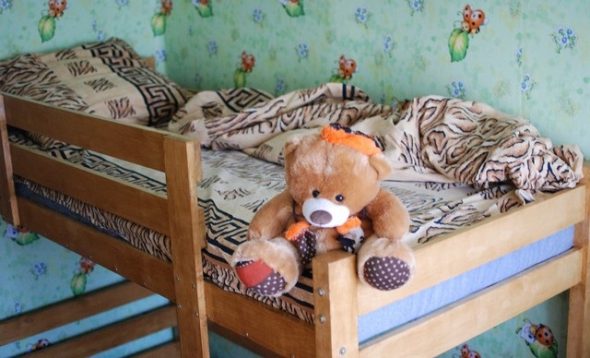
Do-it-yourself bed limiter
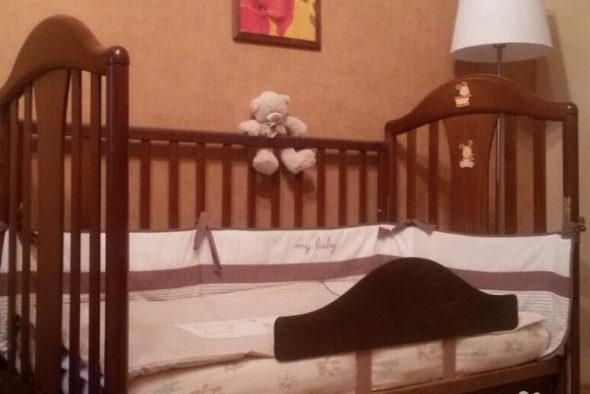
Wave shaped stop for baby cot
Dressing
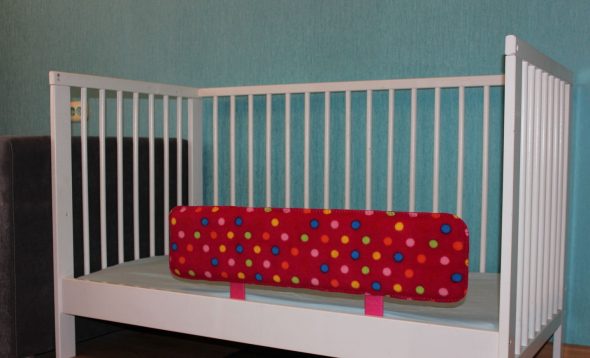
The self-made limiter, with a removable fabric cover
The limiter, made of wood, looks aesthetically pleasing; it is enough to polish or paint it with varnish so that there is no risk of getting a splinter. If plywood or chipboard was used, the side must be decorated. Best fit soft skin or case. If from the inside to lay a synthetic winterizer, the child will be protected from accidental impacts in a dream.
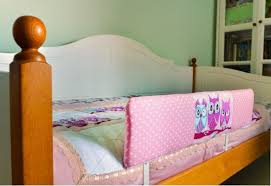
The protective side from falling, decorated with fabric
The limiter can also be coated with a special paint for wooden surfaces.
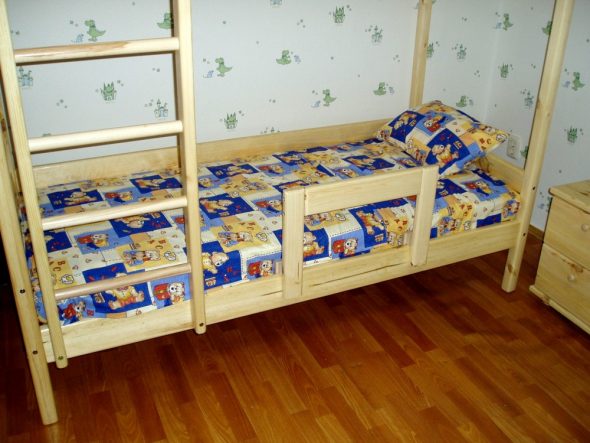
Wooden barrier limiter for a bunk bed do it yourself
Video: Making a side (limiter) for the crib
 What is the Askona bed with a lifting mechanism
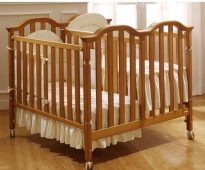 Choosing cots for twins
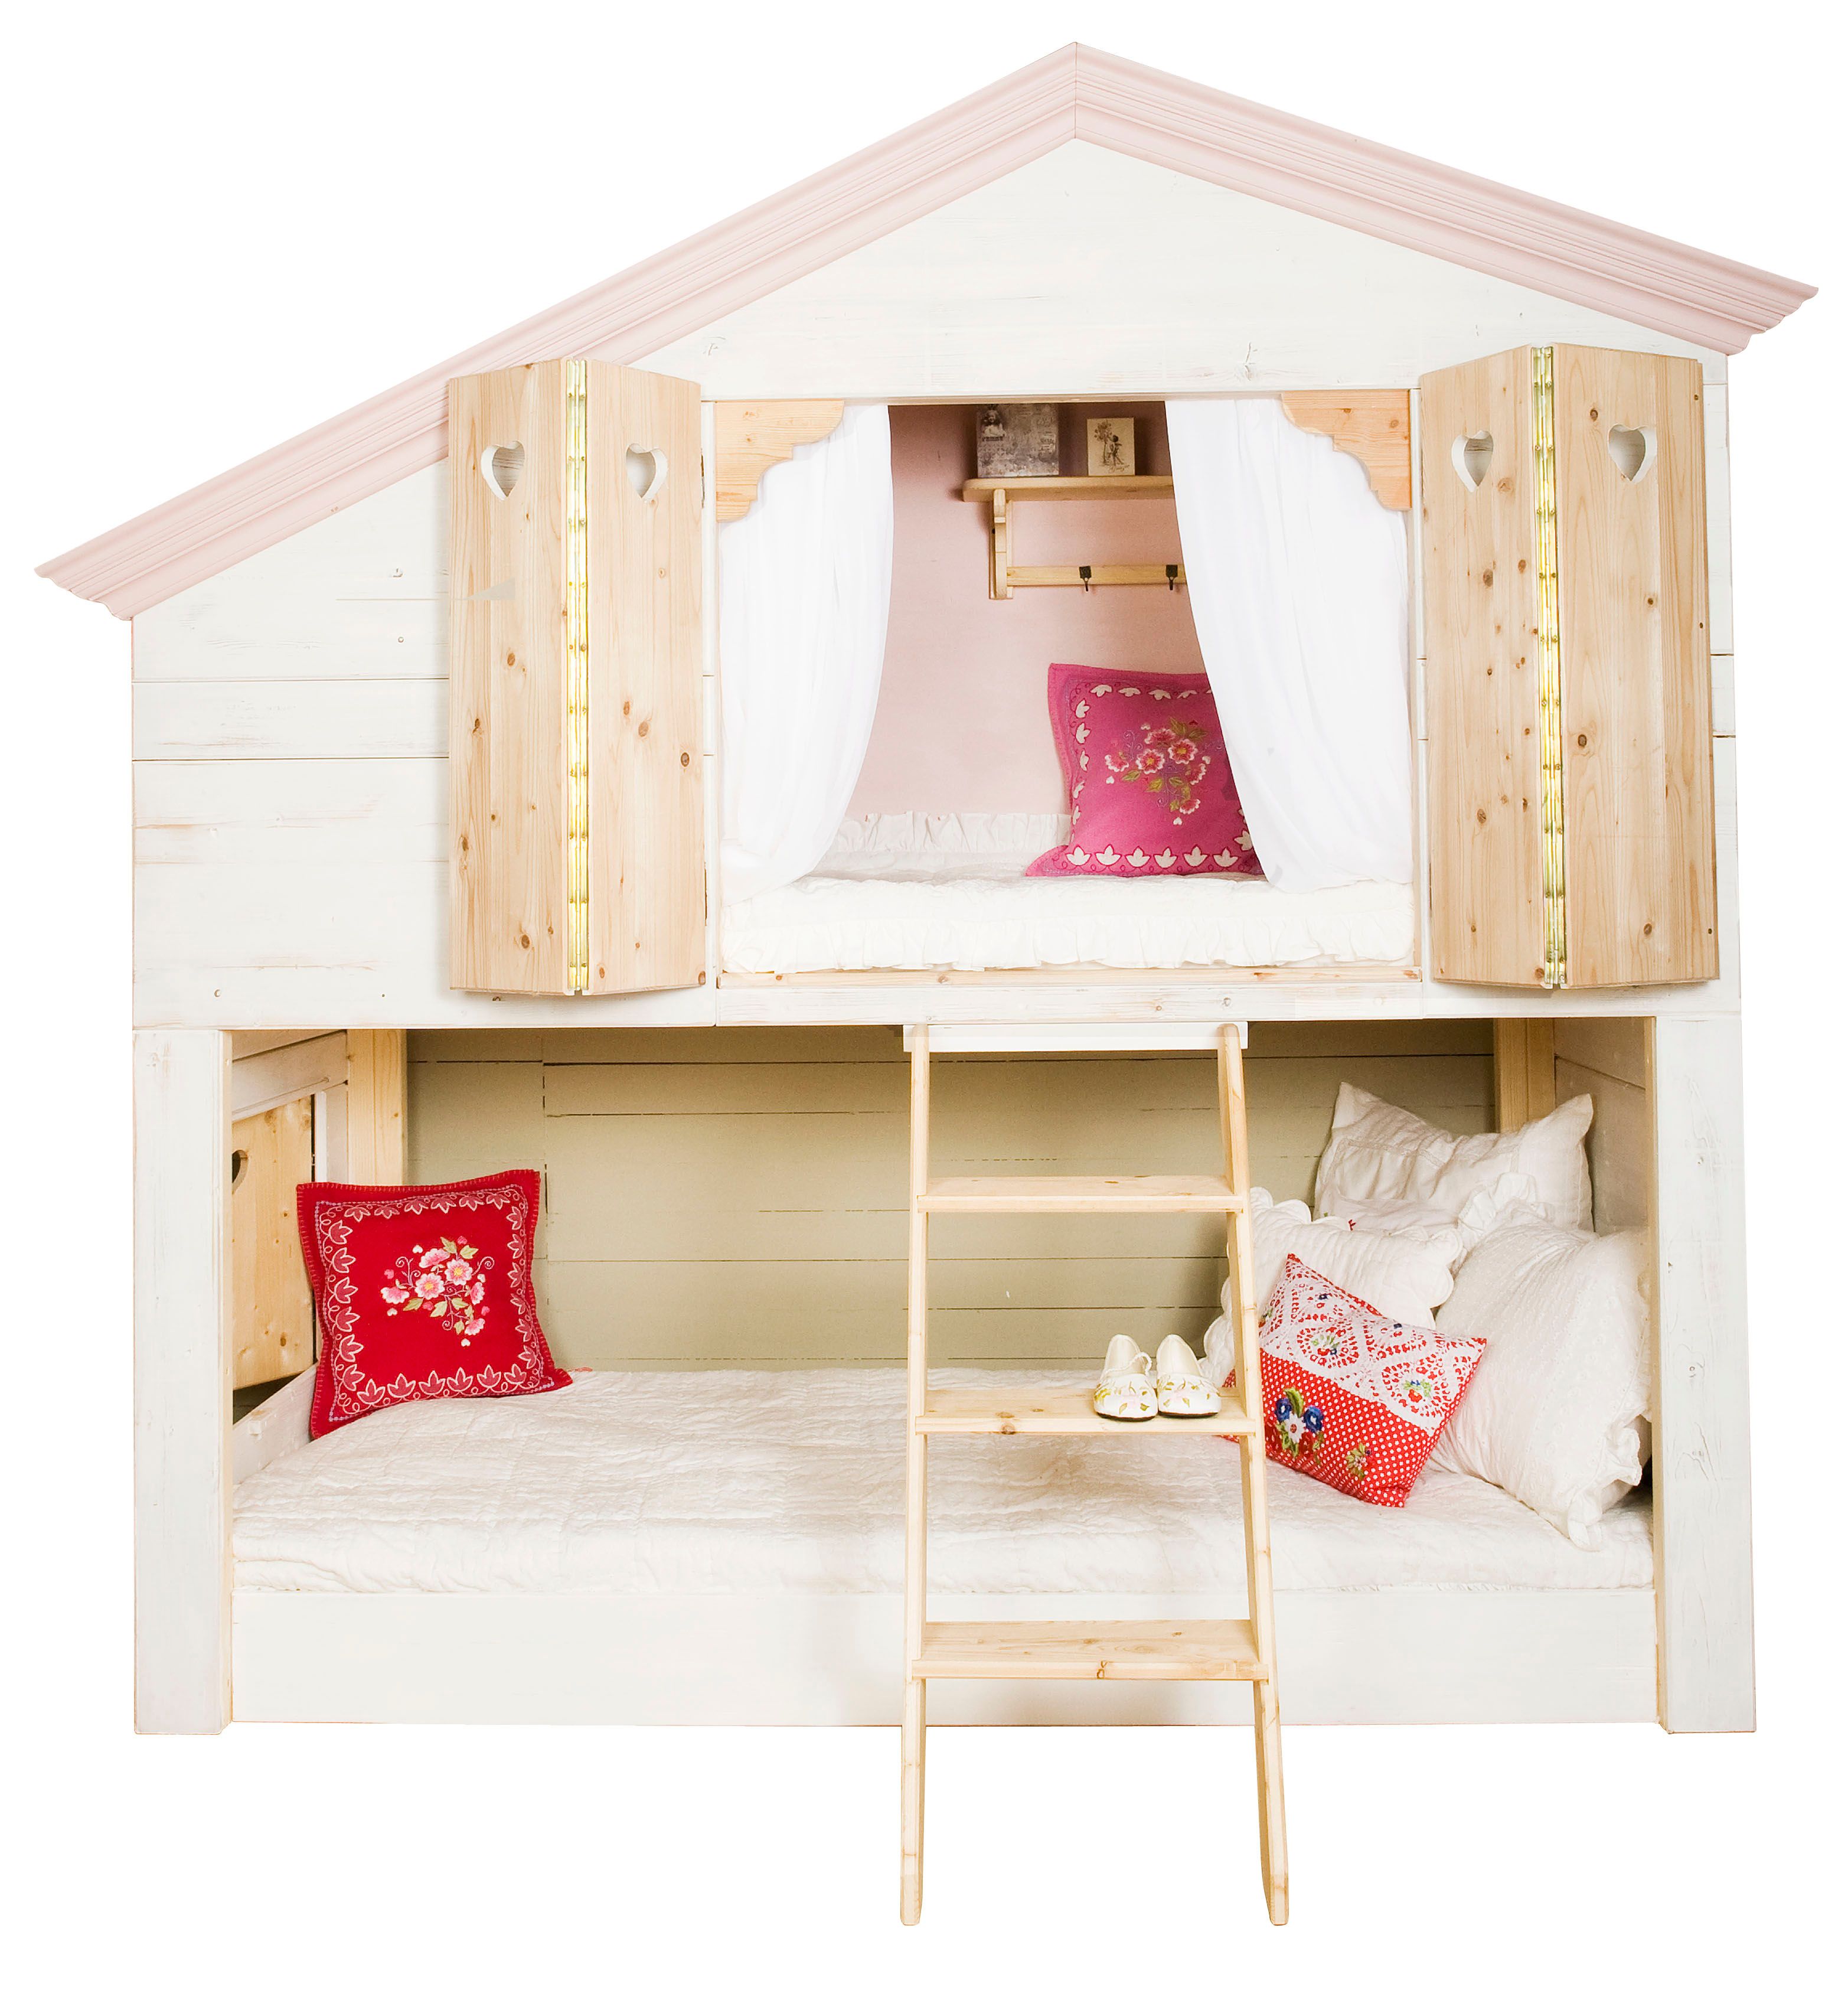 How to choose a children's bed house?
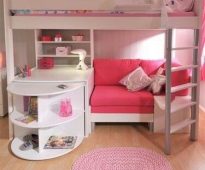 Choosing a bed for a girl
 How to make a reliable lifting mechanism for the bed do it yourself
 What to choose: the orthopedic basis for a bed or flat continuous?


