How to pull the chair with your hands

Hauling furniture with your own hands is a time consuming, long process, requiring extensive experience and skills. For this reason, many simply throw away the old furniture, not realizing that it can be restored with their own hands. If you are well able to work with your hands and have a rich imagination, hauling a chair with your own hands will not be difficult, especially if you follow the instructions.

Restoration of furniture before and after

Furniture restoration is a restoration not only of its functionality, but also of its appearance.

The advantages of a chair waist with their own hands

New zhio krelazn oldog

New life of the old, but beloved armchair do it yourself

Making something with your own hands is an exciting process that allows you to unleash your creative potential. Not in vain, in the age of factory production, products made by hand are valued more than their factory analogues. Such a thing will surely attract the attention of guests, will decorate your interior.

New exclusive chair

The old armchair with torn upholstery can be turned into a luxurious exclusive interior item

Having decided to personally make the waist of the old chair, you are free to choose the materials of decoration, and you can save on the purchase of a new chair. Any design, texture, the only restriction - your imagination and imagination. And also personally made things are much nicer and closer than those bought in the store.

The choice of fabric, attention to detail

Upholstery fabric

A variety of furniture fabrics for upholstery

When choosing a finishing material, first of all, you need to pay attention to how to drag the chair, as well as indicators of strength and durability.

  1. For a living room, leather or fabrics with a clear pattern are great: tapestry or jacquard. Properly selected material will show guests the good taste of the owners of the house and keep a good appearance for a long time.
    Upholstery leather

    Upholstery material color range - leather

    Upholstery Samples

    Samples of fabric upholstery for furniture restoration

  2. The most wear-resistant and easy-to-care fabrics are suitable for a child's room. Flock or chenille possess such properties - they are easily cleaned from various impurities.

    Material chenille

    Chenille is good in density and durability, high wear resistance, naturalness

  3. If you have pets, such as a dog or a cat, a flock is perfect. This material is resistant to scratches and holes from sharp claws.

    Flock material

    Flock is a versatile non-woven textile with a characteristic nap on the front side.

  4. If in the room where the chair will stand, a lot of smoking, then the best choice would be a material that is resistant to the absorption of odors - chenille.

Choosing a suitable upholstery material, pay attention to the presence of special impregnation. It will extend the service life, simplify the maintenance of the fabric. Therefore, before buying, check with the seller about the presence of impregnation.

Required tool kit

Cover materials

Necessary tools and materials for tailoring

Consider a set of tools that is necessary for the waist of the chair. Prepare them in advance so as not to lose extra time.

Furniture stapler - the main working tool with which the upholstery is attached to the frame. You can buy it in any building or hardware store, at a small price. By stapler you need to buy special brackets of the appropriate size. It is better to take them with a margin, so as not to interrupt the process of work.

Foam rubber or batting - if the old filler has lost its former elasticity, it is necessary to replace it with a new one. Sold in the household or construction store.

Furniture foam

Furniture filler - foam rubber

Batting filler

Batting for filling upholstered furniture

Flat head screwdriver or holder for dismantling old staples.

Set of tools

The minimum set of tools for the repair of furniture at home

Hammer, pliers, tailors scissors, adjustable wrench - all this is needed for the complete assembly and disassembly of the chair.

Sewing machine, tailor chalk or a bar of soap, for sewing new upholstery.

Sewing machine

A sewing machine is needed for sewing a new chair cover.

Metal brush, coarse and fine sandpaper - to update the external wooden elements, as well as varnish or paint of the desired shade.

Disassembling the chair before restoration

Internal structure

Internal structure of an easy chair

Having prepared the whole set of tools, you can proceed to the analysis of the old chair. First of all, you need to put it on the back to get to its bottom. Using a screwdriver, unscrew the legs and wooden armrests, if any.

We disassemble the bottom, for which we remove the old brackets. It is convenient to pick them up with a flat screwdriver and finally remove them using the mount. We remove the bottom upholstery, we have to get to the back of the seat. After that, we begin to remove the old upholstery with pliers. It is important to do everything with extreme caution, as upholstery will be needed for cutting out new fabric.

Chair layout

Scheme chairs for sewing new parts

To simplify the process, you need to note the sequence of steps, it is useful when reassembling. You can also note which part where it was in order not to get confused. Since the upholstery is fastened with brackets, we remove them with a flat screwdriver and mount.

After dismantling the old fabric, you can estimate the quality of the stuffing. If the foam has turned yellow, it crumbles, it is better to replace it with a new one. If you just lost the shape, you can add a new layer of foam rubber or batting on top. In places where fasteners are left, they should be removed for a better fit of the skin or filler.

Chair frame

Wooden frame chair

The process of sewing a new chair

Making patterns.

We take measurements, make patterns, leaving allowances for seams

The next step with the help of roulette we take measurements from the old upholstery, we write it down separately. Then we go to the store and buy a canvas of the appropriate size. At this stage, you can choose the material, texture, drawing to your liking. It is advisable to take the canvas 10% more than the required length. Anything extra can be cut off in any case, but if the length is not enough, it will not be possible to finish sewing. For fabric with a pattern, specifically take more fabric to combine the pattern on all elements of the chair.

Cut out and cut out the details

Cut out and cut out parts from the main fabric

We place the old details of the upholstery on the fabric, we outline them with tailor’s chalk, leaving a small margin.

The steps of tailoring the cover on the side

Stages sewing side of the cover on the chair

If the fabric is woven or lint, pay attention to the correct direction of the pile: from top to bottom and back to front.

Replace soft pad

We replace soft stuffing - a synthetic winterizer or foam rubber

To create decorative folds, mark the places of the folds of the fabric and use a sewing machine. Before sewing, fasten each element on the seat frame with pins, check how it will look like in finished form. After a series of tests and experiments, you can proceed to the final tailoring. Cutting all the details and bringing them to the appropriate form, you can proceed to the waist.

We make cuts on allowances

We make cuts on allowances in those places where one detail is sewn with another

Hauling: step by step instructions

Before reassembly and hauling, the external elements of the tree should be updated. To do this, remove the old paintwork using a metal brush or coarse sandpaper. After peeling off these parts with fine-grained emery paper and coat with varnish or paint of your choice.

Fasten the cover

Secure the new case with brackets

Try on all the details to the furniture again with the help of pins: if everything fits together, you can proceed to close-fitting. We begin the process from the place where we finished disassembling the chair. Fasten one end of the part to the frame with staples, starting from the center, leaving a distance of 10 centimeters at the edges. Having fastened, stretch the fabric from the front side, check for the absence of folds. If everything is in order, we stretch it and fasten the remaining sides. Again, check the appearance. If everything is in order, fasten the edges of the upholstery to the frame.

We fix the inner part

Fasten the inner part with brackets

By the same principle, we fasten all the elements of the chair, observing the reverse order of disassembly. As a result, the fabric will completely go around the entire chair, and all the edges will be folded.

Making holes for legs

Make holes in the case for attaching the legs and fasten the legs

Full hauling furniture can take a lot of time, but the most important thing in this process is not to be in a hurry. It is important to note that different chairs have their own characteristics, therefore, many details will have to be independently investigated. The final result will unequivocally pay off all efforts to waist and will please you for a long time.

Our chair is ready

Ready chair after a waist handwork

Restoring the back of the chair

Separately, consider repairing the backrest if it was broken for any reason. After complete dismantling of the upholstery you need to determine the cause of the breakdown. These can be loose cranks that need to be tightened.

  1. If there is a crack in the frame, you can try to find a similar part and replace the broken one. Either with his own hand, carve a new one out of wood.
  2. If the cause of the breakage is a loose tie tape, it must be tightened. To do this, remove one of the edges of the tape and evenly stretch, then fasten with brackets.
  3. If the tapes have lost their previous properties, you must replace them with new ones. The remaining surpluses are cut off with scissors in order not to spoil the appearance after the waist. Get a beautiful chair at no extra cost.

Video: DIY furniture repair. Restoration of chairs.

50 photo ideas for the restoration of the seats with their own hands with photos before and after the repair:

We recommend related articles.
Computer chair for home and office How to repair a computer chair with their own hands
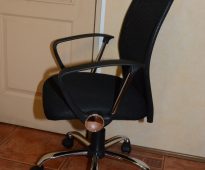
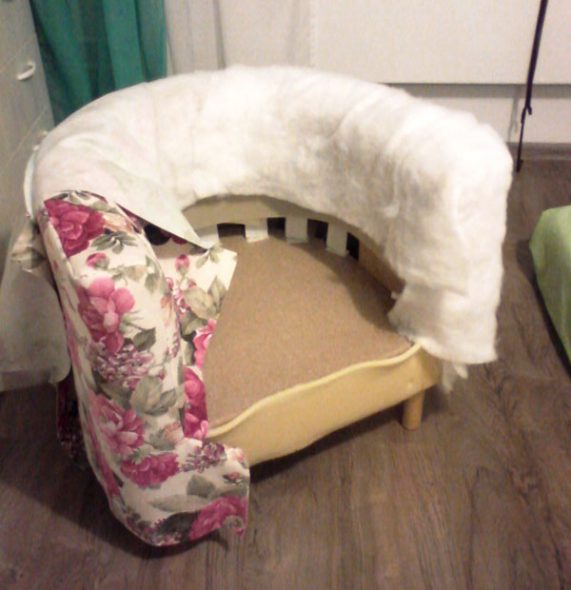
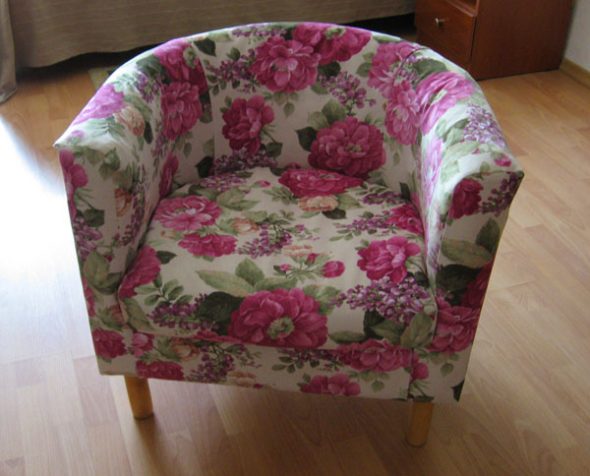
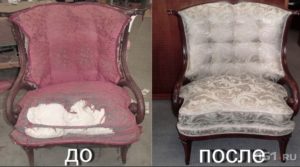
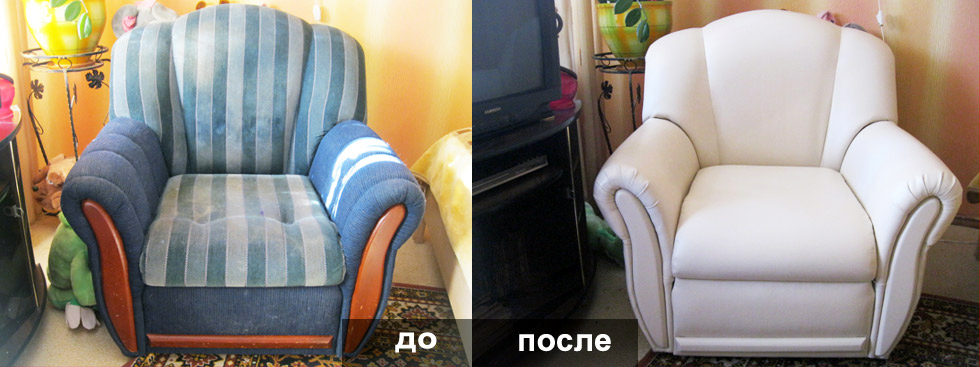
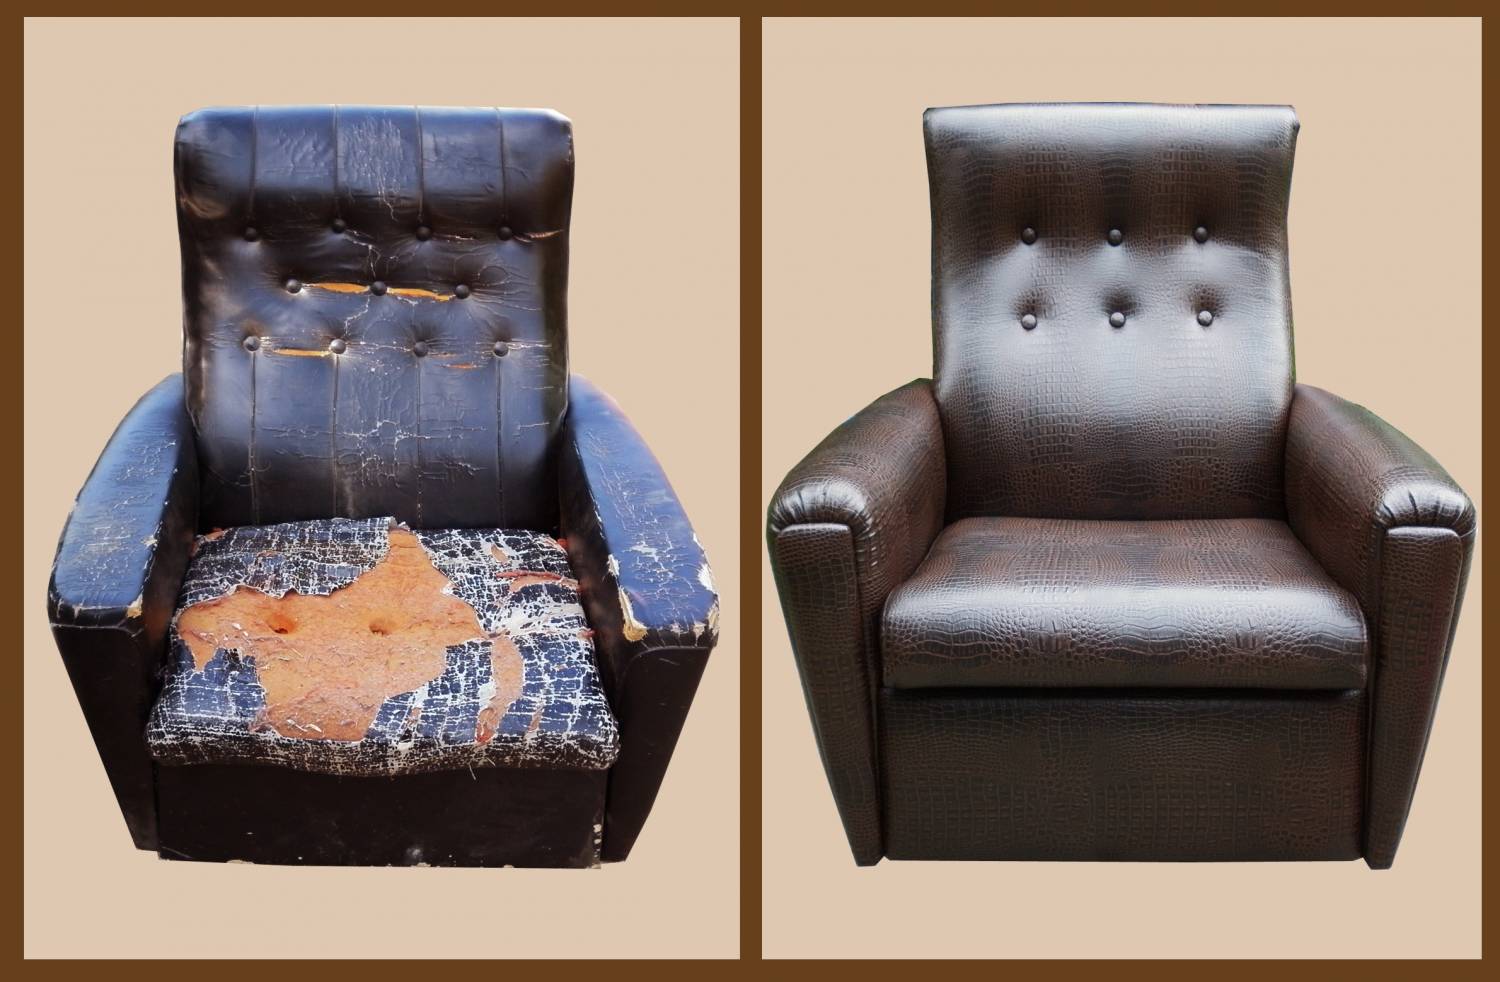
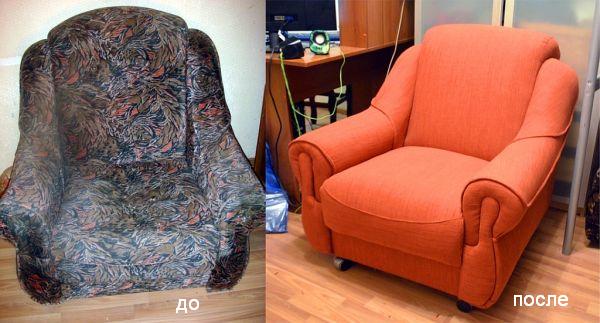
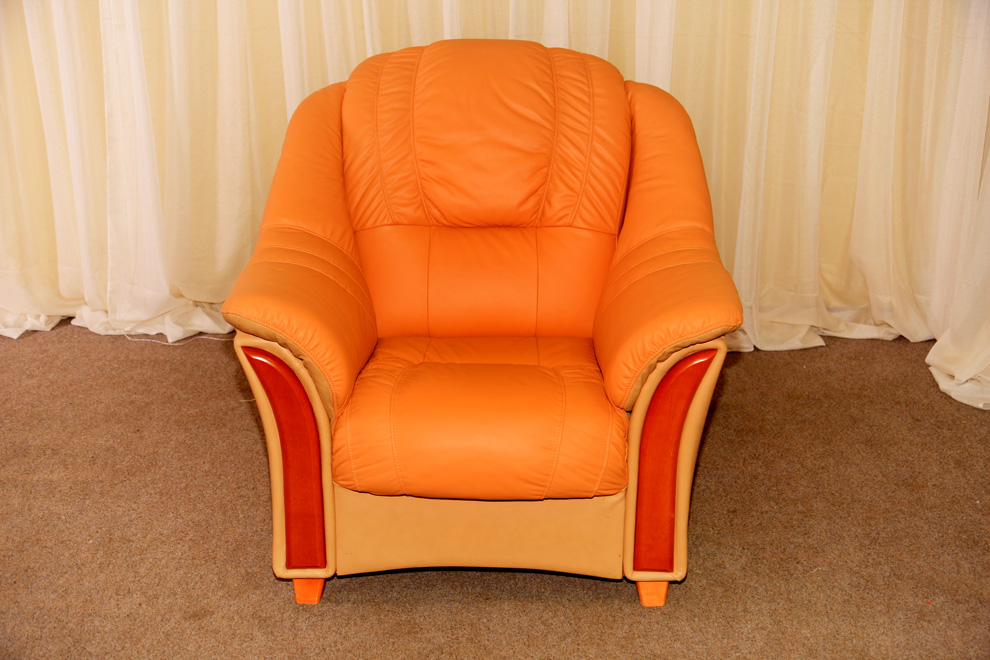
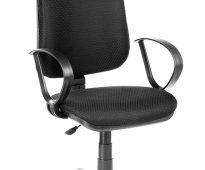
A computer chair is an essential attribute of the workplace of a modern person, without which it is difficult to imagine a study or office. The convenience of a computer chair is expressed in its ergonomic and functional ...
oak rocking chair by the fireplace Rocking chair do it yourself
Life and the surrounding events are flying at a rapid speed. Often we do not have time to look back, as the week has already ended, the weekend has passed, and it is time to start the race again. How often in such moments ...
chair bed beige How to make a chair bed with your own hands
Using a chair-bed instead of full-fledged individual pieces of furniture is important for small spaces. The successful combination of seating and sleeping allows you to ergonomically organize the space ...
purple chair The chair in the English style - a combination of luxury and comfort.
For beauty and comfort in the room should be upholstered furniture. If the dimensions of the room do not allow placing a bulky sofa in it, you should do with soft armchairs. They are great for relaxing ...
chair bed chord Choosing a chair-bed without armrests
In the home there are pieces of furniture that can be very comfortable at different times, for example, upon arrival of guests. Folding chair will help out in case of lack of space in a small apartment. With his ...
Black office chair How to build an office chair? It is quite easy!
An office chair or computer chair on "wheels" is a convenient and effective replacement for ordinary furniture. Soft seat and backrest reduce the load ...
Add a comment
By clicking a button you agree to privacy policy and site rules set forth in user agreement

Sofas

Furniture

Armchairs