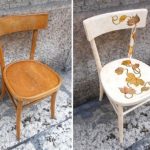
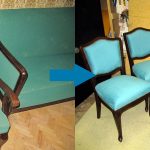
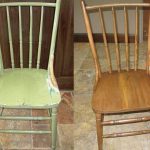
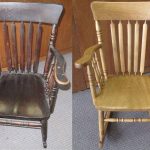
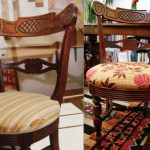
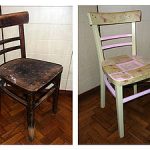
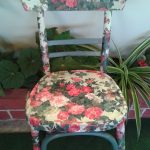
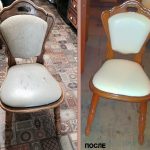
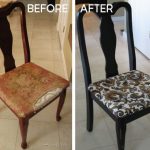
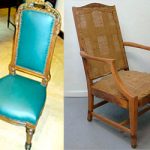
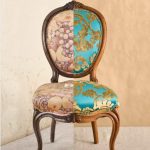
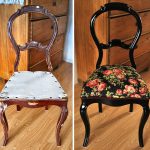
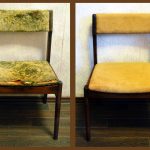
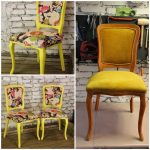
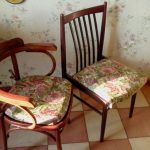
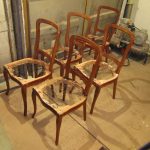
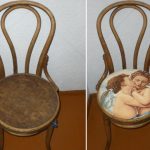
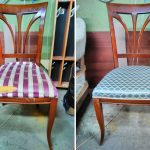
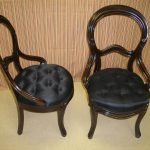
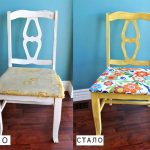
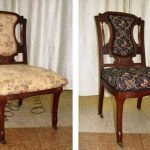
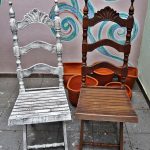
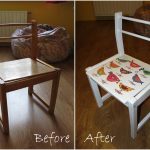
How to make a professional restoration of the chairs with your own hands with the help of available tools? It is quite easy!
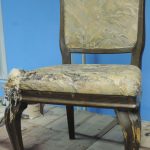
The appearance of the furniture over time can become unpresentable. In addition, it sometimes breaks and requires repair. To restore the chair, which can serve for many years, is not at all difficult. Sometimes it is only necessary to update the surface - change the upholstery or make the seat more durable. For the restoration of many materials are in the house - a cut of thick fabric, foam rubber, etc. The updated chair, covered with beautiful varnish, looks no less neat than when purchased.
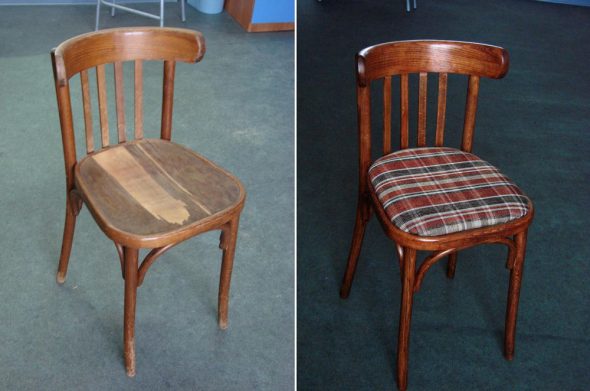
The appearance of the furniture over time can become unpresentable.
Content
- 1 Advantages of do-it-yourself restoration
- 2 Restoration process: step by step instructions
- 3 Required materials and tools
- 4 Ways of restoration by decorating the chair
- 5 VIDEO: Restoration of the chair: How to make a chair with your own hands. Master class by Katerina Sanina: design, interior
- 6 50 photo ideas: do-it-yourself restoration of chairs
Advantages of do-it-yourself restoration
A chair that is renewable at home can be arranged better than it looked before. For the restoration of a need for a minimum of materials and tools. Replacing holed or worn upholstery is one hour's work.
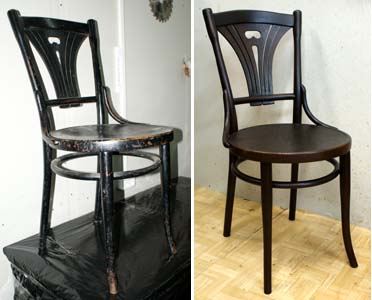
If the chair is antique, then you need to restore it very carefully.
You can independently clean the wooden surface of old furniture and cover it with a transparent or tinted composition, add new elements to the decor. For example, the chair is made with carved legs or back, reinforce the seat, so that for a long time to use it for its intended purpose.
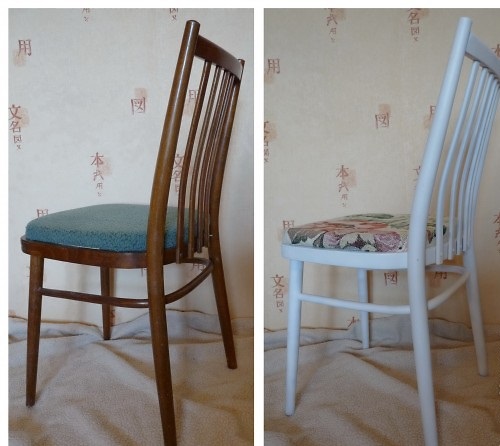
For the restoration of many materials are in the house - a cut of thick fabric, foam rubber, etc.
The cost of restoration at home is minimal. Before you buy a new chair, think - and is it possible to restore the old and significantly save at the same time. Restoration of antique furniture is particularly expensive because it requires great care and exclusive materials. Furniture renovation on your own will be much cheaper.
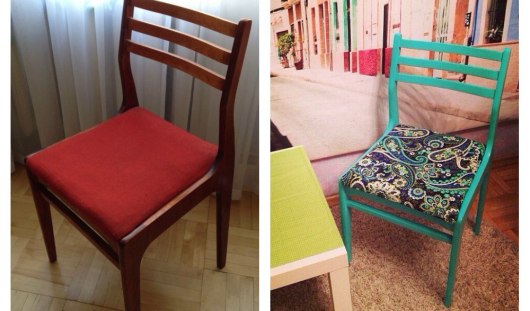
The updated chair, covered with beautiful varnish, looks no less neat than when purchased.
Restoration process: step by step instructions
If the “native” bolts connecting the supporting structure are loose, they are strengthened with an additional washer. For greater reliability, you can add a bit of universal glue to the slots.
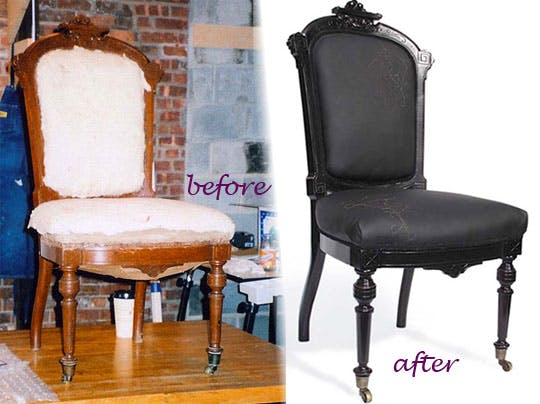
Replace used in the old days as fillers of sea grass and horsehair with foam rubber.
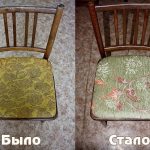
The leaky seat is renewed by replacing the base with lamellae and / or completely renovating the upholstery. Worn surface free from old material. The chair is prepared for further restoration:
- cut a piece of plywood to the size of the seat;
- stick on the basis of foam rubber (width - 3-4 cm);
- fix the plywood around the perimeter;
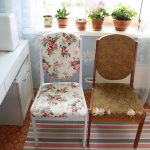
- stretch the upholstery fabric on the finished base;
- fix the material with a stapler and staples.
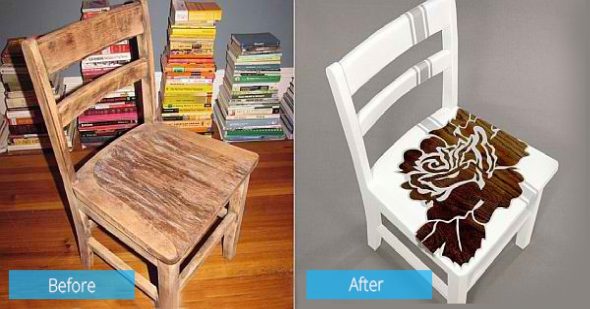
A chair that is renewable at home can be arranged better than it looked before.
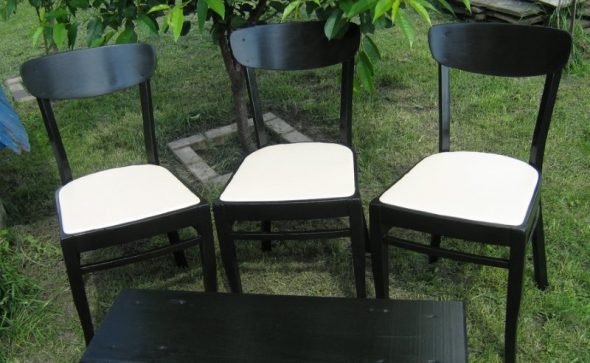
You can completely replace the back on the figure, if the design allows.
You can not remove the fabric on the outside of the seat. Then the upholstery is turned around the perimeter. The seat frame will be visible.
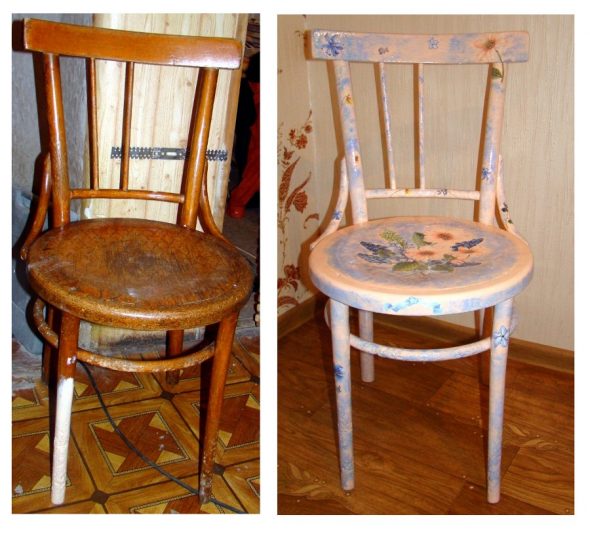
The fabric is selected resistant to abrasion and mechanical stress, quite dense.
The restored chair can be additionally decorated - to make a wooden surface lighter or darker, in a different way arrange the back or legs.
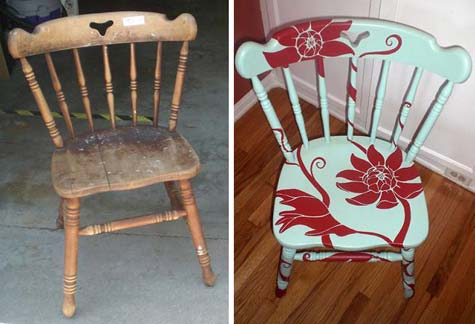
Replacing holed or worn upholstery is one hour's work.
When updating, you can use a variety of materials. With a good skill in carpentry, the restored chair acquires an individual style. This takes into account the material - wood species, density, texture.
| The size of the scratch (cracks) | Means |
| Small shallow scratches | Iodine solution |
| Small cracks | Putty (carpentry, car) |
| Deep scratches | Shoe cream, mastic (heated beeswax + turpentine at the rate of 4: 3) |
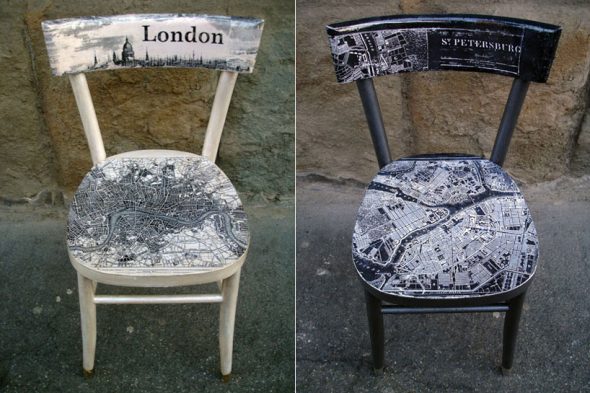
You can independently clean the wooden surface of old furniture and cover it with a transparent or tinted composition, add new elements to the decor.
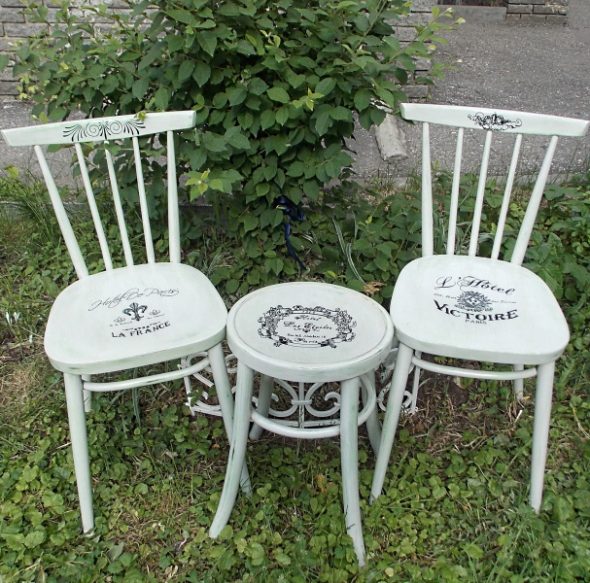
The chairs included in the kit must be arranged in the same style.
If the chair is antique, then you need to restore it very carefully. Be sure to give time to dry the applied composition.
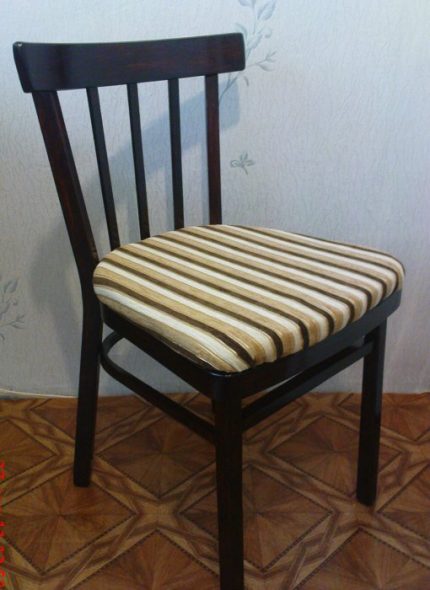
For the antique chair choose a decorative material with embroidery.
Note. Antique chairs are often springs in the area of the seat, so you need to find the same or similar, and the old, rusted and lost elasticity - removed. Replace used in the old days as fillers of sea grass and horsehair with foam rubber.
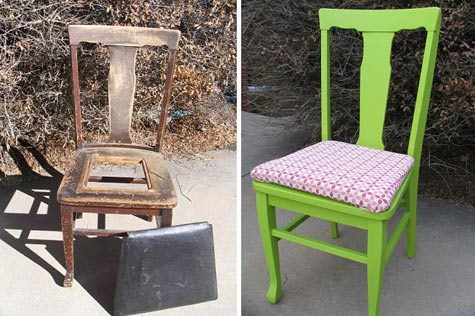
The cost of restoration at home is minimal.
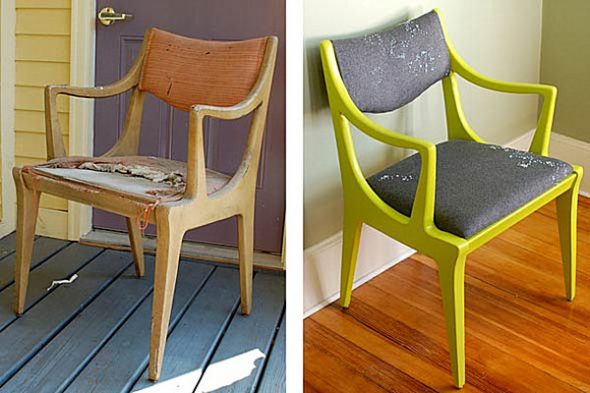
Round the edges using a jigsaw, sanding the edges with sandpaper.
Required materials and tools
For the restoration of the chairs will need the following:
- quick-drying varnish (transparent or tinted);
- paint;
- upholstery fabric;
- foam rubber;
- plywood;
- sandpaper;
- metal washers and bolts (screws);
- springs (for a particular type of chair).
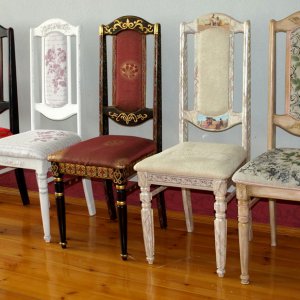
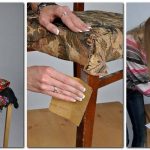
Sandpaper is required in order to clean the surface of furniture from irregularities, chips and cracks of varnish.
The fabric is selected resistant to abrasion and mechanical stress, quite dense. Tapestry, flock, matting, etc. will do. For the antique chair choose a decorative material with embroidery.
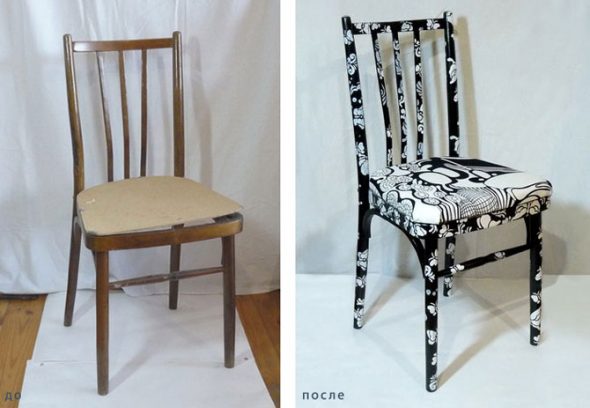
Furniture renovation on your own will be much cheaper.
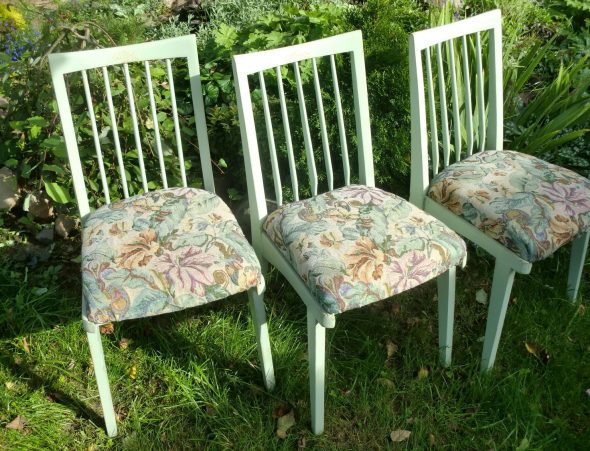
Select in advance the density and texture of the wooden base, cut it to size and with the help of a piece make the desired pattern.
Sandpaper is required in order to clean the surface of furniture from irregularities, chips and cracks of varnish. It is necessary to completely sand the chair (wooden structure) for a smooth application of the laminating compound.
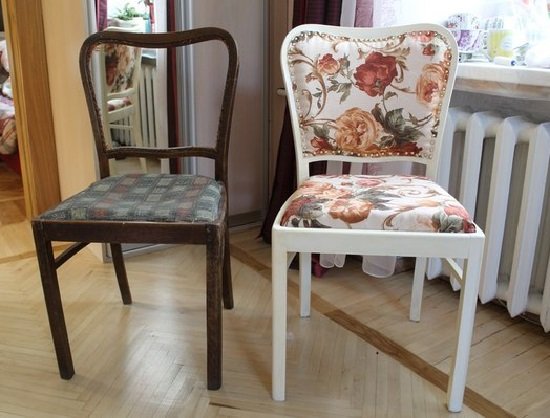
For serious repair, the chair can be disassembled, the broken off parts can be replaced with new ones and fastened with bolts or screws.
To upgrade a chair, you need tools:
- scissors;
- roulette;
- hacksaw (sawing off excess plywood under the seat);
- screwdriver;
- screwdriver.
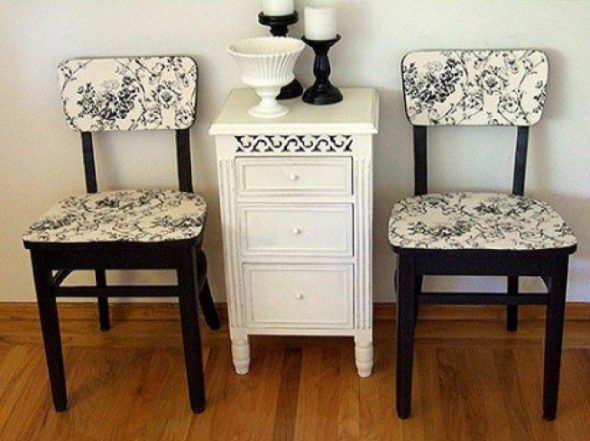
For greater reliability, you can add a bit of universal glue to the slots.
For serious repair, the chair can be disassembled, the broken off parts can be replaced with new ones and fastened with bolts or screws. Seat frames also often require restoration.
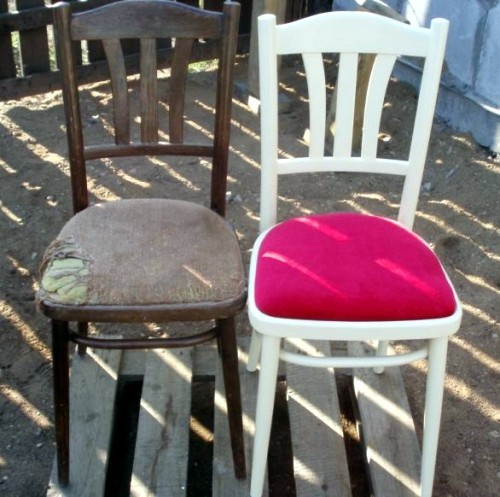
Seat frames also often require restoration.
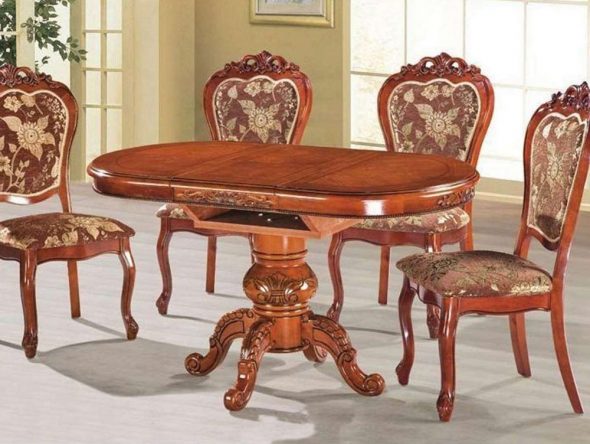
Vienna chair or any other best looks exactly in this design.
Important! It is necessary to use similar in density and texture of the wood, so that the chair is functional and looks presentable.
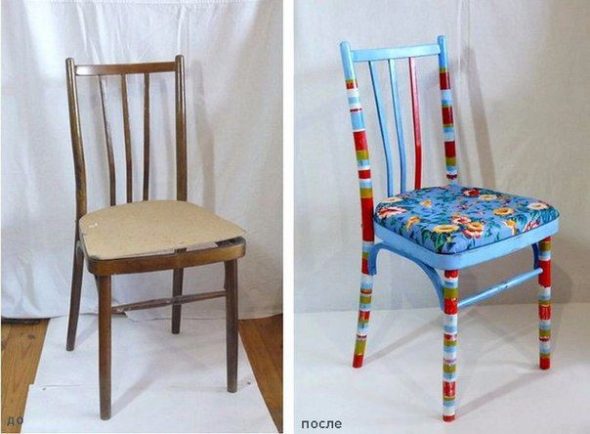
The leaky seat is renewed by replacing the base with lamellae and / or completely renovating the upholstery.
Ways of restoration by decorating the chair
There are several design options for the appearance of furniture. The chair can be updated in the following ways:
- staining;
- lamination;
- decoupage
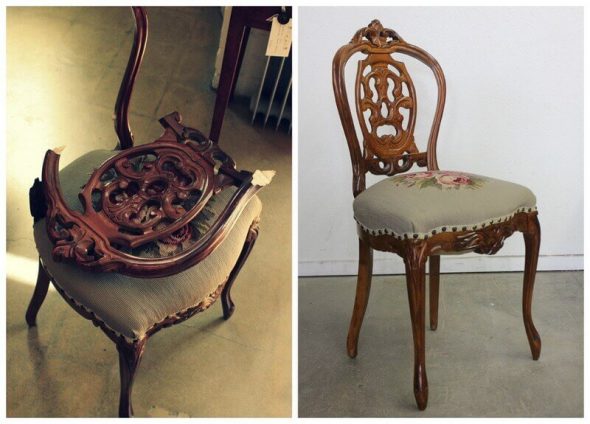
It is necessary to use similar in density and texture of the wood, so that the chair is functional and looks presentable.
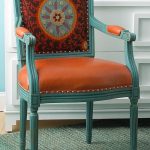
As a decor, you can use both the upholstery itself, selecting the fabric of interesting colors like tapestries, and the rest of the furniture, making them carved, figured.
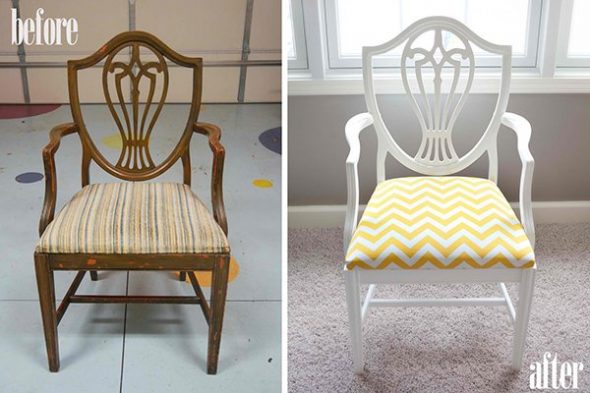
You can not remove the fabric on the outside of the seat.
A single-colored seat is decorated with smooth embroidery or appliqué. This must be done before starting the trim.
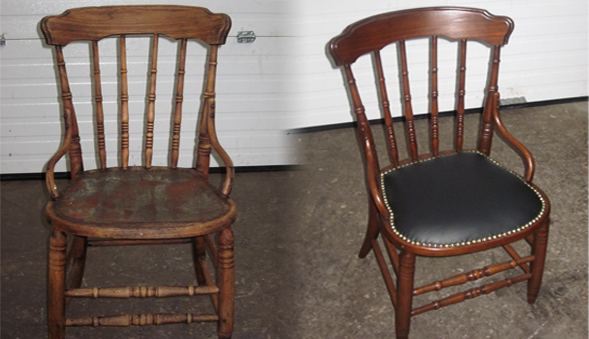
A single-colored seat is decorated with smooth embroidery or appliqué.
The wooden surface of the supporting structure and the back are laminated, that is, coated with resistant varnish in several layers. The tone of the coating is chosen closer to the natural shade of the tree (light, dark or moderate). Vienna chair or any other best looks exactly in this design.
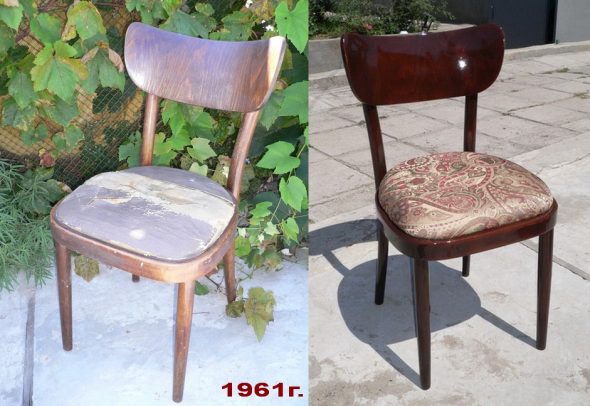
The restored chair can be additionally decorated - to make a wooden surface lighter or darker, in a different way arrange the back or legs.
You can completely replace the back on the figure, if the design allows. Select in advance the density and texture of the wooden base, cut it to size and with the help of a piece make the desired pattern. Round the edges using a jigsaw, sanding the edges with sandpaper.
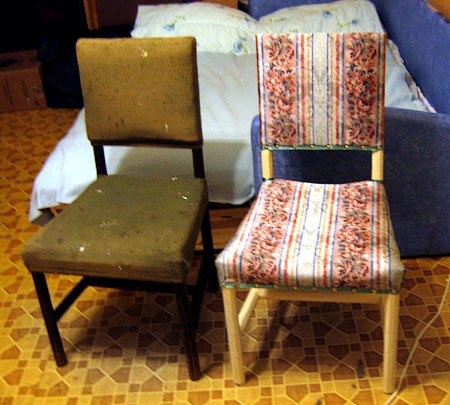
The wooden surface of the supporting structure and the back are laminated, that is, coated with resistant varnish in several layers.
The chairs included in the kit must be arranged in the same style so that they do not stand out from the general picture - “mixed-sized” furniture may look good in different rooms, but at the table, for example, when celebrating a family celebration, it looks careless.
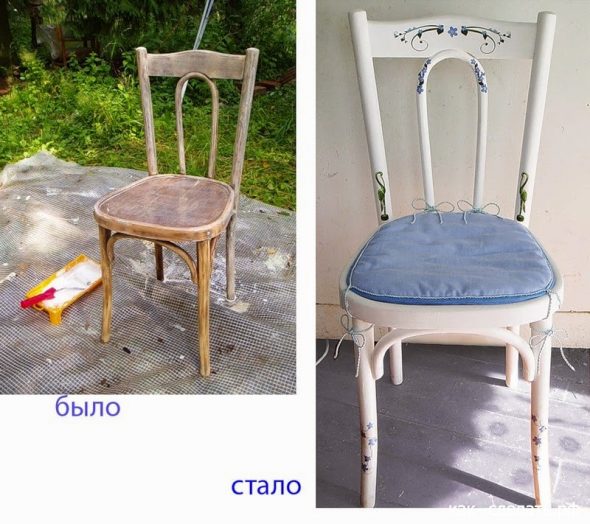
When updating, you can use a variety of materials.
VIDEO: Restoration of the chair: How to make a chair with your own hands. Master class by Katerina Sanina: design, interior
50 photo ideas: do-it-yourself restoration of chairs
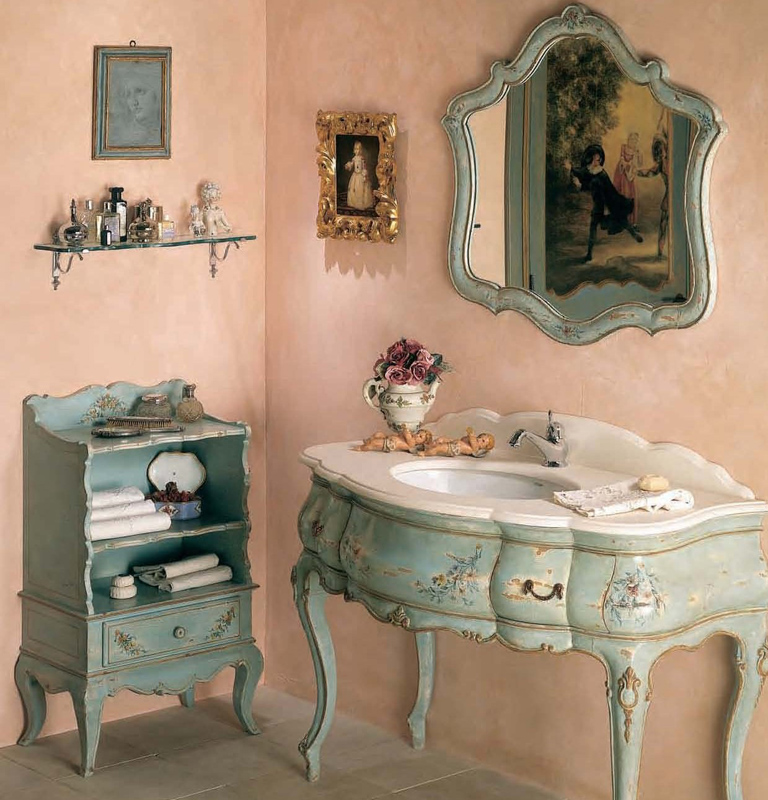 Decoupage furniture in Provence style
 How to cover the wood countertop in the kitchen? There are some interesting ideas!
 How to sew a beautiful and comfortable bedspread with your own hands
 Closers for kitchen cabinets

