How to drag a computer chair with their own hands.
Computer chairs - a very common piece of furniture.
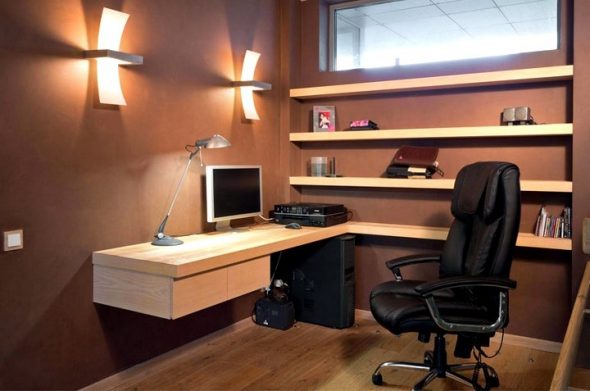
Working sitting on a computer chair is much more convenient than on a chair or stool.
The service life of the chair depends on its quality and the materials from which it is made.
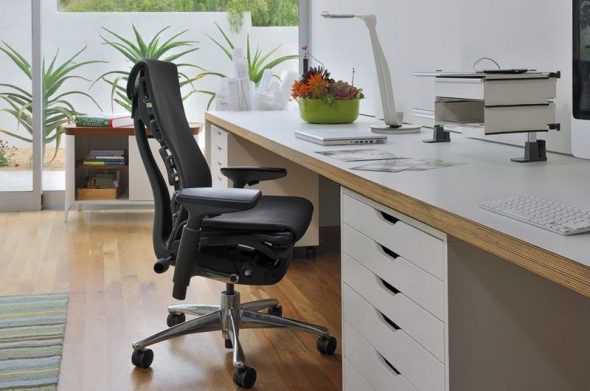
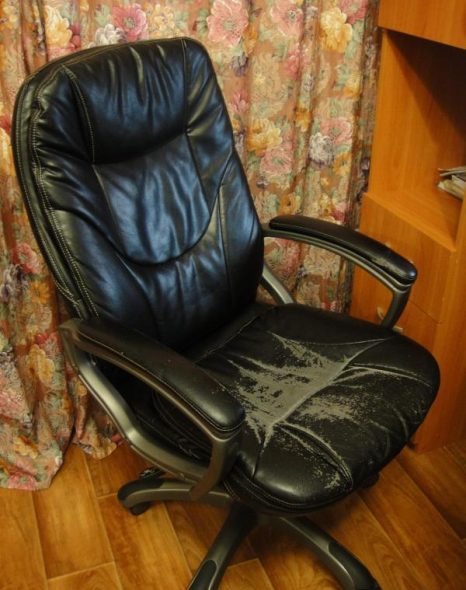
Most often, the coating of which the seats and backs are made is deformed and loses its strength.
Woven materials can be torn by careless use, artificial leather cracks and gets scuffed. The chair becomes uncomfortable and looks unattractive.
Buying a new computer chair is an expensive solution.
Remains the most budget way - constriction. Many people think that this procedure can be carried out only in special workshops.
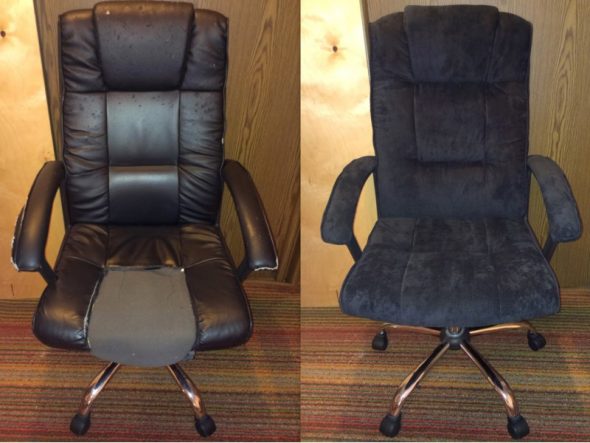
But constriction office chair is easy to implement at home.
Content
- 1 Advantages of a banner upholstery do-it-yourself:
- 2 Necessary materials
- 3 What needs repair?
- 4 How to take measurements and how much fabric to buy?
- 5 Required Tools
- 6 Waiting process: step by step instructions
- 7 Assembly
- 8 VIDEO: Padding computer chair with your own hands.
- 9 50 photos of computer chairs in the interior:
Advantages of a banner upholstery do-it-yourself:
- You do not need to pay for the work of the master.
- Hauling a chair at home will take from 30 minutes to 1 hour - this is much faster than in the workshop.
- The chair does not need to carry anywhere, you can replace the upholstery in the apartment.
- The cost of the procedure is minimal.
- The necessary set of tools will be found for everyone.
- Disassemble and assemble the chair is not difficult at all, you do not need special skills and abilities.
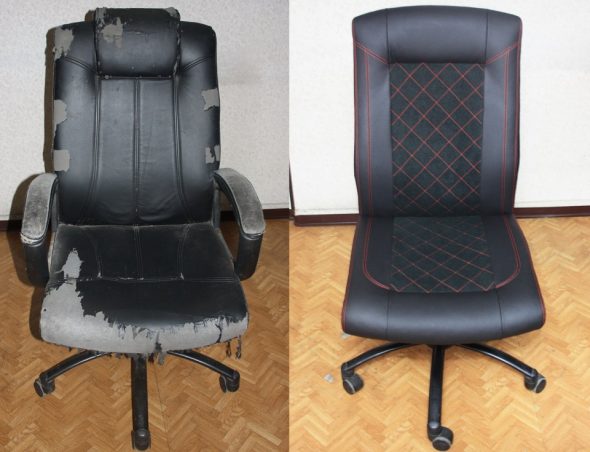
By pulling a chair with your own hands, you can save both time and money.
Necessary materials
For work, we first need a cloth.

The best option - a dense upholstery.
What materials are not worth buying? There are few exceptions.
- Artificial leather.
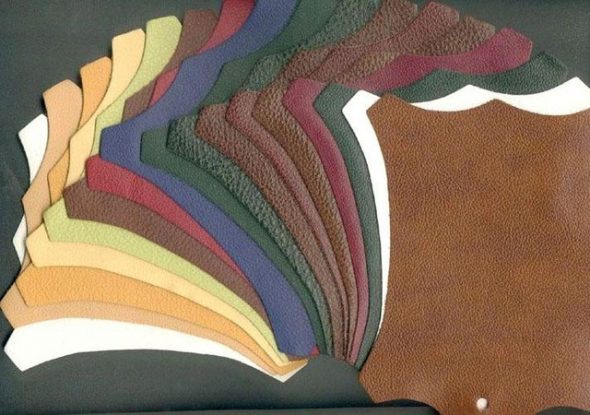
The canvas will quickly become scuffed and lose its original appearance due to constant friction.
- Thin, lightweight fabric.

Such material is susceptible to damage from sharp objects, including pointed elements on clothing.
If the seat has lost its former softness, and the foam lining is strongly wrinkled, then you need to buy foam rubber, it will make the chair more pleasant and more comfortable.
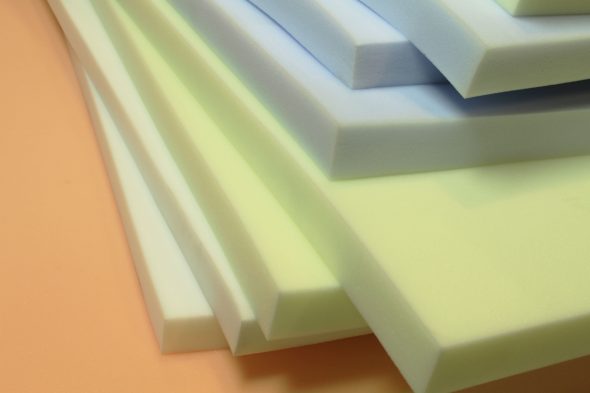
It is easy to find in sewing stores.
What needs repair?
The fabric layer can be replaced only on the seat or on the back (if the damage is present on one of the elements).
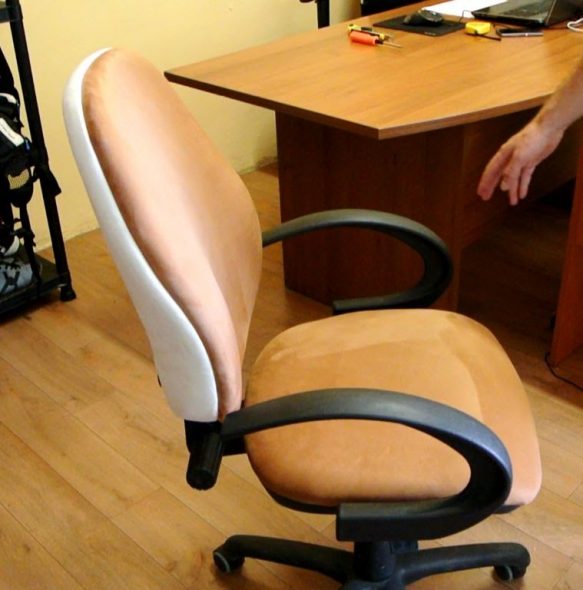
To do this, you will need much less material than for a complete repair of an office chair.
How to take measurements and how much fabric to buy?
We have already dealt with the right look and quality of the fabric. The amount of tissue can be measured in several ways.
- Take measurements from the back and seat. If you plan to add additional foam, you should consider this item in the removal of measurements. To the data obtained (the length and width of the back and chair) must be added 5 cm.
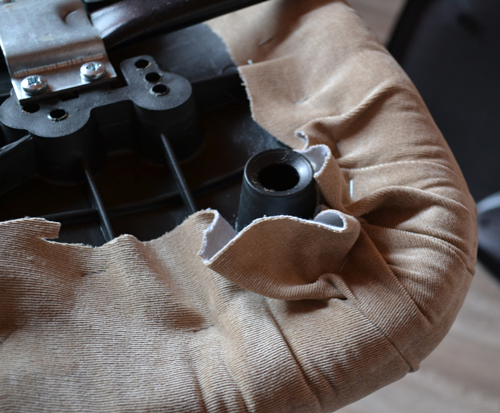
The fabric will be attached from the inside, for this you need allowances.
- You can first disassemble the chair and remove the old coating.
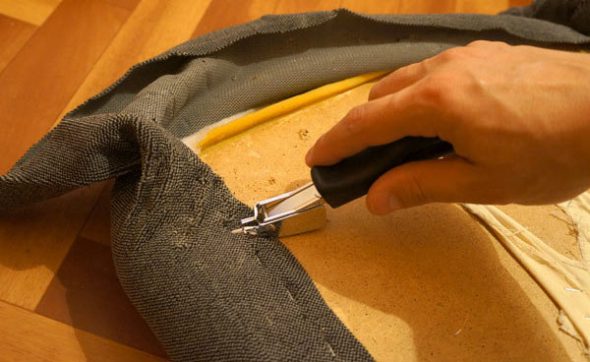
This can cause difficulties, as the upholstery is tightly braced to the frame parts.
Then you should measure the ready-made tucks by adding allowances for using foam rubber.
Required Tools
For the waist of the old office chair will need the following tools and equipment:
- Furniture stapler (to secure the new upholstery) and brackets for it. ;
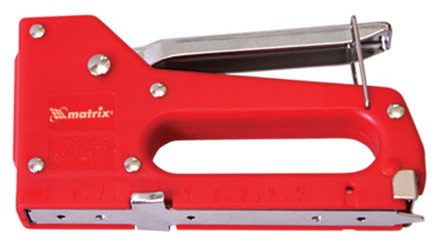
The size is indicated on the stapler.
- Screwdriver or screwdriver;

For dismantling the design and fit the one and the other tool.
- Scissors.
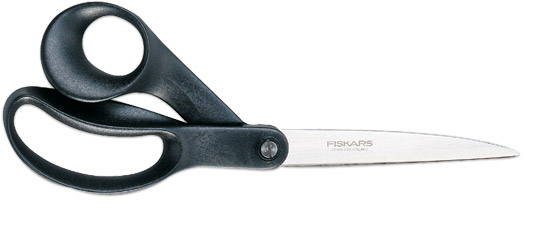
For trimming fabric.
There is a screwdriver in every house, and you can borrow a furniture stapler from a friend or rent it in a furniture store.
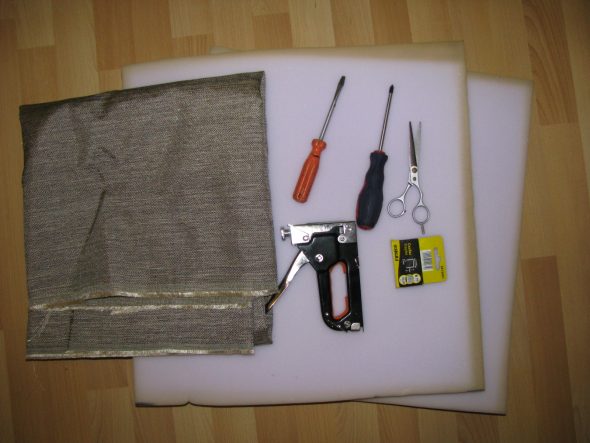
Preparing everything you need, you can get to work.
Waiting process: step by step instructions
The process itself is not complicated, it is easy to cope with it alone.
- The first step is to disassemble the chair.
To remove the back, you need to turn the screw in the back (with a big hat), you can remove the back panel by opening the latches (gently pulling each corner).
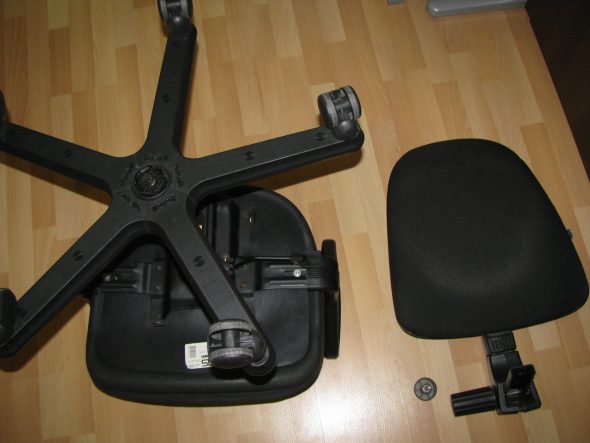
Armchair with backrest detached.
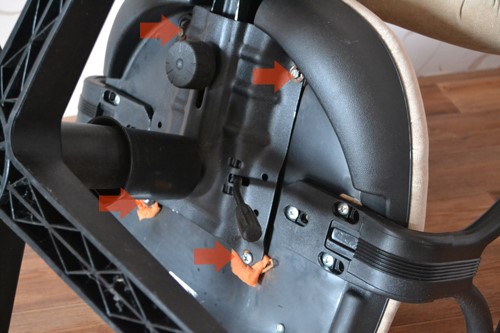
To disassemble the seat, you must turn the chair upside down. Remove the screws and detach the armrests.
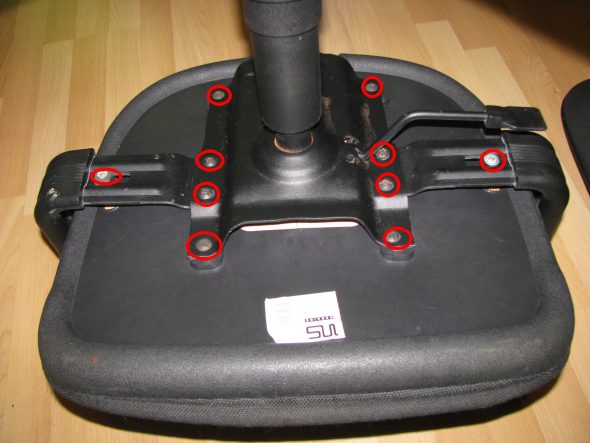
Seat attachment points.
It is better to fold all the cogs in one place, so that by the end of the repair the seats simply do not lose them. Now you can proceed to the waist.
- Old upholstery must be separated by removing the staples.
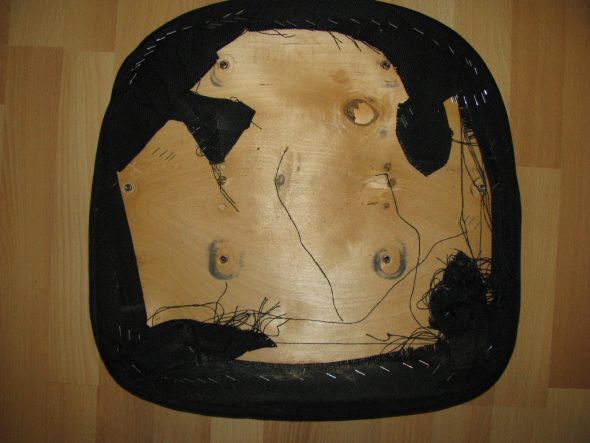
Staples to be removed.
Next, you need to attach foam and cut around the contour of the chair, then nailed with staples.
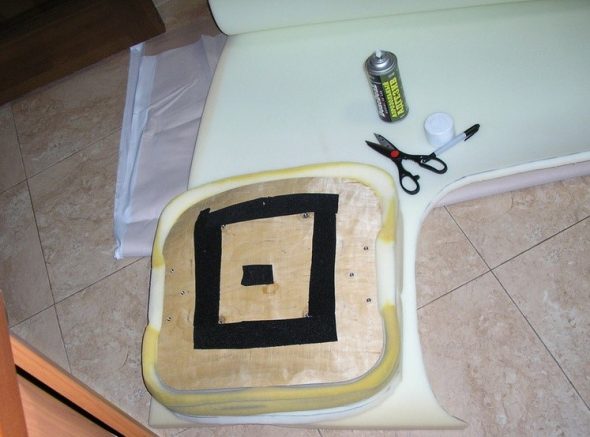
Cut out foam rubber for the seat of the chair.
Carefully work with the stapler, this tool is quite powerful.
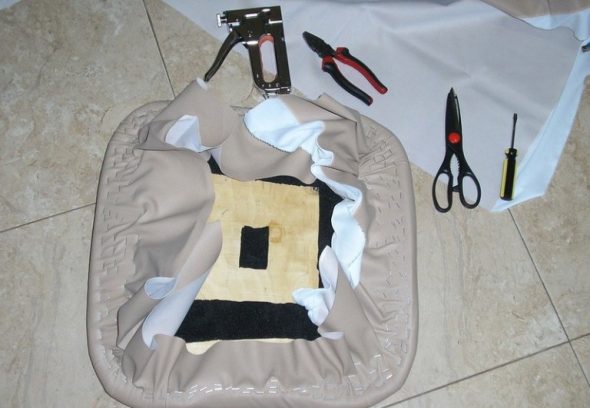
Stretch the new upholstery, securing it from the back of the base of the seat and backrest.
The outlines of the chairs are rounded, and this should be taken into account when hauling an office chair, so that there are no bends in the fabric. Extra tails must be cut off.
Assembly
Now you need to collect the office chair back.
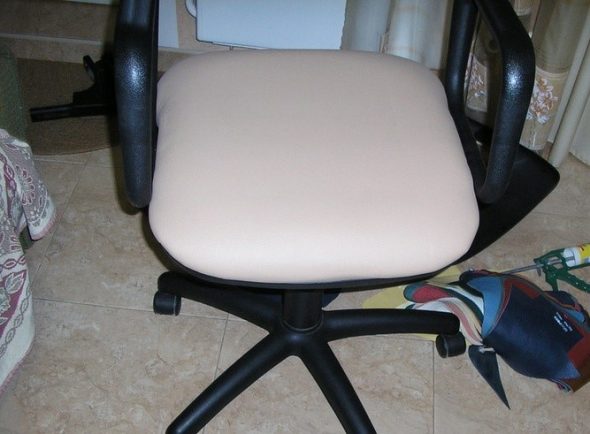
The hardest part of the job is fitting the right parts.
To do this, you must perform everything in stages, following the scheme of parsing the chair, but performing the manipulations in reverse order.
First you need to attach the armrests, then assemble the seat frame and fix it with screws.
After that, we assemble the back by simply snapping the protective back panel and the inner surface of the back. The chair is ready!
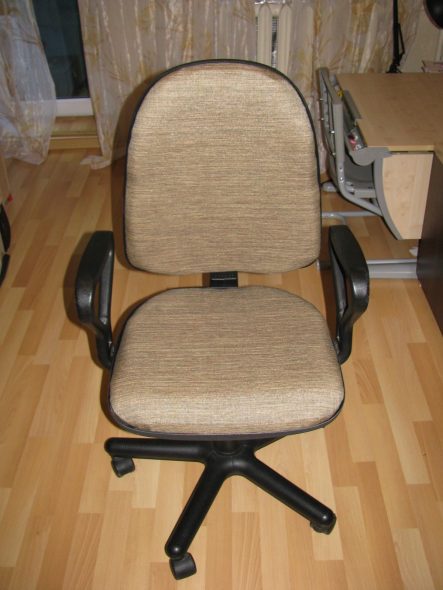
Drag upholstery on an office chair at home is not at all difficult.
It is only important to choose the right material for upholstery and take measurements. It is cheaper to do it yourself at home, rather than pay for repairs in the workshop. The renovated chair will delight you for many years!
VIDEO: Padding computer chair with your own hands.
50 photos of computer chairs in the interior:
 Doing decoupage kitchen table do it yourself
 The main purpose of the furniture hinges
 Liquid skin or how to restore a leather sofa on your own
 How to remove small and deep scratches on wooden furniture?


