Doing decoupage kitchen table do it yourself
Things "Hand made" in the interior are valued more and more. They give the house a personality and a special highlight. Each hostess wants to create a cozy atmosphere in her apartment with minimal costs, and the decoupage technique can help with this, which in French means “cutting out”. Having tried to work in this technique once, you will surely make decoupage your occupation for the soul. The head in the kitchen, of course, is the table, if he is bored, peeled off, inherited from his grandmother, you can easily give him a new life with the help of simple manipulations.
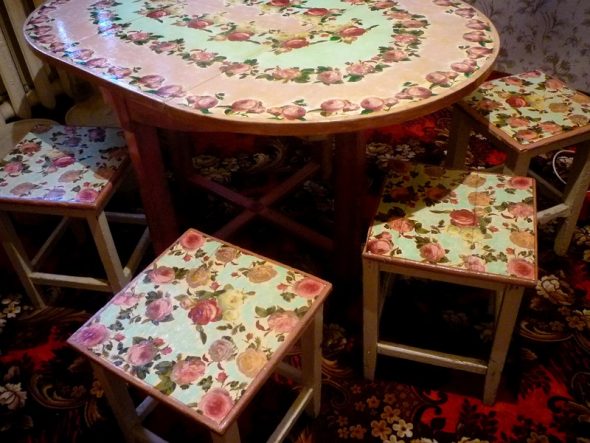
Keep in mind that the restoration of the kitchen table with your own hands - is not the easiest thing and, in some cases.
Content
- 1 Variety of ideas for decoupage the old table
- 2 Preparing the surface of the old table for decoupage
- 3 Materials and tools for work in the decoupage technique
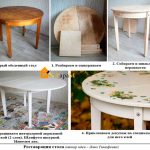
- 4 Creating decoupage: step by step instructions
- 5 VIDEO: Kitchen table decoration and decoupage
- 6 50 photo ideas decoupage kitchen table do it yourself
Variety of ideas for decoupage the old table
The most popular styles of decoupage are: Victorian, Provence, Simpl City and Chebbi-chic. Let's try to deal with them in more detail.
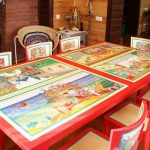
- Victorian style came from the UK. It is characterized by rich and vibrant shades of green, red and gold. The pictures show hunting, still lifes, roses, noble animals, as well as ornaments with a cage and a stripe. In general, the style with a claim to luxury.
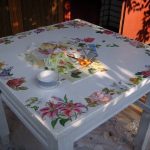
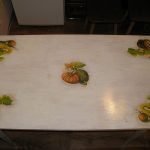
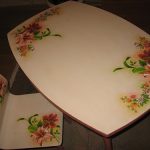
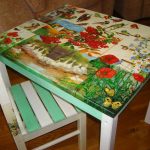
- Provence conveys the essence of the southern provinces of France. Flower and vegetable motifs are widely used here, lavender and wine bottles are often depicted. Drawing is applied on the light artificially made old surface.
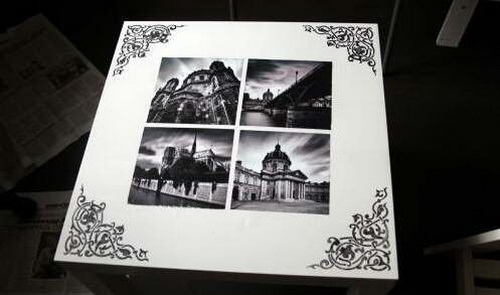
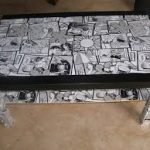
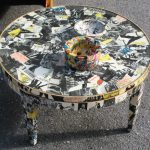
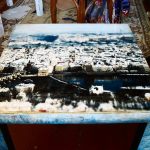
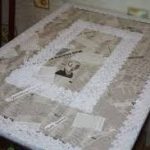
- Simple City. Translated "style of a simple city." This is the most modern and democratic direction, using cuttings of old newspapers and magazines, photos and prints.
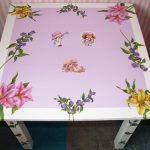
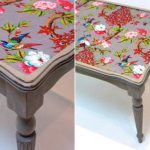
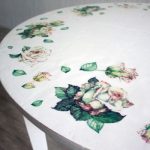
- Shabby chic. Appeared in the late 20th century. "Chebbi" is translated from English as "well-worn, shabby." Light pastel colors and fuzzy contours, main scenes-roses, birds, angels and other “mercies” are used.
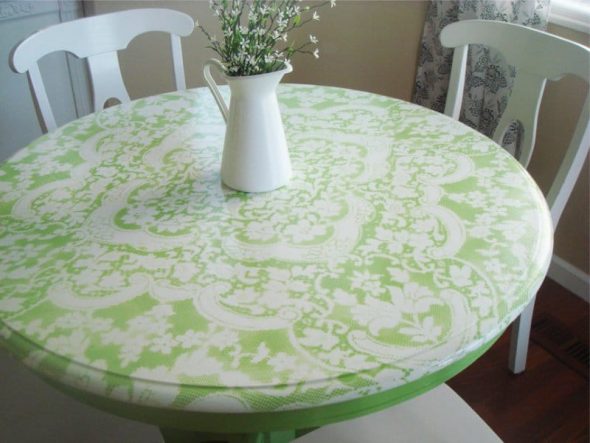
But more often than not, the right “upgrade” can bring your old friend back to life and transform it beyond recognition.
Having decided on the direction in which the table will be decorated, it is necessary to choose materials for work. Everything you need for decoupage is sold in special shops for creativity. You can buy ready-made applications for products using decoupage technique (rice cards), or you can use newspaper and magazine clippings, regular kitchen paper napkins (the most popular decoration material) and much more. The main thing is fantasy. Selecting pictures to taste, you need to create a general composition. You are able to create a unique unique thing, which will not be in any house. And then proudly show it to the guests.
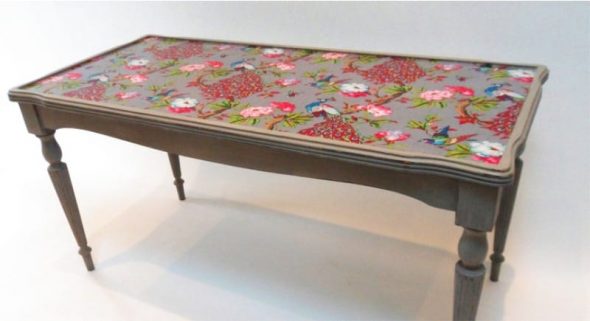
To update the kitchen table with your own hands, you can use one of the proven technologies.
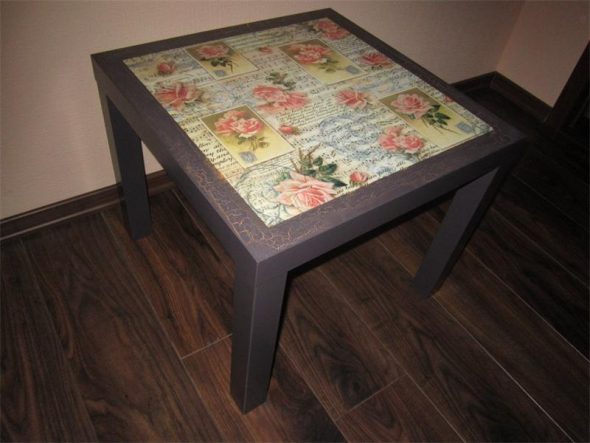
Get ready for a long and time-consuming work - removing old paint or varnish is not easy.
Preparing the surface of the old table for decoupage
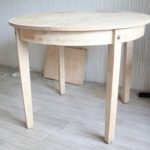
To do the decoupage of the kitchen table with your own hands, first of all you need to prepare the work surface for drawing the picture.The tabletop of the plastic table can be simply degreased with alcohol; there will be a minimum of hassle with the new table, acquired, for example, at IKEA. If the table is old, the process can be quite time consuming, but the result is amazing. To skip this stage is impossible, on the gnarled surface of the table, even the most sophisticated design will look sloppy. Preparation is carried out in several steps.
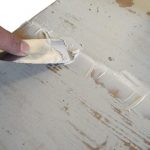
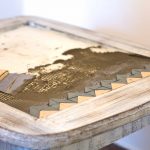
- To remove the old varnish or paint and level the surface, it must be processed with a grinding machine or sandpaper with a large grain.
- Deep scratches and gaps to putty putty and allow it to dry.
- Prime the worktop and legs.
- Cover the details of the table with acrylic paint and leave for 5 hours until completely dry (At least the paint is applied in 2 layers). The choice of color depends on the intended composition. For bright images it is better to pick up light colors, then you will get a stylish thing that pleases, and does not irritate the eyes.
- For reliable adhesion of the picture to the table, the surface is degreased with acetone, plastic coatings are treated with alcohol so that acetone does not erode the top layer.
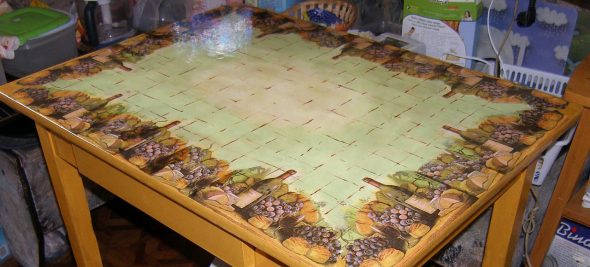
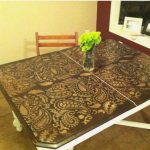
An interesting way to decorate and paint furniture is dyeing through tulle - the tabletop is painted through it, and a lace pattern is formed on the basis of the stencil principle.
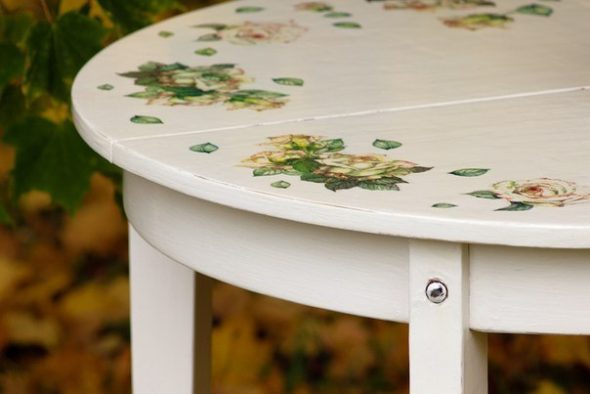
The head in the kitchen is undoubtedly the table.
Materials and tools for work in the decoupage technique
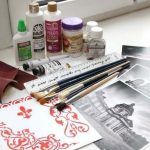
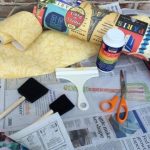
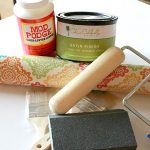
To create a unique masterpiece with your own hands you will need a simple set, you can buy it in the nearest scrapbooking store, and there is already something in every home.
Each hostess wants to create a cozy atmosphere in her apartment with minimal cost.
Beginner master will need:
- pictures for decoupage (maps, photos, napkins, newspapers, etc.);
- table (object of restoration);
- nail scissors;
- sanding machine or sandpaper;
- acetone or alcohol for degreasing;
- putty;
- simple PVA, diluted with water in a ratio of 1: 1 or special glue for decoupage;
- wide brushes and sponge;
- finish varnish for decoupage;
- candle;
- acrylic paints, patination agent, craquelure if necessary;
- water tanks;
- plastic bag.
If you have an old dining table, which is dear to you as a memory, or you just want to reasonably save on the purchase of new furniture, then you have an interesting job in the quality of a restorer or decorator.
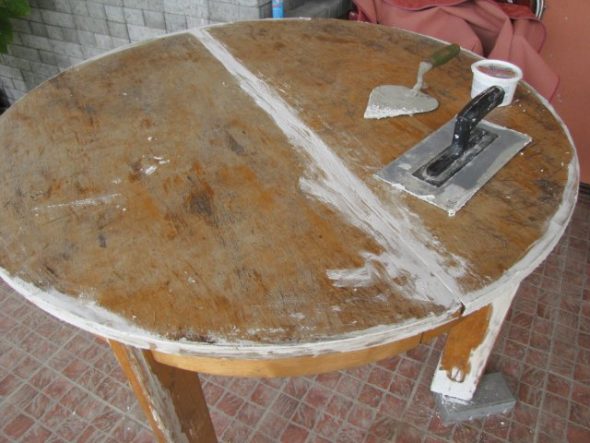
if the tabletop does not have strong damage, then you can not hide the natural beauty of the tree and cover it with stain and then varnish, shellac or wax.
As experience accumulates, the arsenal can grow and change.
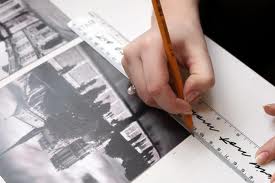
Interesting and original aging techniques allow you to do your own retro-style decoupage.
Interesting and original aging techniques allow you to do your own retro-style decoupage.
An easy way to customize the table with your own hands quickly and budget - to paste over it with self-adhesive film.
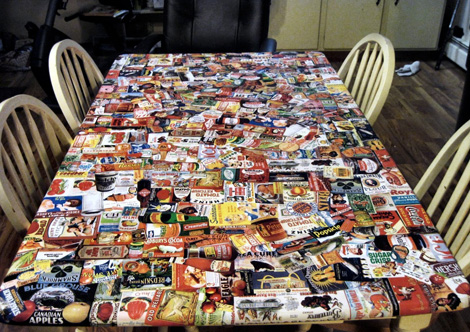
Using these techniques, sticking a picture onto furniture is less and less like a simple application and turns into artistic decoupage.
To create a scuff effect, use contrasting acrylic paints of 2 types, a candle and sandpaper or a hard dishcloth. Having covered the object of transformation with one layer of paint, then the places of supposed scuffs are rubbed with wax and covered with a layer of second paint. After the final drying, the wax is wiped off with a sponge or sandpaper.
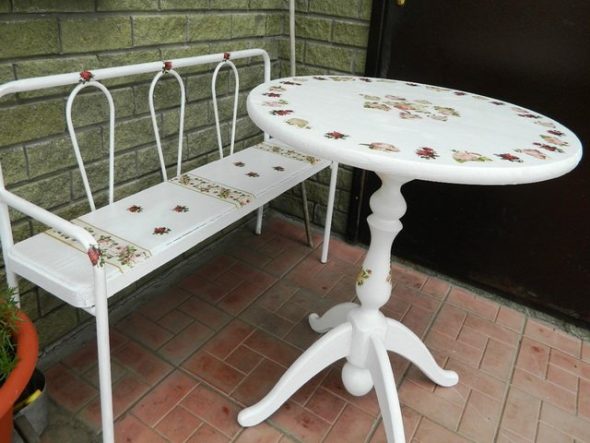
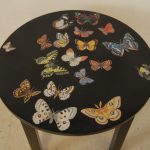
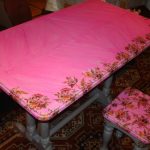
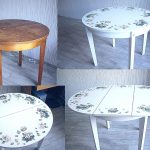
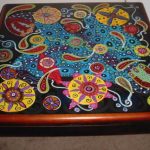
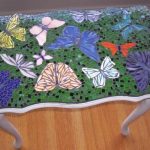
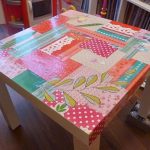
You can update the old table using decoupage technique.
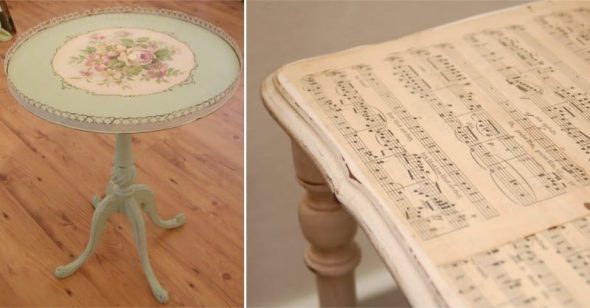
The most popular styles of decoupage are: Victorian, Provence, Simpl City and Chebbi-chic.
Potal allows you to silver or gild a base for decoupage.
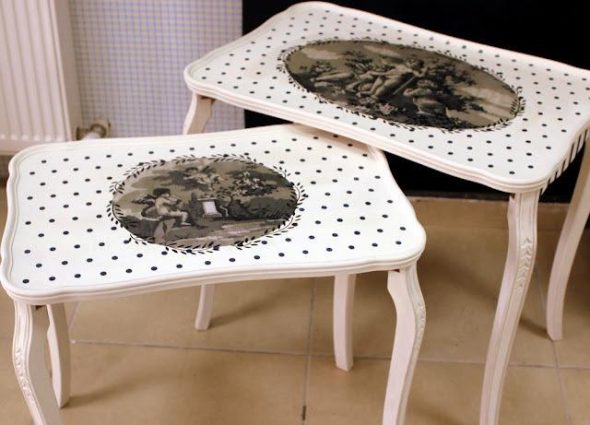
Burning out will allow to renew a non-damaged wooden surface.
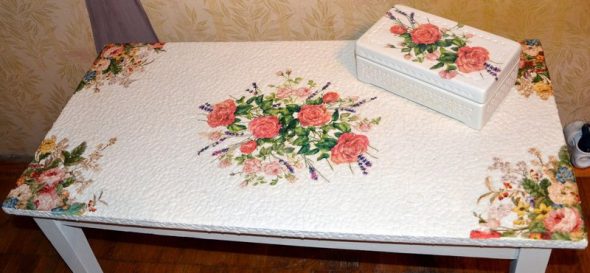
By giving your old table a new life, you will feel like a real artist.
Craquelure - creating a cracked surface.This effect is achieved by applying 2 layers of varnishes with different drying rates. When they are combined, the desired cracks are formed to make them clearer using special grouting for decoupage.

Carefully inspect all fastenings in the construction and defects of the tabletop - how much the veneer has been delaminated or the wood has been damaged.
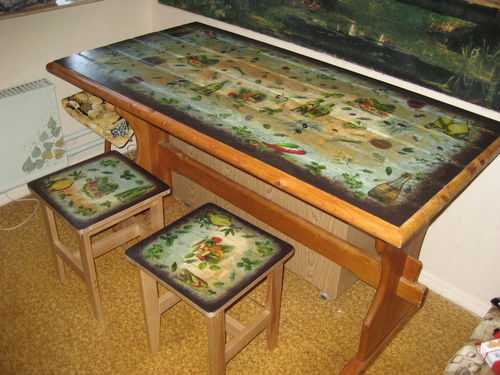
Having decided on the direction in which the table will be decorated, it is necessary to choose materials for work.
Patina is a special compound, which causes rust, oxidation and even moss. Used for aging metals, gypsum and wood.
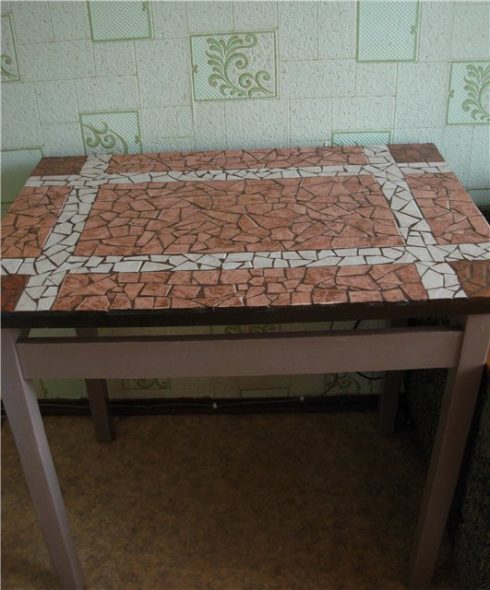
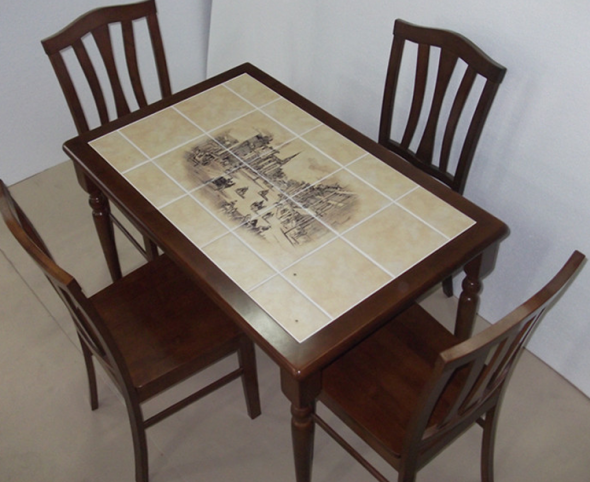
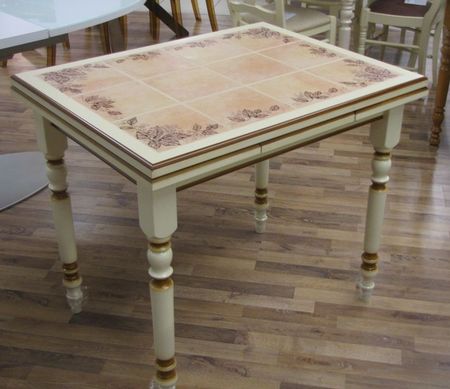
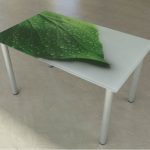
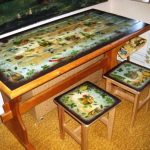
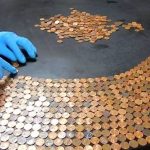
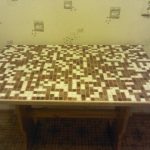
Ceramic tiles will allow you to decorate a dilapidated, heavily damaged tabletop and make it more practical - you can put it on a hot surface and wash it in any way.
With the help of these techniques, sticking a picture onto furniture is less and less like a simple application and turns into artistic decoupage.
If the table is a bit loose, you just need to tighten all the screws.
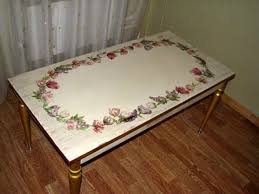
Everything you need for decoupage is sold in special shops for creativity.
Creating decoupage: step by step instructions
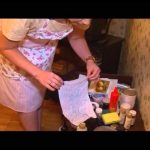
After the tabletop and the rest of the updated table are ground, grounded and painted with acrylic paints, the most interesting jewelry work begins.
- If you didn’t go the easy way by purchasing special decoupage pictures that you don’t need to stratify, but chose the material at hand, then you need to follow these steps.
- The napkin should be divided into layers and from the resulting upper leaflet with a picture, cut the desired pattern with curly scissors. Large images are cut out in parts to make them easier to paste.
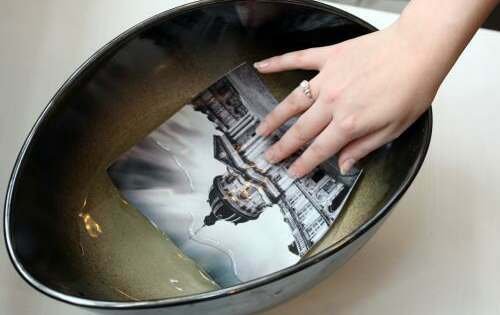
- The printouts on the printer are first varnished in several layers, and then soaked in warm water for 5 minutes and remove the paper layer in one motion or, gradually rolling from the center to the edges, gradually thinning the pattern.
- To paint the picture in the desired color, you can use ordinary watercolor paints.
- The prepared drawing is put on a plastic bag, face down and gently smoothed with a wet brush.
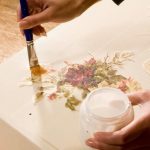
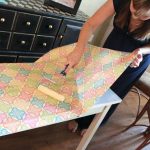
- The surface of the table is smeared with glue, after which a blank is placed on it and smoothed it from the center to the edges of the drawing with a brush dipped in glue. A dry brush will tear the napkin, and an overly wet brush will turn the paper into a gruel. If, despite all efforts, the workpiece is torn, it is not scary, you can carefully trim the edges with an ordinary sewing needle.
- After the final smoothing applied another layer of glue, fixing.
- To remove the wrinkles in the figure, after drying the adhesive layer, cover it with tracing paper and iron it with a warm iron.
- For the final touch, using a brush, draw the outlines, shadows, patterns.
- After drying, the finish varnish is applied to the drawing in 2-3 layers.
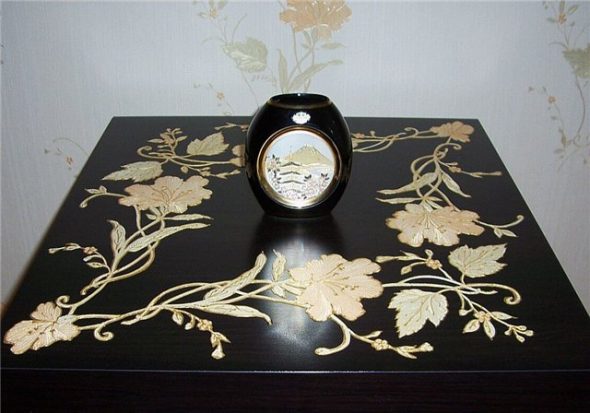
If it requires a more serious restoration, then you need to completely disassemble the table, re-fasten all the details or clean and sand all the grooves and joints.
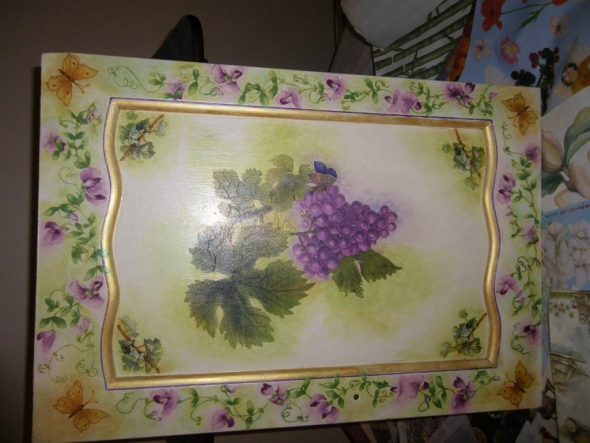
You are able to create a unique unique thing, which will not be in any house.
By giving your old table a new life, you will feel like a real artist. Doing your own hands not only decorating the table, but also arranging stools, chopping boards or a tray in the same style, you will receive an author’s kitchen design with minimal time and family budget and, most importantly, realize your creative fantasies.
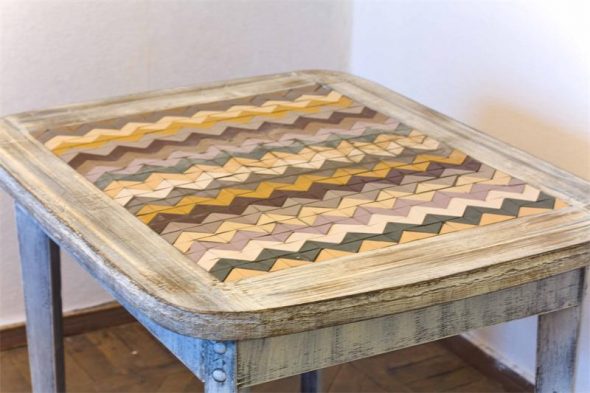
Analyzing the furniture, do not forget to mark the place of installation of each of the parts, so you will not get confused and quickly cope with the task.
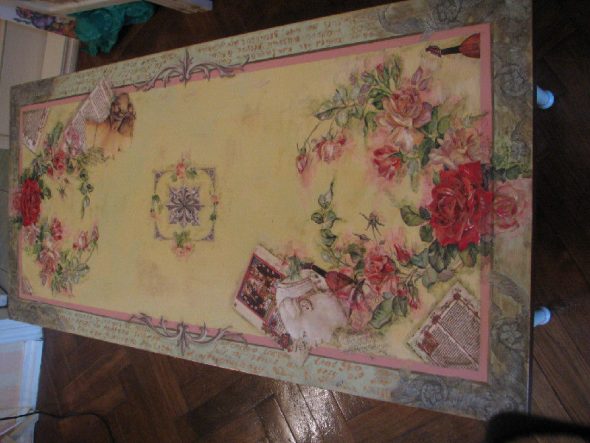
To create a unique masterpiece with your own hands you will need a simple set, you can buy it in the nearest scrapbooking store, and there is already something in every home.
VIDEO: Kitchen table decoration and decoupage
50 photo ideas decoupage kitchen table do it yourself
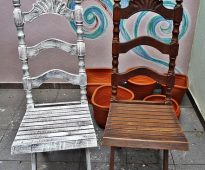 How to make a professional restoration of the chairs with your own hands with the help of available tools? It is quite easy!
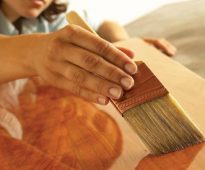 How to cover the wood countertop in the kitchen? There are some interesting ideas!
 Mirror ceiling in the interior





 An overview of bed accessories: types, materials and functionality29
 The current trend of IKEA - wardrobe-bed transformer21
 Safe sleep with a side for a children's bed from Ikea16
 What to choose: the orthopedic basis for a bed or flat continuous?13
 Lifting bed with sofa: advantages and disadvantages8

